Can You Paint Over Stained Wood: Easy Guide
You can definitely paint over stained wood by first cleaning it well with a degreaser. Then, sand it with medium and fine grit sandpapers and wipe away the dust.
Next, apply a stain-blocking primer. Shellac-based primers work best because they stop tannins from bleeding through. After that, use multiple thin coats of paint, letting each dry fully for a smooth, durable finish.
With the right prep and materials, your project will look fresh and professional. Keep exploring to uncover more tips and alternatives for updating stained wood.
Why Paint Over Stained Wood? Benefits and Considerations
Although stained wood has its own charm, painting over it can transform your space with a fresh, modern look while hiding imperfections you mightn’t want to see.
When you choose to paint over stained wood, you reveal several benefits: you update outdated furniture and fixtures, increase property value, and gain flexibility with colors and styles.
Painting over stained wood refreshes furniture, boosts property value, and offers versatile color and style options.
To guarantee your paint job lasts, surface preparation is essential. You’ll need to clean the wood thoroughly and apply the right primer to promote strong paint adhesion.
Opting for a bonding or latex primer helps the paint stick better and resist peeling over time.
While painting covers the natural grain, it creates a sleek modern aesthetic that fits contemporary designs perfectly, giving your space a personalized, polished feel.
Preparing Stained Wood for Painting: Cleaning, Sanding, and More
Start by giving the stained wood a good clean with a degreaser like TSP or Simple Green. This helps get rid of oils and dirt that might stop the paint from sticking properly.
Once it’s clean, go ahead and sand the surface using 120 to 150 grit sandpaper. Then, finish up with 220 grit to create a nice smooth texture that’ll help the paint grip better.
Now, if your wood has a glossy finish, you might want to skip heavy sanding. Instead, try using a liquid deglosser to dull the shine.
This way, the paint will stick well without you having to work too hard on sanding.
Cleaning Techniques
Three essential steps will prepare your stained wood perfectly for painting: cleaning, sanding, and priming.
Start by thoroughly cleaning the stained surface with a degreaser like TSP or Simple Green to remove oils and dirt. This guarantees the paint will adhere properly.
After sanding, use a damp cloth to clean up the dust and any remaining grime. This step is significant for a smooth finish.
Next, apply a stain-blocking primer to prevent bleed-through from the existing stain. Be sure to let each coat dry completely before proceeding.
Applying a quality coat of primer creates a solid base, enhancing paint adhesion and durability.
Proper cleaning sets the foundation for the rest of your project, so don’t skip these essential steps.
Sanding And Deglossing
Sanding stained wood with 120 to 150 grit sandpaper roughens the surface, helping paint adhere better, while finishing with 220 grit smooths it out for a polished look.
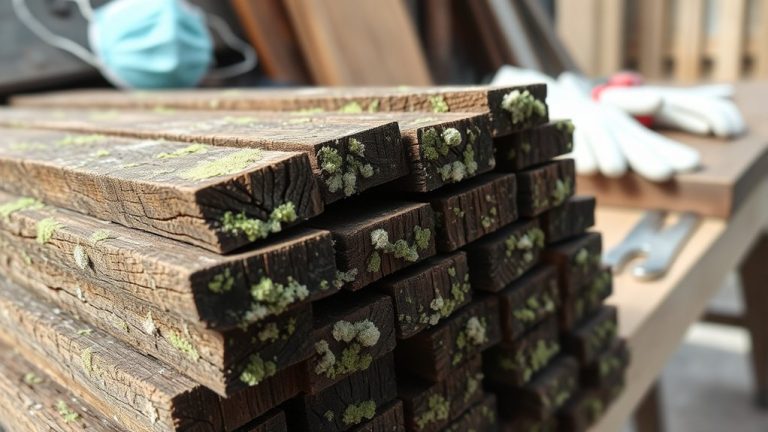
You can also use a liquid deglosser as an alternative to sanding; it removes gloss and preps the surface. Just be sure to work in a well-ventilated area and wear protective gear.
After sanding or deglossing, clean the wood thoroughly to remove dust and oils. Check for any imperfections and apply wood filler before priming.
Remember to allow sufficient drying time between each step to guarantee ideal paint adhesion and a flawless finish.
Key steps to prepare stained wood for painting:
- Sand or apply liquid deglosser.
- Clean with a degreaser.
- Fill holes with wood filler.
- Apply primer after drying time.
Choosing the Best Primer to Prevent Stain Bleed-Through
How do you guarantee your paint job stays flawless when covering stained wood? Start by selecting a stain-blocking primer designed to prevent bleed-through from tannins.
Shellac-based primers are especially effective, sealing in tough stains and offering reliable protection.
Make certain the primer you pick matches the wood’s stain type, oil-based or water-based, to guarantee compatibility and strong adhesion. Often, one coat of a high-quality bonding primer is enough to seal the surface properly.
Don’t rush; allow ample drying time following the manufacturer’s instructions before painting. This step is essential to lock in stains and avoid any bleed-through that could ruin your finish.
Choosing the right primer sets the foundation for a smooth, long-lasting paint job on stained wood.
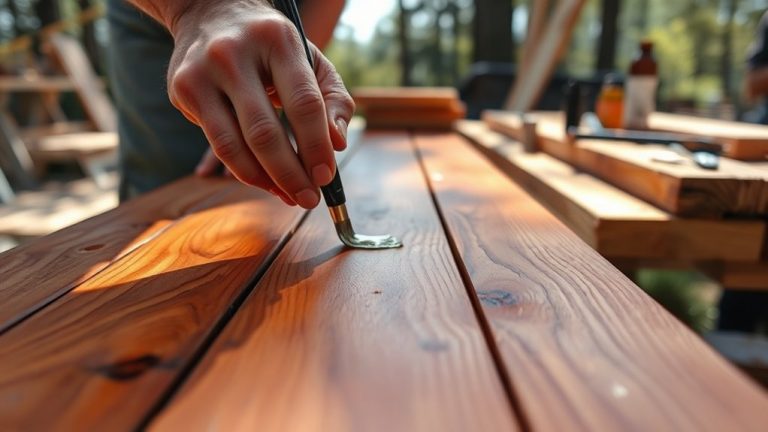
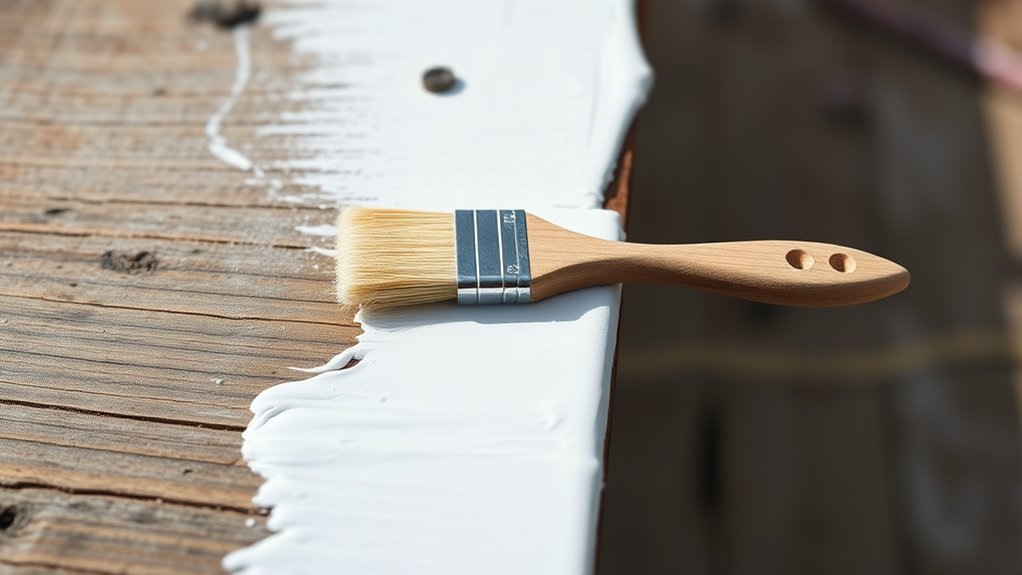
How to Paint Over Stained Wood: A Step-by-Step Guide
To achieve a flawless finish when painting over stained wood, start by thoroughly cleaning the surface with a degreaser. This removes oils and dirt that could prevent paint from sticking properly.
Start by thoroughly cleaning stained wood with a degreaser to ensure paint adheres flawlessly.
Next, apply a stain-blocking primer to make sure no stain bleed ruins your finish.
Follow these steps for the best results:
- Lightly sand the stained wood to create a rough texture. This helps the primer and paint stick better.
- Apply a high-quality stain-blocking primer evenly across the surface.
- Paint in multiple thin coats, letting each coat dry completely before applying the next. This gives you a smooth, even finish.
- Finish with a protective topcoat to boost durability and protect your work.
This method guarantees a lasting, professional-looking painted surface on stained wood.
Give it a try, and you’ll be happy with the results!
Sanding Stained Wood Before Painting: When and How
When you prepare stained wood for painting, creating a slightly rough surface is key to making sure your paint sticks properly and lasts longer. Start sanding with 120 to 150 grit sandpaper.
Then finish with 220 grit for a smooth, even surface.
Always sand in the direction of the wood grain to avoid scratches and keep things uniform. If your stained wood has a glossy finish, sanding is extra important. It removes the shine and helps the primer bond well.
After sanding, be sure to clean the surface thoroughly to get rid of dust and debris. This dust could mess with how well the paint sticks.
Proper sanding of stained wood sets the foundation for a lasting paint job by improving primer grip and making sure the paint has a clean surface to hold onto.
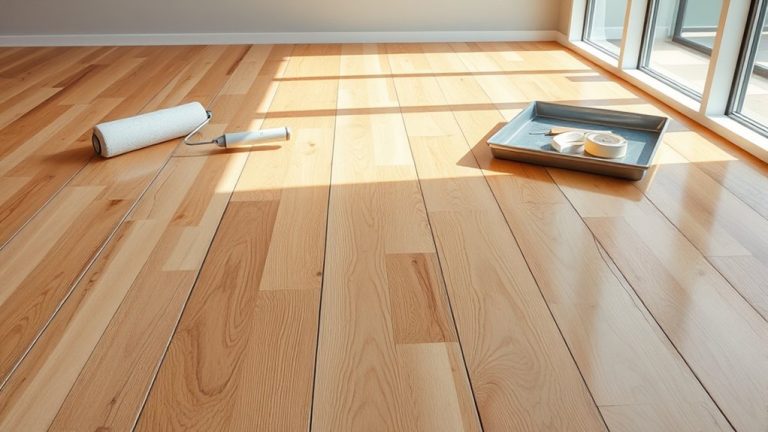
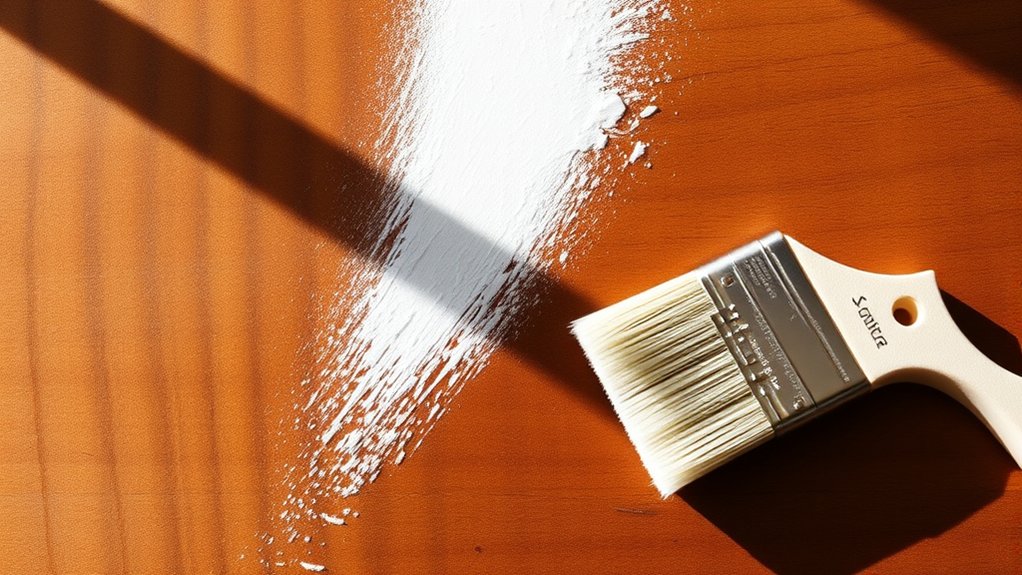
Tips for a Smooth, Durable Painted Finish on Stained Wood
To get a smooth, durable finish on stained wood, start by thoroughly cleaning and sanding the surface. This helps the paint stick better.
After that, apply a stain-blocking primer—it seals any stains and creates a good base for the paint.
Then, use multiple thin coats of paint, making sure to let each layer dry properly. This will help avoid drips and give you an even, long-lasting finish.
Surface Preparation Essentials
Three essential steps guarantee your painted finish on stained wood turns out smooth and durable.
First, thoroughly clean the surface with a degreaser to remove any oils or dirt that could prevent paint adhesion.
Second, sand the wood with 120 to 150 grit sandpaper to roughen the surface, then optionally smooth with 220 grit.
Third, prime the wood using a stain-blocking primer to seal in the stain and enhance paint grip. Whether you have an oil-based stain or something else, choosing the right primer is key.
Follow these surface preparation essentials:
- Clean the stained wood surface thoroughly.
- Sand to create texture and smoothness.
- Fill holes or cracks, then sand.
- Allow paint dry time after priming before painting.
This guarantees a flawless, long-lasting finish.
Choosing The Right Primer
How do you guarantee your paint sticks well to stained wood without the stain bleeding through?
Start by choosing the right stain-blocking primer, like Valspar Bonding Primer or a shellac-based BIN primer. These are designed to prevent tannin and stain bleed-through.
Match your primer to the stain type. Oil-based stains need oil-based primers, while water-based stains work best with water-based primers.
When you apply primer, use a thin, even coat to create a slightly rough surface that boosts paint adhesion. This also helps your paint go on smoothly later.
Use a high-quality brush or roller made for primers to reduce brush marks.
Finally, let the primer dry completely before painting to avoid peeling or flaking. This prep guarantees a durable, flawless finish on your stained wood.
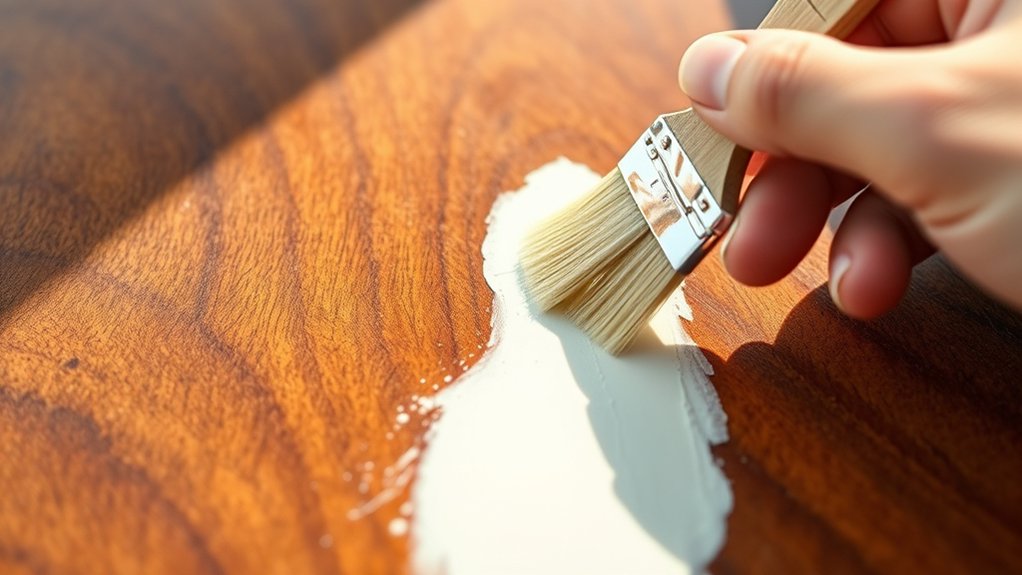
Applying Paint Evenly
Follow these tips to guarantee a flawless paint job:
Use quality painting tools like brushes or rollers designed for smooth surfaces. Lightly sand between each coat with 220-grit sandpaper for better adhesion.
Inspect for stain bleed-through after every coat and address it with a stain-blocking primer if needed.
Consider a paint sprayer for larger surfaces to achieve an even application.
These steps help you apply paint evenly and create a lasting finish.
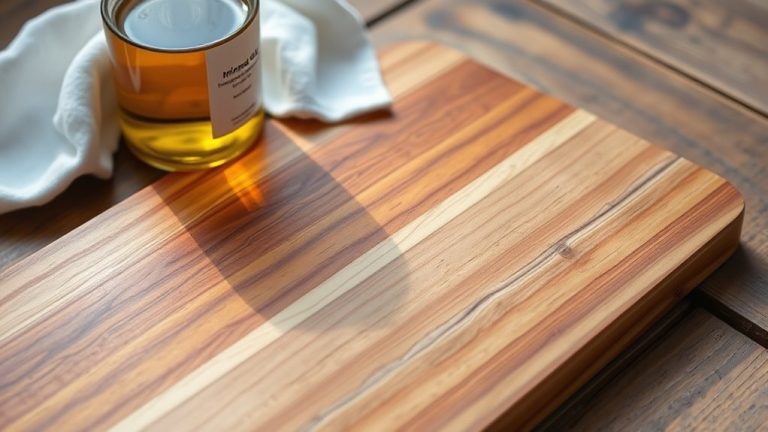
Alternatives to Painting: Enhancing Stained Wood Without Paint
Although painting stained wood is a common solution, you can enhance its appearance without covering its natural beauty. Start by using wood conditioners to even out stain absorption, especially on woods with high wood tannins. Gel stains let you deepen color without stripping the original finish.
Applying a clear coat protects the wood while preserving its natural sheen. Regular upkeep like cleaning and polishing maintains vibrancy over time. Refinishing through sanding and restaining also renews the surface and highlights the grain.
| Method | Purpose | Benefit |
|---|---|---|
| Wood Conditioners | Even stain absorption | Smooth, consistent finish |
| Gel Stains | Color enhancement | Richer tones without stripping |
| Clear Coat | Protection | Preserves sheen and durability |
| Refinishing | Surface renewal | Restores original beauty |
| Regular Upkeep | Maintenance | Keeps wood vibrant and healthy |
Frequently Asked Questions
Can I Paint Stained Wood Outdoors Without Special Paint?
You shouldn’t paint stained wood outdoors without special paint because standard types don’t have the durability or weather resistance needed.
First, prep the surface by cleaning and sanding it down.
Then, choose a stain-blocking primer to make sure the paint sticks well and to stop any stains from bleeding through.
Use paint that’s made for exterior use, like acrylic latex, since it can handle UV rays and moisture better.
Make sure to follow proper application steps and let each coat dry fully before adding the next one.
That way, your paint job will last longer outdoors.
How Long Does Painted Stained Wood Typically Last?
Painted stained wood typically lasts 5 to 10 years, like a shield weathering time’s storm. Your durability factors start with proper surface preparation. Clean, sand, and prime well.
Choose stain-blocking paint types and apply with care using smooth application techniques.
Long term care, including regular maintenance tips like cleaning and touch-ups, keeps the finish strong.
If you follow these steps, your painted wood will stand the test of time beautifully.
Is It Safe to Paint Over Stained Wood With Lead Paint?
You shouldn’t paint over stained wood with lead paint without taking precautions because lead paint hazards are serious.
First, start by testing for lead and make sure you follow health regulations strictly. It’s really important to keep safety in mind throughout the process.
When you paint, use safe techniques like wearing protective gear and avoid dry sanding.
Preparing the wood properly, including removing the stain if needed, helps the paint stick better and last longer.
If you find lead is present, it’s best to hire a lead-safe renovation contractor.
They’ll ensure the work is done safely and can either encapsulate or remove the lead before you start painting.
This way, you’re protecting yourself and your home effectively.
Can I Use Chalk Paint Directly on Stained Wood?
Yes, you can use chalk paint directly on stained wood. The chalk paint benefits include excellent adhesion and minimal prep since it’s thick and sticks well.
For stained wood prep, clean the surface to remove oils, boosting paint adhesion.
Applying a bonding primer enhances finish durability and helps prevent bleed-through. You’ll love the color options and easy application techniques chalk paint offers. It’s a great way to refresh your wood without much hassle.
Finish with wax or sealer to protect and extend your project’s life. This step really helps keep your paint looking fresh for longer.
How Do Temperature and Humidity Affect Painting Stained Wood?
Temperature and humidity dance like unpredictable partners, shaping your paint’s fate on stained wood. You must master wood preparation techniques, ensuring surface cleaning methods remove moisture and dirt.
High moisture levels impact paint adhesion factors, making drying time considerations essential. Too fast or slow drying invites flaws.
Temperature fluctuations can cause bubbling or cracking. Keep conditions steady between 50°F and 85°F with moderate humidity to secure a smooth, lasting finish.
It really helps to maintain a consistent environment for the best results.
Conclusion
You might worry that painting over stained wood will hide its natural beauty, but it can actually refresh and protect your surfaces while giving you a brand-new look. By properly prepping and using the right primer, you’ll avoid issues like stain bleed-through and achieve a smooth, lasting finish.
Trust the process. You’ll transform your wood without losing its character. This way, your space will feel updated and well-cared for.