Can You Paint Over Varnished Wood: Step By Step Guide
You can paint over varnished wood by following a careful process. First, lightly sand the surface with medium-grit sandpaper, then clean and degrease it thoroughly. Repair any damage and confirm the wood is dry.
Next, apply an oil-based bonding primer designed for varnished surfaces before painting with wood-appropriate acrylic or oil paint. Finish with a clear protective varnish for durability.
This method guarantees strong adhesion and a lasting finish. Keep going for a full step-by-step breakdown.
Can You Paint Over Varnished Wood? Yes, Here’s How
Wondering if you can paint over varnished wood? Yes, you can, but it demands proper preparation for lasting results.
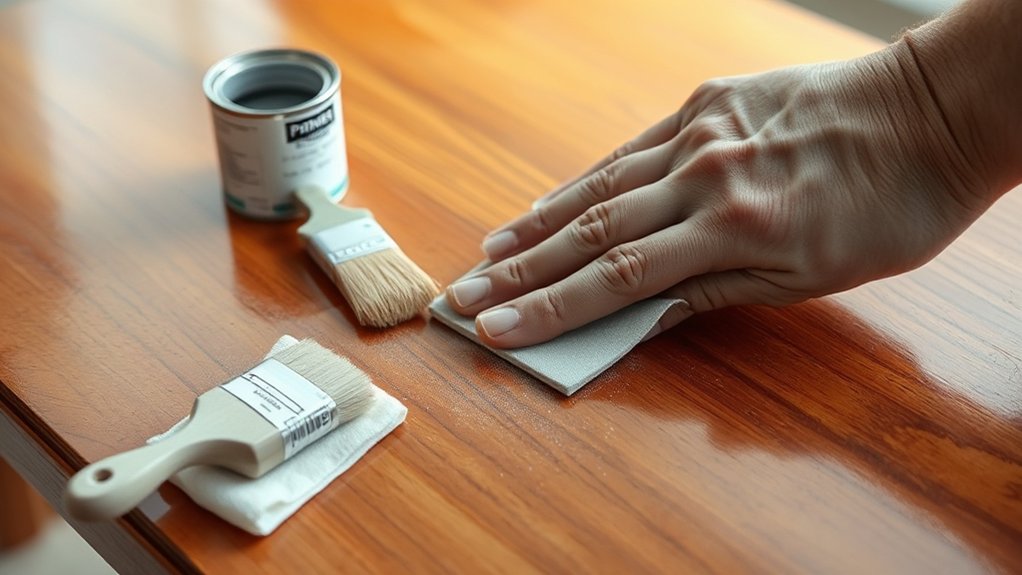
Start by lightly sanding the varnished surfaces using medium-grit sandpaper (120 to 180 grit). This step roughens the glossy finish just enough to help the paint adhere without stripping all the varnish.
Next, clean the surface thoroughly with clean water to remove dust and residues, ensuring a smooth base.
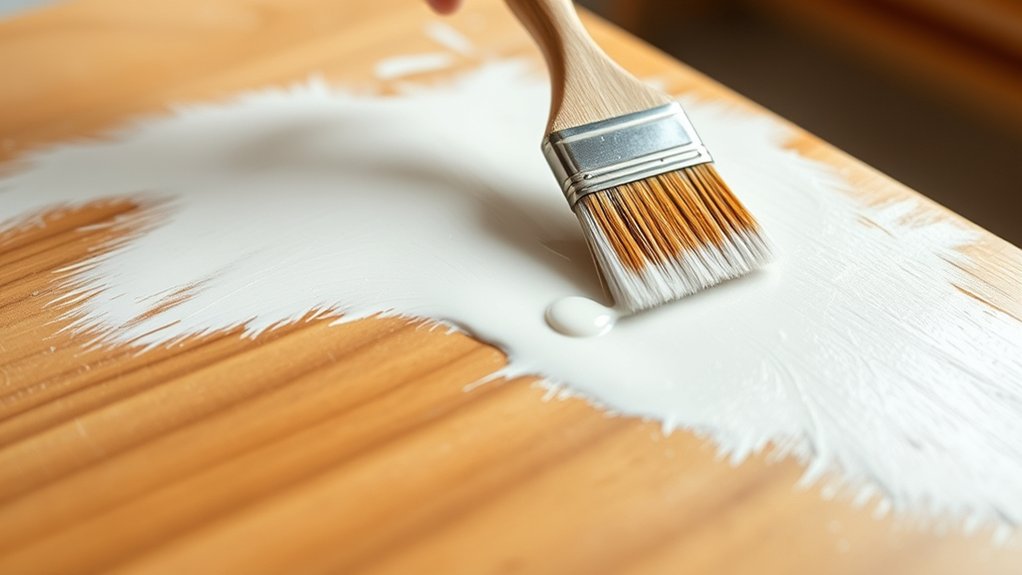
After drying, apply a high-quality bonding primer. Zinsser products like B-I-N work excellently to establish a strong foundation.
Follow the primer’s recommended drying time before painting.
Finally, apply your choice of oil-based or acrylic paint in thin, even coats, allowing each layer to dry completely. This method guarantees a professional, durable finish on varnished wood.
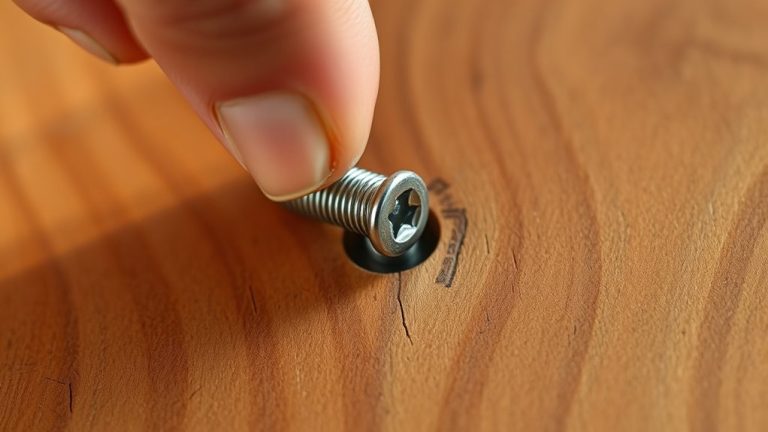
Inspecting and Preparing Varnished Wood for Painting
Before you apply primer and paint, take a close look at the varnished wood to spot any damage like cracks or holes. Inspecting thoroughly lets you prepare the surface for a smooth finish. Repair any imperfections to prevent uneven paint application.
Next, clean the varnished surface to remove dust, grease, and residues that could interfere with paint adhesion.
After cleaning, lightly sand the surface using medium-grit sandpaper (120 to 180) to scuff the varnish without stripping it completely. This step enhances primer and paint bonding.
Once sanding is complete, dust off the surface carefully to eliminate debris.
Finally, verify the wood’s moisture content is below 12% and completely dry before moving on. Proper inspection and preparation set the foundation for long-lasting, flawless paint results.
How to Clean and Degrease Varnished Wood Properly
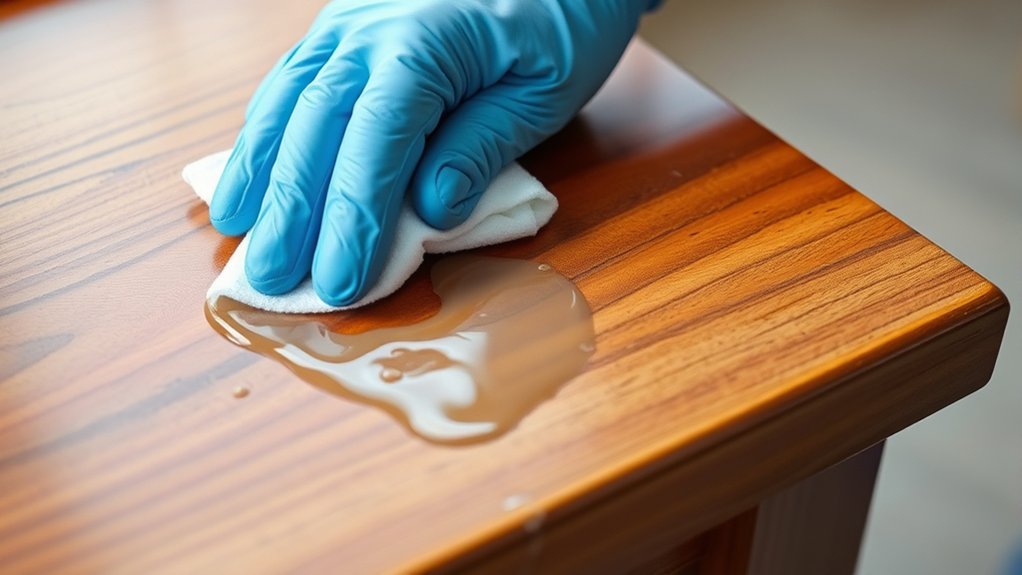
To properly clean and degrease varnished wood, start by removing any dust and debris with a soft, dry cloth. This helps avoid contamination during cleaning.
Next, apply a mild cleaner like Zinsser Universal Degreaser using a clean cloth. It breaks down grease and removes contaminants effectively without harming the varnish.
For stubborn stains, gently use a non-abrasive scrub pad to lift residues without scratching the surface.
After degreasing, rinse the varnished wood thoroughly with clean water to eliminate all cleaning agents. This prevents any interference with paint adhesion.
Finally, allow sufficient drying time to guarantee the surface is completely dry. This step is essential for achieving the best adhesion when you move on to priming and painting over varnished wood.
Sanding Varnished Wood Without Removing the Finish
Three key steps will help you sand varnished wood effectively without stripping away the finish.
First, use medium-grit sandpaper (120 to 180) to lightly scuff the surface. Sand gently in the direction of the wood grain to avoid scratches and preserve the finish. This light sanding improves paint adhesion without removing the varnish completely.
Start with medium-grit sandpaper, sanding gently along the grain to enhance paint adhesion without stripping varnish.
Second, keep the sanding pressure moderate to prevent damage to the wood beneath.
Finally, after sanding, clean the surface thoroughly by wiping it down with a damp cloth, then dust off with a tack cloth. Making sure the surface is clean and smooth gets it ready for primer application, which is essential for the best paint adhesion.
Proper sanding really sets the foundation for a lasting paint job over varnished wood.
Choosing the Right Primer for Varnished Wood
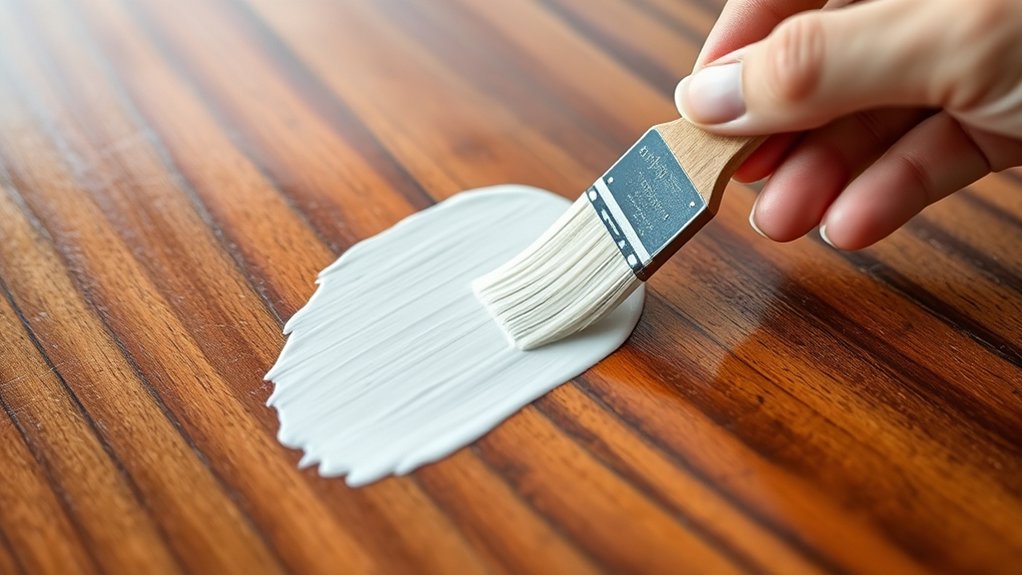
Although varnished wood can be challenging to paint, choosing the right primer will make all the difference in achieving a smooth, durable finish.
Start by sanding the surface lightly to boost effective adhesion. Then, select a bonding primer specifically formulated for varnished surfaces, like Zinsser B-I-N.
Oil-based primers work best because they penetrate varnish better and create a strong base for paint. Apply the primer evenly, ensuring full coverage to prevent peeling or uneven spots.
Remember to allow a minimum drying time of at least 45 minutes before proceeding with paint.
If you’re working with tannin-rich woods, consider a primer designed to block stains.
Picking the Right Paint for Varnished Wood Projects
When selecting paint for varnished wood, you should prioritize options designed specifically for wood surfaces to guarantee ideal adhesion and durability.
Acrylic paint offers a user-friendly, eco-friendly choice with quick drying and easy cleanup. Oil-based paint provides a thicker consistency and superior durability.
Acrylic paint dries fast and cleans up easily, while oil-based paint delivers thickness and lasting durability.
To paint over varnished wood successfully, verify compatibility between your chosen paint and any Primer Sealer, like Zinsser B-I-N, to enhance adhesion and create a smooth surface.
Also, consider the finish type carefully. Satin or flat finishes help conceal imperfections, whereas gloss finishes deliver a shiny, reflective look.
Selecting the right combination of primer and paint formulated for wood surfaces ensures your project’s longevity and a professional-quality finish every time.
It’s all about finding the right balance to make your work look great and last long.
How to Paint Varnished Wood Step-by-Step
After selecting the right paint and primer for your varnished wood project, it’s important to prepare the surface properly to ensure lasting results. Start by cleaning the wood to remove dust and grease. Lightly sand using medium-grit paper to scuff the varnish.
Then, apply a bonding primer to guarantee proper adhesion. Use a suitable paint, applying thin coats and allowing adequate drying time between layers. Finally, finish with a clear varnish to protect your work.
| Step | Action | Purpose |
|---|---|---|
| Cleaning | Remove dust and grease | Ensure paint bonds well |
| Sanding | Lightly scuff surface | Improve primer adhesion |
| Primer | Apply bonding primer | Create solid paint base |
| Painting | Thin coats, dry fully | Smooth, durable finish |
| Sealing | Apply clear varnish | Enhance durability and shine |
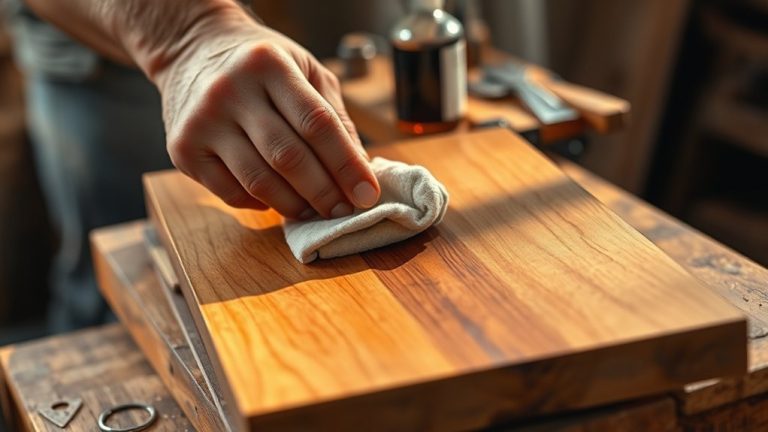
Sealing and Maintaining Painted Varnished Wood for Longevity
To keep your painted varnished wood looking fresh and durable, you need to apply a clear protective varnish like Vernis Bois Incolore VI500. It comes in matte or glossy finishes, so you can choose what suits your style best.
Before sealing, make sure the painted surface is completely dry. This helps avoid trapping moisture that can cause peeling later on.
Ensure the painted surface is fully dry before sealing to prevent moisture and peeling issues.
Clean the surface regularly with a soft, damp cloth and a universal degreaser. This removes dirt and any signs of organic growth, keeping the wood looking its best.
Apply one full coat of the clear varnish, following the manufacturer’s instructions. This ensures ideal adhesion and maximum protection for your wood.
It’s a good idea to reapply the protective coat every few years or whenever you notice wear. Doing this keeps your wood durable and looking great for longer.
Also, store your painted wood in a climate-controlled environment. This helps prevent damage from humidity and temperature changes, preserving both its appearance and longevity.
Frequently Asked Questions
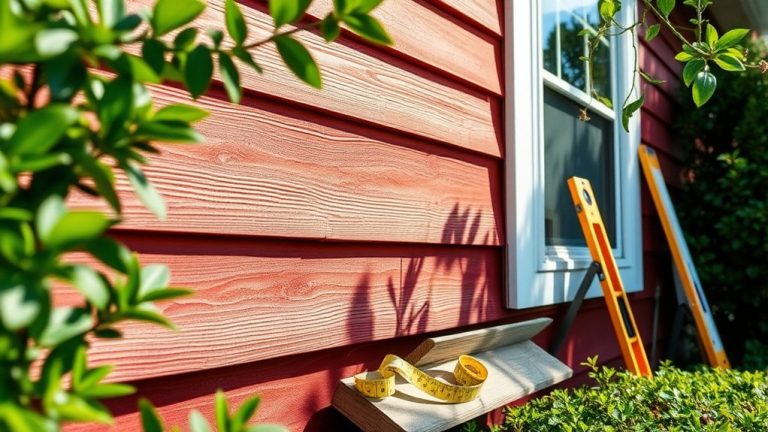
Can I Paint Over Varnished Wood Outdoors?
Yes, you can paint over varnished wood outdoors, but you’ll need to prepare the wood properly to make sure the paint sticks well and lasts outside.
Start by cleaning the surface and lightly sanding it. This helps remove the gloss and any dirt or contaminants.
Next, use a bonding primer made for exterior use. This type of primer is designed to handle tough weather conditions and helps the paint hold up better.
When it comes to paint, pick durable finishes specifically made for outdoor use, like exterior-grade acrylic or enamel paints.
Following these steps will give you a long-lasting, weather-resistant finish that protects your wood effectively.
How Long Should I Wait Before Painting After Priming?
Like waiting for a flower to bloom, your priming time is essential. Give it at least 2 hours before painting.
Drying conditions play a big role. High humidity or low temperatures can slow drying, so adjust accordingly.
Choose primer options compatible with your paint types and consider your finish selection.
Always check the primer’s instructions and perform a touch test. If it’s dry and not tacky, you’re good to paint.
Is It Necessary to Use a Brush or Can I Spray Paint?
You don’t have to use a brush, you can spray paint too. Spray paint techniques give you a smoother, more even finish, especially on bigger or detailed surfaces.
Whether you choose a brush or spray really depends on your project size and how precise you need to be.
Remember to prep your wood by cleaning and priming it for better paint adhesion. Make sure you pick primer options that work well with your paint.
Also, keep in mind that spray paint usually dries faster than brush-applied paint.
For the best results, follow color matching tips so your paint blends perfectly. It’s all about getting that flawless look you want!
Can I Change the Color of Varnished Wood Without Sanding?
You can change the color of varnished wood without sanding, but it really depends on smart surface preparation and primer selection. Instead of removing the varnish, just make sure to clean the surface thoroughly. This will help the paint stick better.
Next, use a high-quality bonding primer that’s made for glossy finishes. This step is key to securing your new color options.
Be sure to pick your finish and application methods carefully to get even coverage.
Follow these steps, and you’ll transform your wood flawlessly without the hassle of sanding.
What Common Mistakes Should I Avoid When Painting Varnished Wood?
When painting varnished wood, avoid skipping prep work like thorough surface cleaning and sanding.
Choose the right primer selection. Bonding primers work best for adhesion.
Use suitable paint types designed for wood surfaces. Don’t rush drying times between coats. Patience is key.
Apply thin, even layers using proper application techniques to prevent drips.
Finally, consider your finish options carefully to achieve a durable, professional look without peeling or flaking.
Conclusion
You can definitely paint over varnished wood, but proper prep is key. Did you know that surfaces with good sanding and priming increase paint adhesion by up to 70%?
By cleaning, lightly sanding, and choosing the right primer and paint, you’ll guarantee your project lasts longer and looks flawless. Follow these steps carefully, and your painted wood will not only look great but stay durable for years to come.