Can You Stain Cedar Wood: Best Practices For Long Lasting Finish
Yes, you can stain cedar wood to enhance its natural grain and protect it from moisture, UV damage, and decay. Start by making sure the wood’s moisture content is below 20%. Then, clean and sand it properly before applying the stain.
It’s best to use an oil-based, semi-transparent stain because it penetrates deeply and provides lasting durability. Adding water-repellent preservatives can give extra protection, too.
Don’t forget to maintain regular cleaning to prevent mildew and discoloration. Following these steps will help you get a long-lasting finish. If you want, there are more details available to help you perfect your approach.
Benefits of Staining Cedar Wood
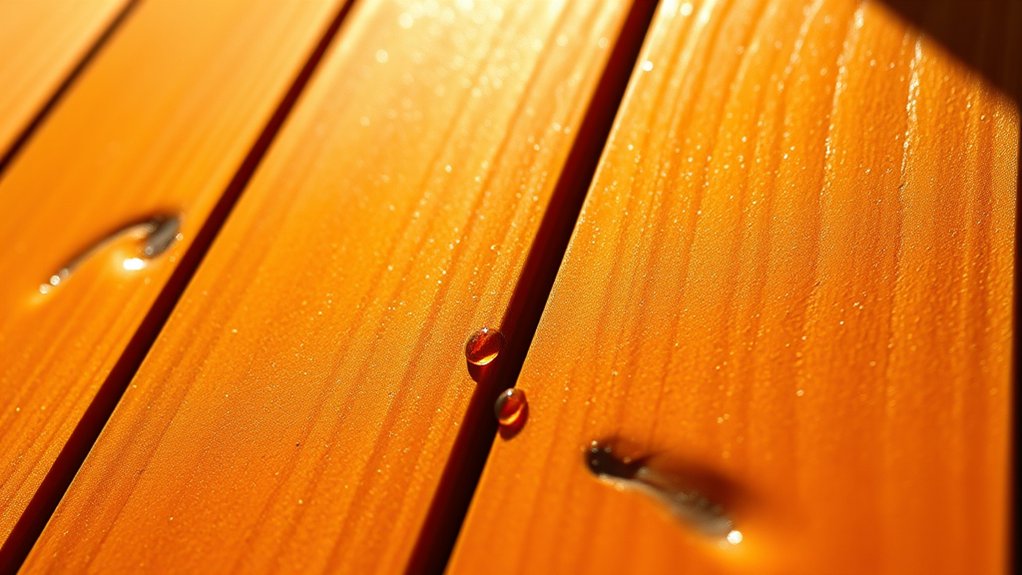
When you stain cedar wood, you not only highlight its natural grain and rich textures but also create a durable barrier against moisture, UV damage, and decay.
Using semi-transparent stains enhances the wood’s natural color variations while providing essential protection. This finish allows the cedar’s warmth and character to shine through, unlike opaque coatings that mask its beauty.
Stains penetrate deeply, offering moisture resistance and guarding against warping, cracking, and peeling. Plus, many cedar wood stains include fungicides, adding mold and mildew protection that prolongs the wood’s longevity.
It’s a smart way to keep your wood looking great and lasting longer.
Regularly applying a penetrating oil stain simplifies maintenance and guarantees lasting defense against environmental factors.
By choosing the right stains, you maintain both the aesthetic appeal and structural integrity of your cedar wood over time.
It’s all about protecting your investment while letting the natural beauty shine through.
Preparing Cedar for Staining
Start by verifying your cedar wood’s moisture content is below 20%. Excess moisture can cause stain adhesion to fail and lead to an uneven finish.
Next, focus on thorough cleaning. Use mild soap and water to remove dirt, mildew, and debris, then let the surface dry completely.
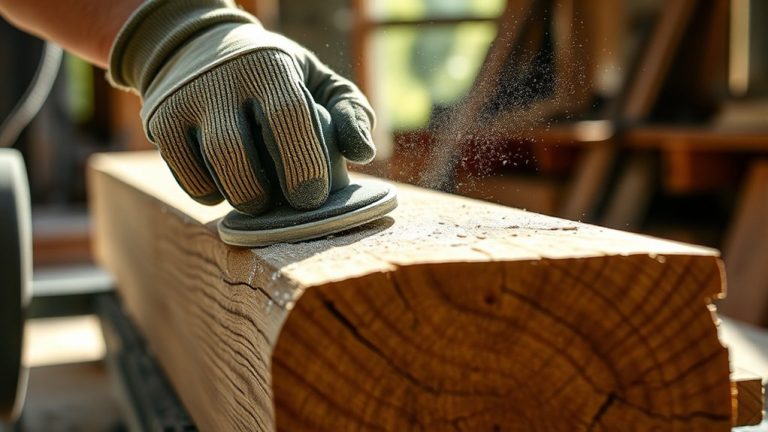
Proper surface preparation is essential. Sand with 50-60 grit sandpaper, especially on smooth-planed areas, to improve stain absorption and promote a uniform application.
Before staining the entire piece, apply oil-based stains to a small test area to confirm compatibility and desired effect.
Finally, inspect the wood for imperfections or damages. Address any issues to guarantee a smooth, consistent finish.
This detailed preparation sets the foundation for a long-lasting, attractive cedar stain.
Choosing the Right Stain for Western Red Cedar
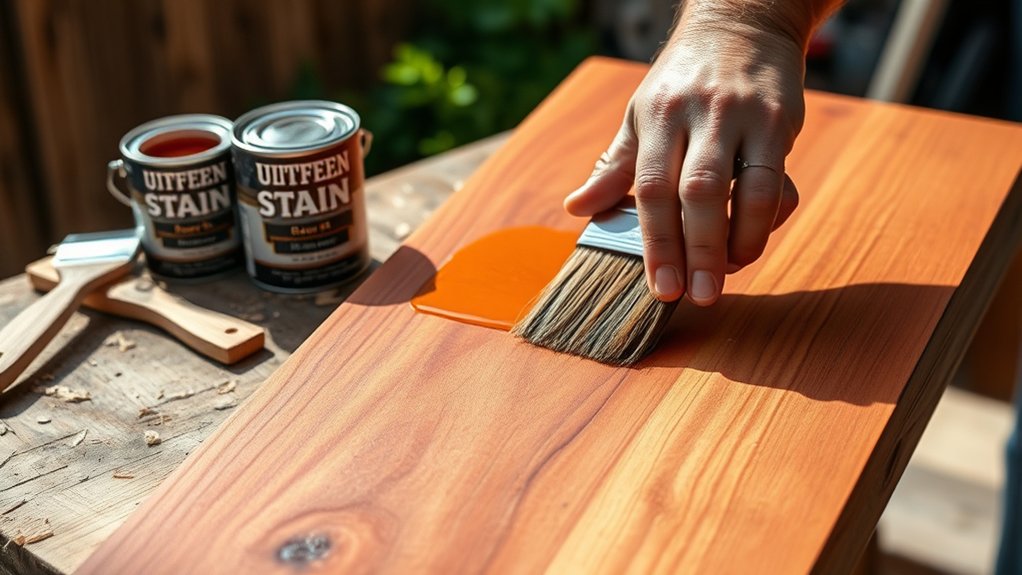
Although selecting the right stain for Western Red Cedar may seem straightforward, choosing a solvent-borne, oil-based stain will guarantee deep penetration and enhance the wood’s natural beauty while providing durable protection.
Semi-transparent stains are ideal because they balance the display of cedar’s grain and texture with long-lasting protection. They typically last about two years before you’ll need to reapply.
Before staining, it’s a good idea to apply a water-repellent preservative on bare or restored cedar. This step improves adhesion and helps extend the life of the finish.
Transparent stains are easier to maintain, but they often require annual reapplication. Plus, they may fade faster due to UV exposure.
Always test stain samples on a small, inconspicuous area first since cedar’s natural color can vary a lot. This way, you ensure you get the color and finish you want, optimizing both appearance and durability.
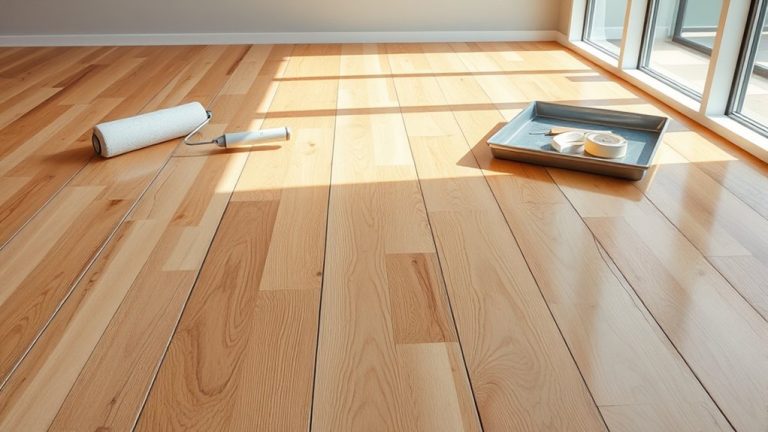
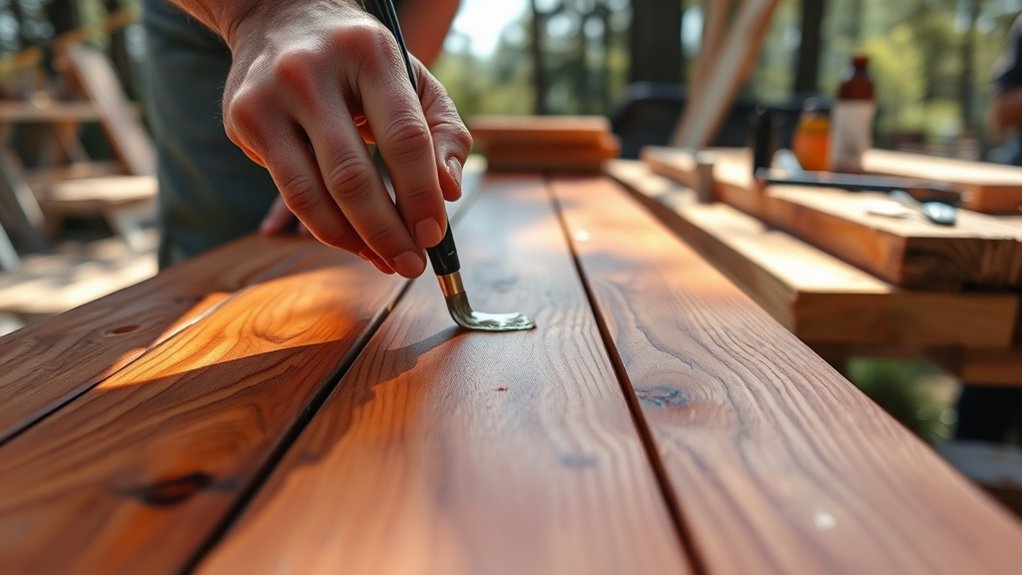
Applying Stain to Cedar Wood
Prepare the cedar surface meticulously by cleaning, drying, and sanding it with 50-60 grit sandpaper to make sure the stain sticks properly and gives you a smooth, even finish. Check that the wood is dry with moisture below 20% before you start applying the stain. Use a brush or pad, and always follow the direction of the wood grain.
Keep a wet edge while staining to avoid lap marks and get consistent coverage. Proper surface prep and application technique are really important for a finish that lasts and protects well. Don’t forget, regular maintenance like checking the wood and reapplying stain every 1-2 years will keep your cedar looking great.
| Step | Action | Tip |
|---|---|---|
| 1 | Clean cedar surface | Remove dirt and debris |
| 2 | Dry wood thoroughly | Moisture < 20% recommended |
| 3 | Sand with 50-60 grit | Smooth for better adhesion |
| 4 | Apply stain with brush | Follow wood grain direction |
| 5 | Maintain finish | Reapply every 1-2 years |
Common Cedar Stain Problems and Fixes
When you’re staining cedar, there are a few common issues you might run into. One of them is stain bleeding, which happens because of the wood’s natural extractives. But don’t worry—you can prevent this by using a good quality water-repellent preservative.
Another problem is mildew and mold, which tend to show up if the wood isn’t cleaned or maintained properly.
So, regular cleaning and keeping moisture under control are super important to avoid that.
And if you want to skip those annoying lap marks, try to apply the stain with the grain on continuous sections.
Just make sure to blend each area before it dries, and you’ll get a smooth, even finish every time.
Stain Bleeding Issues
Since stain bleeding happens mainly because of moisture or extractives leaching from cedar wood, you want to tackle these issues before applying any finish. First, check that the cedar’s moisture content is below 20% to avoid too much leaching. It really makes a difference in how the stain behaves.
Next, pre-treat the wood with a water-repellent preservative. This helps block those extractives and also improves how well the stain sticks. Plus, using high-quality, penetrating stains made for cedar can minimize bleeding and give you a durable finish you’ll appreciate.
If you do notice bleeding, don’t panic. Just strip off the stain, clean the wood, and let it dry completely before trying again. Keeping up with regular maintenance, like cleaning and reapplying stain every 1 to 2 years, will help prevent discoloration and keep your finish looking great for longer.
| Issue | Cause | Solution |
|---|---|---|
| Stain bleeding | High moisture content | Dry wood below 20% moisture |
| Extractive leach | Natural cedar oils | Apply water-repellent preservative |
| Poor adhesion | Low-quality stain | Use penetrating, high-quality stain |
| Discoloration | Bleeding over time | Regular maintenance and cleaning |
| Finish failure | Neglecting upkeep | Reapply stain every 1-2 years |
Mildew and Mold
Managing moisture is key not only to preventing stain bleeding but also to stopping mildew and mold from taking hold on cedar wood. Both fungi thrive in damp conditions, causing discoloration and damaging your finish.
To keep your surface looking great, focus on thorough cleaning and effective protection.
Use a mild detergent or commercial mildew remover for regular cleaning.
Apply a water-repellent preservative before staining to block moisture intrusion.
Treat persistent mildew with a bleach solution (1 part bleach to 3 parts water).
Choose stains containing mildewcide to provide ongoing fungal protection.
Make sure you allow proper drying time after cleaning before applying any finish.
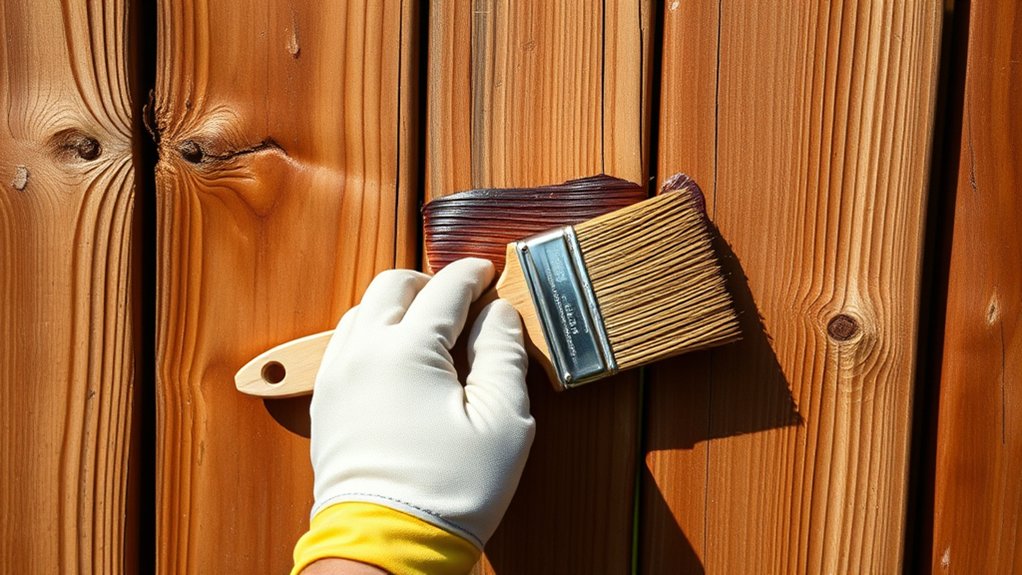
Lap Marks Prevention
Although lap marks are a common challenge when staining cedar wood, you can effectively prevent them by applying stain with a consistent technique and maintaining a wet edge.
Work in small sections of two to three boards, making sure the stain doesn’t dry before you blend adjacent areas. Stir the stain thoroughly to get an even color distribution and avoid settling.
Use a high-quality brush that penetrates the wood grain smoothly, giving you greater control during application.
Stain in shaded areas or cooler parts of the day to slow down the drying process and reduce lap mark formation.
If lap marks appear, lightly sanding the affected area and reapplying the stain on a clean, dry surface will help restore uniformity.
Following these steps guarantees a flawless, long-lasting finish. Just take your time, and you’ll get great results!
Maintaining and Refreshing Stained Cedar
Regularly inspecting your stained cedar helps you catch early signs of wear and ensures you reapply stain on time, usually every 1-2 years. This is especially important in spots that face harsh weather. Keeping up with this maintenance keeps the cedar’s natural color and durability looking great.
Before you reapply stain, start with a clean surface by washing away dirt and mildew. A bit of light sanding will help the new stain soak in evenly without damaging the wood. It’s best to use a stain that has UV protection and mildew inhibitors to make the finish last longer.
Start with a clean, lightly sanded surface and use stain with UV protection and mildew inhibitors for lasting results.
Try to apply the stain when the weather is mild and dry. This gives the stain enough time to cure properly for the best results.
Remember to inspect your cedar every year for any wear or fading. Clean the surface well using a mild detergent, and lightly sand it to help the stain stick better. Then, use that stain with UV protection and mildew inhibitors, and allow enough curing time between coats.
Protecting Cedar Without Stain
You can protect cedar wood without using stain by focusing on natural weathering effects and managing moisture effectively. Instead of changing the color, try applying clear finishes or water-repellent preservatives.
These options help keep cedar’s natural look while preventing damage like warping and cracking.
With some proper surface preparation and routine maintenance, these alternatives provide durable protection. Plus, they do all this without altering the wood’s appearance.
Natural Weathering Effects
When cedar wood weathers naturally, it develops a distinctive silvery-gray patina that enhances its rustic appeal without requiring stain. This natural look preserves the wood’s structural integrity while allowing weathered cedar to resist rot and insects.
To protect the wood without staining, you must focus on regular maintenance. Environmental factors like UV exposure and moisture influence the weathering speed and color variation. Proper surface preparation, routine cleaning, and removing mildew extend the life expectancy of untreated cedar.
Keep these key points in mind:
- Inspect the surface regularly for signs of wear or mildew
- Clean cedar with gentle solutions to avoid damage
- Avoid staining to maintain natural weathering
- Understand local environmental factors affecting cedar
- Perform proper surface preparation before any treatment
This approach lets you enjoy cedar’s beauty while protecting its durability.
Moisture Management Strategies
Although staining enhances cedar’s protection, you can effectively manage moisture without it by focusing on proper drying, fastener choice, and structural design.
First, make certain the wood is properly dried to a moisture content below 20% before installation to minimize warping and cracking. Use corrosion-resistant fasteners, like stainless steel, to prevent rust stains that degrade the protection provided.
Design overhangs and drip caps to reduce moisture exposure by diverting water away from cedar surfaces.
Regularly clean the wood with mild detergent to remove dirt and mildew, preserving its natural beauty and preventing decay. Applying a water-repellent preservative annually strengthens moisture resistance without altering appearance.
These maintenance strategies are essential when staining continuous protection isn’t an option and the wood hasn’t weathered. They help keep your cedar looking great and lasting longer.
Surface Protection Alternatives
Since staining isn’t always the preferred choice for protecting cedar, several effective surface protection alternatives exist that preserve its natural look while enhancing durability.
You can rely on clear finishes like water-repellent preservatives to shield cedar from moisture intrusion and UV damage without altering its color.
Incorporating eco-friendly options such as natural oils or biodegradable waxes provides a sustainable protective layer.
Regular cleaning prevents mold buildup, maintaining wood aesthetics longer.
Furthermore, artificial weathering techniques, including bleaching stains, offer a uniform grey patina without traditional staining.
- Apply clear finishes for moisture and UV protection
- Seal end grain during installation to minimize moisture intrusion
- Use natural oils or biodegradable waxes as eco-friendly options
- Maintain regular cleaning to avoid mold and mildew
- Employ artificial weathering with bleaching stains for color uniformity
Frequently Asked Questions
Can Cedar Wood Be Stained Over Paint or Previously Stained Surfaces?
Yes, you can stain cedar wood over paint or previously stained surfaces, but you need to focus on surface preparation to avoid any adhesion problems.
Make sure to remove any peeling paint or finishes thoroughly. Then, sand the surface until it’s smooth.
Think about the stain compatibility carefully. Oil-based stains work well on oiled surfaces, and water-based stains are better for latex paint.
It’s a good idea to test the color absorption on a small area first.
Use the right application techniques and give the stain enough time to cure properly.
Finally, apply a clear topcoat to ensure the finish lasts longer and makes maintenance easier.
How Does Weather Affect the Staining Process for Cedar Wood?
You know what they say: timing is everything. Weather conditions hugely impact your cedar staining success. High humidity levels and moisture retention slow drying times, which can hinder stain absorption.
Temperature fluctuations might cause uneven curing. And if there’s too much UV exposure, finishes can fade fast. Wind can dry the surface too quickly, leading to lap marks.
To get the best results, prepare the surface well. Pick mild, dry days for staining and keep seasonal changes in mind for the ideal application. It really makes a difference!
Is It Safe to Stain Cedar Wood Indoors or in Enclosed Spaces?
Yes, you can stain cedar wood indoors if you prioritize indoor ventilation to reduce odor concerns and health risks.
Choose water-based or non-toxic stains to minimize fumes. Focus on thorough surface preparation and use proper application tools for even coverage.
Allow ample drying time in a well-ventilated space to enhance finish durability.
Consider your color choice carefully. Also, explore alternative options like eco-friendly stains to protect your health and achieve a lasting, beautiful finish.
Can Different Cedar Species Be Stained Using the Same Products?
Yes, you can stain different cedar species using the same products, but stain compatibility varies.
You’ll need tailored surface preparation to account for moisture and grain patterns, especially between Western Red and Eastern White Cedar.
Application methods and staining techniques affect color variations and finish longevity.
Testing small areas guarantees product effectiveness.
Consistent maintenance tips will help preserve the finish, enhancing both the natural beauty and durability across cedar species.
It’s all about understanding the unique traits of each cedar type and adjusting your approach accordingly.
How Long Should You Wait Before Applying a Second Coat of Stain?
You should wait at least 24 to 48 hours before applying a second coat of stain. This depends on drying time factors like temperature, humidity, and the type of stain you choose.
Ideal temperatures help speed up drying, while high humidity tends to slow it down.
Make sure to prepare the wood well by sanding and cleaning it.
Also, think about how the surface texture affects whether you use a brush or a sprayer.
Try doing a simple touch test to see if the stain feels tacky.
Keep up with regular maintenance of your finishes.
And when it comes to color, use matching techniques to keep everything looking consistent.
Conclusion
You can definitely stain cedar wood to enhance its beauty and durability, but it takes careful preparation and the right stain to get it just right. By following best practices like thorough cleaning, choosing quality products, and applying with care, you’ll keep your cedar looking fresh for years.
Remember, a stitch in time saves nine. Addressing issues early guarantees your finish won’t peel or fade prematurely, giving you lasting protection and charm.