Can You Epoxy A Wood Floor: Complete Guide For Durable Coating
You can epoxy a wood floor to create a durable, moisture-resistant coating that protects against wear and enhances the wood’s natural beauty. Start by thoroughly cleaning, sanding, and sealing the surface to guarantee strong adhesion. Use a wood-specific primer and flexible epoxy to accommodate wood movement.
Apply the epoxy evenly and allow about seven days for proper curing with adequate ventilation. Proper preparation and maintenance are key to longevity.
Discover essential steps and expert tips to secure a flawless finish. It’s easier than you might think once you know the right process!
Key Takeaways
- Epoxy flooring is suitable for wood floors, offering durability against wear, moisture, and chemicals.
- Proper surface preparation includes cleaning, sanding, filling cracks, and applying a wood primer for strong epoxy adhesion.
- Mix and apply epoxy resin and hardener evenly, allowing about seven days for full curing under controlled temperature and humidity.
- Ensure good ventilation during application to dissipate fumes and avoid foot traffic until epoxy is fully cured.
- Maintain epoxy wood floors with regular cleaning, protective measures, and periodic maintenance coats to extend durability and appearance.
Can You Epoxy a Wood Floor? Here’s the Truth
Wondering if you can epoxy a wood floor? Yes, epoxy flooring is a viable option for wood floors. It provides a durable coating that protects against wear, moisture, and chemical resistance.
Successful epoxy application depends heavily on meticulous surface preparation, including sanding and cleaning. This step is key to guaranteeing strong adhesion.
Using flexible epoxy formulations is essential to accommodate wood’s natural expansion and contraction. This helps prevent cracking or delamination.
Epoxy coatings not only enhance the wood’s natural patterns but also deliver durability suitable for high-traffic areas such as kitchens and bathrooms.
Keep in mind, curing times are longer with wood because of strong fumes. So, proper ventilation during and after application is critical.
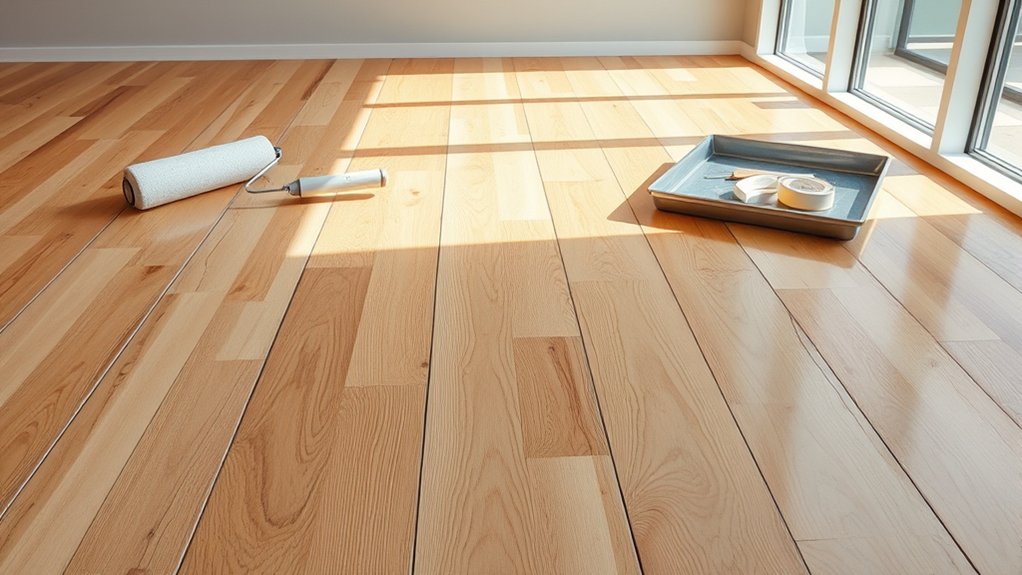
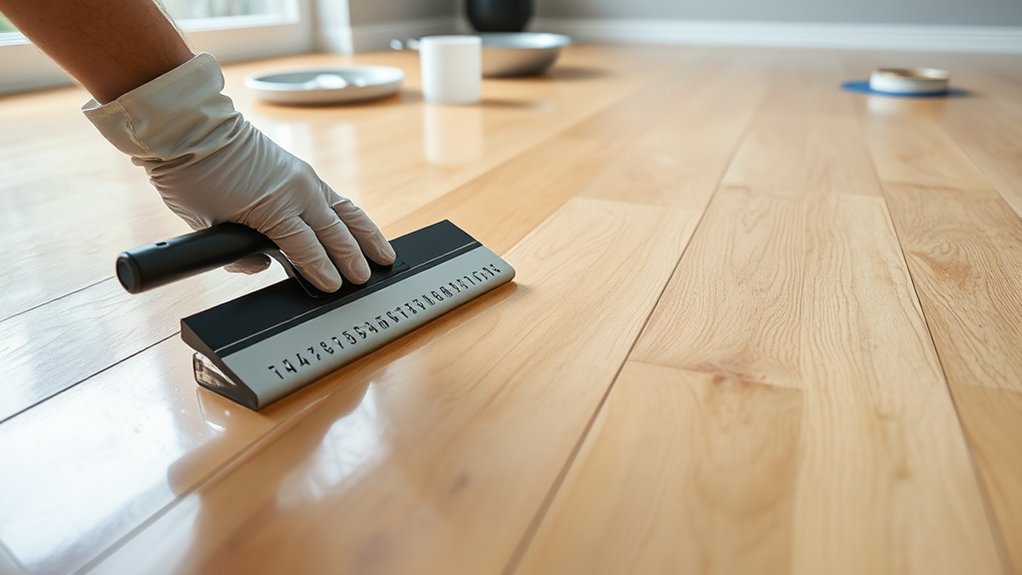
Prepare Your Wood Floor for Epoxy (Including Primer Selection)
Before applying epoxy to your wood floor, you must thoroughly prepare the surface to guarantee excellent adhesion and durability.
First, clean the wood floor using a 10% bleach solution in warm water to remove dirt and impurities. Then make sure it’s completely dry.
Next, sand the floor to level it and remove old sealants. Fill large cracks with wood patching compound, and vacuum the dust for the best adhesion.
Address moisture issues by applying a wood sealant and let it dry for 12 hours.
For primer selection, choose one specifically designed for wood surfaces to promote strong bonding and prevent moisture interference.
Use a brush for edges and a roller for larger areas. Allow the primer to dry at least eight hours before you apply epoxy flooring for a durable, smooth finish.
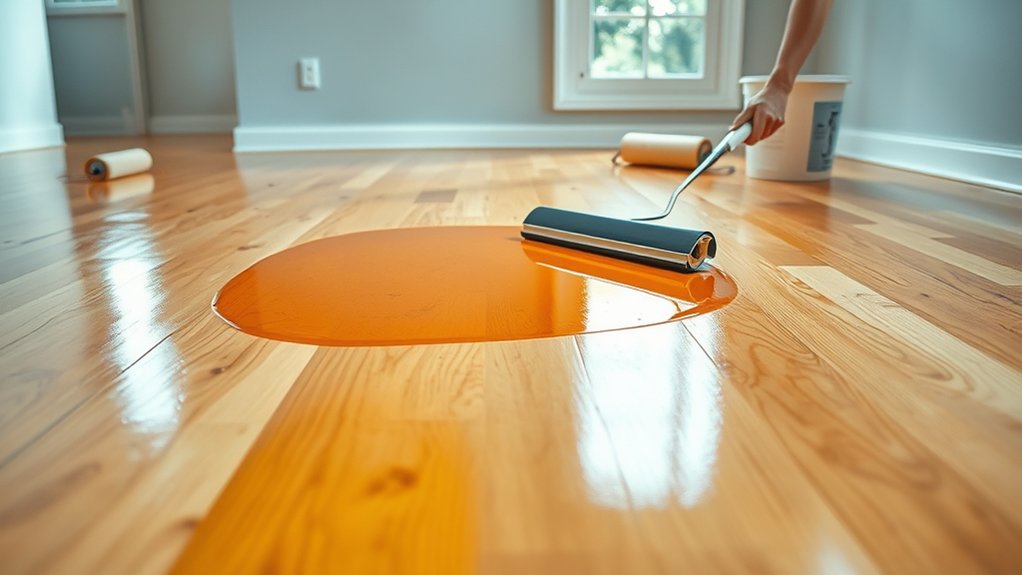
Apply Epoxy to Your Wood Floor Step-by-Step
Begin by mixing the epoxy resin and hardener precisely according to the manufacturer’s instructions. Accurate proportions are critical to achieve ideal curing and performance.
Make sure your wood floor is properly prepared. Sand it smooth, clean it thoroughly with a 10% bleach solution, and seal it with a wood sealant to control moisture.
Properly prepare your wood floor by sanding smooth, cleaning with a bleach solution, and sealing to control moisture.
When you’re ready to apply the epoxy floor coating, pour the mixed epoxy onto the floor in manageable sections. Use a roller or brush to spread it evenly, keeping a consistent thickness.
Avoid puddling or uneven layers because they can compromise adhesion and the finish.
After application, let the epoxy cure undisturbed for the recommended time, which is typically around seven days.
With proper preparation and careful application, you’ll get a durable, glossy finish that protects and enhances your wood floor.
Manage Epoxy Curing and Ventilation
You’ll want to give the epoxy anywhere from 24 to 72 hours to fully cure. This really depends on things like the temperature and humidity where you’re working.
Keeping the area well-ventilated during this time is super important. It helps get rid of fumes and keeps the air quality good, especially if you’re working in a closed space.
Try using fans or opening up windows to help manage any odors. That way, you can make sure the environment stays safe while the epoxy hardens.
Curing Time Requirements
Although epoxy curing times vary based on the product and environmental factors, you can generally expect a wood floor coating to cure within 24 to 72 hours.
The curing time depends heavily on environmental conditions such as temperature and humidity levels. Ideally, maintain temperatures between 70°F and 85°F and keep humidity below 60% to guarantee proper curing without defects like bubbling.
During this period, make sure there’s adequate ventilation to reduce fumes and keep things safe.
Remember, even if the epoxy feels dry, it’s not fully cured yet. You’ll want to avoid foot traffic or placing heavy objects on wood floors for at least seven days.
Following these guidelines ensures a durable, high-quality epoxy finish with great adhesion and long-lasting results.
It’s worth the wait to get the best finish possible!
Ventilation Importance During Curing
Since epoxy releases strong fumes during curing, guaranteeing proper ventilation is essential for both health and finish quality.
You need to maintain consistent air circulation by using fans or opening windows to dissipate fumes effectively, reducing the risk of respiratory health issues.
Proper ventilation also helps regulate humidity levels, which is vital for ideal epoxy curing. Excess moisture can cause defects like cloudiness or uneven hardening.
To achieve complete curing and a durable finish, keep the area well-ventilated for at least 48 hours after application.
Neglecting ventilation not only compromises the epoxy’s performance but also increases your exposure to harmful fumes.
Managing Fumes and Odors
Maintaining proper ventilation during epoxy curing not only protects your health but also plays a key role in managing fumes and odors. You should keep windows open and use fans to guarantee airflow, reducing harmful vapors released by epoxy coatings.
Wearing a respirator mask is essential during application and curing, which typically lasts 24-72 hours. Opt for low-VOC epoxy products to minimize odors and improve safety.
Moreover, monitor humidity levels. High humidity can intensify odors and compromise the durable finish by affecting curing.
| Factor | Impact on Fumes & Odors | Recommended Action |
|---|---|---|
| Proper Ventilation | Reduces vapor concentration | Use fans, open windows |
| Curing Time | Longer exposure to fumes | Maintain airflow for 24-72 hrs |
| Low-VOC Products | Lower odor and toxicity | Choose certified low-VOC |
| Humidity Levels | High humidity worsens odors | Keep humidity below 60% |
Overcome Common Wood Floor Epoxy Challenges
Three key challenges often arise when applying epoxy to wood floors: achieving strong adhesion, preventing cracks or delamination, and guaranteeing safe, effective curing.
To address these, start with proper surface preparation by thoroughly sanding and cleaning your wood flooring options to enhance strong adhesion.
Choose a flexible epoxy formulation tailored to accommodate wood’s natural expansion and contraction, reducing cracking risks.
During application, maintain adequate ventilation to manage fumes and promote curing.
Allow the epoxy sufficient curing time, typically around seven days, to develop a durable protective layer.
While regular maintenance extends the coating’s lifespan, focus now on these initial steps to overcome common challenges.
Following these precise measures guarantees your epoxy coating bonds well, resists damage, and cures safely for a resilient wood floor finish.
It’s really about setting a solid foundation so your floor stays beautiful and tough for years to come.
Maintain Your Epoxy Wood Floor
Protect your epoxy wood floor by establishing a consistent cleaning routine that removes dirt and debris to prevent surface scratches and preserve its finish.
Regularly sweep or vacuum your epoxy flooring to eliminate abrasive particles.
Consistently sweeping or vacuuming your epoxy floor removes grit that can cause scratches and wear.
For cleaning, use a pH-neutral cleaner with a damp mop, avoiding harsh chemicals that can degrade the coating.
To maintain the floor’s integrity, place coasters or mats under heavy furniture and avoid dragging objects to minimize damage.
Periodically inspect the surface for signs of wear or chipping.
Applying a maintenance coat every few years helps rejuvenate the epoxy coating and greatly extends its longevity.
By following these precise steps, you can effectively maintain your epoxy wood floor, ensuring it remains durable and visually appealing over time.
It’s easier than you might think to keep it looking great!
When to Call a Pro for Epoxy Wood Floor Installation
You should definitely call a pro if your wood floor needs some serious surface prep, like thorough sanding and cleaning to make sure the epoxy sticks properly.
It’s not just about looks – getting that step right is key for a long-lasting finish.
Plus, professionals know how to ensure proper ventilation during the installation. This is super important for your safety and for the epoxy to cure the way it’s supposed to.
By letting the experts handle these technical details, you reduce the risks and end up with a more durable, high-quality epoxy floor.
It’s worth it!
Complex Surface Preparation
Although you can handle basic surface preparation yourself, complex conditions on wood floors often require professional expertise to ensure a durable epoxy application.
When dealing with challenging surfaces, a professional installer guarantees proper surface preparation through thorough cleaning and sanding to remove old finishes and contaminants.
They also perform moisture testing to confirm the wood’s dryness, which helps prevent adhesion failure. Large cracks or imperfections get filled with wood patching compounds to create a smooth base.
Plus, they select and apply flexible epoxy formulations that can accommodate wood’s natural expansion and contraction.
These steps are critical because epoxy’s rigid nature can crack if the wood moves, and moisture can compromise adhesion.
Ensuring Proper Ventilation
When applying epoxy to wood floors, guaranteeing proper ventilation is essential because the curing process emits strong fumes that can be harmful without adequate airflow. You should open windows and use fans to circulate air, reducing volatile organic compounds (VOCs) concentration.
If natural ventilation is insufficient, consider air scrubbers or exhaust systems to maintain peak air quality during and after epoxy application.
Improper ventilation not only risks your health but can also cause adhesion problems and long-term flooring damage.
Professional installers use specialized equipment to confirm proper ventilation and meet safety standards throughout the epoxy application and curing process.
If you’re unsure about maintaining adequate airflow or handling strong fumes, it’s best to call a pro to guarantee a safe, durable coating and protect indoor air quality.
Tips for Long-Lasting Epoxy Wood Floor Durability
To guarantee long-lasting durability of an epoxy wood floor, properly preparing the surface is essential. Epoxy flooring works best when applied to a surface that’s completely dry and free of contaminants.
To assure a durable coating, follow these key steps:
Thoroughly sand and clean the wood to improve adhesion and prevent peeling.
Apply a moisture barrier to shield against humidity and moisture damage.
Use a flexible epoxy formulation to accommodate wood’s natural expansion and contraction.
Make sure to allow the epoxy to cure fully, which typically takes about 7 days, before you start using the floor regularly.
On top of that, regular maintenance like sweeping and cleaning with mild detergents helps keep the floor looking great.
It also preserves its strength and appearance over time.
Taking these simple steps can really extend the life of your epoxy wood floor.
Frequently Asked Questions
Can Epoxy Discolor or Yellow on Wood Floors Over Time?
Yes, epoxy can discolor or yellow on wood floors over time. This happens because of things like UV exposure, temperature changes, and not applying it the right way.
To get the best long-term durability, you should use UV-stable epoxy formulas and make sure it’s applied correctly.
Also, taking care of your wood floors with pH-neutral cleaners helps keep the finish looking good.
When you compare finishes, epoxy offers strong protection.
But keep in mind, it might yellow more than polyurethane when exposed to sunlight.
Is Epoxy Safe for Homes With Pets and Children?
Imagine a smooth, glossy surface that resists scratches and spills. Epoxy is indeed safe for homes with pets and children.
Just make sure to prioritize safety by selecting low-VOC products that come with proper certifications.
Its flooring durability stands up well to daily wear. Plus, the seamless surface texture makes cleaning a breeze.
To keep things safe and your floors looking great, follow precise installation tips and maintenance guidelines.
This way, you’ll get a non-toxic, easy-to-clean finish that works perfectly for your household.
How Does Epoxy Affect the Natural Feel of Wood Flooring?
Epoxy changes the natural texture of wood flooring by adding a smooth, often glossy layer that alters surface adhesion and tactile feel.
While it enhances aesthetic appeal and improves durability, it can affect acoustic properties, making floors sound less warm.
The installation process requires precision to avoid bubbles and guarantee longevity.
Maintenance requirements decrease thanks to epoxy’s protective seal, but you should consider longevity concerns, as thicker coatings may impact the wood’s natural expansion.
Can Epoxy Be Applied Over Stained or Painted Wood Floors?
Yes, you can epoxy over stained or painted wood floors, but proper epoxy preparation tips are essential for success.
Studies show 35% of epoxy failures stem from poor surface cleaning methods, so sand thoroughly to remove old finishes.
Understanding staining techniques overview helps guarantee wood floor compatibility.
Use epoxy application tools precisely, monitor curing time factors carefully, and follow maintenance recommendations to preserve durability.
This technical approach prevents peeling and maximizes longevity.
What Are the Eco-Friendly Epoxy Options for Wood Floors?
You can choose eco friendly materials like water based epoxy and sustainable coatings made from biodegradable resins derived from renewable resources.
These non toxic options feature low VOCs, reducing harmful emissions during application. Some formulations even incorporate recycled aggregates, enhancing sustainability without compromising durability.
Look for products certified for environmental standards to guarantee you’re using truly sustainable coatings that protect both your wood floor and indoor air quality effectively.
It’s a smart way to keep your space safe and green at the same time.
Conclusion
Epoxying your wood floor can transform it into a durable, glossy surface, but it demands careful preparation and precise application. Like a surgeon with a scalpel, you need to work meticulously to avoid bubbles and uneven coatings. Proper curing and ventilation are essential to guarantee a strong bond.
With regular maintenance and attention to challenges, your epoxy wood floor will last long and perform well. Don’t hesitate to call a pro if you’re unsure. It’s always better to get some expert help than risk messing it up.