Can You Stain Engineered Wood: Tips For Best Results
Yes, you can stain engineered wood successfully by first cleaning and lightly sanding the surface to guarantee even absorption. Check the veneer thickness carefully to avoid over-sanding and damage.
Choose an oil-based or water-based stain based on your drying time and finish preferences. It’s a good idea to test samples on hidden spots for accuracy.
Apply the stain with the grain, then wipe off any excess. Finally, protect your work with a coat of polyurethane.
Following these steps helps you achieve a durable, rich finish. Discover how to master each stage for the best outcome.
How To Successfully Stain Engineered Wood Floors
Start by thoroughly cleaning your engineered wood floors and lightly sanding the surface to guarantee the stain absorbs evenly without damaging the veneer.
Before you stain, test samples on a hidden spot to verify the color matches your expectations, as grain variations affect the final look.
Always test stain samples on a hidden area to ensure the color meets your expectations.
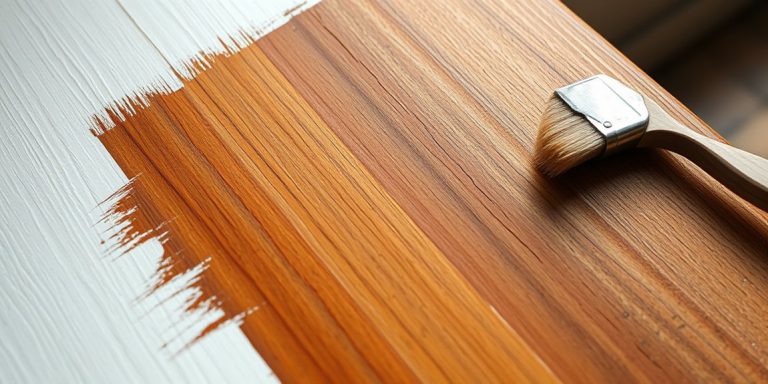
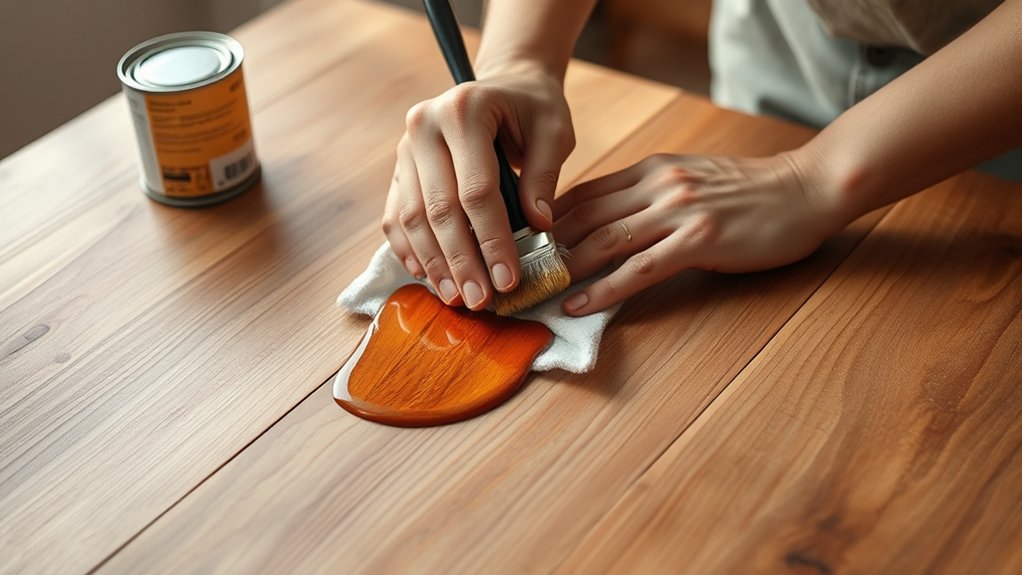
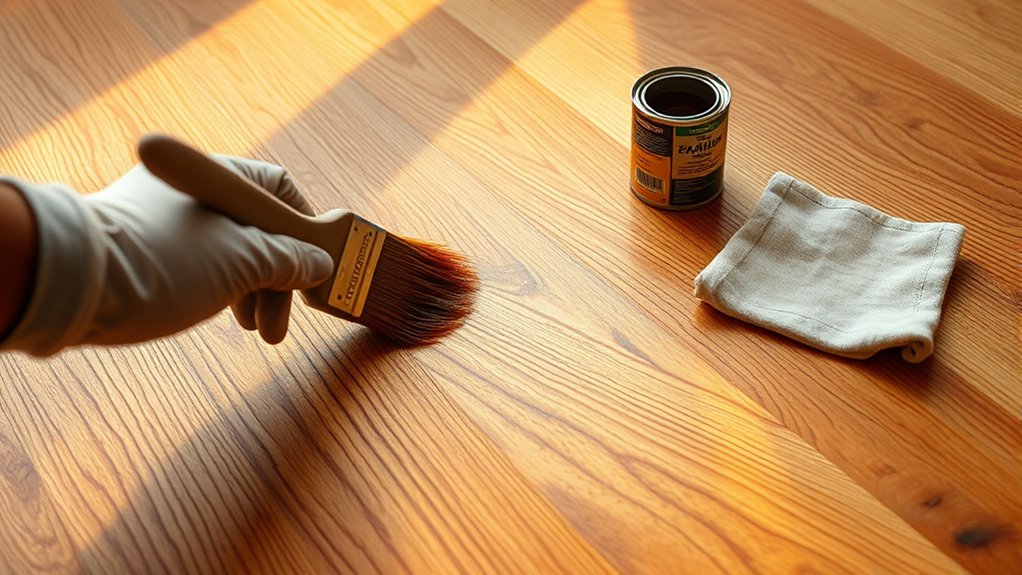
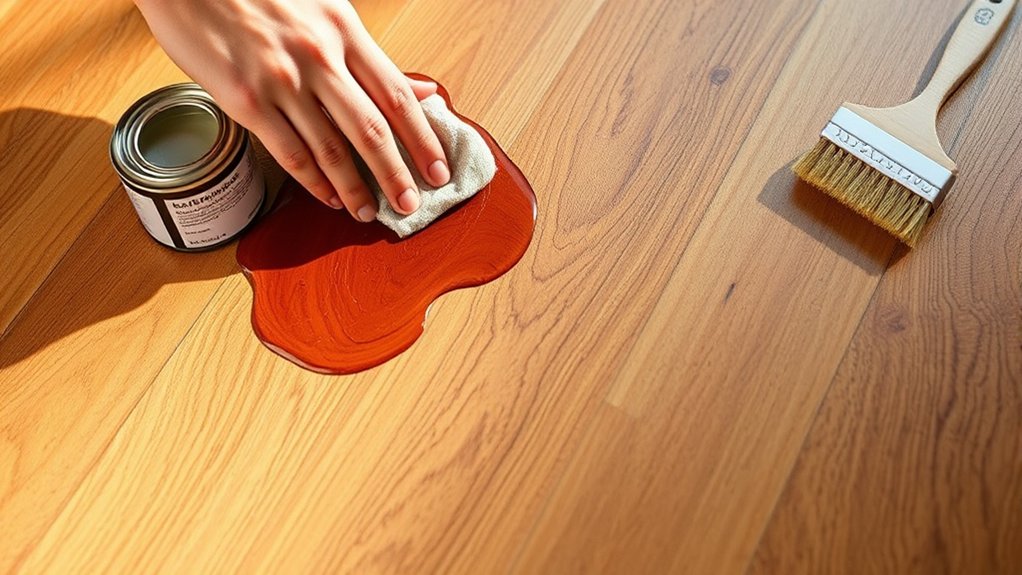
When ready, apply the stain along the wood grain using a brush or rag. Then wipe off excess after 10-15 minutes to achieve a uniform finish.
Once the stain dries, protect your floors with a high-quality polyurethane finish, applying at least three thin coats.
Allow each coat to dry properly for maximum durability.
Regular maintenance, including vacuuming and using a hardwood cleaner, will help preserve the beauty and longevity of your stained engineered wood floors.
How To Check Engineered Wood Floor Veneer Thickness
To accurately check the veneer thickness of your engineered wood floor, you can begin by locating the manufacturer’s specifications on the product label or packaging. These typically state the veneer thickness in millimeters or inches.
If that information isn’t available, use a caliper or micrometer to carefully measure the veneer directly at the plank’s edge without damaging the surface. You can also inspect access points like heating vents to see the layered construction and distinguish the veneer from the plywood core.
Engineered wood floors usually have a veneer thickness between 0.6 mm and 6 mm. Knowing this helps you decide on sanding options since veneers thinner than 2 mm may limit refinishing. Sanding too much can expose the plywood underneath.
Always measure the veneer accurately before proceeding. This way, you can avoid any costly mistakes and keep your floors looking great.
Cleaning And Preparing Engineered Wood Floors For Staining
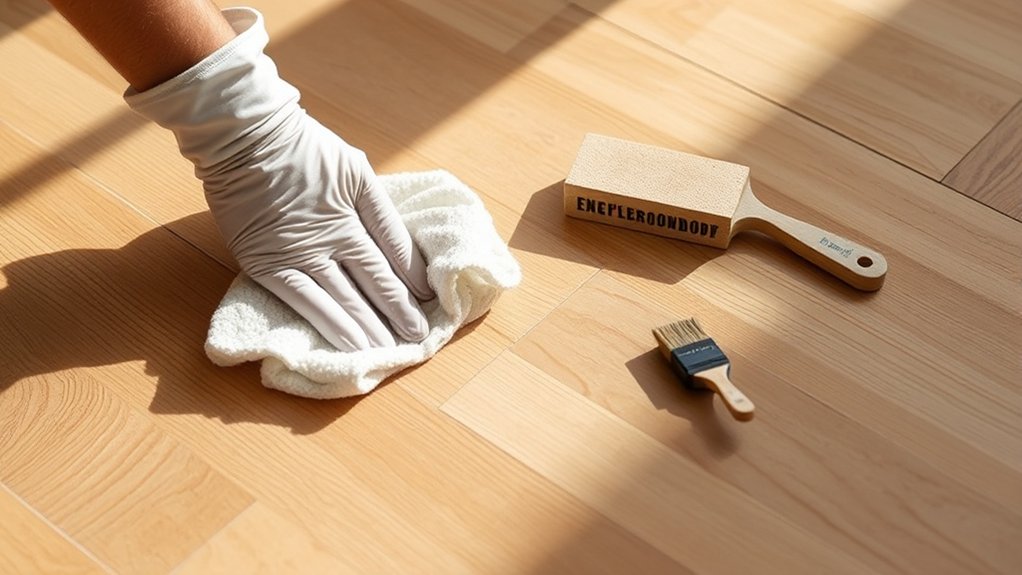
Although staining engineered wood floors can dramatically enhance their appearance, you need to clean and prepare the surface thoroughly first. Start by cleaning engineered wood floors to remove dust, dirt, and any previous finish, ensuring the stain absorbs evenly.
Thorough cleaning and preparation are essential to achieve an even, beautiful stain on engineered wood floors.
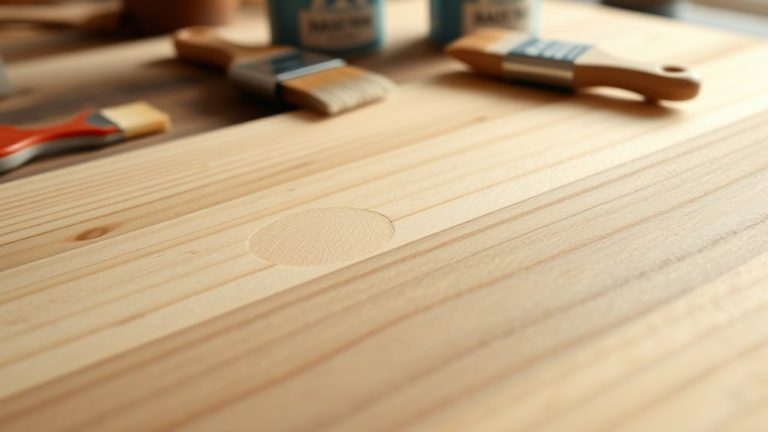
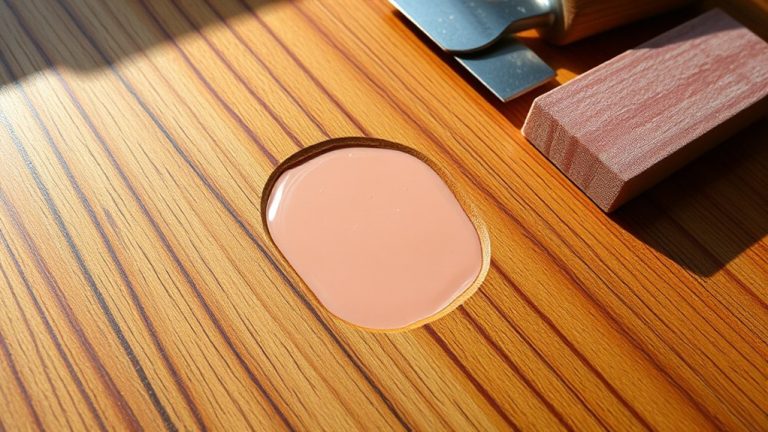
Inspect the floor carefully, countersinking any protruding nails and filling deep gouges with wood filler.
Then, perform light sanding with fine-grit sandpaper to smooth imperfections without damaging the veneer layer. After sanding, wipe the floor with mineral spirits to eliminate remaining dust and oils, creating a pristine surface for staining.
Finally, seal doorways and vents with plastic drop cloths to prevent dust contamination during the stain application.
Proper cleaning and preparation help achieve a smooth, durable, and attractive stained finish on your engineered wood floors. Taking the time to do this right makes all the difference in the final look and longevity of your floors.
How To Sand Engineered Wood Floors Safely
Before you start sanding, make sure to check the veneer thickness. You don’t want to accidentally sand right through to the plywood beneath.
It’s important to use the right grit progression and tools—this helps protect the surface while smoothing out any imperfections.
Also, always sand with steady pressure, and go in the direction of the grain. This way, you prevent damage and get even, consistent results.
Taking these steps will keep your engineered wood floors looking great!
Veneer Thickness Awareness
How thick is your engineered wood veneer? Knowing this is essential before you sand. Veneer thickness usually ranges from 0.6 mm to 6 mm, and this impacts how much sanding you can safely do.
If you have a thin veneer, sanding too aggressively risks going through to the plywood core beneath. That would compromise the floor’s durability and appearance. Unlike solid wood, engineered wood requires more caution.
Measure the veneer thickness accurately to decide how much sanding is appropriate. Often, thin veneers only allow light sanding or touch-ups.
Once you’ve sanded carefully, you can confidently apply the stain, knowing you preserved the veneer layer.
Always treat veneer with respect to maintain your floor’s beauty and function. It really pays off in the long run!
Sanding Techniques Overview
Three key sanding techniques help you safely refinish engineered wood floors without damaging the veneer layer.
First, use the right sanding grit progression. Start with coarse grit (40-50) for deep scratches, move to medium grit (80-120) to smooth the surface, and finish with fine grit (150-220) for a polished finish.
Second, select appropriate sanding equipment. A handheld orbital sander works well for small areas, while a floor sander suits larger spaces to ensure even sanding.
Third, practice dust control by vacuuming thoroughly and wiping with a tack cloth after sanding. This prevents dust from interfering with stain adhesion.
Throughout the process, avoid over-sanding to preserve the thin veneer and prevent exposure of the plywood beneath. That way, you keep your floor’s durability and appearance intact.
Avoiding Veneer Damage
Since engineered wood has a thin veneer that’s easily damaged, you need to assess its thickness before sanding to avoid sanding through it.
When working on engineered wood flooring, always use fine-grit sandpaper (120-220 grit) for light sanding to minimize veneer damage while smoothing imperfections.
Hand-sanding with a sanding block or an orbital sander gives you better control and prevents uneven surfaces.
Before starting, clean and vacuum the floor thoroughly to keep dust from scratching the veneer during sanding.
Test your sanding technique on an inconspicuous area first to see how the veneer reacts and verify you don’t compromise its integrity.
Taking these precautions helps you safely sand engineered wood flooring without ruining the delicate veneer layer.
Choosing The Right Stain For Engineered Wood Floors
When you’re picking a stain for your engineered wood floors, keep in mind the thickness of the veneer. Thinner layers can limit how much sanding and staining you can do.
You’ll want to decide between oil-based stains, which really bring out and deepen the wood grain, and water-based stains, which dry faster and give a clearer finish.
It’s always a good idea to test some samples on hidden spots first. This way, you can make sure the color and finish are exactly what you’re hoping for before committing.
Oil-Based Vs Water-Based
Although both oil-based and water-based stains can enhance the look of engineered wood floors, choosing the right one depends on your priorities for drying time, durability, and environmental impact.
Oil-based stains penetrate deeply, offering rich, warm tones and superior durability. They’re ideal for high-traffic areas. However, they require a longer drying time, around 24 hours, and emit stronger odors.
Water-based stains dry quickly, usually within 1-2 hours, and have lower VOCs, making them more environmentally friendly. They provide a true-to-color finish but may need multiple coats to get your desired shade.
When applying, make sure to test a small area first. This helps you see how each stain interacts with your wood’s veneer.
That way, you can be sure the durability and appearance meet your expectations before you commit.
Veneer Thickness Impact
Because veneer thickness varies widely in engineered wood, it directly affects how you should approach staining and refinishing. Thicker veneer, typically above 2 mm, allows you to sand more aggressively and apply a stain that complements the wood grain effectively. This results in a richer, more uniform color.
With thinner veneer, usually under 1 mm, sanding options are limited to avoid exposing the plywood beneath. In this case, you’ll need to select stains carefully or consider alternatives like glazes that alter color without heavy abrasion.
Understanding your engineered wood’s veneer thickness helps you choose the right stain that complements its surface while preserving its durability.
Always handle thinner veneer gently to maintain the floor’s integrity and achieve the best aesthetic results.
Testing Stain Samples
To guarantee you achieve the perfect color for your engineered wood floors, always test stain samples on a hidden spot or a spare piece of wood first.
Before you select a stain, consider the type of wood veneer, as different woods absorb stain differently. This will influence the final hue.
Clean the surface thoroughly to avoid inaccurate results.
Apply your test stains evenly and observe them in various lighting conditions, both natural and artificial, throughout the day. This helps you see how the color shifts with light changes.
Be sure to document the results of each test stain, noting the color, finish, and any other relevant details.
This record will guide you in making an informed decision. That way, you can be sure to pick the best stain for your engineered wood floors.
Applying And Protecting Your Engineered Wood Floor
Start by applying the stain with a brush or rag, moving along the wood grain to guarantee even coverage without overlapping. Let the stain sit for 10-15 minutes to achieve the right color saturation, then wipe off the excess to avoid a sticky finish.
Once dry, apply a high-quality polyurethane finish in thin, even coats. Sand lightly between each coat for a smooth layer of protection.
To maximize staining longevity on your engineered flooring, use thin coats of finish for durability and allow thorough drying between applications.
Place rugs in high-traffic zones and use furniture pads to prevent scratches.
These steps help ensure your engineered wood floor retains its beauty and stays well-protected against wear and damage.
How To Maintain Stained Engineered Wood Floors
Maintaining stained engineered wood floors requires consistent care to preserve their appearance and durability.
To keep them looking great, regularly vacuum and sweep to remove dirt and prevent scratches.
Clean your floors with a damp mop using a cleaner specifically designed for hardwood floors. Just be sure no excess water remains because that can damage the finish.
It’s a good idea to place rugs in high-traffic areas and use furniture pads to avoid surface damage. If you spill something, address it right away by blotting with a soft cloth to prevent staining.
Every 3 to 5 years, reapply a protective finish like polyurethane to restore the floor’s luster and extend its lifespan.
Following these steps helps protect your investment and keeps your stained engineered wood floors looking beautiful for years to come.
Common Mistakes To Avoid When Staining Engineered Wood Floors
When staining engineered wood floors, skipping essential preparation steps like cleaning and sanding can cause uneven stain absorption and patchy results.
To avoid common mistakes, pay attention to these key points:
Don’t over-sand; it can damage the veneer and expose plywood layers beneath.
Always test stain samples on hidden areas to guarantee the color matches your expectations.
Follow recommended drying times between applications to prevent smudges and uneven finishes.
Maintain your floors regularly after staining to preserve the stain’s longevity and keep your floors looking fresh.
Taking these simple steps will help you achieve a beautiful, long-lasting finish on your engineered wood floors.
Frequently Asked Questions
Can Engineered Wood Floors Be Stained Over Existing Stain Colors?
Yes, you can stain engineered wood floors over existing stain colors, but you’ll need to address stain compatibility concerns first.
Proper engineered wood maintenance involves cleaning and lightly sanding the surface to guarantee adhesion.
Make sure to test a small area to see how the new stain reacts. This helps you match colors better and avoid surprises.
Applying the stain carefully with consistent methods is key to preventing unevenness.
This is especially true when layering lighter colors over darker finishes.
Taking your time here will give you the best results.
How Long Should Stained Engineered Wood Floors Dry Before Use?
You should allow stained engineered wood floors a drying time of 6-8 hours after stain application before applying any protective finish.
Once you finish with polyurethane or sealer, wait at least 24 hours before walking on the floor to guarantee proper curing.
For flooring care, avoid heavy furniture for 48-72 hours to prevent damage.
Follow these maintenance tips and maintain good ventilation to speed drying time and protect your floors effectively.
It really helps to keep the air moving around the room during the drying process.
Are There Specific Stains Recommended for Low-Voc or Eco-Friendly Options?
Yes, you should choose low VOC options and eco-friendly stains specifically formulated for engineered wood to protect indoor air quality. Brands like Benjamin Moore and Sherwin-Williams offer reliable choices.
Focus on proper application techniques, such as testing color matching on a small area first to guarantee the stain complements your floor’s veneer.
This approach helps maintain the wood’s integrity while achieving a beautiful, sustainable finish.
Can Staining Engineered Wood Affect the Floor’s Warranty?
Yes, staining engineered wood can have warranty implications if you don’t follow manufacturer guidelines.
Improper stain adhesion or using unapproved products may void your warranty.
To protect your coverage, always check the warranty terms before staining and consider having a certified professional handle the job.
Proper flooring maintenance after staining also matters.
Sticking to recommended procedures guarantees your floor stays beautiful without risking warranty loss.
Is It Possible to Change the Stain Color Later Without Sanding?
Yes, you can change the stain color later without sanding by using glazes or tinted finishes that rely on stain absorption and application techniques suited for engineered wood’s veneer layer.
To guarantee success, focus on proper color matching and prepping the surface thoroughly.
Finish options like clear protective coats help preserve the new look.
Always test on a small area first to avoid unwanted results and maintain durability.
This way, you get the color you want without the hassle of sanding down the wood.
Conclusion
Staining engineered wood floors can transform your space beautifully. Just remember, the veneer thickness usually ranges from 0.6 to 6 millimeters, which affects how well the stain absorbs.
By properly cleaning, sanding, and choosing the right stain, you’ll get lasting results. Protect and maintain your floors regularly to keep them looking fresh.
Avoid common mistakes like skipping prep or using the wrong products. Do that, and you’ll enjoy a stunning, durable finish that really enhances your home’s value and appeal.