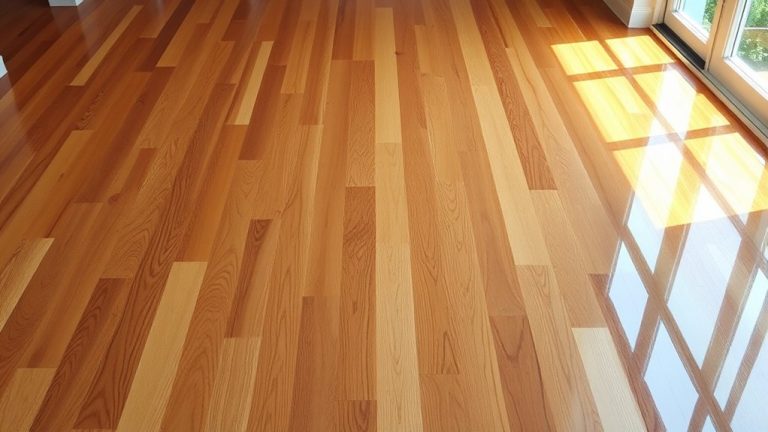
Can I Stain Over Painted Wood: Methods Explained
Yes, you can stain over painted wood by properly preparing the surface. Start by cleaning and sanding the paint, especially if it’s glossy, to guarantee the stain adheres well. Use a gel stain designed for painted surfaces, applying it in thin layers while allowing sufficient drying time.
After staining, seal with multiple coats of polycrylic or polyurethane for durability. Follow these steps carefully, and you’ll achieve a professional finish that balances color depth and protection. Keep at it, and you’ll master each stage in no time.
When Can You Stain Over Painted Wood?
Although staining over painted wood might seem challenging, you can do it successfully if you properly prepare the surface. To stain over paint, first verify the paint is clean and not glossy. If it’s glossy, apply a bonding primer to improve adhesion.
Staining over painted wood is doable with proper surface prep and a bonding primer if the paint is glossy.
Next, lightly sand the surface to create a texture that allows the stain to bond effectively. Gel stain color works best on painted wood because it adheres well and provides even coverage without stripping the paint.
Before fully applying the gel stain, test it on a hidden area to confirm color compatibility and penetration.
Remember to allow at least 4-5 hours between coats to build the desired depth and richness.
Proper preparation guarantees durable, attractive results when you stain over paint. Just take your time, and you’ll be happy with how it turns out.
When and How to Sand Painted Wood Before Staining
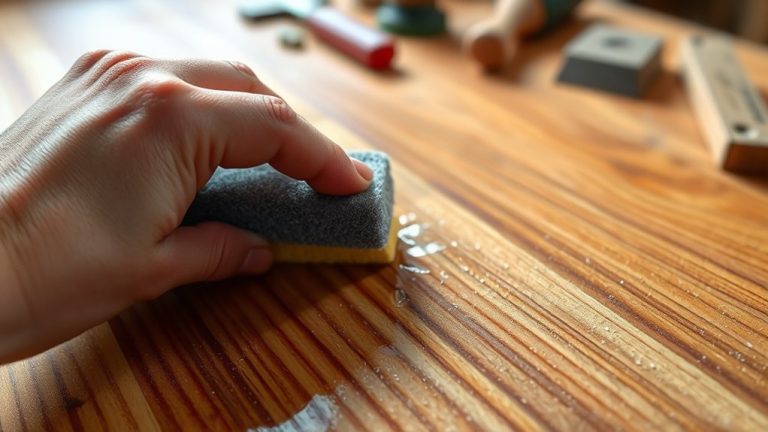
You’ll want to lightly sand the painted wood with fine-grit sandpaper—around 220 grit works well—to scuff up the surface a bit and help the stain stick better.
Just be gentle with the pressure so you don’t accidentally strip off the paint or make any uneven spots.
Once you’ve finished sanding, make sure to clean the surface thoroughly to get rid of all the dust.
It’s a good idea to test the stain on a hidden spot first, just to see how it reacts and make sure it’s compatible.
Importance Of Light Sanding
When preparing painted wood for staining, light sanding plays an essential role in guaranteeing proper adhesion. Light sanding creates a slightly rough texture that allows the stain to stick well to the surface.
Use fine-grit sandpaper, around 220 grit, to gently scuff the paint without stripping it, preserving the original finish.
Make sure to sand in the direction of the wood grain to avoid scratches that could mess up the final look. After sanding, clean the surface thoroughly to remove dust and debris. This helps prevent any imperfections when you apply the stain.
This step is especially important when using gel stains since they rely on the surface texture to bond effectively. Doing light sanding properly means your stain will grip securely, giving you a smooth, durable finish over painted wood.
Choosing The Right Grit
Since the type of paint and its condition vary, selecting the right sandpaper grit is essential for effective preparation before staining. The grit affects how well you create a surface that’s ready to accept the stain without damaging the painted surface.
Here’s how to choose: Use 80-120 grit if the paint is thick or glossy; this removes the top layer and roughens the surface. Always finish with 220 grit for a fine, smooth texture that minimizes scratches and sanding dust.
Sand along the wood grain to avoid marks that show through when you apply the stain.
After sanding, clean all sanding dust thoroughly to guarantee proper adhesion. Testing on a small area helps you confirm the stain will bond effectively without peeling. It’s a simple step that saves a lot of hassle later on.
Preparing Surface For Stain
Start by thoroughly cleaning the painted surface to remove dust and debris. This helps the stain stick properly. Use a damp cloth and a mild cleaner, then let it dry completely before you move on.
Next, lightly sand the painted wood with fine-grit sandpaper to scuff the surface. This step helps the stain absorb better without stripping off the paint. After sanding, wipe away any residue with a damp cloth to keep the surface clean and dust-free.
If the paint has a glossy finish, it’s a good idea to apply a bonding primer. This improves adhesion before you put on the stain.
Always test the stain on a hidden spot first to make sure it’s compatible and that you like the color.
Proper surface preparation really makes a difference. It’s key to getting a smooth, durable finish when you’re staining painted wood.
Preparing Painted Wood for Gel Staining
Start by giving the painted surface a good cleaning to get rid of any dust and debris. This helps the gel stain stick better.
After that, take some fine-grit sandpaper and gently sand the surface. You want to create a slightly rough texture without harming the paint.
These little steps really make a difference for the stain to bond well and to get a smooth, even finish.
Surface Cleaning Essentials
Before applying gel stain, you’ll need to thoroughly clean the painted wood surface to remove dust, grease, and other contaminants. Ideally, use a degreaser cleaner for this. This step is super important in the surface cleaning essentials to make sure the surface is clean.
A clean surface helps the gel stain absorb evenly and stops blotching from happening.
Follow these steps to prepare the surface effectively:
- Use a degreaser cleaner to get rid of oils and dirt. This prevents any absorption problems later on.
- Wipe down the surface with a lint-free cloth to pick up any leftover dust and contaminants.
- Let the surface dry completely. You don’t want any moisture messing with how the stain sticks.
Doing these steps will give you a clean, ready surface that helps the gel stain look great and last longer.
Sanding For Adhesion
Although the painted surface may look smooth, lightly sanding it with fine-grit sandpaper is essential. This helps create a rough texture that improves gel stain adhesion without stripping the paint entirely. When sanding painted wood, use gentle pressure to avoid damaging the paint or the wood beneath.
After sanding, wipe the area with a lint-free cloth to remove dust and debris. This step ensures ideal adhesion. For glossy paint, it’s a good idea to apply a bonding primer after sanding to help the stain grip better.
Always test the stain on a hidden spot first to make sure it’s compatible.
| Step | Action | Purpose |
|---|---|---|
| Sanding | Fine-grit sandpaper | Create rough texture |
| Cleaning | Wipe with lint-free cloth | Remove dust for adhesion |
| Priming (optional) | Apply bonding primer | Improve adhesion on glossy paint |
Choosing the Best Gel Stain for Painted Surfaces
When working with painted wood, choosing the right gel stain is essential to guarantee even coverage and strong adhesion without extensive prep work.
Gel stains designed for painted surfaces, like General Finishes Java Gel Stain, are ideal because they adhere well and provide consistent color.
You should consider the following factors:
- Type of Gel Stain: Water-based gel stains are easier to apply and clean up, while oil-based stains offer superior durability and weather resistance.
- Test Application: Always apply a test coat on a hidden area to verify color compatibility and adhesion before full application.
- Drying Time: Allow each coat to dry completely, typically 4-5 hours, to confirm proper curing and achieve desired color depth with multiple coats.
Selecting the right gel stain guarantees a professional finish without compromising the painted surface.
It really makes a difference in the final look and longevity of your project.
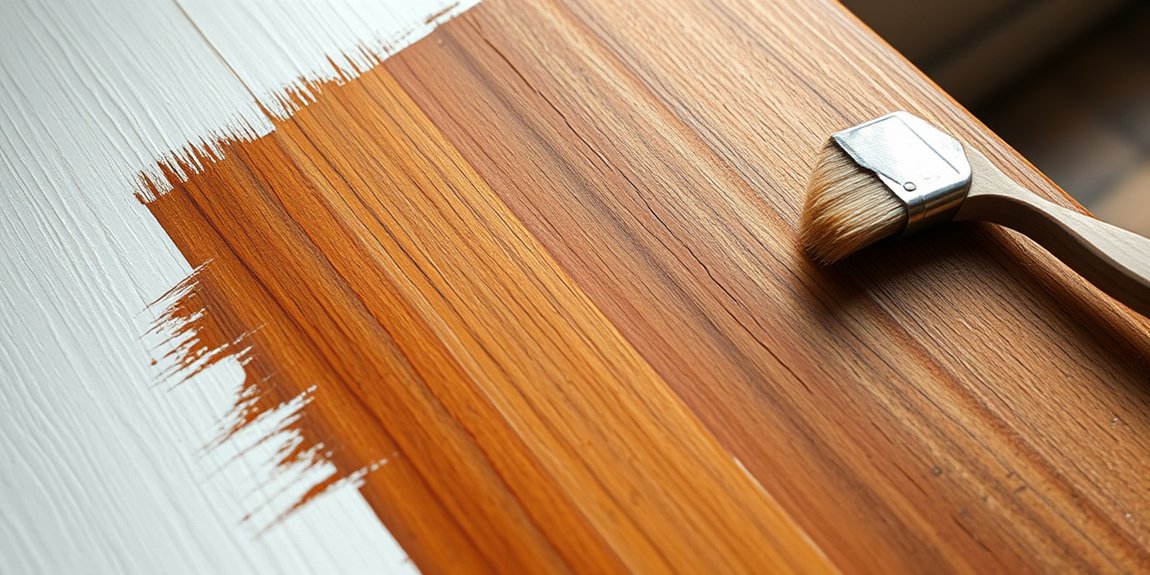
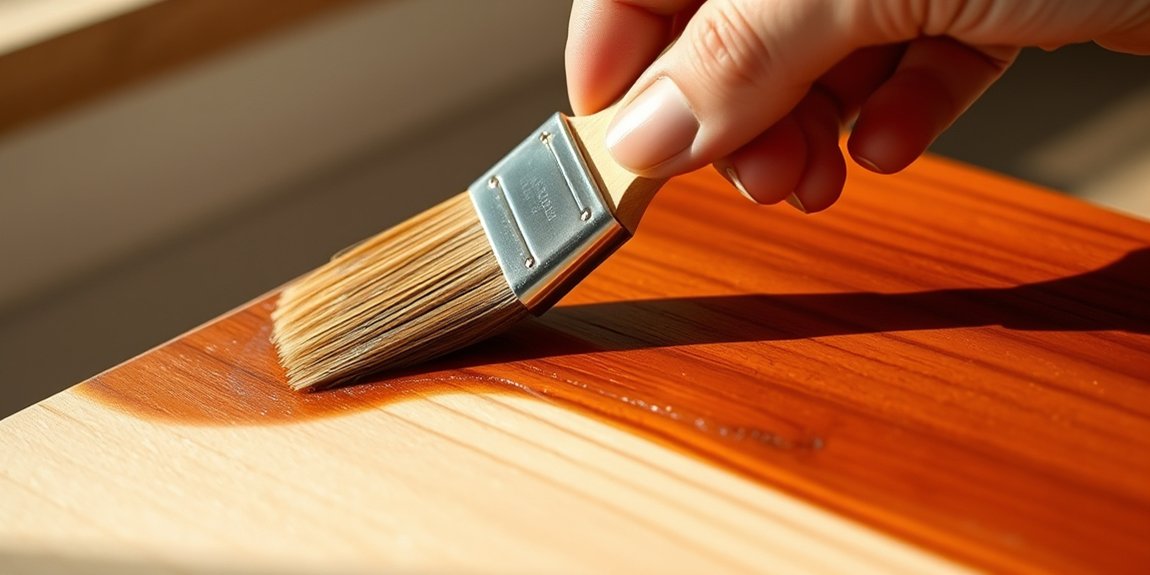
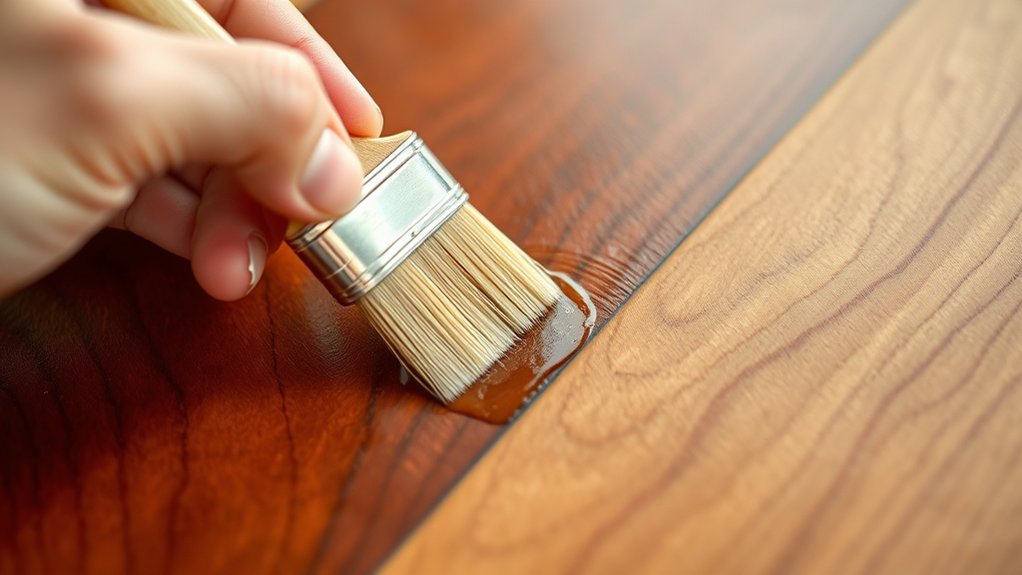
How to Gel Stain Painted Wood Step-by-Step
Selecting the right gel stain sets the stage for a successful application on painted wood. Start by cleaning and lightly sanding the painted surface to improve adhesion. If needed, apply a bonding primer before using a water-based gel stain.
Stir the gel stain thoroughly and test it on a hidden area. Apply the gel stain in sections, wait 2-3 minutes, then wipe off excess to guarantee an even finish. Allow 8-10 hours between coats.
| Step | Details |
|---|---|
| Surface Prep | Clean, sand, and prime if necessary |
| Gel Stain Selection | Use water-based for painted wood |
| Application | Stir, test, then apply in sections |
| Setting Time | Wait 2-3 minutes before wiping excess |
| Drying Time | Wait 8-10 hours between coats |
Sealing and Finishing After Gel Staining Painted Wood
Once the gel stain has fully cured, typically after at least 24 hours, you can apply a sealing topcoat to protect and enhance the finish.
It’s essential to let the stain set completely to make sure the topcoat sticks well. Use a quality polycrylic or polyurethane sealing topcoat for durability and moisture resistance.
Apply it smoothly with a high-quality brush or foam applicator to avoid bubbles.
Follow these steps for sealing and finishing:
- Apply the first coat evenly and let it dry for at least two hours.
- Lightly sand between coats to help the layers stick better.
- Apply two to three coats for the best protection and a nice glossy finish.
This process secures your gel stain and helps your painted wood project last longer.
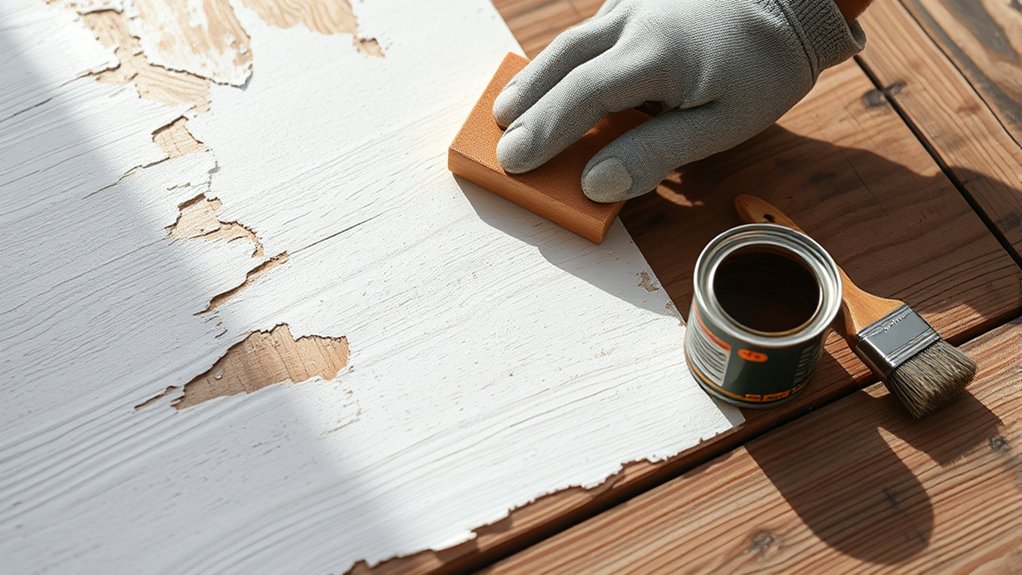
What to Do About Sticky or Tacky Stain on Painted Wood
If your gel stain remains sticky or tacky on painted wood, it’s usually because the paint’s non-porous surface prevents proper absorption and drying. This issue often happens when you try to stain over old stain or directly on glossy paint.
First, you should let it dry completely. This may take up to two weeks depending on humidity and ventilation.
If tackiness persists, you need to sand the area lightly to break the surface tension and improve adhesion. Make sure the surface is clean and dry before you reapply the stain.
If the stain still won’t cure, removing it with mineral spirits or turpentine is a good idea.
After that, try using a gel stain formulated for painted surfaces. Proper surface prep guarantees better results and helps you avoid that annoying persistent tackiness.
Key Differences Between Staining and Painting Wood Surfaces
Understanding the key differences between staining and painting wood surfaces helps you choose the right finish for your project. When thinking about staining instead of paint, keep a few things in mind.
First, staining enhances the wood grain by soaking into the fibers, while paint creates an opaque film that covers the texture completely.
Next, stains need bare or well-prepped surfaces to stick properly. But gel stain works well on painted wood too, giving even coverage without much prep.
On the other hand, paint can go straight over older finishes without sanding.
When it comes to colors, paint offers a wider range and different finishes, making it more versatile. Stains don’t have as many color options, but they really bring out the natural look of the wood.
These points can help you decide if you want to show off the wood grain with stain or go for the solid, customizable coverage that paint provides.
Frequently Asked Questions
Can I Stain Over Painted Wood Outdoors Without Peeling?
You can stain over painted wood outdoors without peeling if you focus on proper surface preparation and choose the right stain types.
Start by lightly sanding the painted surface to improve adhesion. Gel stains work best on painted wood because they’re thicker and stick better.
Also, think about color compatibility so you don’t end up with weird hues or uneven finishes.
Make sure to clean the surface thoroughly before you start.
Then, apply the stain patiently, giving it enough drying time between coats to make sure it lasts.
How Long Should Stained Painted Wood Cure Before Use?
You should allow stained painted wood a cure time of at least 24-48 hours before use. This helps ensure the stain fully adheres and dries properly.
Keep in mind that drying conditions like humidity and temperature can really affect this. Higher moisture levels tend to slow down the curing process.
Also, it’s a good idea to check if your paint and stain are compatible. Some paints might prevent the stain from absorbing well, which can extend the cure time.
If you’re using gel stains or topcoats, be prepared to wait longer—sometimes up to 1-2 weeks—for complete curing. This helps avoid any damage during handling or installation.
Will Staining Over Painted Wood Affect the Paint’s Durability?
Yes, staining over painted wood can affect the paint’s durability.
Paint adhesion depends on factors like surface porosity and the type of paint previously used.
Stain compatibility can be tricky because stains may not bond well to non-porous painted surfaces. This can lead to peeling or chipping over time.
To minimize damage, it’s important to prepare the surface properly. Make sure to thoroughly clean and lightly sand the paint.
Choosing gel stains can also help since they tend to stick better.
With the right prep, you can maintain the paint’s integrity while applying stain. It’s all about giving the stain a good surface to grip onto.
Can I Use Stain on Painted Wood Furniture With Intricate Details?
You can use stain on painted wood furniture with intricate details, but you’ll need to be careful about how the stain absorbs. Since paint blocks direct absorption, you’ll want to lightly sand or use paint removal techniques to expose some of the wood.
Just be careful not to damage those intricate carvings. This approach helps preserve the details while still letting the stain soak in.
Gel stains work best for this kind of project. Use small brushes to apply the stain so you can keep the details intact and avoid drips or blotches.
Is It Safe to Stain Painted Wood in Humid Conditions?
Staining painted wood in humid conditions isn’t ideal because humidity effects can cause poor paint adhesion and tacky surfaces.
Moisture prevents stain from penetrating properly, which compromises finish durability.
To guarantee success, focus on thorough wood preparation. Clean and lightly sand the surface, then stain when humidity is between 30-50%.
If you must work in high humidity, improve ventilation or use a dehumidifier to speed up drying and protect adhesion.
It’s all about giving your stain the best chance to last.
Conclusion
You might think staining over painted wood is impossible, but with the right prep and gel stain, you can transform that surface like a pro. Skip sanding or sealant, and you risk a sticky mess that’ll haunt your project forever.
Follow these exact steps to guarantee your wood not only looks flawless but holds up under any scrutiny. Don’t let painted wood limit your creativity. Stain it confidently and watch your work shine brilliantly!