Can You Paint Over Wood Filler: Best Practices
You can paint over wood filler successfully, but you need to wait 24 to 48 hours for it to fully cure to avoid peeling or bubbling. After it’s cured, sand the surface smooth with fine-grit sandpaper. Then, make sure to clean off all the dust before moving on.
Always apply a primer to seal the filler and guarantee paint adhesion. It really helps the paint stick better and last longer. Use compatible paints, like acrylic latex or alkyd, and apply thin, even coats for the best durability.
Follow these steps carefully, and you’ll achieve a flawless finish that lasts. Taking the time to do it right makes all the difference. If you want, exploring more details can help you perfect your approach even further.
How Long Should Wood Filler Cure Before Painting?
Although wood filler may feel dry within an hour, you should allow it 24 to 48 hours to fully cure before painting. Curing confirms the filler reaches maximum hardness and adhesion, which is critical when you paint over wood filler.
Allow wood filler 24 to 48 hours to fully cure for maximum hardness and proper paint adhesion.
Drying and curing aren’t the same. While the surface might seem dry to the touch after 30 to 60 minutes, the filler remains vulnerable beneath. Rushing to paint can cause bubbling, peeling, or sinking, which compromises the finish.
Always check the manufacturer’s instructions, as curing times vary by product and environmental factors. Waiting the full cure time assures a firm base.
This helps you achieve a smooth, durable, and professional-looking finish when you paint over wood filler.
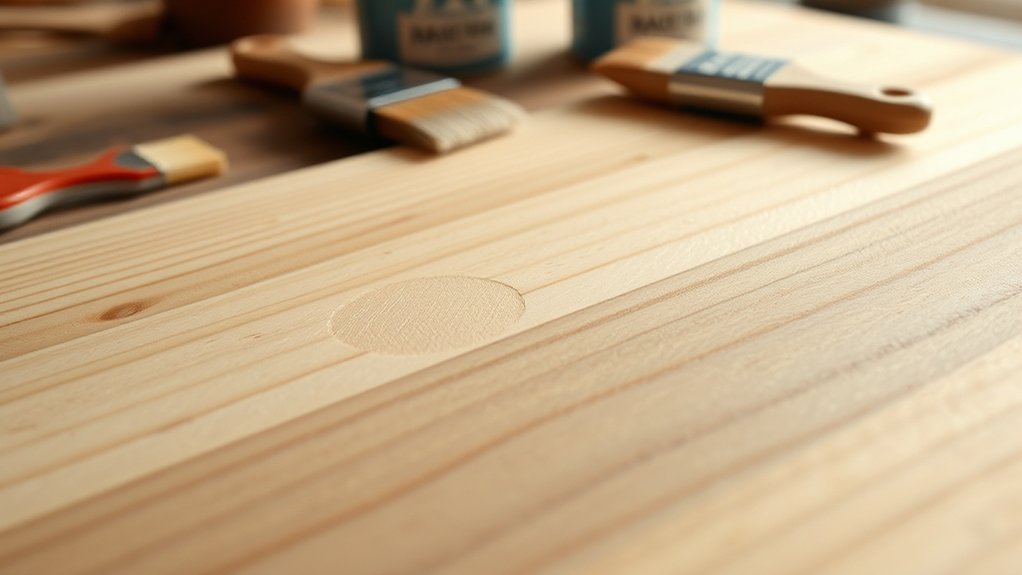
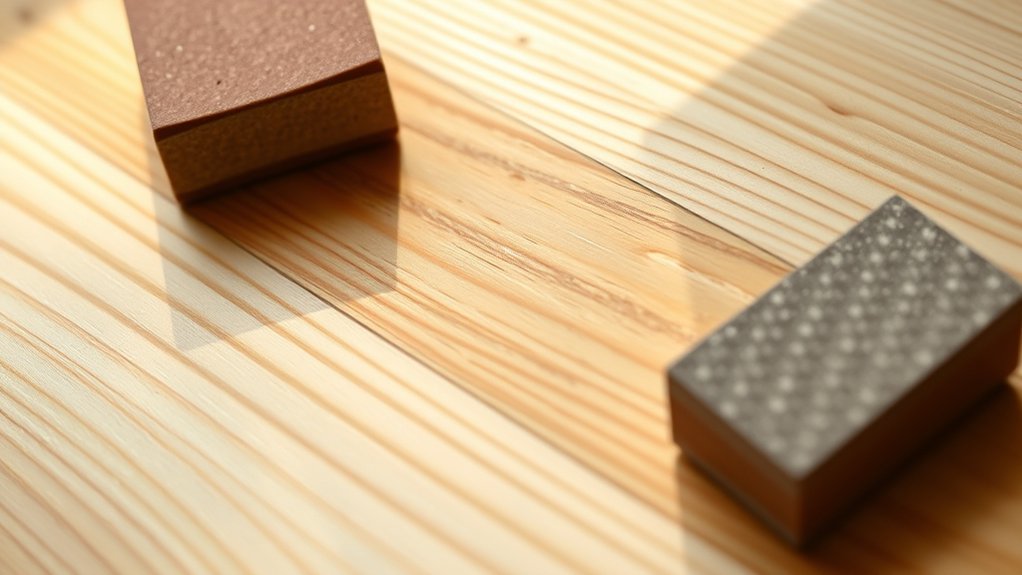
How to Sand Wood Filler for a Flawless Paint Surface
Once the wood filler has fully cured, typically after 24 to 48 hours, your next step is sanding it to create a smooth, level surface ready for painting.
Use fine-grit sandpaper, between 120 and 220 grit, to gently sand the filler until it’s flush with the surrounding wood.
Sand in a circular motion with a light touch to avoid gouging either the filler or wood. For larger areas, use a sanding block to maintain even pressure and guarantee an even surface.
After sanding, clean the area thoroughly with a damp or tack cloth to remove dust. This helps paint adhere properly.
This methodical sanding process sets the foundation for even coats of paint and ultimately a flawless finish.
Why You Should Always Prime Wood Filler Before Painting
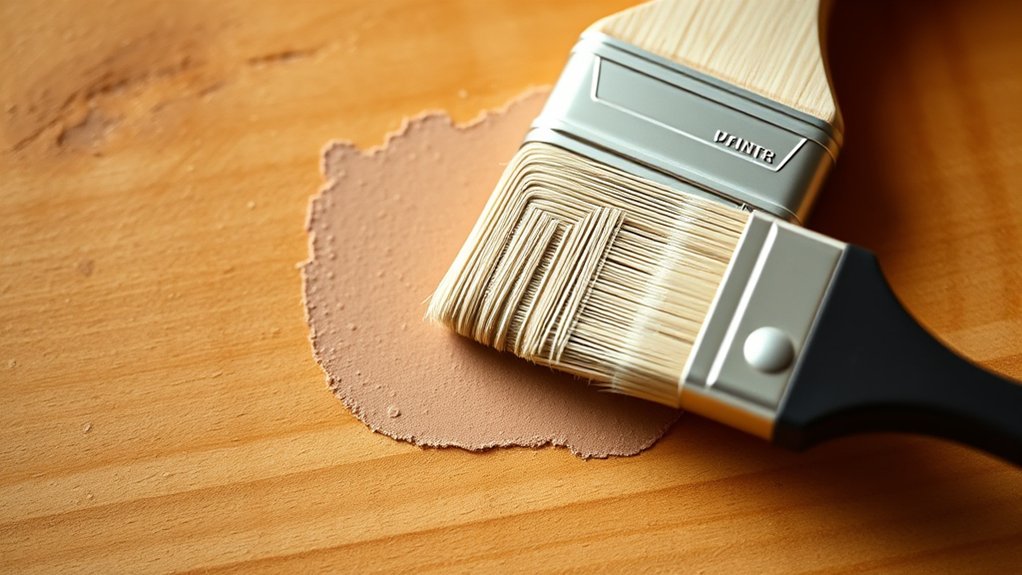
Because wood filler tends to absorb paint unevenly, you should always prime it before painting to guarantee a consistent color and smooth finish.
Applying a suitable primer seals the wood filler, enhancing adhesion and preventing peeling or flaking. You’ll want to use thin, even coats of primer and paint to avoid visible filler patches.
Keep in mind, different wood fillers may require specific primers, especially water-based varieties that need bonding formulations.
Here’s why priming wood filler is essential:
- Guarantees uniform paint absorption for a flawless finish
- Boosts durability by protecting against moisture and environmental damage
- Improves paint adhesion, reducing long-term maintenance
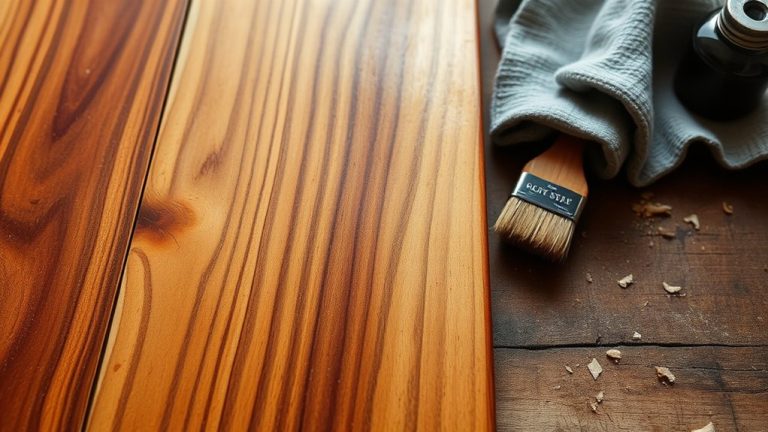
Choosing the Best Paint Types to Use Over Wood Filler
After priming wood filler to seal and prepare its surface, selecting the right type of paint guarantees a durable, visually seamless finish. You need to prime because wood filler absorbs paint unevenly. So, a quality primer creates a uniform base.
Choose your paint system carefully. Acrylic latex or alkyd paints work best over two-part fillers due to their excellent adhesion and zero shrinkage. Avoid mixing water-based paints with solvent-based fillers, as this causes blistering and poor bonding.
Always test the paint on a small filled area to confirm compatibility before full application.
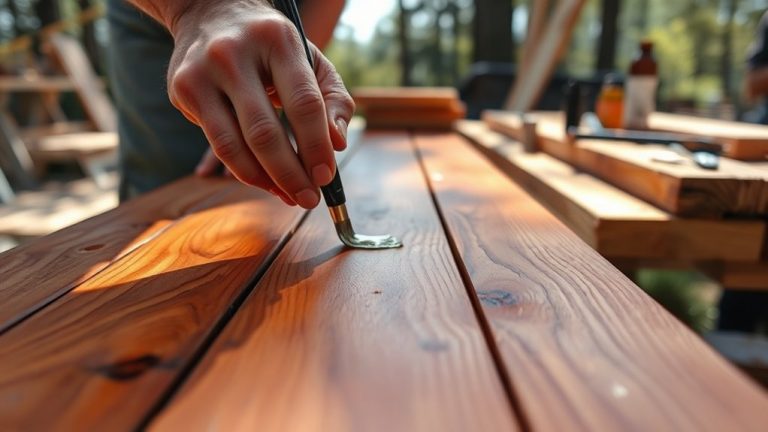
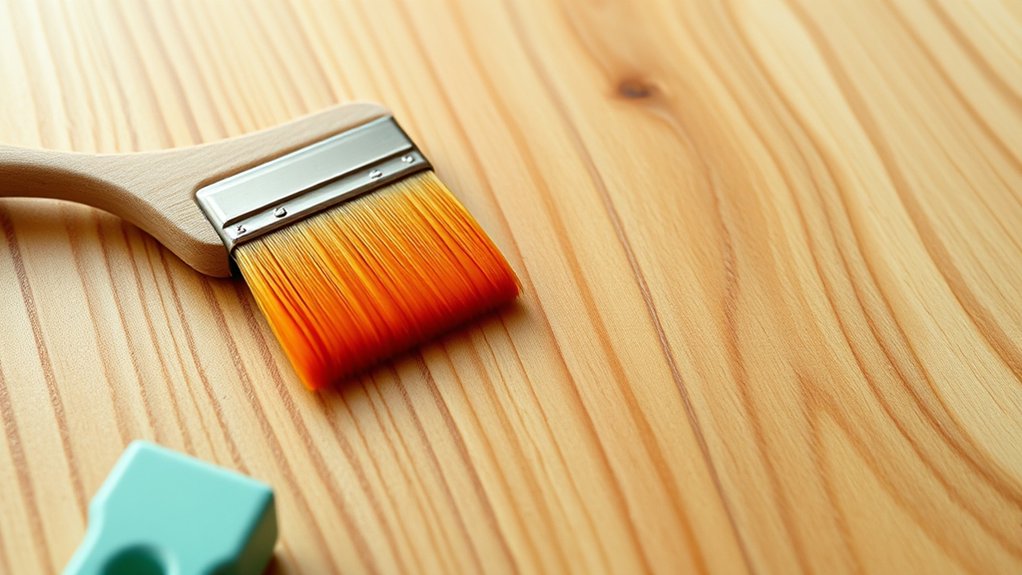
Applying Paint Over Wood Filler to Prevent Peeling
To prevent peeling when painting over wood filler, you need to make sure the filler is fully cured and properly prepared before applying any paint. Give it 24-48 hours to harden completely.
Then, sand the filled area smoothly with fine-grit sandpaper so it’s flush with the rest of the surface. This helps the paint stick better.
Sand the filled area smoothly with fine-grit sandpaper to ensure a flush surface for better paint adhesion.
Next, grab a high-quality primer made for wood filler. This will make sure the surface absorbs the paint evenly and gives you a strong base to work on.
When it comes to paint, pick something compatible like acrylic latex or alkyd. Apply several thin coats instead of one thick one—that way, it lasts longer and won’t peel easily.
Remember these tips: confirm the filler is dry and sanded before priming. Always use a primer to seal and prep the surface.
And apply multiple thin coats of paint for durability and to prevent peeling.
Follow these steps, and your finish will stay looking great for much longer without peeling.
How to Fix Common Paint Problems on Wood Filler
Even with careful preparation, you might encounter common paint problems on wood filler like peeling, blistering, or visible patches. To fix these, first verify the filler is fully cured and sanded smooth.
Remove any loose paint before applying a high-quality bonding primer designed for wood fillers to improve adhesion.
When painting over wood, always apply thin layers to avoid trapping moisture and causing blisters. Avoid combining water-based paints over oil-based fillers to prevent poor adhesion and blistering.
Make sure you maintain good ventilation and dry conditions during application to enhance durability.
If problems persist, sand the affected areas, re-prime, and repaint in thin, even coats.
It’s also a good idea to conduct a small test patch beforehand to confirm compatibility and prevent future issues.
Taking these steps will help your paint job last longer and look better.
Choosing Wood Filler Types for Painted Surfaces
When you’re picking out wood filler for painted surfaces, it’s important to think about how well it works with your paint. That way, you’ll get a nice, smooth finish.
A lot of people go for two-part fillers because they stick really well, don’t shrink, and are super strong.
Water-based fillers can be an option too, but just keep in mind they might need special primers and a bit more prep to make sure the paint sticks properly.
Types Of Wood Filler
Several types of wood filler cater specifically to painted surfaces, each with distinct properties that affect your project’s outcome.
Two-part fillers stand out for their zero shrinkage, superior strength, and excellent adhesion. These qualities make them perfect for durable repairs.
Water-based fillers are easier to use but often need extra steps like sanding and priming to work well with paint. Color matching also plays a key role in achieving a seamless finish. Getting the right shade can really make your repair disappear.
- Two-part fillers: Provide strong, shrink-free repairs with excellent bonding.
- Water-based fillers: Require careful surface prep and appropriate primers to prevent peeling.
- Color-matching fillers: Help blend repairs flawlessly under paint.
Choosing the right filler and allowing proper curing guarantees a smooth, long-lasting painted surface.
It’s all about the prep and patience for the best results.
Filler Compatibility With Paint
Selecting the right wood filler is only part of the equation. Understanding how it interacts with paint is what really determines the success of your finish. For ideal filler compatibility, two-part wood fillers are generally your best bet. They offer zero shrinkage and strong adhesion, unlike some water-based options that need extra prep.
Before painting, always apply high-quality bonding primers tailored to the filler type. This helps prevent paint absorption and guarantees a uniform finish. Acrylic latex and alkyd paints adhere well over properly primed fillers. Just make sure you avoid painting over uncured filler to prevent adhesion problems.
Keep in mind, environmental factors like humidity and temperature affect filler curing and paint bonding. So, plan your work accordingly.
Advantages Of Two-Part Fillers
Although various wood fillers exist, two-part fillers stand out for painted surfaces because they eliminate shrinkage and provide a stable, smooth base.
When you use two-part fillers, you get superior adhesion to paint, reducing peeling and flaking risks. Their hardness after curing guarantees durability, allowing repairs to withstand everyday wear.
Plus, they’re less porous, preventing paint from soaking unevenly and blending seamlessly with the surrounding wood.
Key advantages include:
- Zero shrinkage assures a level, stable surface
- Hard, durable finish resists damage over time
- Superior paint adhesion prevents peeling and matches surrounding wood perfectly
Choosing two-part fillers guarantees you achieve a flawless, long-lasting painted finish that integrates well with the surrounding wood.
It’s really the best way to make sure your repairs look great and last.
Frequently Asked Questions
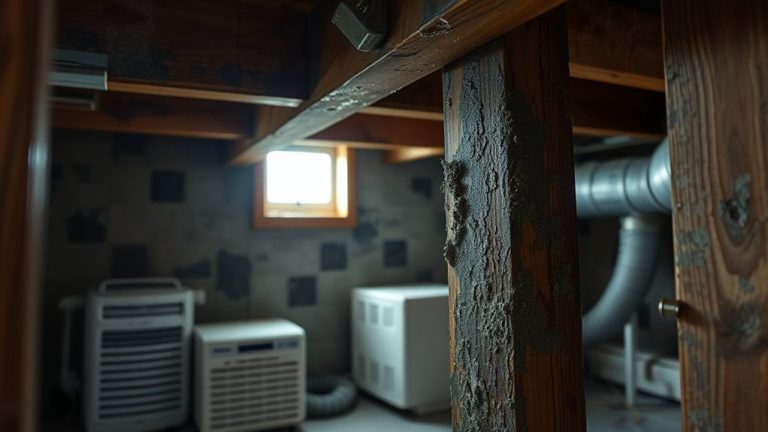
Can Wood Filler Be Used Outdoors Before Painting?
Yes, you can use wood filler outdoors before painting, but you need to choose an exterior wood filler designed for durability against moisture and temperature changes.
Make sure the filler fully cures before painting to guarantee strong adhesion.
Always prime the filled areas with a compatible exterior primer to protect the filler and improve paint bonding.
This method helps maintain the durability and appearance of your outdoor wood surfaces over time.
Does Temperature Affect Wood Filler Drying Time?
Did you know wood filler drying time can double in high humidity? Yes, temperature directly affects drying conditions.
When temperatures drop below 65°F, drying slows, sometimes extending cure time from 30 minutes to several hours. High humidity also traps moisture, further delaying drying.
To guarantee proper curing, maintain temperatures between 65°F and 85°F and control humidity levels. Always follow your filler’s instructions for best results in varying conditions.
How to Remove Old Paint From Wood Filler Before Repainting?
To remove old paint from wood filler before repainting, start with paint stripper techniques by applying a chemical paint stripper carefully.
Make sure to follow all safety instructions and guarantee proper ventilation.
Once the paint softens, scrape it off gently.
Then, follow up with sanding methods using fine-grit sandpaper (120-220 grit). This helps smooth the surface and remove any lingering paint.
Finally, clean the area thoroughly before you repaint.
This step assures excellent adhesion and a flawless finish.
Can Tinted Wood Filler Match Paint Colors?
Imagine a patch that disappears instead of standing out. Yes, tinted wood filler can match paint colors, but achieving seamless color matching requires methodical blending techniques.
You’ll want to test small areas since formulas vary by brand. Mixing a bit of your paint into the filler can enhance the match, but always try a sample first.
This precision guarantees your repair blends flawlessly, avoiding mismatched patches that catch the eye. It’s all about taking your time and experimenting a little.
Is Wood Filler Safe for Kitchen or Food Prep Surfaces?
Wood filler isn’t inherently safe for kitchen or food prep surfaces because of potential chemical exposure.
To keep things safe and clean, you need to choose a food-safe, non-toxic wood filler that’s made specifically for these areas.
After you apply it, make sure it’s fully cured and sealed with a certified food-safe finish. This step is super important because it prevents any chemicals from leaching out.
Doing this not only keeps your surface durable but also helps you meet health standards in your kitchen.
Conclusion
You can absolutely paint over wood filler, but doing it right is essential. Let the filler cure fully, like waiting for a volcano to cool, before sanding smooth. Always prime to create a perfect base, then choose paint suited for durability.
Apply carefully to avoid peeling, and troubleshoot common issues promptly. By following these best practices, you’ll achieve a flawless, long-lasting finish that makes your wood surface look professionally restored every time.