Can You Stain Wood Without Sanding: Easy Methods Explained
You can stain wood without sanding by properly cleaning the surface and lightly scuffing any glossy finishes to improve stain adhesion. Using gel stain is especially effective since it sticks well over existing finishes and helps control drips.
Apply thin coats, wipe off the excess after a few minutes, and let it dry fully before sealing. This method preserves the wood’s integrity and makes the process simpler.
If you want to get the best results and figure out common issues, keep exploring these easy techniques. It’s easier than you might think!
When Can You Stain Wood Without Sanding?
Although sanding is a common step before staining, you can stain wood without sanding if the surface is smooth and free of damage.
Sanding is typical before staining, but smooth, undamaged wood can be stained without it.
When working on a wood cabinet with an existing finish, make sure the surface is clean and free of dust or grease to help the stain adhere properly.
If the finish feels too smooth, lightly scuff it with fine grit sandpaper to improve stain absorption without fully sanding the wood. This step is especially important for cabinets that have a glossy or sealed surface.
Before staining the entire wood cabinet, test your chosen stain on a hidden spot to verify compatibility and color results.
Proper preparation guarantees the stain bonds well, giving your project a professional and lasting finish.
Choosing Gel Vs. Traditional Stains for No-Sanding Projects
Once you’ve confirmed your wood surface is clean and ready, choosing the right type of stain becomes your next step. For no-sanding projects, Gel Stain often outperforms traditional stains by adhering well over an existing color and finish.
Here’s what to evaluate:
Gel Stain’s thick consistency offers better control and reduces drips, especially on vertical surfaces. Traditional stains usually need sanding for proper absorption, making them less convenient for quick updates. Gel Stain also acts as a protective finish, helping preserve the wood without extra steps.
While traditional stains provide more color options, Gel Stain’s ease of application and ability to work over existing finishes make it ideal when you want to skip sanding and save time.
It’s a great choice if you’re looking to get the job done faster and with less hassle.
How to Test Your Wood Surface for Stain Compatibility
How can you be sure your wood surface will accept a new stain without sanding? Start by testing wood surface compatibility. Use a cotton ball with rubbing alcohol to identify the existing finish type. Oil-based finishes won’t dissolve, while water-based finishes will.
Clean an inconspicuous area thoroughly, then apply a small amount of stain to test stain color and absorption. Let it dry completely to evaluate the final result. If adhesion seems poor, lightly scuff with fine-grit sandpaper and retest.
| Step | Action | Purpose |
|---|---|---|
| 1 | Alcohol test | Identify existing finish type |
| 2 | Clean surface | Remove contaminants |
| 3 | Apply stain | Test stain color & absorption |
| 4 | Dry completely | Assess final color & sheen |
| 5 | Lightly scuff (optional) | Improve adhesion if needed |
How to Prepare Wood for Staining Without Sanding
Start by giving the wood a good cleaning to get rid of any dust, grease, or dirt. This step is important because it helps the stain stick better.
Once that’s done, take a moment to figure out what kind of finish is already on the wood. Knowing this will help you decide the best way to get it ready.
After that, instead of sanding, gently scuff the surface just enough to create some texture. This way, the stain can soak in nicely without the need for sanding.
Cleaning Before Staining
Before applying any stain, you’ll want to thoroughly clean the wood surface to remove dust, dirt, and grease that can interfere with stain absorption. Proper cleaning guarantees existing finishes don’t block the stain and prepares the wood for even color application.
Here’s how to get started: Use an all-purpose cleaner applied with a lint-free cloth or sponge to remove contaminants without leaving residue.
Check the wood for imperfections like scratches or dents and fill holes with wood putty filler for a smooth surface.
Let the wood dry completely after cleaning to avoid moisture interfering with staining wood.
Remember to work in a well-ventilated area, especially when using strong degreasers, to maintain safety while preparing your wood surface.
Identifying Finish Type
Why does identifying the finish type matter when staining wood without sanding? Knowing the finish helps you choose the right approach and products.
Start by cleaning the wood surface thoroughly to remove grease and dirt, which improves stain adhesion.
Next, test the finish type by rubbing a cotton ball dipped in rubbing alcohol on a small area. If it smears, the finish is likely oil-based. If the cotton ball stays clean, it’s water-based. This step is vital for selecting a compatible stain.
Before fully applying stain, always test a small, hidden area to check how the color interacts with the existing finish. This methodical approach prevents surprises and guarantees a smooth staining process without sanding.
Light Surface Scuffing
Although you’re not sanding away the finish entirely, lightly scuffing the surface with fine grit sandpaper creates the necessary texture for new stain to grip effectively.
Light surface scuffing improves stain adhesion on previously finished wood without stripping the finish. Use 220 or 300 grit sandpaper and apply gentle pressure to avoid deep scratches that could ruin the final look.
After scuffing, clean the surface thoroughly to remove dust and grease. It’s a simple step but really important to make sure your stain goes on smoothly and evenly.
Follow these steps:
- Lightly scuff the wood to create a roughened texture.
- Clean the surface with a degreaser like Simple Green.
- Test a small area to verify stain compatibility.
This method prepares wood efficiently for staining without the need for full sanding. It’s a quick way to get your wood ready and looking great!
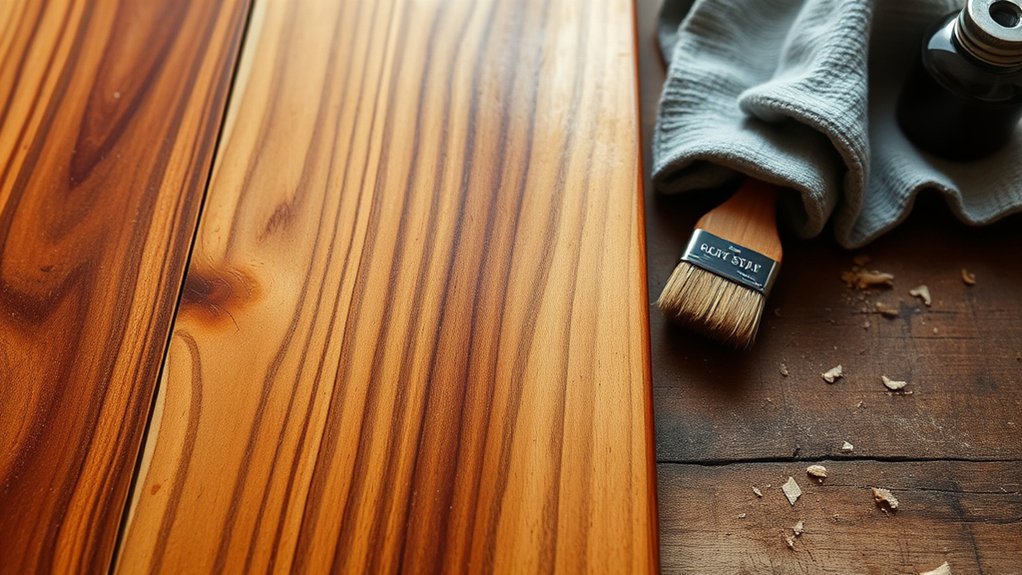
How to Apply Gel Stain Without Sanding
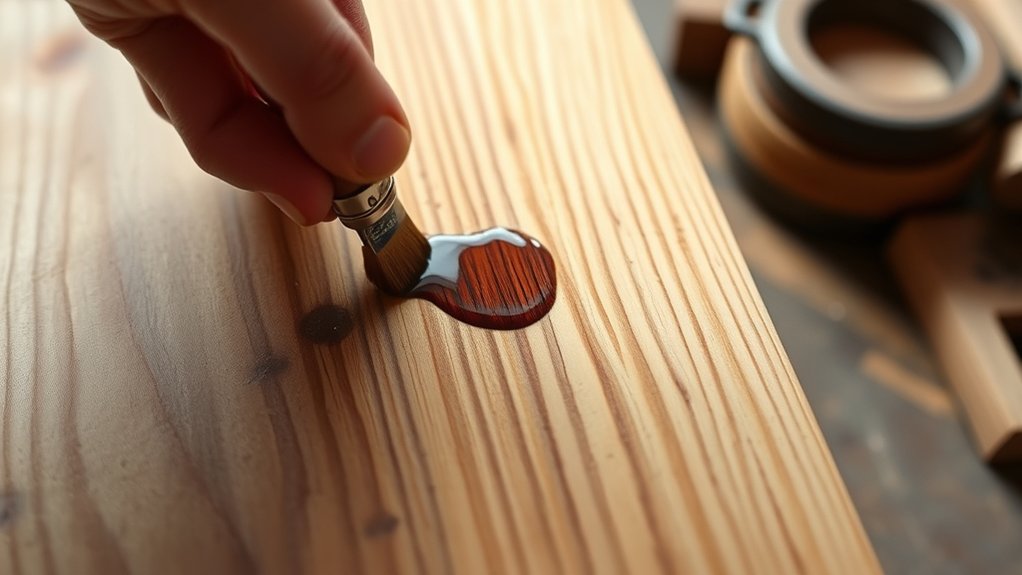
You can apply gel stain directly over existing finishes without sanding, making it a quick way to change wood tones.
Start by cleaning the surface thoroughly with a degreaser like Simple Green to remove any grease or dirt. Test the finish with rubbing alcohol to verify compatibility and ideal adhesion.
Begin by cleaning the surface with a degreaser and test with rubbing alcohol for best stain adhesion.
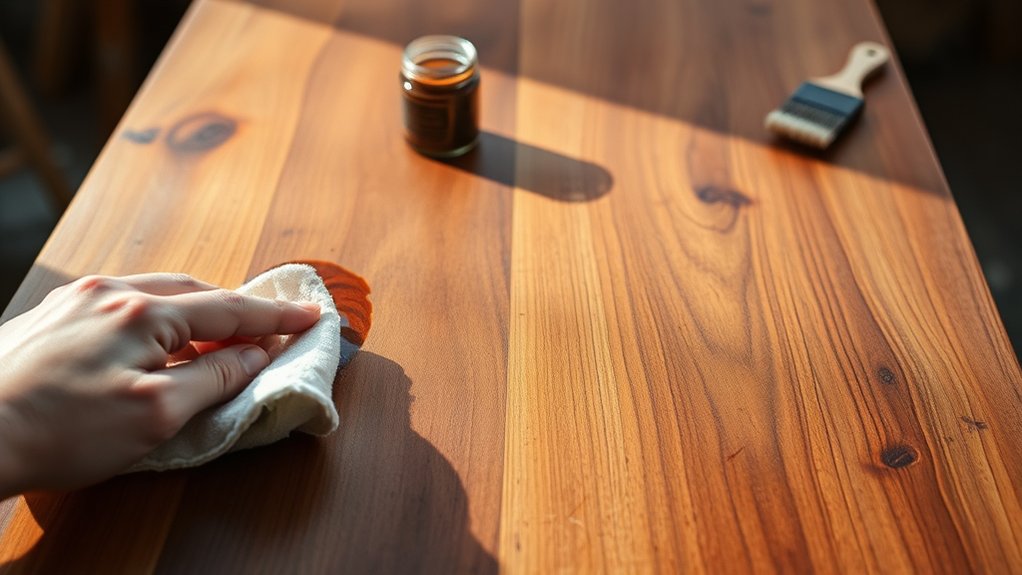
Use a quality brush or foam applicator to apply the gel stain in manageable sections. Let it sit for 2 to 3 minutes to penetrate before wiping off the excess with a clean cloth.
If you want a richer wood tone, go ahead and apply a second coat after the first has dried.
Wait 24 hours before sealing with a top coat, following the recommended drying times.
This method offers an efficient way to refresh wood without the hassle of sanding. It’s a great shortcut when you want to update wood surfaces quickly.
Tips for Getting Even Color Without Sanding
First, make sure to clean the wood surface really well to get rid of any dust and grease. This step helps the stain stick better, even if you’re skipping sanding.
When you’re ready to apply the stain, grab some high-quality brushes or foam applicators—they make a big difference. Apply the stain in sections and blend it while it’s still wet to avoid any lap marks and get that smooth, even finish.
If you’re working on vertical surfaces, gel stains are your best friend. They help prevent drips and give you consistent coverage, making the whole process a lot easier and cleaner.
Surface Cleaning Techniques
Three essential steps help you achieve an even stain color without sanding: thorough cleaning, residue removal, and surface preparation. Proper surface cleaning techniques guarantee the wood stain adheres well, giving your stained wood a uniform look.
Start by cleaning the wood with a degreaser like Simple Green or Krud Kutter to remove grease and dirt.
Next, wipe the surface with a lint-free cloth to eliminate any leftover residue that could interfere with the stain.
For better adhesion without full sanding, lightly scuff the surface using fine grit sandpaper. Always check the finish type with rubbing alcohol to tailor your cleaning method.
Finally, make certain the surface is completely dry before applying wood stain to avoid uneven color and achieve a flawless finish.
Taking these steps really makes a difference in the final look!
Stain Application Tips
Although sanding is often recommended, you can achieve an even stain color without it by carefully preparing and applying the stain. Start by cleaning the wood thoroughly to remove oils and dirt, which helps the stain stick better.
Use gel stains for vertical surfaces to minimize drips and promote uniform coverage.
Apply the stain in manageable sections, working with the grain using foam brushes or a high-quality brush for smooth application. For the first coat, apply thinly and wipe off excess after 2-3 minutes to avoid blotchy spots.
Instead of a single thick layer, consider multiple thin coats to build an even color gradually.
This method gives you greater control over the final shade and a consistent finish without the need for sanding. It’s a pretty simple trick that can make a big difference in how your project turns out.
Give it a try and see how easy it is!
Fixing Common Problems When Skipping Sanding
When you skip sanding, uneven stain absorption often causes blotchy or patchy areas on the wood surface. To fix these common problems, start by ensuring the wood is clean and free of grease, dirt, and sanding dust that can interfere with stain adhesion.
Then, try these methods to restore a good condition finish. Lightly scuff the surface with fine-grit sandpaper to improve stain grip and reduce peeling risks.
Applying a stain-blocking primer can also help prevent tannins and knots from bleeding through the stain.
It’s a good idea to test the stain on a hidden spot first. This way, you can see how it absorbs and adjust your technique accordingly.
These steps help you achieve a more even stain without a full sanding, preserving the wood’s integrity and appearance.
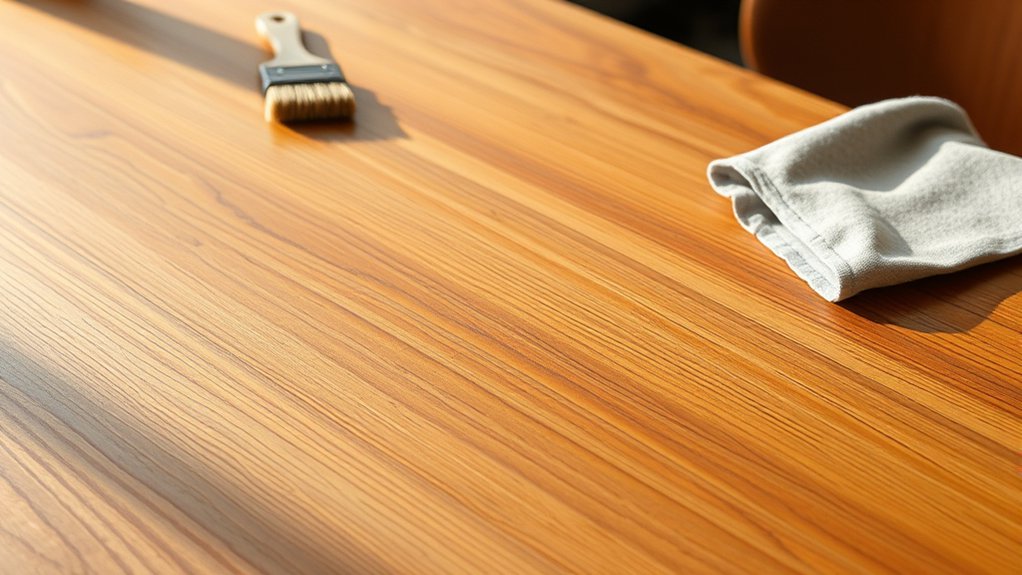
How to Seal Wood After Staining Without Sanding
To properly seal wood after staining without sanding, you’ll need to wait at least 24 hours for the stain to fully dry before applying any sealant.
Choose a high-quality clear topcoat such as polycrylic or polyurethane to protect the surface.
To know how to seal wood effectively, use a natural bristle brush or foam applicator, applying smooth, even strokes to avoid brush marks.
Focus on achieving a consistent finish without sanding by applying multiple coats. Allow at least two hours of drying time between each layer.
Make sure you work in a well-ventilated area to speed up drying and minimize fumes.
Following these steps helps you finish without sanding, preserving the wood’s appearance while creating a durable, protective coating.
Frequently Asked Questions
Can You Stain Painted Wood Without Sanding?
Yes, you can stain painted furniture without sanding by using a gel stain designed for painted surfaces. This method guarantees better stain absorption without damaging the existing paint.
You’ll want to clean the surface thoroughly for color consistency and may lightly scuff to improve adhesion if needed.
Always test first on a hidden spot to check how the stain interacts with the paint. Finish with a protective top coat for durability.
It’s a pretty handy way to refresh your furniture without all the hassle of sanding. Just take your time and be sure to do a small test area first!
What Types of Wood Are Best for Staining Without Sanding?
Softwoods like pine and fir work best for staining without sanding because of their open grain and great stain absorption. These woods really soak up the stain nicely, making the job easier and the finish more even.
Smooth-finished hardwoods, like oak and maple, can also do well if you make sure the finish is compatible and clean the surface thoroughly first.
Gel stains can really help improve the results on these types of wood.
It’s always a good idea to consider the wood grain and test a small area before committing. That way, you’ll know exactly how the stain will react without sanding, helping you get a smooth, durable finish every time.
How Long Does It Take for Stain to Dry Without Sanding?
Drying time for stain without sanding varies because of how the wood absorbs the stain and the effects of humidity.
Since the wood’s surface isn’t sanded, the stain might take longer to dry. Often, it can be 24 hours or more for oil-based stains.
Higher humidity can make this take even longer. To speed up drying, focus on preparing the wood well, like cleaning it and applying thin coats. Always check the stain’s instructions, too.
Gel stains usually dry faster, typically around 1 to 2 hours.
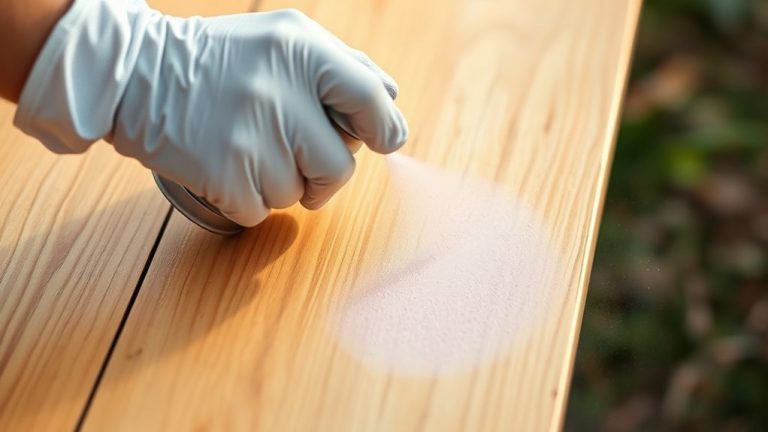
Can You Use a Spray Stain Without Sanding the Wood?
Think of your wood as a canvas. Spray stain lets you paint without roughening the surface. Yes, you can use the spray technique without sanding, but success hinges on surface preparation tips like thorough cleaning to remove dust and oils.
The spray technique has some cool advantages, like quick application. But how well the stain soaks in depends on the wood’s smoothness. Lightly scuffing the surface can really help with adhesion.
Will Staining Without Sanding Affect Wood Durability?
Staining without sanding can affect wood durability because uneven stain absorption rates often occur on unprepared surfaces.
You need thorough wood surface preparation, like cleaning and using a stain-blocking primer, to promote even absorption and better adhesion.
These steps improve finish longevity factors, helping the stain last longer and protecting the wood.
If you skip the prep, you might end up with a patchy finish that wears off quicker.
And that just reduces the overall durability.
Conclusion
You might think sanding is a must for staining wood, but it’s not always necessary, especially with gel stains and proper prep. By testing your wood’s surface, cleaning it well, and applying stain carefully, you can achieve an even, beautiful finish without the dust and effort.
Skipping sanding can save time and still deliver great results if you follow these steps methodically. So, go ahead—stain smart, not hard.