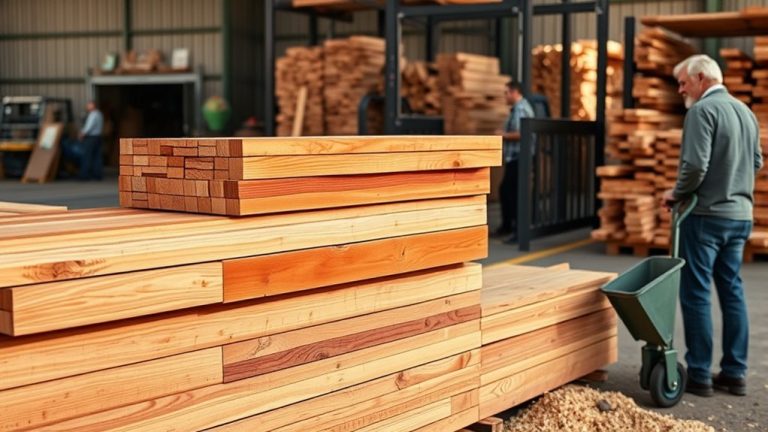
When Can You Stain Pressure Treated Wood: Timing Explained
You can stain pressure treated wood once it’s properly dry, usually after waiting 6 weeks to several months. Check moisture levels with a meter, ideally between 12-17%, or do a water test. If water soaks in quickly, it’s ready.
Staining too soon traps moisture and causes peeling. But waiting too long risks mold and wood damage. Getting the timing right guarantees a lasting finish.
Keep exploring to find out how weather, preparation, and stain choice affect your project’s success.
How to Tell If Pressure Treated Wood Is Ready to Stain
How can you tell if pressure treated wood is ready to stain? First, you’ll want to wait at least 6 weeks after installation for drying time. Some types may dry faster if the environmental conditions are just right.
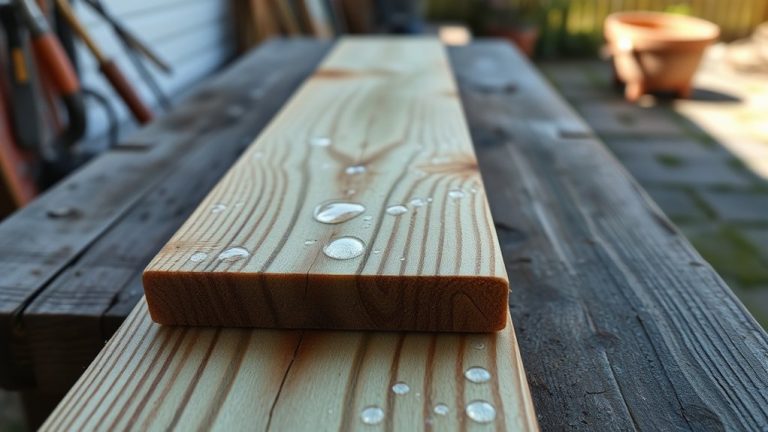
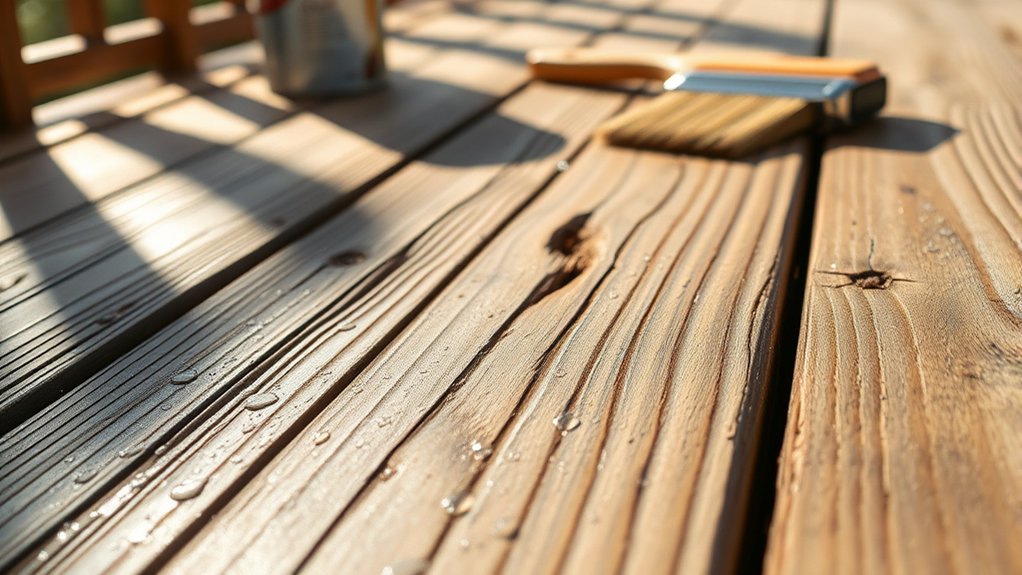
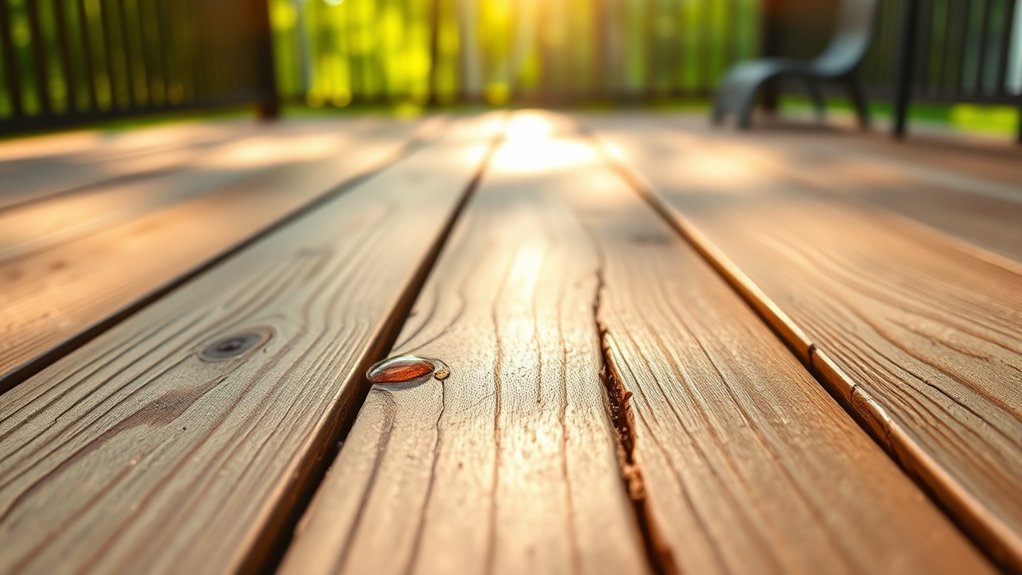
To check if it’s ready, try a simple water test: drop some water on the surface. If it beads up, the wood still holds too much moisture and needs more drying time. But if it soaks in quickly, it’s probably ready to stain.
Perform a water test: beading means wait longer, soaking means it’s ready to stain.
For a more precise check, use a moisture meter. A reading between 12-17% moisture content—ideally 15% or lower—means the wood is dry enough.
Staining too soon traps moisture and can cause peeling or uneven color.
How Weather, Sunlight, and Wood Thickness Affect Drying Time
Once you’ve confirmed your pressure treated wood is dry enough to stain, you’ll need to evaluate factors that affect its drying time.
Weather cycles play an essential role. Hot sun and dry conditions speed up drying, often reducing time to dry to 2-3 weeks.
On the other hand, humid or shaded environments force you to wait longer, sometimes 6-8 weeks or more.
Wood thickness also impacts moisture retention. Thinner boards dry within 3-6 weeks, but thicker pieces, like 6×6 posts, can take up to a year.
Rainfall resets the drying process, so make sure to allow for consecutive dry days before staining.
Keeping an eye on these factors helps you apply stain when moisture levels are just right. This prevents poor adhesion and helps prolong the life of your pressure treated wood.
Why Moisture Levels Matter Before You Stain Pressure Treated Wood
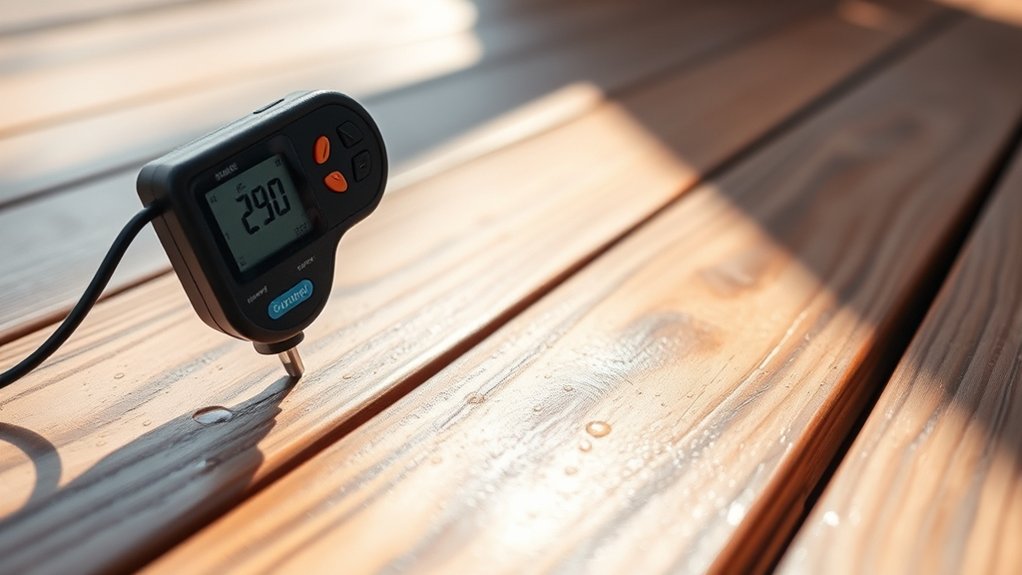
Anyone planning to stain pressure treated wood needs to understand the critical role moisture levels play in the process. Freshly treated wood holds high moisture, so you’ll need to wait 3 to 6 months before staining pressure treated wood. The ideal moisture level is between 12-17%, which you can check accurately using a moisture meter.
Environmental factors like humidity, temperature, and sunlight affect drying times. These factors often extend how long you should wait.
A simple water bead test helps, too: if water beads on the surface, the wood is still too wet. But if it absorbs quickly, it’s ready.
Staining too soon traps moisture, causing peeling and uneven color. Making sure moisture levels are right prevents these issues and guarantees a lasting, even finish. It’s definitely worth the wait!
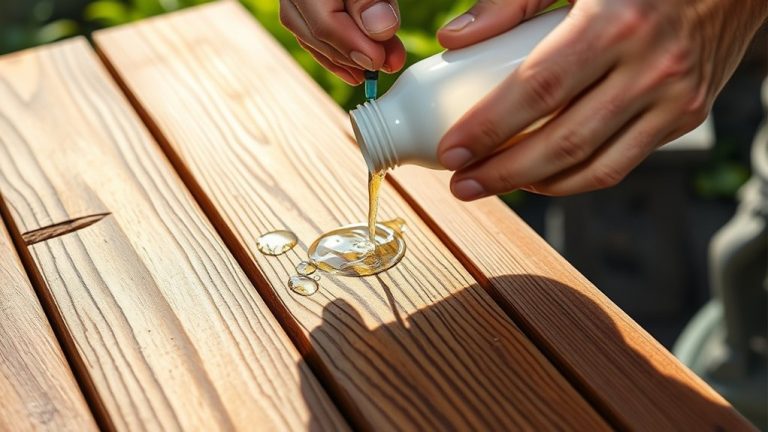
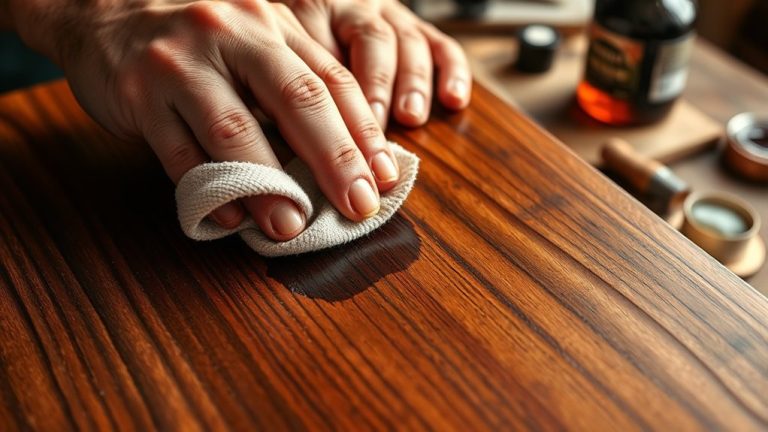
How to Prepare and Stain Pressure Treated Wood Successfully
Waiting for the right moisture level sets the stage for a successful staining project.
With new pressure treated wood, it’s essential to confirm the wood is dry, usually after 6 weeks to 6 months. You can check this using a moisture meter or the water bead test.
Once you know it’s time to stain, clean the wood surface thoroughly to remove dirt and debris.
Then, let it dry for at least 24 hours.
When you stain pressure treated wood, choose a day with favorable weather conditions. Temperatures between 50 and 90°F and low humidity help guarantee proper absorption.
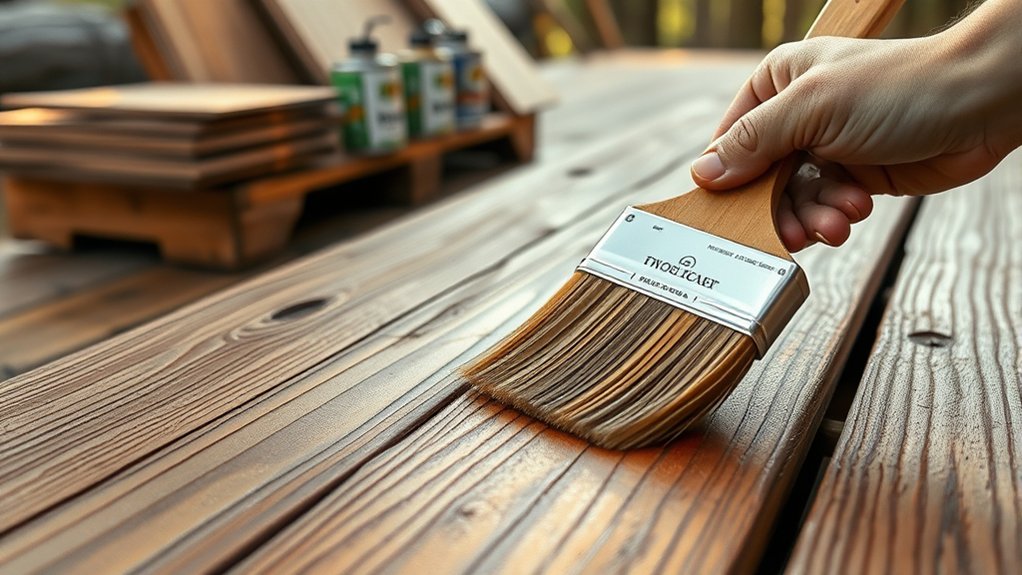
Apply the stain evenly using brushes or sprayers, following the end-to-end rule.
Oil-based stains and semi-transparent options work well to protect the wood while highlighting the grain.
Applying two coats can enhance both durability and appearance.
Choosing the Best Stain for Pressure Treated Wood
How do you choose the best stain for pressure treated wood? Start by thinking about opacity options. Clear stains highlight the natural grain, semi-transparent stains add subtle color while preserving texture, and solid stains offer thick coverage, which is ideal for aged wood.
Next, decide between water-based stains for quicker drying and easier application, or oil-based for deeper penetration and longer durability. Also, keep an eye on UV protection. Darker colors usually provide better sun resistance, which helps extend the life of your wood.
- Match the stain to pressure treated wood with additives for adhesion and durability.
- Follow manufacturer recommendations on the number of coats, usually two, for best results.
- Choose opacity and color based on your aesthetic and protective needs.
This approach guarantees effective staining and lasting beauty.
What Happens If You Stain Pressure Treated Wood Too Soon
If you stain pressure treated wood before it’s properly dried, you risk trapping moisture beneath the finish. This causes peeling and flaking as the wood continues to cure.
When staining pressure treated wood, you need to verify it’s dry enough. Usually, that means a moisture content of 15% or lower. If water beads on the surface during the water bead test, the wood isn’t ready.
Applying stain too early leads to poor adhesion. That means you might’ve to strip it and redo the job, which wastes time and money.
While it’s essential to stain dry wood, waiting too long can invite mold and mildew growth. This can damage the wood.
Risks of Waiting Too Long to Stain Pressure Treated Wood
While staining too soon risks trapping moisture, putting it off for too long brings its own set of problems.
Waiting too long to stain pressure treated wood exposes it to mold and mildew growth, especially in high humidity. This can bond to the surface, making cleaning and future stain absorption more complicated.
Plus, prolonged UV light exposure causes the wood to gray and degrade, which reduces its protective qualities. Dirt and debris also build up over time, closing the wood pores and making it harder for the stain to stick.
These issues can drive up maintenance costs because you might need to strip or pressure wash the wood, or even replace boards sooner than expected.
So, to sum it up, waiting too long can lead to:
- Mold and mildew growth worsened by humidity
- Wood degradation from UV light exposure
- Closed pores that hinder stain absorption and require extra cleaning
Safety Precautions for Staining Pressure Treated Wood
Because pressure treated wood contains chemicals that can irritate your skin and eyes, you need to take specific safety precautions before staining. Always wear chemical-resistant gloves and long sleeves to protect your skin. Use safety goggles to protect your eyes from splashes when you apply stains or use cleaning solutions.
Make sure you have proper ventilation by opening windows and using fans, especially if you’re using oil-based stains. Their fumes can be pretty strong, so it’s important to air out the area. Wearing a respirator with organic vapor cartridges is a must to avoid inhaling harmful vapors.
When applying stains, use a staining pad to get an even coat and keep things safe.
And don’t forget to keep all stains, cleaning solutions, and tools out of reach of kids and pets. That way, you prevent any accidental exposure.
Following these steps helps ensure a safe and effective staining process every time.
Frequently Asked Questions
Can You Stain Pressure Treated Wood Indoors?
You can stain pressure treated wood indoors, but you need to prioritize surface preparation and verify the wood moisture is below 15%.
Improve indoor ventilation with fans and open windows to reduce drying time and boost finish durability.
Choose stain types suited for indoor use, and apply proper staining techniques for even coverage.
Pay attention to color selection to complement your space.
Following these application methods helps you achieve a long-lasting, attractive finish indoors.
Does Pressure Treated Wood Require Sealing Before Staining?
Sealing pressure treated wood before staining is like putting on sunscreen before a day at the beach. It’s often unnecessary if you choose the right product. Most modern stains combine sealing and staining techniques, which saves you a step.
Focus on wood preparation and drying time, making sure moisture is between 12-17%.
Also, think about environmental factors, color selection, and application methods for the best wood preservation.
With proper maintenance, your finish will last longer and look fresh.
Just keep up with these simple tips, and your wood will stay protected and beautiful for years to come.
How Often Should You Re-Stain Pressure Treated Wood?
You should plan your staining frequency every 2 to 5 years to maximize your wood lifespan. Weather conditions and environmental factors greatly affect this timing.
Choose product recommendations wisely. Oil-based stains last longer than water-based ones.
Apply proper application techniques for the best results. Also, consider color choices that suit your style and durability needs.
Regular maintenance helps prevent damage, so keep up with cleaning and inspections.
If you’re doing it yourself, prep thoroughly to guarantee even coverage and lasting protection. It really makes a difference when you take the time to do it right.
Can You Use Oil-Based Stain on Pressure Treated Wood?
You can use oil-based stain on pressure treated wood, but remember it penetrates 30% deeper than water-based stains. This means it gives better finish durability.
For best results, focus on wood preparation and make sure the moisture is under 15%.
Apply the stain evenly, following proper application techniques to get even coverage. One cool thing about oil-based stains is they offer rich color options. Plus, they take longer to dry—about 24 to 48 hours.
While maintenance tips can help preserve the finish, it’s also good to think about the environmental impact. Oil-based stains contain solvents that aren’t the best for the environment.
Is It Necessary to Sand Pressure Treated Wood Before Staining?
Yes, sanding pressure treated wood before staining is necessary for ideal stain adhesion and finish options.
Using proper sanding techniques with 80 to 120 grit sandpaper improves wood preparation by smoothing surface texture and removing mill glaze. This opens the wood pores, allowing better stain application.
Sanding benefits include enhancing drying time and ensuring an even finish.
Just avoid over-sanding to protect the pressure treatment, and always clean dust before staining.
Taking these steps helps your stain look better and last longer.
Conclusion
Staining pressure treated wood is like waiting for the perfect moment to catch a wave. You need patience and timing. Make sure the wood is dry, check moisture levels, and prep it well before applying stain.
If you stain too soon or wait too long, you risk ruining the finish. So, follow these steps carefully. Your wood will look vibrant and protected for years.
With the right timing, your project will truly shine.