Can You Stain Pressure Treated Wood: Complete Guide
You can stain pressure treated wood, but you need to wait 3 to 6 months for it to dry thoroughly. Check moisture levels below 19% or do a water bead test.
Choose an oil- or water-based stain that suits your style and prep the wood by cleaning and lightly sanding. Apply one even coat in moderate weather, then seal after 24-48 hours for long-lasting protection.
Following proper steps helps your wood look great and stay durable. Learn how to get each stage right for best results.
When to Stain Pressure Treated Wood and Why It Matters
When should you stain pressure-treated wood to get the best results? You should wait for an ideal drying period of 3 to 6 months after installation of new pressure-treated wood. This waiting guarantees the moisture content decreases enough to allow proper stain adhesion.
Wait 3 to 6 months after installing pressure-treated wood before staining for optimal adhesion and durability.
Timing for staining is really important. Late spring or early fall offers moderate temperatures and humidity, which helps you achieve the best results.
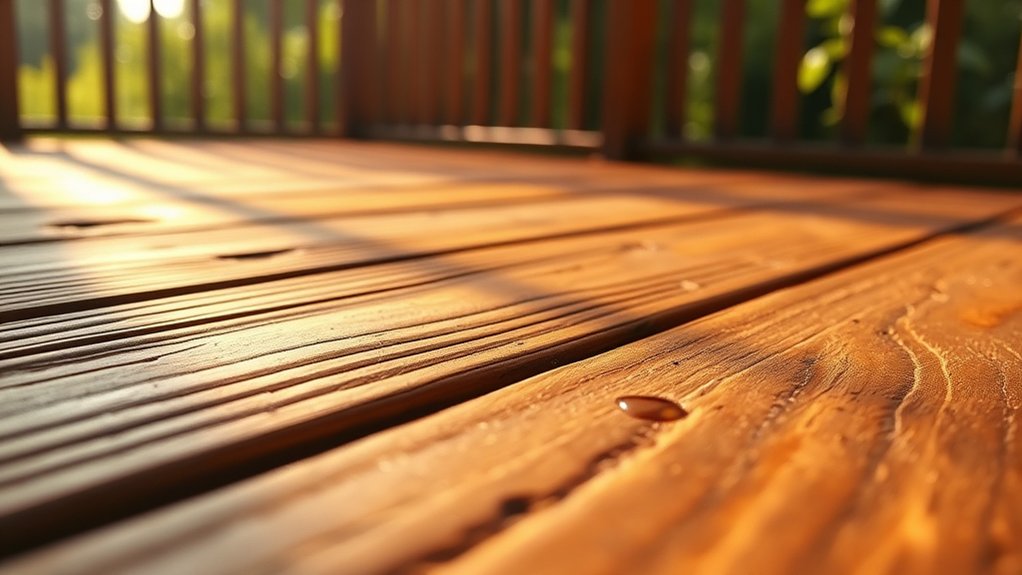
To check if the wood is ready, try a quick water test. If water beads up on the surface, the wood is still too wet to stain.
Once the wood is ready, stain it promptly using a high-quality stain. This will enhance its appearance and provide essential UV protection and moisture sealing.
Staining at the right time extends the wood’s lifespan, preventing weathering, cracking, and that dull silver-gray color untreated wood often develops.
How to Test If Pressure Treated Wood Is Ready for Staining
To make sure your pressure treated wood is ready for staining, start by checking its moisture content with a moisture meter. Ideally, it should read below 19%.
If you don’t have a moisture meter, no worries! You can try a simple water absorption test instead. Just sprinkle a few drops of water on the surface.
If the water soaks in within 5 to 10 minutes, that means the wood is dry enough to stain.
These quick checks are super helpful because they prevent you from staining too soon. That way, your finish will last longer and look better.
Moisture Content Testing
How can you tell if pressure-treated wood is ready for staining? Start by checking its moisture levels with a moisture meter, aiming for below 19% for ideal stain absorption.
You can also perform a simple water test: sprinkle drops of water on the wood surface. If the water beads up, the wood is still too wet, meaning it needs a longer drying period. If the water absorbs quickly, usually within 5-10 minutes, the wood is ready for staining.
Remember, drying time varies. It’s typically 3-6 months, but humid weather conditions can extend this to 6-8 months.
Always consider weather conditions before staining pressure-treated wood, as high humidity or direct sunlight affects how well the stain adheres and dries.
Water Absorption Check
After checking the moisture content with a meter or observing water behavior on the surface, you can further assess if pressure treated wood is ready for staining by performing a water absorption check. Sprinkle a few drops of water on a shaded area of the wood.
If the drops bead up, the wood still has high moisture content and isn’t ready for staining. If the water absorbs within 5-10 minutes, the wood is sufficiently dry and ready for treatment, ensuring better stain adhesion. For ideal results, confirm the moisture content is below 19% with a moisture meter before staining.
| Water Behavior | Interpretation | Action |
|---|---|---|
| Beads up | High moisture content | Wait 3-6 months to dry |
| Absorbs in 5-10 min | Ready for staining | Proceed with stain application |
| No absorption | Too wet or sealed surface | Retest later |
How to Pick the Best Stain for Pressure Treated Wood
Which stain will give your pressure-treated wood the best protection and appearance? Oil-based stains are often your best bet for deep penetration and long-lasting results.
Water-based stains offer easier cleanup and have improved remarkably.
Before choosing, perform a moisture content check. If water beads on the surface, hold off staining. Aim for application conditions with moderate temperatures and low humidity, typically late spring or early fall.
Pick a stain color that suits your style. Cedar, redwood, honey gold, or natural teak are popular options.
When you’re ready, apply the stain thoroughly and follow the manufacturer’s instructions closely.
Be sure to avoid mixing brands, as this can cause adhesion problems and uneven color. Sticking to one brand guarantees consistent, professional results on your pressure-treated wood.
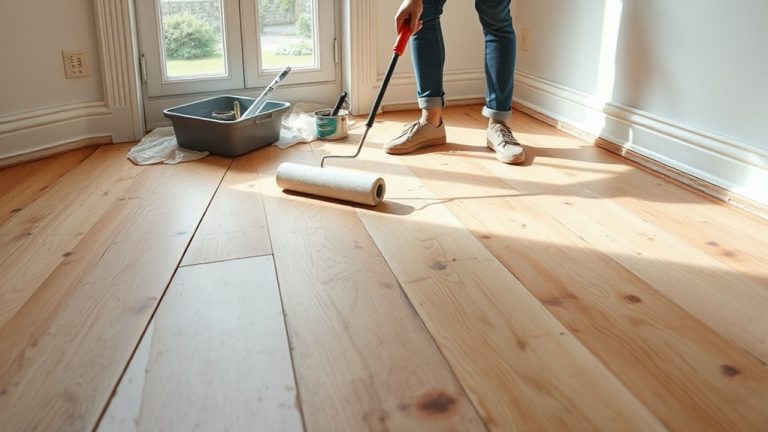
Preparing Pressure Treated Wood for Staining
Before you start staining, it’s really important to make sure your pressure treated wood is completely dry. Usually, waiting about 3 to 6 months does the trick. You can do a simple water test to check if the moisture levels are just right.
Next up, give the surface a good clean to get rid of any dirt or mildew. If the wood feels a bit rough, lightly sanding it can help the stain soak in better.
And don’t forget to protect the areas around your workspace! Using drop cloths and painter’s tape will keep everything neat while you’re staining.
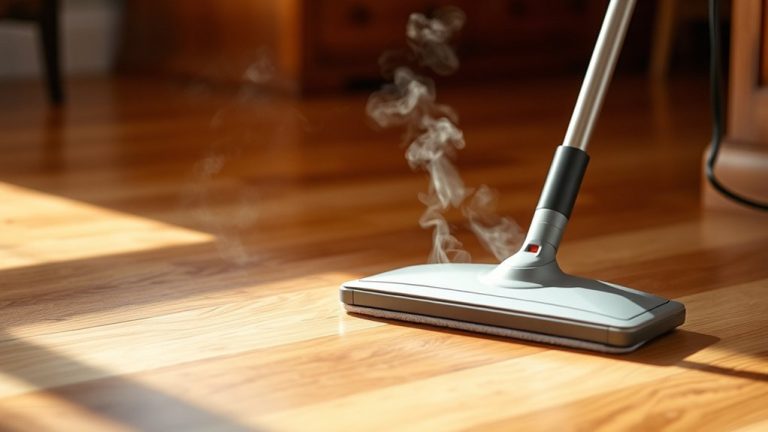
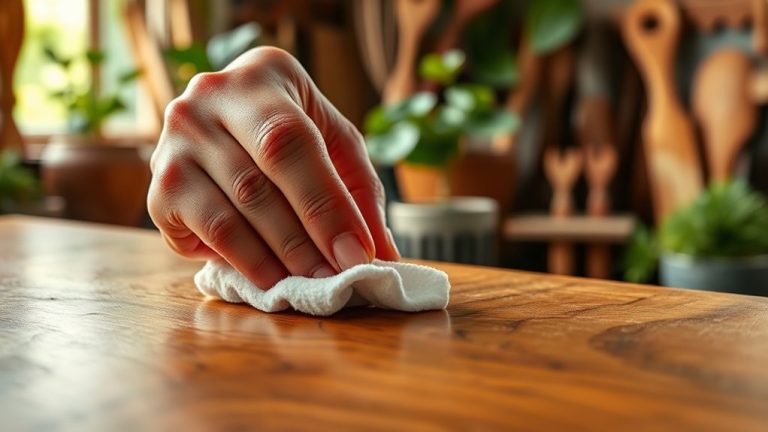
Cleaning And Surface Prep
Start by thoroughly cleaning your pressure-treated wood to remove dirt, debris, and any mill glaze that can prevent the stain from sticking properly.
Use a wood cleaner or a mild detergent to clean the surface. You can also consider pressure washing, but be careful not to cause any damage.
After cleaning, let the wood dry completely for at least 24 to 48 hours. High moisture content will make it hard for the stain to soak in.
Try the sprinkle test by dropping some water on the wood. If it beads up, give it more time to dry. But if the water soaks in within 5 to 10 minutes, you’re good to go.
Next, lightly sand the wood with 80 to 120 grit sandpaper. This helps the stain absorb better and ensures a smooth finish.
Once your wood is prepped, you can confidently apply the stain for the best results.
Drying And Moisture Testing
How long should you wait before staining pressure-treated wood? Typically, you need to allow 3 to 6 months for the wood to dry properly, depending on humidity.
Before you apply stain, test the moisture content with a moisture meter. It should be below 19%.
You can also perform a simple water test: sprinkle drops on the wood’s surface. If water beads up, the wood isn’t ready.
If it absorbs within 5 to 10 minutes, it’s dry enough to stain. Make sure the wood is clean and free of debris because dirt can prevent proper absorption.
Weather plays a role, so pick a day with moderate temperatures and low humidity.
Proper drying and moisture testing guarantee your stain adheres well and lasts longer.
Protecting Surrounding Areas
While preparing to stain pressure-treated wood, you’ll want to protect surrounding areas carefully to avoid unwanted stains or damage. Start by laying drop cloths over plants, grass, and fixtures to catch drips or spills.
Mask off adjacent surfaces like house siding and windows with painter’s tape to prevent stain from adhering where it shouldn’t. Remove or cover accessories such as bird feeders and planters to keep them clean.
Shield nearby heating or cooling equipment with cardboard or plastic sheeting to avoid overspray. After setting up these protections, make certain the wood is dry thoroughly before staining.
This step guarantees ideal adhesion and a smooth finish. Once staining is complete, promptly clean up drop cloths and tape to maintain your workspace and protect your property.
It’s a simple way to keep everything looking sharp and avoid any hassle later on.
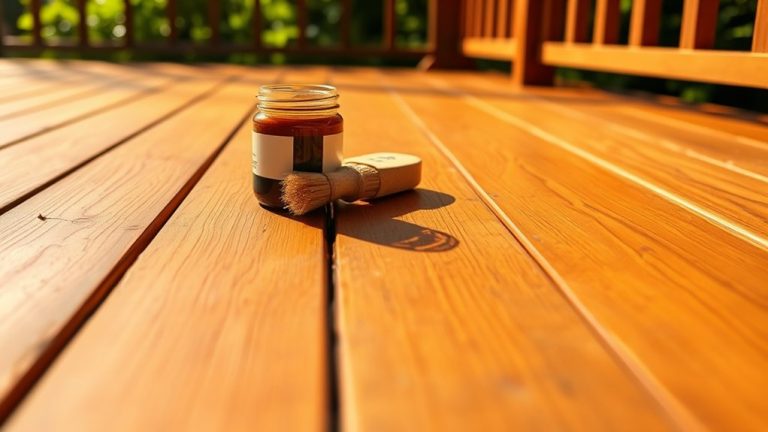
How to Stain Pressure Treated Wood: Step-by-Step
Prepare your pressure treated wood by ensuring it’s completely dry before staining, which usually takes 3 to 6 months. You can do a simple water test by sprinkling water on the surface and seeing if it absorbs within 5-10 minutes. If it soaks in quickly, the wood is ready for the next step.
Next, clean the wood thoroughly with a deck cleaner to remove dirt and mildew. After cleaning, let it dry completely before moving on.
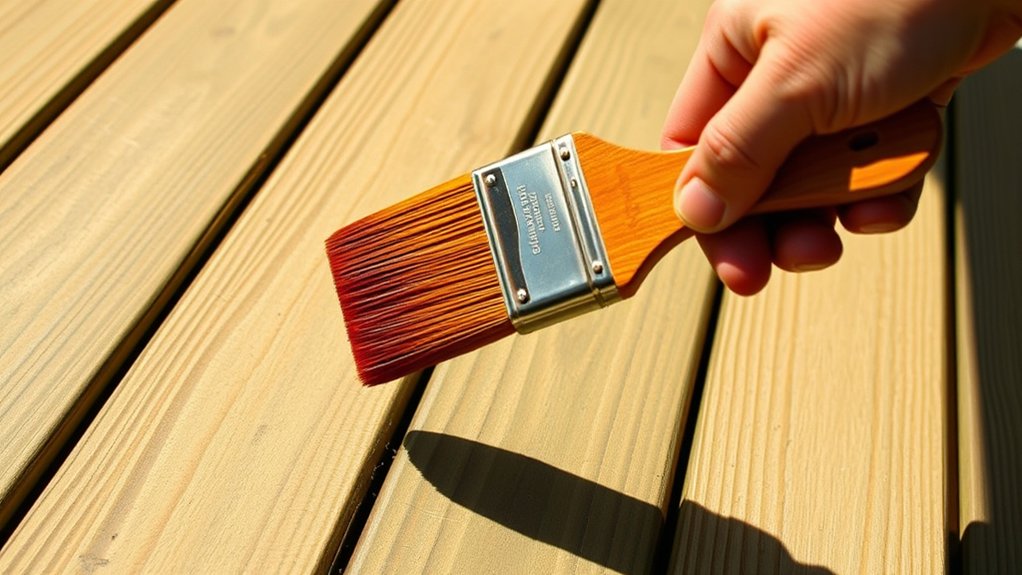
Choose a high-quality, oil-based stain for better protection and longevity. Make sure to mix it well to avoid bubbles.
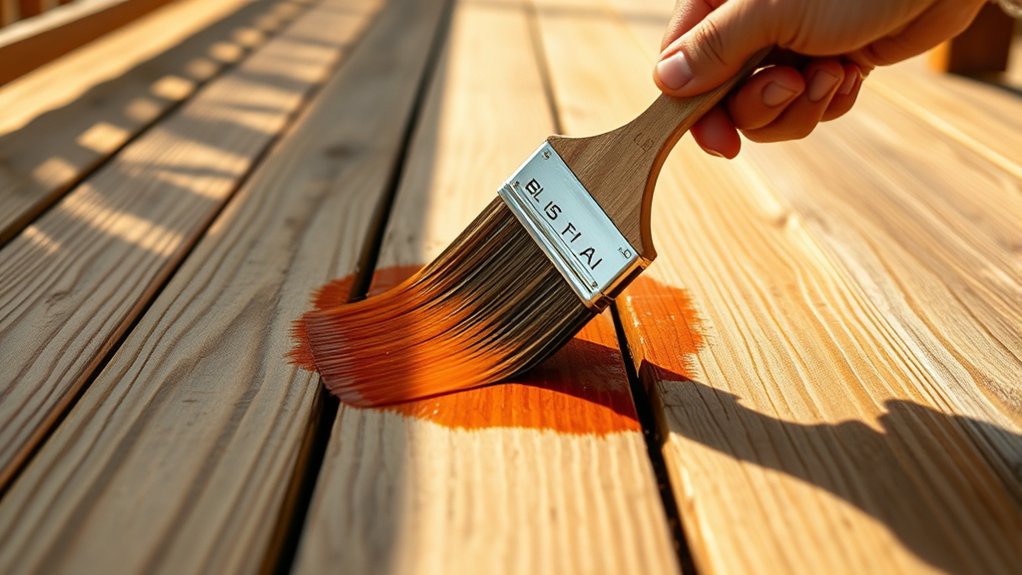
Then, apply the stain evenly using a brush, roller, or sprayer, working with a wet edge. For the best coverage, consider applying two coats.
Regular maintenance is important too. Reapply stain every 1-3 years or whenever fading appears or water stops beading on the surface. This will keep your pressure treated wood protected and looking great.
Common Staining Mistakes to Avoid on Pressure Treated Wood
Because pressure treated wood has unique properties, you need to avoid common staining mistakes that can ruin your finish or reduce its lifespan.
When you apply stain on your deck, timing and technique are essential.
Here are three key errors to avoid:
- Don’t stain if water beads form on the wood surface. Wait at least 48 hours after rain and make sure the deck is dry for proper absorption.
- Avoid multiple coats. One even coat of stain is best to prevent peeling and uneven color.
- Never mix different brands of stains or skip stirring thoroughly. This causes color inconsistencies and poor adhesion.
After staining, clean up with soap and water to prevent residue buildup.
Follow these tips to keep your deck’s finish durable and attractive.
How to Maintain and Reapply Stain on Pressure Treated Wood
Keep your pressure treated wood looking great and protected by regularly maintaining and reapplying stain as needed.
First, inspect your wood every year for signs of fading or flaking. These are clear signals that it’s time to reapply stain.
Before you start, clean the wood surface 1-2 times annually using a mild detergent or wood cleaner. This helps remove dirt and mildew, ensuring maximum adhesion.
Perform a water test: if water beads, hold off staining. But if it soaks in quickly, it’s time to get to work.
Choose a high-quality stain for pressure treated wood that offers UV protection to enhance durability.
Generally, you’ll want to reapply stain every 1-3 years, depending on the conditions.
When and How to Seal Pressure Treated Wood After Staining
After staining your pressure treated wood, you should wait at least 24 to 48 hours before applying a sealer. This ensures the stain has fully dried and cured. Knowing when to seal is super important to protect your wood and make it last longer.
Wait 24 to 48 hours after staining pressure treated wood before sealing to ensure proper drying and protection.
Here’s how to seal pressure treated wood after staining for the best results:
- Clean the surface thoroughly to remove dust or residue that might stop the sealer from sticking properly.
- Choose a clear or lightly tinted sealer that works with your stain. This way, you keep the wood’s look while giving it protection.
- Apply the sealer evenly and follow the manufacturer’s instructions. Plan to reapply every 1 to 3 years to keep your wood safe from moisture and UV damage.
Sealing after staining is key to protecting and preserving your wood effectively.
Frequently Asked Questions
Can I Stain Pressure Treated Wood Indoors?
You can stain pressure treated wood indoors, but you’ve got to prioritize indoor safety and ventilation by opening windows and using fans.
Focus on wood preparation. Wait until the wood’s dry by doing a water test before staining.
Use water-based stains with low VOCs for safer indoor staining. Pick suitable colors and allow ample drying time.
Does Staining Pressure Treated Wood Prevent Warping?
Yes, staining pressure treated wood does help prevent warping by improving moisture retention and providing UV protection.
Make sure you focus on proper surface preparation and allow adequate drying time before applying the stain. Using effective staining techniques is key.
This not only enhances the wood’s color but also boosts its preservation. Regular maintenance is important too, like reapplying stain every 1 to 3 years.
Doing this guarantees long-term stability.
By following these application methods and maintenance tips, you’ll keep your wood looking great and minimize warping over time.
It’s really worth the effort to protect your wood investment.
What Is the Best Weather Condition for Staining?
Think of staining pressure treated wood like painting a masterpiece. You want the ideal temperature between 50°F and 90°F, with low humidity levels to guarantee proper stain absorption and drying time.
Avoid direct sun exposure and windy conditions because they can mess with your application techniques and cause uneven drying.
Make sure you prep the surface well and check that the moisture content is low. This way, your stain adheres perfectly and protects your wood beautifully.
Can I Use Oil-Based Stain on Pressure Treated Wood?
Yes, you can use oil-based stain on pressure-treated wood. Its oil-based advantages include deeper stain penetration and better finish durability.
Before staining, focus on preparation techniques like making sure the wood’s moisture content is below 19%.
Drying time really affects how well the stain sticks.
Choose your colors wisely and apply the stain evenly using the recommended methods.
Don’t forget to maintain the wood regularly to keep it looking great.
Also, be mindful of the environment by cleaning up properly with mineral spirits.
Dispose of any waste responsibly to protect your outdoor wood and surroundings.
How Long Does Stain Typically Last on Pressure Treated Wood?
Stain longevity on pressure treated wood varies: oil-based stains last 2 to 4 years, while water-based last 1 to 3. Your wood preparation and application techniques greatly affect this.
Environmental factors like sun and moisture speed fading, so you’ll want to focus on weather protection and regular maintenance.
Pay attention to color retention, and plan your staining frequency accordingly.
Proper cleaning and inspection keep the wood protected and looking fresh longer.
It’s all about staying on top of upkeep to make your stain last as long as possible.
Conclusion
Staining pressure treated wood isn’t just about beauty, it’s about protection too. If you rush it, you’ll end up fighting peeling and fading. But if you wait and prepare properly, you’ll get long-lasting durability.
Think of staining as giving your wood a shield, not just a color coat. By testing, choosing the right stain, and following careful steps, you’ll turn rough lumber into a stunning, weatherproof masterpiece. It’s something that stands the test of time.
Your patience really pays off!