Can You Paint Engineered Wood: Step By Step Guide
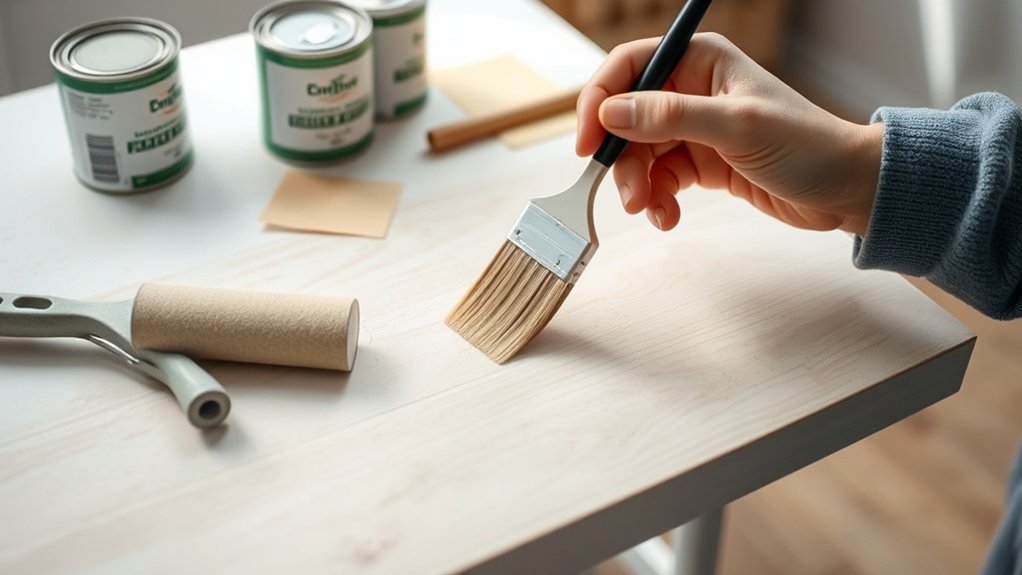
Yes, you can paint engineered wood by first making sure your floor has a wear layer at least 2mm thick. Start by cleaning and lightly sanding the surface. Then, remove all the dust thoroughly.
Next, apply a water-based primer made for wood to help the paint stick better. Use high-quality acrylic or latex paint. Apply two to three coats, sanding lightly between each one.
Proper prep and layering really boost durability. Keep following along to discover tips on protective finishes and upkeep.
Can You Paint Engineered Wood?
Wondering if you can paint engineered wood? Yes, you can, but achieving a smooth, lasting finish requires proper preparation.
Start by thoroughly cleaning and sanding the engineered wood surface to improve paint adhesion. Sanding creates a slightly rough texture, allowing the primer and paint to grip better.
Next, apply a primer designed specifically for engineered wood. This step prevents bleed-through and boosts paint durability.
When painting, use high-quality acrylic or latex paint and apply multiple thin coats rather than one thick layer.
Make sure to allow adequate drying time between each coat to avoid unevenness and peeling.
Following these steps will help you transform your engineered wood with a fresh, durable paint finish that stands up to wear. It’s easier than you might think!
Which Engineered Wood Floors Can Be Painted
After preparing and priming your engineered wood for painting, the next step is to identify which types of engineered wood floors are suitable for this process. You can paint engineered wood floors with a wear layer thickness of at least 2mm and unfinished engineered wood floors without sanding.
Oak and walnut floors require sanding to guarantee proper adhesion and a smooth finish.
| Engineered Wood Type | Wear Layer Thickness | Preparation Needed |
|---|---|---|
| Unfinished Engineered | Any | No sanding |
| Oak and Walnut | ≥ 2mm | Sanding required |
| Prefinished Floors | ≥ 2mm | Sand to remove finish |
Always test paint on a small area to check compatibility before painting the entire floor. It’s a good idea to make sure the paint sticks well and looks right before you commit to the whole surface.
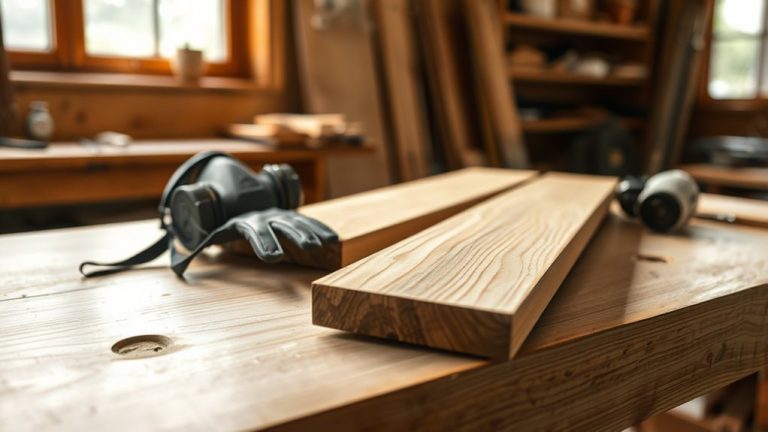
How to Prepare Engineered Wood for Painting
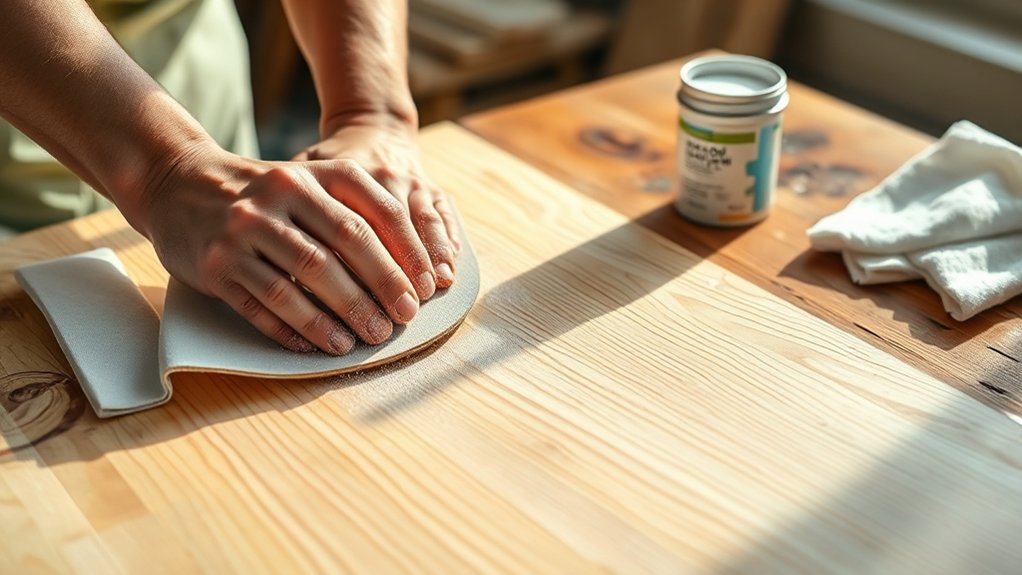
To prepare engineered wood for painting, start by thoroughly cleaning the surface with a damp cloth or vacuum to remove dust and debris. This cleaning step is vital for effective paint adhesion.
Next, lightly sand the engineered wood using medium-grit sandpaper to create a slightly rough texture, enhancing the primer’s grip.
Then, follow with fine-grit sandpaper for a smoother finish. After sanding, focus on dust removal by wiping the surface with a tack cloth or microfiber cloth to guarantee no particles interfere with the primer. Proper surface preparation like this helps the primer to seal the wood and prevents bleed-through.
Once you apply the primer designed for engineered wood, allow it to dry completely before painting to achieve lasting, professional results. Taking these steps will make your paint job look great and last longer.
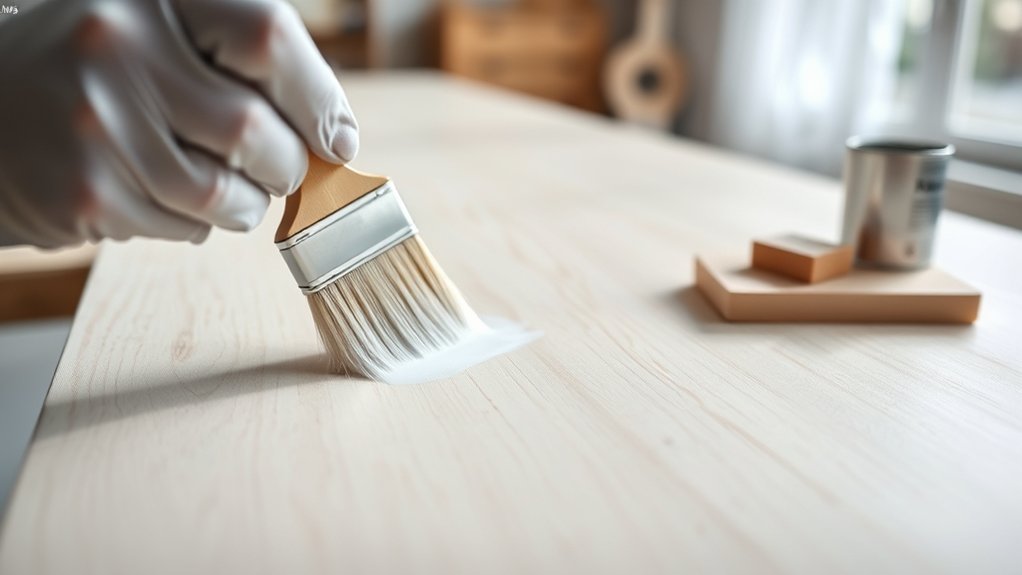
How to Choose the Right Primer for Engineered Wood
When you’re choosing a primer for engineered wood, it’s best to go with one that’s designed to ensure strong adhesion and stop any color bleed-through.
Water-based primers usually work great because they dry faster and don’t have as many harmful fumes.
Just make sure to double-check that the primer is compatible with the type of paint you plan to use.
That way, you’ll get a durable, smooth finish you can count on.
Primer Types Overview
Although choosing the right primer might seem straightforward, it plays an essential role in how well your paint adheres to engineered wood and how long it lasts. When selecting a primer, pick one specifically formulated for wood surfaces to guarantee ideal adhesion.
Water-based primers are often the best choice because they dry quickly, have low odor, and work well on engineered wood. You’ll want a primer that effectively seals the surface to prevent bleed-through, especially if the wood has dark stains.
Also, check the primer’s compatibility with your chosen paint, whether acrylic, latex, or oil-based, to ensure a smooth finish.
Before covering the entire surface, apply a small test coat to verify adhesion and compatibility. This way, you can avoid surprises during your painting project.
Adhesion and Durability
Selecting the right primer goes beyond just the type. It directly impacts how well your paint sticks and how long it lasts on engineered wood. You want a primer specifically formulated for engineered wood to boost adhesion and stop any stain bleed-through.
Look for high-adhesion or stain-blocking primers, as these guarantee the primer bonds well and protects the surface.
Applying the primer evenly and letting it dry completely is essential. This creates a solid base that improves paint durability.
A quality primer not only enhances paint adhesion but also extends the life of your finish by resisting wear and tear.
Always follow the manufacturer’s instructions on application thickness and drying times to get the best results. This way, you’ll achieve a long-lasting, professional-looking paint job.
How to Apply the First Paint Coat
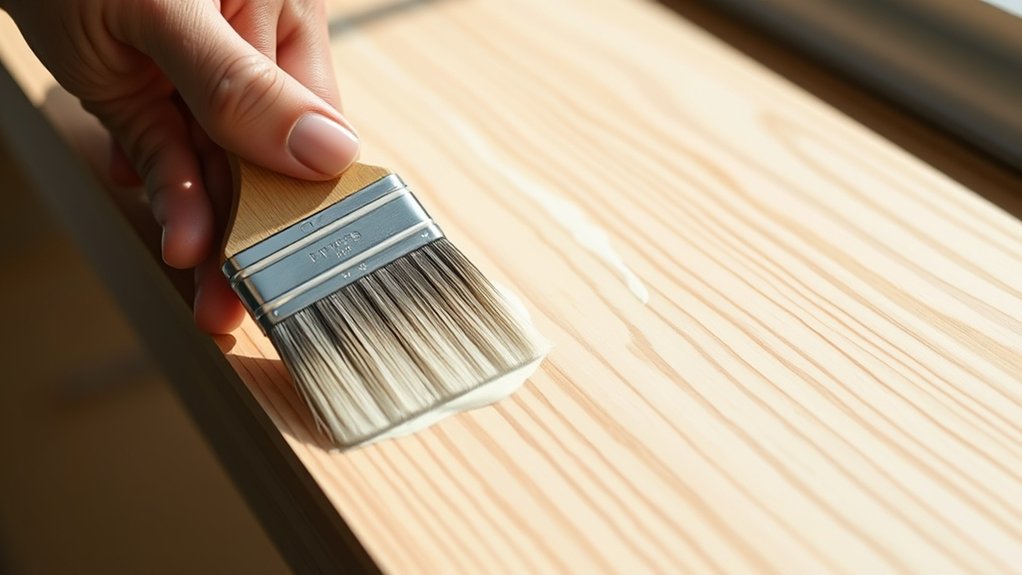
Start by choosing a high-quality paint designed specifically for engineered wood. This will guarantee it adheres well and lasts longer. Using the right paint makes all the difference.
Next, grab a high-quality brush to apply the first coat of paint evenly. Work in small sections, starting from one corner of the surface and moving toward an exit. This way, you avoid stepping on wet paint.
After the first coat dries, which usually takes about 4 hours, lightly sand the surface with fine-grit sandpaper. This helps confirm proper adhesion for the next coat. Also, make sure to clean your brush before use for a smooth application.
| Step | Action |
|---|---|
| Paint selection | Use paint for engineered wood |
| Application | Apply paint with a high-quality brush |
| Painting method | Work in small sections from corner to exit |
| Drying time | Wait at least 4 hours |
| Surface prep | Lightly sand to confirm adhesion |
How to Add Additional Coats for a Durable Finish
Once the first coat is dry and lightly sanded, you’re ready to apply additional coats to build a durable finish. To guarantee excellent paint adhesion and a smooth surface on engineered wood, follow these steps:
Wait until the coat is completely dry, usually about 4 hours for water-based paint. Use fine-grit sandpaper (220 grit) for light sanding between coats.
Remove all sanding dust thoroughly with a tack cloth or microfiber cloth.
Apply at least two to three coats for ideal coverage and durability. Monitor drying times carefully, as humidity and temperature can affect how long each coat takes to dry.
Taking your time here really pays off for a long-lasting finish.
How to Select and Apply a Protective Finish
Choosing the right protective finish can make all the difference in preserving your engineered wood’s appearance and durability. Start by selecting a finish that fits your needs: water-based polyurethane dries quickly with low odor, while oil-based offers better durability and a warm glow.
Before applying, make sure the surface is clean and free of dust to guarantee good adhesion and a smooth look.
Apply the protective finish in thin coats, following the wood grain carefully with a quality applicator to avoid drips.
Between each coat, lightly sand using fine-grit sandpaper to improve adhesion and smoothness.
Always allow sufficient curing time as specified in the manufacturer’s instructions, usually from 24 hours to several days, before putting the floor to heavy use. This helps ensure lasting protection.
How to Maintain Painted Engineered Wood Floors
To keep your painted engineered wood floors looking fresh, make sure to regularly sweep or vacuum. This helps get rid of dirt and prevents any scratches from forming.
When it’s time for a deeper clean, use a damp mop with a pH-neutral cleaner—but be careful not to soak the surface.
If you notice any scuffs or chips, it’s a good idea to treat them right away with some touch-up paint. That way, you can maintain a smooth and even finish that keeps your floors looking great.
Routine Cleaning Methods
Keeping your painted engineered wood floors looking fresh requires a few simple but consistent cleaning habits. Adopting effective routine cleaning methods helps protect your floors and maintain their beauty over time.
Focus on preventing scratches and avoiding damage caused by improper care. Here’s what you should do:
Regularly sweep or vacuum to remove dirt and debris that can scratch painted engineered wood. Clean with a damp microfiber mop and a pH-neutral cleaner designed for painted surfaces.
Avoid harsh chemicals and abrasive tools that could strip paint or cause scratches. Immediately blot spills with a soft cloth to prevent stains and water damage.
Schedule periodic deep cleanings to inspect the finish and plan touch-ups or protective coating reapplications as needed.
These steps keep your floors vibrant and durable without compromising the paint.
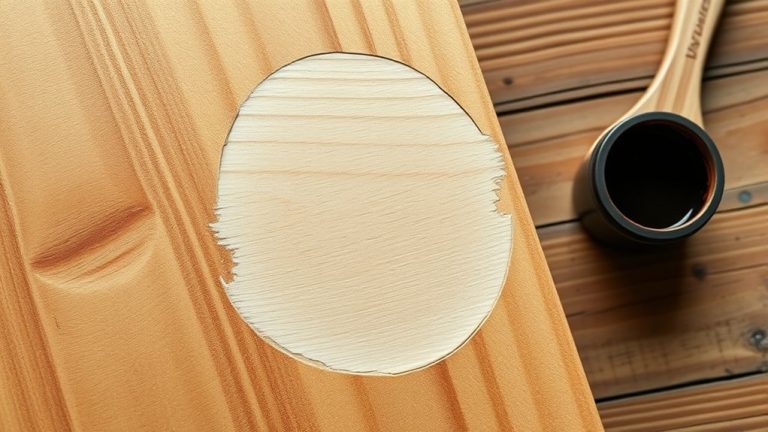
Repairing Paint Damage
Although painted engineered wood floors are durable, they can still suffer from chips, scratches, or wear over time. When repairing paint damage, start by cleaning the affected area with a damp cloth to remove dust and debris.
Next, lightly sand the damaged paint using fine-grit sandpaper to create a smooth surface for better paint adhesion. Choose a high-quality paint that matches your floor’s original color and finish.
Apply the paint in thin, even coats, allowing each coat to dry completely, usually about 4 hours, before adding the next. This helps guarantee a durable, seamless repair.
For long-term care, clean your painted engineered wood floors regularly with a soft broom or vacuum. Also, avoid harsh chemicals that could worsen paint damage.
Taking these steps will help keep your floors looking great for years to come.
Frequently Asked Questions
Can Painted Engineered Wood Be Sanded and Repainted Later?
Yes, you can sand and repaint painted engineered wood later. Just make sure to focus on proper sanding techniques. Use fine-grit sandpaper to avoid removing too much paint or damaging the veneer.
Surface preparation is really key. It helps maintain the durability of the paint and ensures the new paint sticks well.
Also, choose finish options that work best for engineered wood.
When you apply paint, follow the recommended methods.
And don’t forget some maintenance tips, like avoiding excessive wear. This will help prolong the finish and make future repainting easier and more effective.
How Long Does Paint Typically Last on Engineered Wood Floors?
You can expect paint durability on engineered wood floors to last about 3 to 5 years, depending on surface preparation, paint types, and finish options.
Choosing high-quality primers and paints, plus allowing proper drying time, really helps boost longevity.
Maintenance tips like regular cleaning and touch-ups also help preserve the finish.
Color selection matters too—lighter colors may show wear less.
Applying a clear topcoat protects against scratches and extends the painted surface’s lifespan.
It’s all about the right prep and care to keep your floors looking great longer.
Are There Specific Weather Conditions Ideal for Painting Engineered Wood?
Yes, you should paint engineered wood when the ideal temperature is between 60°F and 80°F, with humidity levels below 70% to guarantee proper paint preparation and drying time.
Avoid direct sunlight and windy days to prevent uneven drying and dust settling.
Make sure to use appropriate paint types and always prime the surface first. These steps really make a difference.
Following this advice, along with regular maintenance tips, will help your paint job last longer and look professional.
It’s all about setting yourself up for success!
Can You Paint Engineered Wood Furniture the Same Way as Floors?
You might think furniture painting and floor refinishing are identical, but they actually demand different care.
When painting engineered wood furniture, use a primer designed specifically for furniture. This helps block stains and improves paint adhesion.
Opt for high-quality water-based paint to get a smooth finish. Apply thin coats patiently — it’s not like painting floors that endure heavy wear daily.
Finally, seal your work with a clear protective topcoat.
These techniques and maintenance tips keep your furniture looking sharp and durable for a long time.
Will Painting Engineered Wood Affect Its Warranty or Resale Value?
Yes, painting engineered wood can affect warranty implications since many warranties void if you alter the original finish type.
Resale considerations are important too. Buyer perceptions vary, and some may see painted wood as less desirable, which can impact value.
To guarantee paint durability, focus on thorough surface preparation and choose the right finish.
Don’t forget a cost analysis. Sometimes the repainting expense outweighs potential benefits in resale or long-term upkeep.
Conclusion
You can definitely paint engineered wood floors to refresh your space. Remember, about 65% of homeowners successfully transform their floors with proper prep and paint application.
Start by sanding and cleaning thoroughly. Then, choose a high-quality primer and paint designed for wood surfaces. Apply multiple coats for durability, and finish with a protective sealant.
With the right steps, your painted engineered wood will look stunning and last for years. It really makes your effort worthwhile!