Can You Sand Wet Wood: What You Need To Know
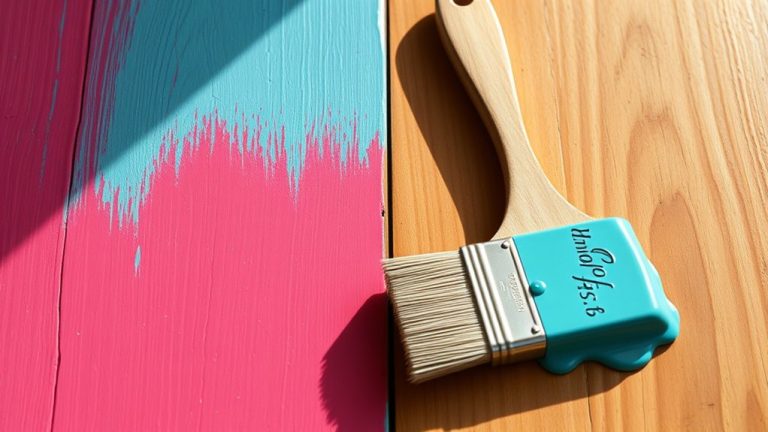
You can sand wet wood, but only when using waterproof sandpaper and the right technique. Wet sanding helps cut down on dust, heat, and scratches, giving you a smooth surface that’s perfect for finished or sealed wood.
Just make sure to keep the surface lightly moistened and avoid soaking it too much. Also, work your way through finer grits to get a flawless result.
Keep in mind, wet sanding isn’t great for raw wood. So, knowing when and how to do it really matters. There’s actually a lot more to learn about the tools, timing, and common mistakes.
What Is Wet Sanding Wood And How Does It Work?
Although wet sanding wood might seem unconventional, it’s a highly effective technique that uses water or lubricants with fine-grit sandpaper to reduce dust and heat buildup.
Wet sanding wood combines water and fine-grit sandpaper to minimize dust and prevent overheating effectively.
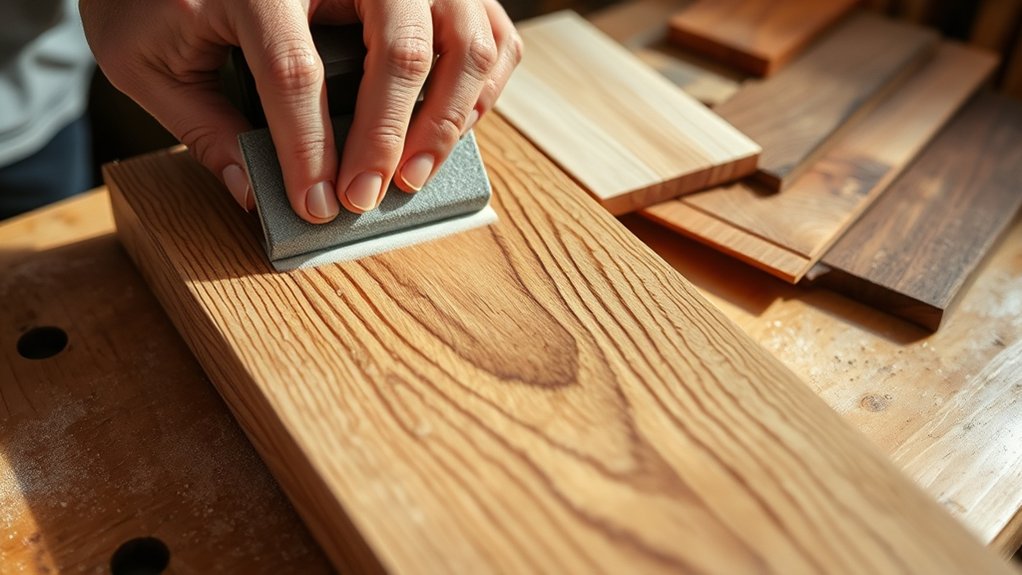
When you wet sand, you apply waterproof sandpaper to a sealed or finished surface, keeping it wet throughout to prevent clogging and overheating.
This method refines the wood’s texture, creating a smooth, even surface that’s perfect for high-gloss or professional finishes. The water acts as a lubricant, forming a slurry that fills minor defects and reduces the risk of scratches.
To get the best results, maintain consistent pressure and motion while sanding, ensuring the surface is evenly polished without damage.
Wet sanding is your go-to for achieving a flawless, glass-like finish on wood projects.
When Is Wet Sanding The Best Choice For Your Wood Project?
When you want a flawless, mirror-like finish on sealed or finished wood surfaces, wet sanding becomes your best option. It’s especially effective after using high-grit sandpaper (320 grit and above) to remove minor imperfections without clogging your sandpaper. Wet sanding isn’t suited for raw wood since it’s designed to enhance finishes, not prepare bare surfaces.
This method is perfect for furniture, cabinetry, or cutting boards treated with mineral oil. It delivers a polished look while reducing dust and overheating during the sanding process.
| Best Use | Why Choose Wet Sanding? |
|---|---|
| Finished wood surfaces | Smooth, clear, mirror-like finish |
| High-grit sanding stages | Prevents sandpaper clogging |
| Oiled or sealed wood | Achieves polished look safely |
What Tools And Materials Are Needed For Wet Sanding?
To achieve a flawless wet sanding finish, you need the right tools and materials to maintain consistent moisture and control.
Start with waterproof sandpaper, using grits from 180-220 for initial smoothing, then finer 320-600 grits for a polished surface. A sanding block is essential to apply even pressure and prevent uneven spots.
Begin with 180-220 grit waterproof sandpaper, then refine with 320-600 grit using a sanding block for even pressure.
Keep your surface and sandpaper moist with a spray bottle filled with water or a lubricant like mineral oil or a water-dish soap mix. This reduces dust and prolongs sandpaper life. It really helps to keep things smooth and clean.
Furthermore, having compressed air or a vacuum nearby helps clear debris, ensuring a clean finish.
These tools and materials work together to give you precise control and a smooth result in your wet sanding process. It’s all about keeping everything consistent and tidy as you go.
How To Sand Wet Wood Step-By-Step
Start by lightly moistening the wood.
Then, gather some waterproof sandpaper in different grits, ranging from medium to fine.
When you begin sanding, use smooth, controlled motions. You can go in circles or follow the grain—whichever feels best.
Just make sure to keep the surface lubricated with a spray bottle as you work.
Also, keep an eye on moving through the grits in order, and pay attention to your sanding technique.
This way, you’ll get an even finish without damaging the wood.
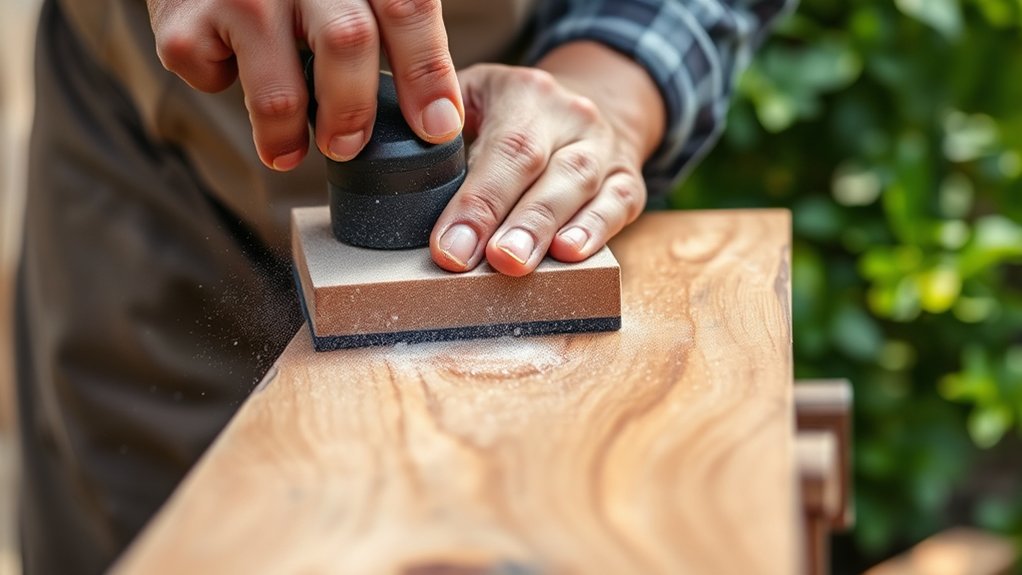
Preparing The Surface
Although sanding wet wood requires extra care, preparing the surface properly makes the process smoother and more effective. Start by gathering waterproof sandpaper, a sanding block, a spray bottle filled with water, and microfiber cloths.
Next, clean the surface thoroughly to remove dust and debris. Lightly mist it with water to avoid over-saturating the wood. Before sanding, check how the surface feels; it should be moist but not dripping.
Use water sparingly during sanding to keep the surface damp. This prevents clogging and guarantees consistent abrasion. Maintain this moisture by regularly spraying as you sand, working with the grain or in circular motions.
Proper preparation sets the foundation for smooth sanding and helps you achieve a flawless finish. Taking these steps really makes a difference in the final result.
Choosing Sandpaper Grit
Once the wood surface is properly prepped and lightly moistened, selecting the right sandpaper grit becomes your next focus.
Wet sanding means you’ll want to start with a medium grit to remove imperfections and raise the grain. After that, move on to a finer grit for a smooth finish.
Always use waterproof sandpaper made specifically for wet sanding to avoid clogging. It really makes a difference in how well the sanding goes.
Follow these steps:
- Begin with 180-220 grit to level the surface.
- Gradually increase grit to 320-600 for polishing.
- Use water continuously to keep the surface moist.
- Clean sandpaper regularly to keep it effective.
This progression ensures even sanding and a polished result. Just don’t skip grits or you might end up damaging the wood.
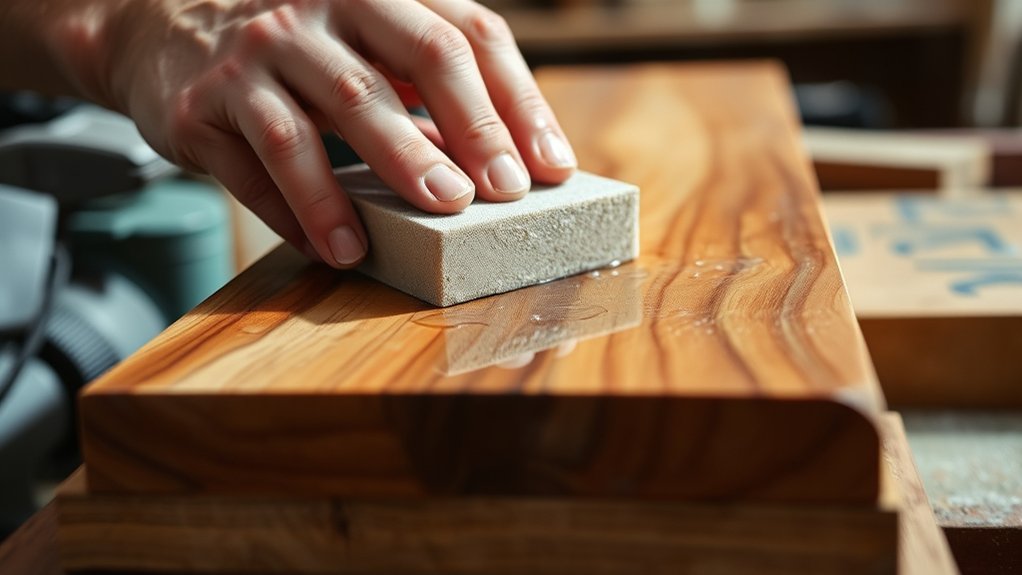
Sanding Technique Tips
Lightly wet the wood surface to raise the grain without saturating it. This sets the stage for effective wet sanding.
To sand wet wood properly, use the right waterproof sandpaper, starting with medium grit (180-220) and then moving to finer grits (320-400) for a smooth finish.
Sanding works best when you move in circular motions or along the grain. Keep the wood surface moist by regularly spraying water. This helps prevent clogging and guarantees even sanding.
Make sure to clean your sandpaper often by rinsing or wiping off debris. This keeps it working well throughout the process.
Once you finish sanding, let the wood surface dry completely before applying any finish. This step assures ideal adhesion and appearance.
Following these steps will give you a professional, smooth result every time.
Common Wet Sanding Mistakes To Avoid
When wet sanding wood, you need to use waterproof sandpaper to prevent it from breaking down and ruining your work.
It’s essential to avoid over-saturating the wood, as too much water can cause damage beneath the surface.
Progress through grits carefully, moving methodically from medium to fine to guarantee a smooth finish.
Remember, patience is key. Rushing can lead to uneven sanding or surface damage.
Common wet sanding mistakes to avoid include:
- Using regular sandpaper instead of waterproof sandpaper
- Soaking the wood rather than keeping it lightly moist
- Skipping grit levels and jumping to fine grits too quickly
- Ignoring slurry buildup, which can clog the sandpaper and hide imperfections
Avoid these pitfalls to get professional, flawless results every time.
Just take your time and stay consistent—you’ll see the difference!
Which Wood Types Are Best For Wet Sanding?
Although wet sanding works well on many types of wood, choosing the right species can make a significant difference in your results.
Hardwoods like oak, maple, and cherry are your best bet because their dense grain stands up well to wet sanding. This helps you get a smooth, refined finish.
Exotic woods such as mahogany and rosewood also respond beautifully. Their natural oils protect and enhance the surface during sanding.
You’ll want to avoid softwoods like pine since they tend to absorb moisture, which can cause swelling or warping.
Sealed woods are ideal too. Their protective coating lets you sand smoothly without damaging the wood beneath.
Picking these types will help you achieve a professional, flawless finish every time.
When Is Wet-Sanded Wood Ready For Finishing?
You’ll want to let wet-sanded wood dry thoroughly—usually at least 24 hours—before finishing to guarantee proper adhesion.
After that, it’s a good idea to check that the surface feels smooth and free of imperfections. Often, this means doing a quick fine sanding once the wood is dry.
Also, make sure the wood’s moisture content is below 12-15% before moving forward. That way, you’ll get the best results.
Drying Time Requirements
Since wet-sanded wood retains moisture, you need to let it dry thoroughly before applying any finish to avoid adhesion problems or surface defects.
Drying time depends on factors like wood thickness and humidity, but generally, 24 hours is the minimum.
To know when it’s ready, check the moisture content; it should be below 8-10% for ideal finishes. Good air circulation speeds up this process and helps prevent trapped moisture.
Follow these steps to guarantee proper drying time:
- Allow at least 24 hours drying time.
- Use a moisture meter to check moisture content.
- Increase air circulation with fans or open windows.
- Adjust drying time for thicker wood or humid environments.
Patience here prevents bubbling, peeling, or mold under your finish. It’s worth the wait!
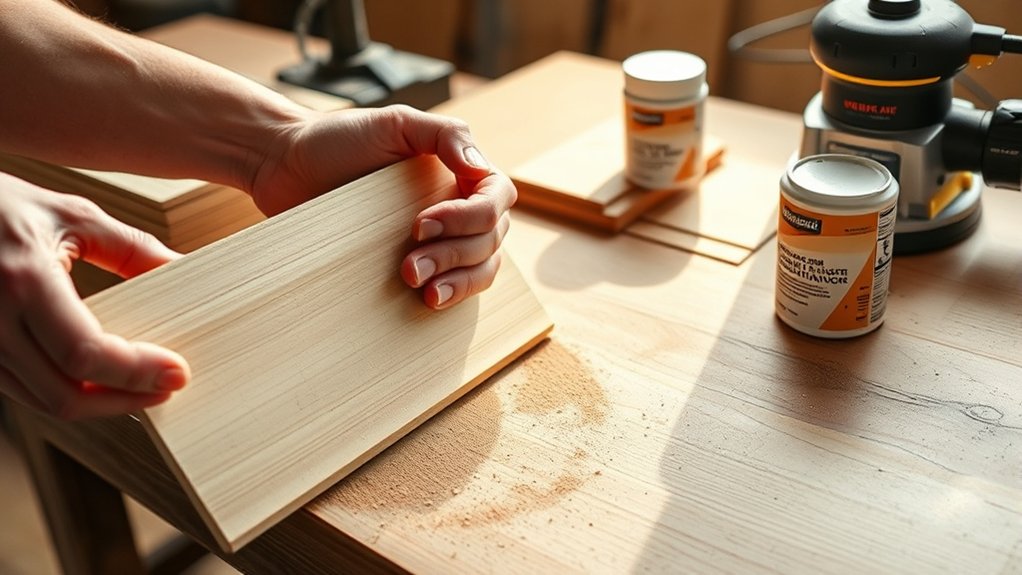
Surface Smoothness Indicators
A smooth, even surface signals that your wet-sanded wood is ready for finishing. Run your hand over the wood fibers. If it feels consistently smooth with no raised grain or imperfections, you’ve achieved proper surface smoothness.
Check for a uniform sheen. This shows your wet sanding was effective and the surface is uniformly prepared. Avoid any slurry buildup or debris, especially during the final pass. These can interfere with adhesion in the finishing steps.
If the surface looks glassy or mirror-like, you’re set for high-gloss finishes.
After sanding, let the wood dry completely and inspect it under good lighting. This step guarantees you catch any missed spots before proceeding.
Trust these indicators to confidently move forward with your finishing steps.
Wet Vs. Dry Sanding: Which Is Better For Your Project?
When should you choose wet sanding over dry sanding for your wood project?
Wet sanding works best on finished or sealed wood, helping you achieve a smooth, polished surface.
Dry sanding suits unfinished wood. It’s ideal for quick material removal and prepping before applying wood stain.
Here’s when to pick each:
- Use dry sanding with coarse grits for initial shaping on raw wood.
- Switch to wet sanding with fine grits (400+) for final smoothing on sealed surfaces.
- Avoid wet sanding on untreated softwoods to prevent water damage.
- Prefer wet sanding to reduce dust, heat, and scratches, which helps extend sandpaper life.
Understanding these will help you balance efficiency and finish quality based on your project’s stage and wood type.
Frequently Asked Questions
Can Wet Sanding Prevent Wood Dust Allergies?
Yes, wet sanding can help prevent allergy symptoms by reducing airborne wood dust. When you use this sanding technique, moisture retention keeps dust particles from becoming airborne, minimizing your exposure.
This approach lowers the risk of respiratory irritation and other allergy-related health issues.
By choosing wet sanding techniques, you create a cleaner work environment and enjoy significant health benefits. This is especially true if you’re sensitive to wood dust or prone to allergies during woodworking.
It’s a simple step that can make a big difference in how you feel while working.
How Does Wet Sanding Affect Wood Grain Patterns?
Wet sanding enhances wood grain patterns by carefully controlling moisture absorption, which lifts the fibers and reveals more texture.
When you use this sanding technique, the slurry created fills minor imperfections, improving finish quality.
This process highlights the wood’s natural color and texture without damaging it.
By maintaining consistent moisture, you guarantee a smoother, clearer grain that stands out beautifully once dry.
It really gives your project a refined, polished look.
Is Wet Sanding Environmentally Friendly Compared to Dry Sanding?
Wondering which sanding technique is better for the environment? Wet sanding is definitely more eco-friendly than dry sanding. It cuts down on airborne dust and helps prevent moisture absorption that can damage wood.
Plus, wet sanding makes your sandpaper last longer and reduces waste.
You also get the bonus of better wood treatment since wet sanding keeps the wood’s integrity intact, which means you won’t need as many chemicals.
Can Wet Sanding Be Used on Painted Wood Surfaces?
Yes, you can use wet sanding on painted wood surfaces to improve paint adhesion and achieve a smooth surface finish.
Just make sure the paint is fully cured before you start. Also, it’s important to control moisture by using waterproof sandpaper with fine grit.
Applying water or a mild soap helps lubricate the sandpaper and prevents it from clogging.
This technique is great for refining imperfections. It also prepares the surface for additional coats, making sure you get a professional, polished result every time.
How Often Should Sandpaper Be Replaced During Wet Sanding?
You should replace sandpaper during wet sanding every 10-15 minutes, especially with high-grit options, to maintain sandpaper longevity.
Wet sanding techniques cause clogging, which reduces effectiveness and risks scratches.
Keep an eye on grit selection and surface preparation. Finer grits wear out faster because of slurry buildup.
Rinse sandpaper often to extend its life.
But once it loses cutting ability or shows visible damage, swap it out to guarantee a smooth, polished finish.
It’s better to change it sooner than later to avoid any issues.
Conclusion
Just like a skilled chef knows when to season, you’ll learn when wet sanding wood brings out the best finish. It’s not about rushing. Wet sanding smooths with control, revealing your wood’s true character.
Follow the steps carefully, choose the right wood, and avoid common slip-ups. When done right, your project will shine with professional-quality results.
So, don’t hesitate. Embrace wet sanding and elevate your woodworking craft.