Can You Transfer A Glossy Photo To Wood – Easy DIY Guide
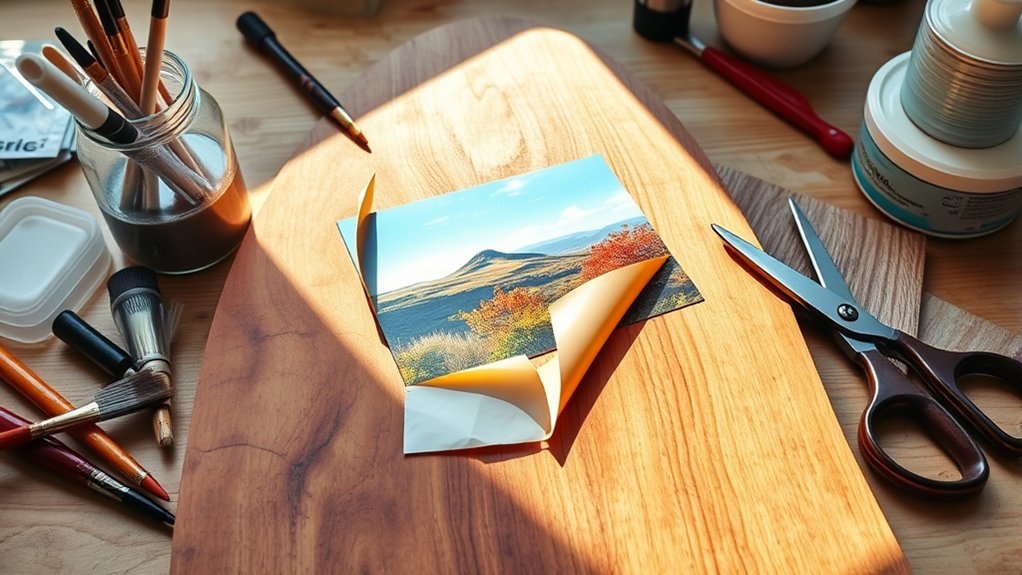
Yes, you can transfer a glossy photo to wood! Start by gathering a laser-printed photo and supplies like Mod Podge and an unfinished wood surface. Lightly sand the wood and apply a layer of Mod Podge.
Place your photo face down and burnish it to smooth out bubbles. After it dries, dampen and gently remove the paper. For a vintage look, distress the edges.
Stick around to find even more tips and alternative methods for perfecting your transfers!
What Do You Need to Know About Transferring Glossy Photos to Wood?

When you’re looking to transfer glossy photos to wood, it’s important to know that traditional methods often fall short, so you might want to explore some alternatives.
First, consider using a copy machine to create a matte version of your glossy photo. This can greatly improve the transfer success onto your wood surface.
Next, you can apply decoupage techniques with a clear adhesive for a smoother application. If you’re using tattoo paper, double-check the print orientation to avoid flipping issues.
Don’t forget to test different methods, like wax paper, on a small area first to see what works best for your project.
Remember, experimentation can lead to the perfect transfer! It’s all about finding what fits your style and materials the best.
Give it a try and have fun with the process.
Why Glossy Photos Make Great Wood Transfers
Glossy photos are perfect for wood transfers because they bring out vibrant colors and sharp details that really pop. You know, that unique look can totally transform a simple piece of wood into a stunning work of art.
Plus, the smooth finish of glossy images gives your project a polished look that adds a sophisticated touch. It’s pretty cool how just the type of photo can make such a difference!
Unique Aesthetic Appeal
Transferring photos to wood not only preserves memories but also adds a unique touch to your decor. Glossy photos, with their vibrant color saturation, deliver striking visuals that will catch anyone’s eye.
Their reflective quality creates a beautiful contrast against the natural textures of wood, enhancing your home’s look.
For a vintage feel, try distressing the edges of the image. It’s an easy way to integrate modern elements with rustic charm.
Plus, the smooth finish of glossy photos guarantees a seamless application, minimizing bubbles or creases.
If you’re aiming to add a contemporary flair to your decor while keeping cherished moments alive, glossy photos are the way to go!
You’ll love the unique aesthetic they bring to any space.
Enhanced Color Vibrancy
If you want your photo transfers to truly pop, embracing glossy images is key. Glossy photos enhance color vibrancy, making your images come alive on wood surfaces.
To kick things off, choose a glossy paper that absorbs ink more deeply, which leads to sharper details.
When you transfer, the smooth finish allows for that saturated color you crave. Plus, glossy images reflect light beautifully, adding depth to your decor.
Always remember the striking contrast between the glossy finish and natural wood texture; it creates a stunning visual effect.
With the right techniques, your glossy photo transfers will look polished and professional, perfect for gifts or home decoration.
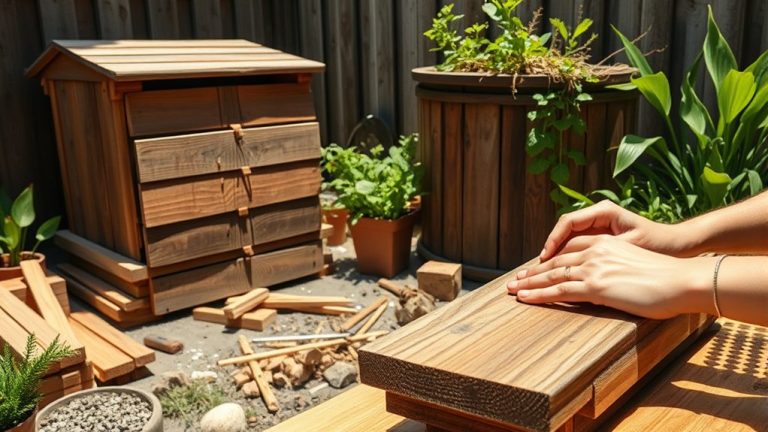
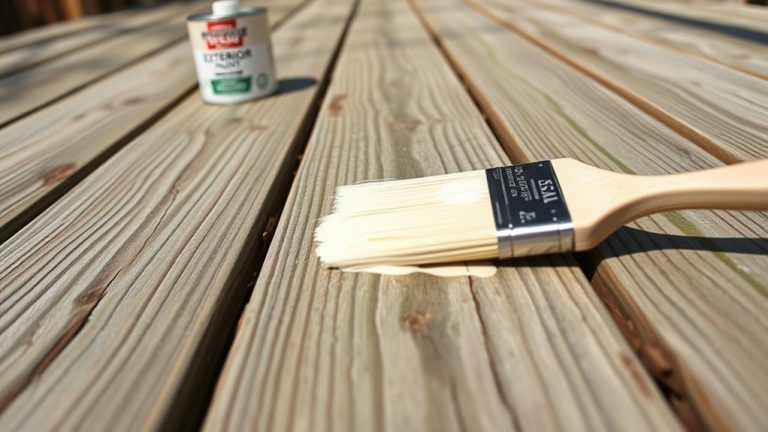
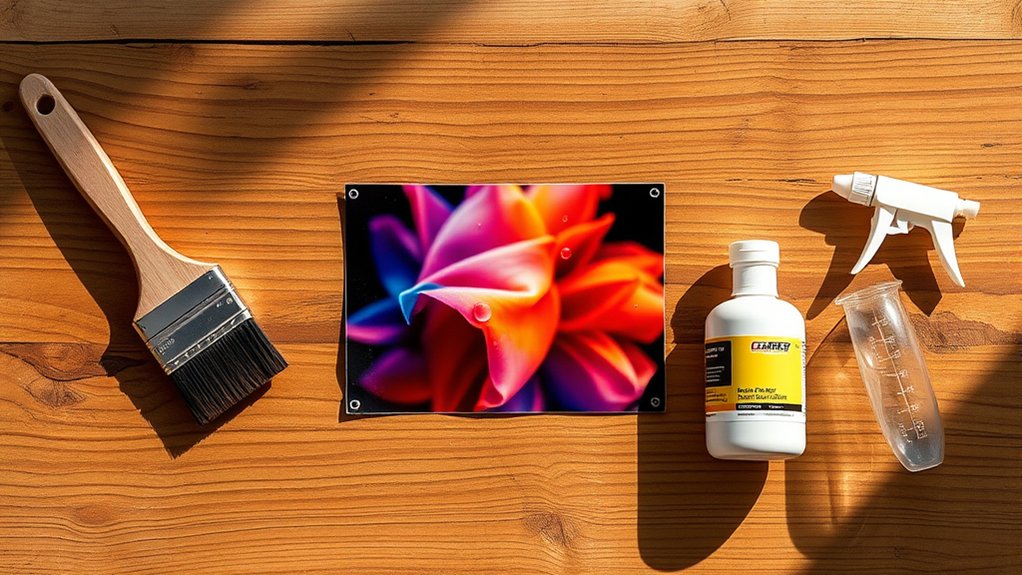
Essential Supplies for Your Glossy Photo Transfer Project
To kick off your glossy photo transfer project, gather the essential supplies that will guarantee a smooth process and stunning results. Here’s what you need:
- Mod Podge. Choose either matte or gloss, depending on your desired finish.
- Laser-Printed Photo. Remember, inkjet prints won’t work for this method, so go with a laser print for the best outcome.
- Unfinished Wood Surface. Prep your wood by painting it if you want a colored background.
Don’t forget to have scissors and a burnishing tool like a credit card handy for smoothing out bubbles.
For easier removal, use regular printer paper.
These supplies will set you up for success in creating a beautiful transfer!
Step-by-Step Guide to Glossy Photo Transfers
Getting your surface ready is key for a successful glossy photo transfer.
But hey, there are also some alternative methods you can try to get even better results.
You might want to think about using tattoo paper or wax paper—they can make a big difference.
And don’t forget to print your photo in mirror image!
Let’s walk through some handy tips for applying your photo and sealing it to achieve a stunning finish.
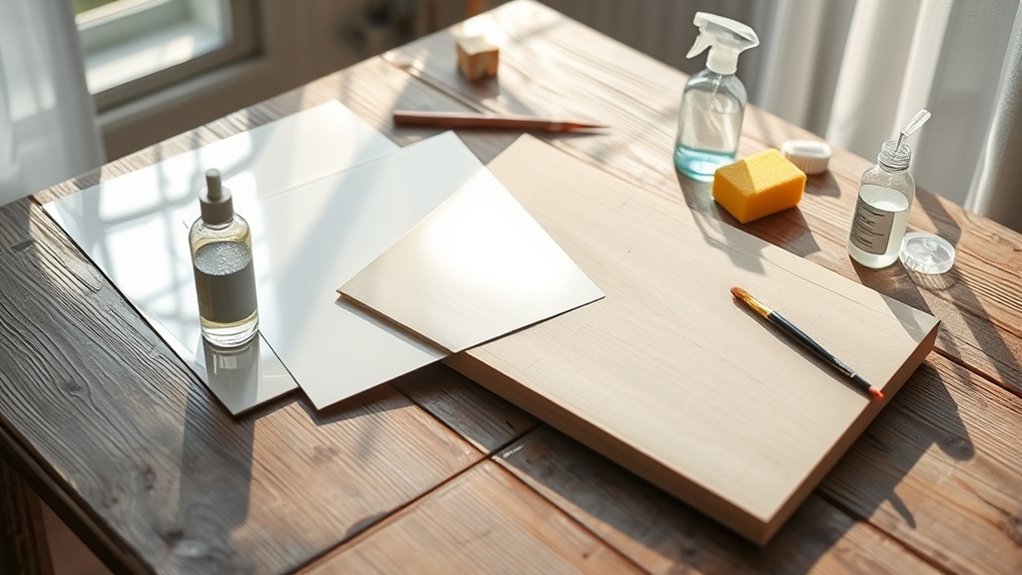
Ideal Surface Preparation Techniques
Before you plunge into transferring your glossy photo to wood, it’s essential to prepare the surface properly for the best results. Here’s how to do that effectively:
- Choose the Right Surface: Pick a smooth, unfinished wood surface for better adhesion and cleaner transfers.
- Sand and Clean: Lightly sand the wood with fine-grit sandpaper to create texture, then wipe it down with a damp cloth to clear dust and debris.
- Prime if Needed: Consider applying a coat of matte acrylic primer to enhance adhesion and prevent bleed-through.
Let everything dry completely before you apply Mod Podge and move on with your photo transfer.
Proper surface preparation makes all the difference!
Exploring Alternative Transfer Methods
Now that your wood surface is all prepped and ready, it’s time to explore some exciting transfer methods for your glossy photo. First, get a laser-printed version of your photo since inkjet prints won’t work well. You can also try tattoo paper. Just print your image, apply it to the wood, and enjoy a smooth finish without much rubbing.
If you’re feeling adventurous, use wax paper. Print your image on it and press it onto the wood for a more distressed look.
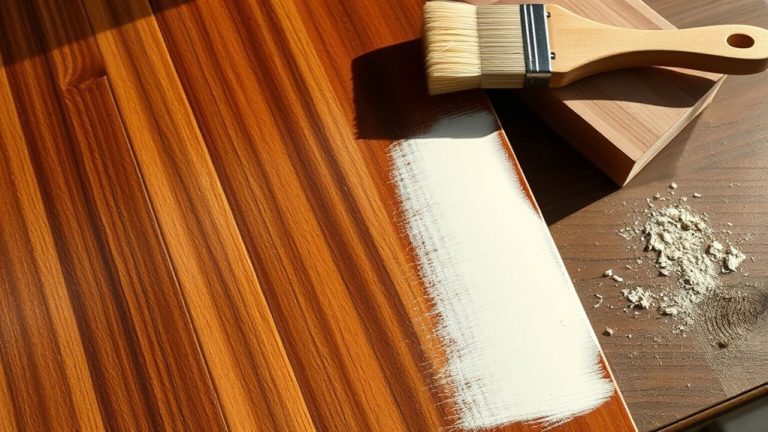
When using Mod Podge, apply it to the wood first, place your glossy photo face down, and smooth out any bubbles.
Don’t hesitate to experiment with different methods to achieve your desired aesthetic! There’s plenty of fun in trying out new techniques to see what works best for you. Give it a go and enjoy the process!
Tips For Successful Application
While it might seem straightforward, successfully transferring a glossy photo to wood requires a bit of finesse. Here are some tips to help you nail it:
- Use a Laser Printer: For best results, print your glossy photo with a laser printer. Inkjet prints just won’t transfer well to wood.
- Apply Mod Podge: Coat your wood surface with a thin layer of Mod Podge. This creates a strong bond when you press the glossy photo face down.
- Carefully Remove Excess Paper: After placing the photo, gently rub away any leftover paper with a damp cloth. Be careful not to damage your transferred image.
Finally, seal your art with another layer of Mod Podge to protect it and enhance durability.
Happy crafting!
Essential Tips for a Flawless Photo Transfer to Wood
When you’re ready to transfer a glossy photo to wood, there are a few essential tips to guarantee the process goes smoothly.
First, only use images printed from a laser printer. Inkjet prints can smudge and won’t adhere properly.
Next, apply a medium layer of Mod Podge directly onto the wood. This helps prevent curling and makes for a smooth transfer. If you’re using a glossy photo, consider copying it onto thinner paper for better results.
Apply a medium layer of Mod Podge to the wood to ensure a smooth transfer and prevent curling.
Once you’ve placed the photo, allow the Mod Podge to dry completely. This usually takes about 48 hours to create a strong bond.
For a vintage touch, gently distress the edges of both the photo and wood with sandpaper after the transfer.
Happy crafting!
Troubleshooting Common Issues With Glossy Photo Transfers
Although transferring glossy photos to wood can seem challenging, a few common issues can easily be tackled with the right approach. Here’s how to troubleshoot:
- Adhesion Problems: If your photo isn’t sticking well, try photocopying glossy images onto regular printer paper. This allows for better transfer results and enhances adhesion.
- Orientation Issues: Remember to mirror images before printing, especially if there’s text. This step guarantees your photo appears correctly post-transfer.
- Glossy Finish: If the glossy effect remains too strong, apply a thin layer of Mod Podge on both the wood and the photo. This can improve adhesion, making your transfer smoother and more vibrant.
Fun Ways to Show Off Your Wood Photo Transfers
If you want to add a personal touch to your decor, displaying your wood photo transfers can be a creative and enjoyable process.
Start by setting your wood photo transfers on easels or decorative stands to give your space a rustic vibe. You can also drill holes in wood slices, add festive ribbons, and hang them as personalized ornaments for seasonal charm.
Need unique gift tags? Attaching recipients’ photos to wood transfers adds a special touch to your gift-giving.
For a gallery wall, arrange multiple wood photo transfers that showcase family memories and your artistic flair.
Finally, transform wood slices into coasters featuring favorite images, blending functionality with sentimental value in everyday use.
Happy decorating!
Alternatives to Mod Podge for Glossy Photo Transfers
While Mod Podge is a popular choice for glossy photo transfers, there are several effective alternatives that can give you great results.
Here are three methods to evaluate:
- Tattoo Paper Method: Print your image on tattoo paper, apply a layer of Mod Podge on the wood, then use water to help transfer the image without rubbing. This preserves vibrancy!
- Wax Paper Method: Print your photo on wax paper for a distressed look. Just remember, it’ll appear flipped, so adjust the image accordingly if there’s text.
- Decoupage Technique: Use decoupage glue instead of Mod Podge for a direct transfer. These specialized transfer mediums seal your photo while enhancing adhesion to the wood.
Give these methods a try!
Frequently Asked Questions
Can I Use an Inkjet Printer for Photo Transfers?
You can’t use an inkjet printer for photo transfers effectively. These printers lack the necessary ink adhesion, so your results will likely be smudged and disappointing.
Instead, opt for a laser printer, as it uses toner that bonds well with wood.
Want to improve your transfer techniques? Copy your glossy images onto laser printer paper around 22lb in weight.
Test out different papers for the best outcome and enjoy your creative project!
How Long Does the Transfer Process Typically Take?
The transfer process typically takes about three days.
Start by applying the medium and letting it dry for 15-20 minutes.
Then, place your photo on the wood and allow it to dry for 24 hours.
After that, you’ll need another 15-30 minutes to gently rub away the paper backing.
What Types of Wood Work Best for Transfers?
Think of wood as a blank canvas waiting for your creativity to take flight! For the best transfers, consider softwood options like pine or birch, as their unfinished surfaces absorb materials well.
If you lean towards hardwood choices like maple or oak, make sure you properly prepare the surface. Sand it smooth and remove any finish—that’s key.
Choosing the right wood texture and grain can really make your photo pop, so keep that in mind as you select!
Can I Seal the Image After Transferring?
Absolutely, you can seal the image after transferring! Once the transfer’s fully dried, give it about 48 hours.
Then, use a foam brush to apply a thin layer of Mod Podge for image sealing techniques. This protective coating not only safeguards your image but also enhances its look, adding either a sheen or matte finish.
Just remember to let the sealer dry completely before displaying your project.
That way, it stays smudge-free and lasts longer!
Are There Any Specific Precautions for Indoor Versus Outdoor Displays?
When displaying your photo transfers, consider indoor lighting and outdoor exposure carefully.
For indoors, prepare surfaces by cleaning and sealing the wood to prevent moisture damage.
For outdoor displays, think about weather considerations like UV exposure. Use weather-resistant sealants and place your pieces in shaded areas to protect them.
Regularly check and maintain your photo transfers to keep them looking fresh.
This way, you can ensure they withstand the test of time, rain, and sun.
Conclusion
Now that you know how to transfer glossy photos to wood, why not bring your memories to life in a whole new way? This DIY project isn’t just about creating art; it’s about preserving moments that matter to you.
With a little patience and the right supplies, you can add a personal touch to your home decor. So, grab your tools and get started. Your cherished photos deserve a stunning display!