Can You Wet Sand Wood – Step By Step Guide For Smooth Finish
Yes, you can wet sand wood to achieve a flawlessly smooth finish. Start by using high-grit waterproof sandpaper and a lubricant like water or mineral oil. Mist the surface and sandpaper regularly to prevent clogging.
Begin with 320 grit for initial smoothing, then progress to 400 and 600 grit for a polished finish. Work in small sections and keep the wood surface damp. Make sure to avoid common mistakes for the best results. There’s more to learn on perfecting your technique.
Why You Should Wet Sand for a Flawlessly Smooth Finish
When you wet sand wood, you not only achieve a flawlessly smooth finish but also protect your work from the pitfalls of traditional dry sanding. This technique raises the grain, minimizing the risk of deep scratches and swirl marks that often plague dry sanding methods.
Wet sanding wood delivers a smooth finish while reducing the risk of scratches and swirl marks common in dry sanding techniques.
By using fine grit sandpaper, particularly 320 and above, you enhance the surface’s quality and stain absorption. The lubrication from water or mineral oil prevents clogging, keeping your sandpaper effective throughout the process.
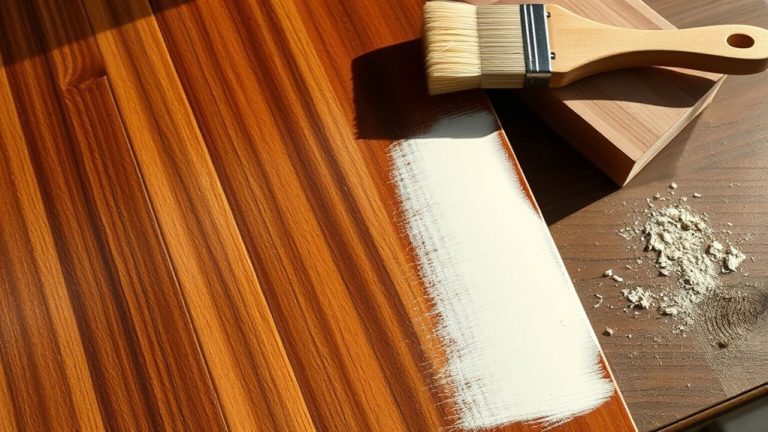
Wet sanding is especially useful after applying a finish, as it eliminates imperfections without generating excessive dust.
Regularly cleaning the sandpaper guarantees superior results, allowing you to achieve that ultra-smooth finish you desire on your woodworking projects.
What Tools and Materials Do You Need for Wet Sanding?
To effectively wet sand wood, you’ll want to have the right tools and materials on hand to get the best results.
Start by picking out high-grit waterproof sandpaper—it’s key for that smooth finish.
You’ll also need a lubricant like water or mineral oil to keep things slick while you sand. It makes the process much easier and helps prevent any scratches.
Don’t forget a sanding block to hold your sandpaper steady and a clean cloth to wipe away residue as you go.
And, of course, make sure you have your personal protective equipment ready to keep yourself safe while working.
Essential Sanding Tools Required
Achieving a smooth finish on wood through wet sanding requires specific tools and materials that enhance the process.
First, use waterproof sandpaper, ideally ranging from 320 to 3000 grit, tailored for wet sanding. A spray bottle filled with water or mineral oil acts as a lubricant, preventing clogging while sanding.
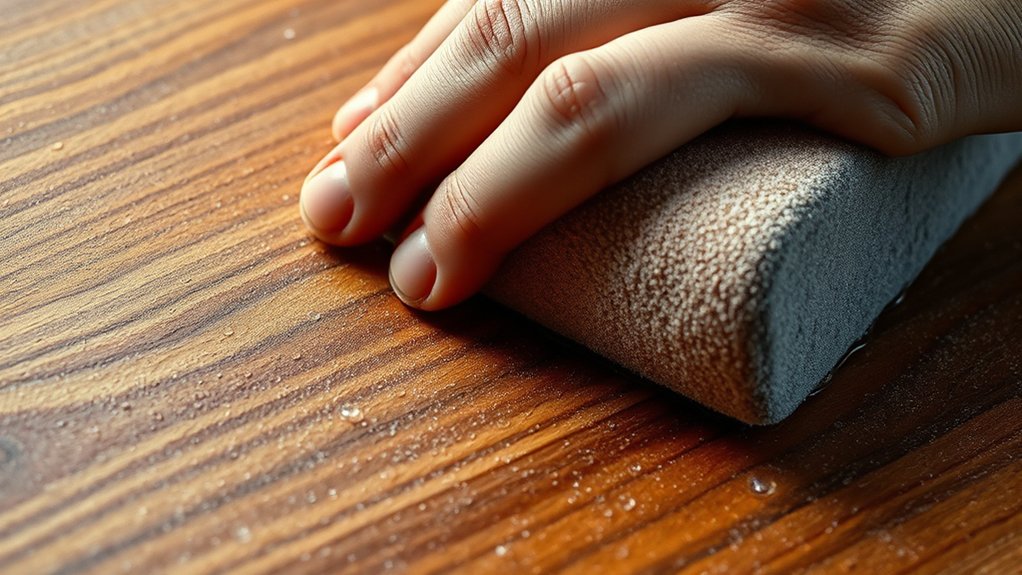
Sanding blocks are essential because they help you maintain even pressure and control on flat surfaces.
Don’t forget a tack cloth or a soft-bristled brush; these are crucial for cleaning the wood surface from dust and debris before and after sanding.
Finally, always wear personal protective equipment like safety goggles and a dust mask to guarantee your safety during the wet sanding process, especially if you’re using power sanders.
It’s better to be safe while getting that perfect finish!
Appropriate Grit Sandpaper Selection
Selecting the right grit sandpaper is essential for effective wet sanding because it directly impacts the quality of the finish you achieve. For the best results, focus on high-grit sandpaper, ranging from 320 to 600 grit. This helps you get a smooth finish without damaging the wood.
Also, always choose waterproof sandpaper so it doesn’t clog during the wet sanding process.
| Grit Range | Finish Quality |
|---|---|
| 320 | Good for initial smoothing |
| 400 | Excellent for polished finish |
| 600 | Ideal for final touch-ups |
Remember to keep your sandpaper clean. Using a sanding block helps to spread the pressure evenly, which makes your wet sanding technique more effective overall.
Lubricants and Cleaning Supplies
When preparing for wet sanding, having the right lubricants and cleaning supplies makes all the difference in achieving a smooth finish on your wood project. Here’s what you’ll need:
- Water or Mineral Oil Use these as lubricants to prevent clogging and enhance the finishing process.
- High-Grit Waterproof Sandpaper (320 grit and above) This is crucial for achieving a polished result while wet sanding.
- Tack Cloth Essential for the final wipe-down, guaranteeing no dust particles remain before applying finishes or stains.
Also, keep soft-bristled brushes or cloths handy for cleaning the wood surface before and after sanding.
It’s a good idea to maintain an organized workspace with a spray bottle for your lubricants and a clean bucket of water.
That way, you’ll have everything ready and ensure ideal sanding conditions every time.
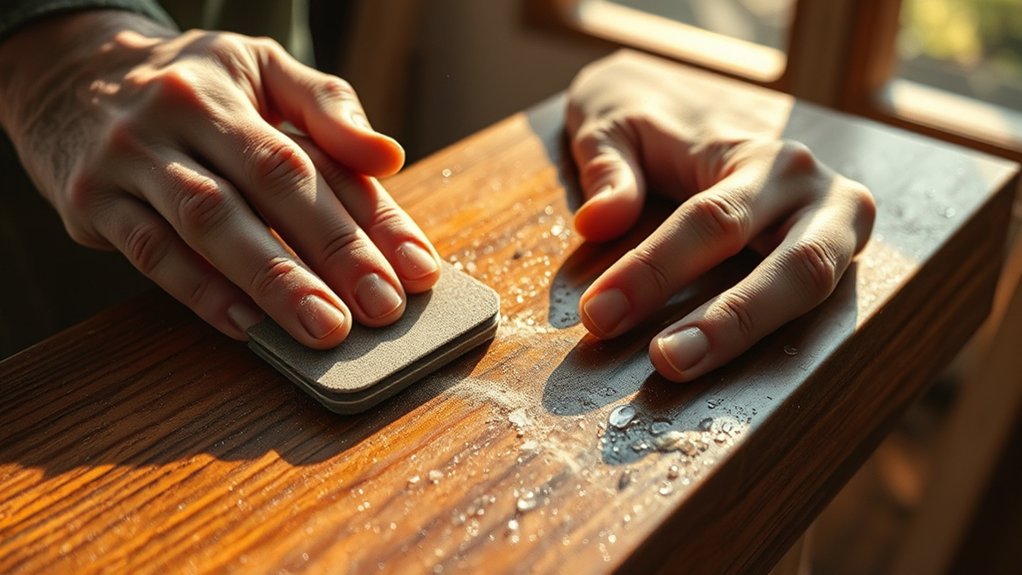
Step-By-Step Guide to Wet Sanding Wood
Start by gathering your materials: high-grit sandpaper, a spray bottle filled with water or mineral oil, and a clean cloth.
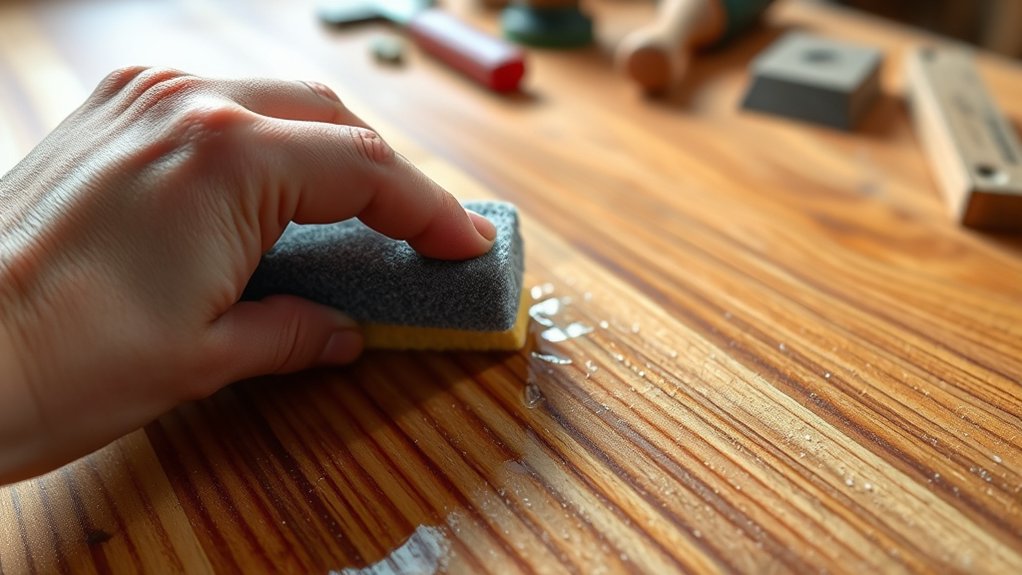
Begin the wet sanding process by dampening the wood surface and the sandpaper. Use high-grit sandpaper, starting with 320 grit and progressing to 600 grit or higher, ensuring you keep the surface moist throughout.
Apply light, even pressure and always sand with the grain to avoid creating swirl marks. This method will help you achieve a smooth finish across the wood surface.
Regularly clean your sandpaper during the process to prevent clogging and maintain its effectiveness.
Keep it simple: damp surfaces lead to better results, and the right technique is key to a polished final look.
Just take your time, and you’ll see the difference wet sanding makes!
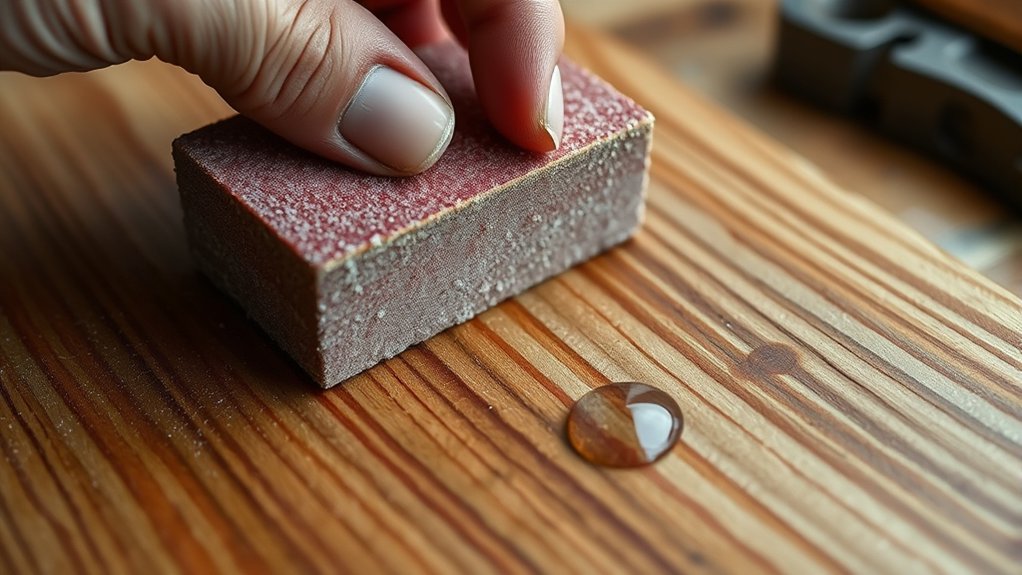
Techniques for Maintaining Surface Moisture During Sanding
To keep the surface moisture consistent during sanding, mist the wood and sandpaper regularly with a spray bottle filled with water or mineral oil. This practice helps prevent the wood from drying out and raising the grain.
Here are some effective techniques:
- Apply Moisture Frequently: Reapply lubricant every few minutes, especially on larger surfaces, to maintain moisture and guarantee an even finish.
- Work in Small Sections: Focus on one area at a time, dampening it as needed for ideal control and smoother sanding.
- Use a Damp Cloth: Wipe off dust and debris between sanding stages to enhance moisture levels and improve the sanding process. This also keeps your sandpaper clean and effective.
Choosing the Right Grit for Wet Sanding
After addressing any rough spots, move on to finer grits, such as 400 or 600, for that ultra-smooth finish. Higher grit sandpapers minimize fine dust and reduce the risk of clogging. This is essential for maintaining efficiency during sanding.
Always follow the grit progression, moving from coarser to finer, to guarantee a seamless shift in texture.
During this process, keep both the sandpaper and wood surface damp for peak lubrication. This prevents deep scratches and helps you achieve that desired smooth wood finish.
Mistakes to Avoid When Wet Sanding
When you’re wet sanding wood, it’s easy to make mistakes that can mess up your finish. One big one is skipping grit progression—don’t jump from a really coarse grit straight to a super fine one.
Also, watch out for over-sanding the edges. It’s tempting to spend extra time there, but doing too much can wear them down unevenly.
And don’t forget about lubrication! Not using enough water or sanding fluid can cause scratches and clog up your sandpaper.
Keep these tips in mind, and you’ll be on your way to a smooth, professional-looking surface every time.
Skipping Grit Progression
1. Start with a lower grit, like 180, to eliminate deep scratches.
Then, move steadily to medium grits, around 220 to 240, to refine the surface a bit more. This helps smooth things out nicely.
Finally, finish with higher grits, 320 and up, for that polished look. It really makes a difference!
Over-Sanding Edges
Always sand with the grain to prevent visible scratches and guarantee your edges stay sharp without becoming overly rounded.
Regularly inspect your edges as you sand to confirm uniformity. Adjust your technique as needed to prevent excessive wear in any one area.
For final touches, use higher grit sandpaper to achieve a smooth finish. This not only helps maintain the shape of your edges but also enhances the professional look of your completed project.
Insufficient Lubrication Usage
Failing to use enough lubrication during wet sanding can seriously compromise your wood’s surface quality. Insufficient lubrication increases friction, leading to deeper scratches and uneven sanding. That means you’ll spend extra time correcting mistakes.
To achieve a smooth finish, follow these key tips: always keep the sandpaper and wood surface adequately wet. Periodically check the lubrication level and reapply water or a suitable lubricant as needed.
Make sure there are no dry spots on the surface to prevent inconsistent finishes. A well-lubricated surface allows for smoother sanding motions. This minimizes the risk of swirl marks and improves the overall finish quality.
Tips for Achieving the Perfect Finish After Wet Sanding
To achieve the perfect finish after wet sanding, it’s essential to focus on both technique and preparation.
Start with a fine grit sandpaper, ideally 320 grit or higher, to guarantee a silky smooth surface without deep scratches. Keep both the wood surface and sandpaper well-lubricated with water or mineral oil; this minimizes friction and prevents clogging.
Begin with 320 grit sandpaper or finer to achieve a smooth surface, and ensure proper lubrication to prevent clogging.
Use even pressure throughout the process to maintain uniformity and reduce imperfections.
Once you’ve completed the wet sanding, be sure to clean the wood surface thoroughly with a tack cloth to remove any residue.
Finally, let the wood dry completely before applying any topcoat. This will ensure ideal adhesion and give you that professional-grade finish you’re after.
It’s really all about taking your time and being consistent. You’ll see the difference in the final look!
Final Thoughts on Wet Sanding Wood for Best Results
Although it may seem straightforward, wet sanding wood requires attention to detail for the best results. This technique can greatly enhance your smooth finish and create a polished appearance.
To maximize your efforts, keep these key points in mind:
- Use Higher Grit Sandpaper: Opt for 320 grit or above for final touches; it prevents clogging and achieves a refined look.
- Maintain a Clean Working Environment: Regularly clean your sandpaper and keep the wood surface damp to minimize dust and enhance results.
- Employ Lubricants: Using water or mineral oil while wet sanding reduces debris and guarantees top-notch results.
Frequently Asked Questions
Can I Wet Sand Wood Without Using Any Lubricant?
No, you shouldn’t wet sand wood without a lubricant. Using wet sanding techniques with water or mineral oil provides lots of benefits, like reducing clogging of the sandpaper and improving the quality of your finish.
It also helps minimize scratches on the wood surface.
Make sure to pick the right sandpaper grit for your project.
And don’t forget to follow sanding safety tips to avoid damaging the wood or hurting yourself while sanding.
How Often Should I Change Sandpaper When Wet Sanding?
When wet sanding, you should change your sandpaper every 5-10 minutes, depending on the grit selection and the surface condition.
Regularly inspect your sandpaper for clogging to maintain effective sanding techniques.
If you’re using higher grit papers above 600, you can switch less frequently.
Remember to factor in drying time between uses, and keep your tools maintained for best results.
Ensuring fresh sandpaper helps achieve that smooth finish you want.
Just keep an eye on how the paper is performing, and don’t hesitate to swap it out when it starts to wear.
Is Wet Sanding Suitable for All Types of Wood?
No, wet sanding isn’t suitable for all wood types. While it works wonders on high-grit finishes for smoothness, it can cause problems with unfinished wood, raising the grain and causing swelling.
Imagine trying to polish a classic car with sandpaper that clogs; it’s counterproductive!
Focus on moisture effects and finish compatibility. Fine-grit sandpaper excels on non-porous woods but avoid it on porous varieties.
Choose your sanding techniques wisely for the best results!
What Should I Do if the Wood Starts to Warp?
If your wood starts to warp, stop sanding immediately and let it dry completely.
Use moisture control methods like a moisture meter to check content levels. Ideally, it should be between 6% and 8%.
To prevent warping issues in the future, consider applying wood preparation techniques such as sealants or stabilizers.
If the warp is minor, try using gentle pressure against the warp while the wood is still damp to correct it.
Can I Wet Sand After Applying a Finish?
Yes, you can wet sand after applying a finish, and it’s a great way to enhance smoothness and clarity.
Using ideal finishes like polyurethane, wait 24-48 hours for curing before starting. Stick to high-grit sandpaper (1200 grit or higher) to avoid deep scratches.
Keep the surface damp to minimize dust and debris. Just be careful not to over-sand, as this can damage the finish.
Also, don’t forget to clean the surface afterward because skipping this step can affect adhesion and finish quality.
Conclusion
In conclusion, wet sanding wood wonderfully weaves together a flawless finish. By following the focused steps and avoiding common pitfalls, you’ll achieve that silky smooth surface you desire. Don’t forget to select the suitable sandpaper grit and maintain moisture throughout the process.
With patience and practice, you’ll perfect your technique and elevate your woodworking projects to new heights. So, plunge into it, dampen your surface, and create stunning results that showcase your skill and craftsmanship!