Can You Paint Wood Veneer – Best Methods And Tips
Yes, you can paint wood veneer to refresh your furniture and enhance its style. Start by cleaning and lightly sanding the surface. Use wood filler for imperfections and apply a bonding primer for better paint adhesion.
Opt for high-quality water-based paints in thin layers. Use painter’s tape for clean edges and consider a protective topcoat for durability. Regular maintenance will keep your newly painted veneer looking fresh.
Keep exploring for more tips and techniques on transforming your furniture!
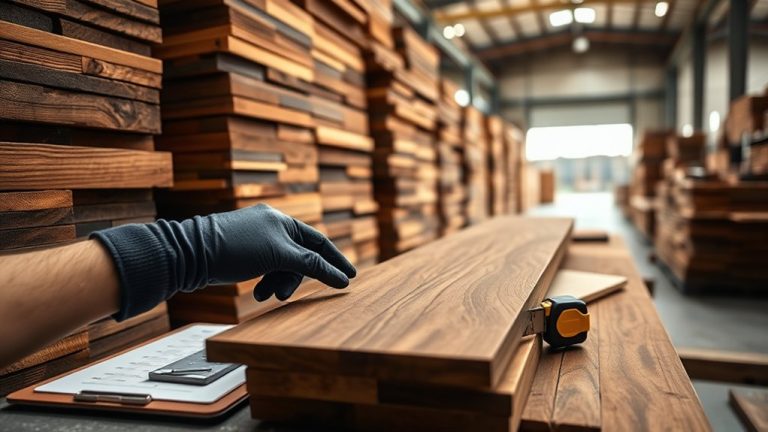
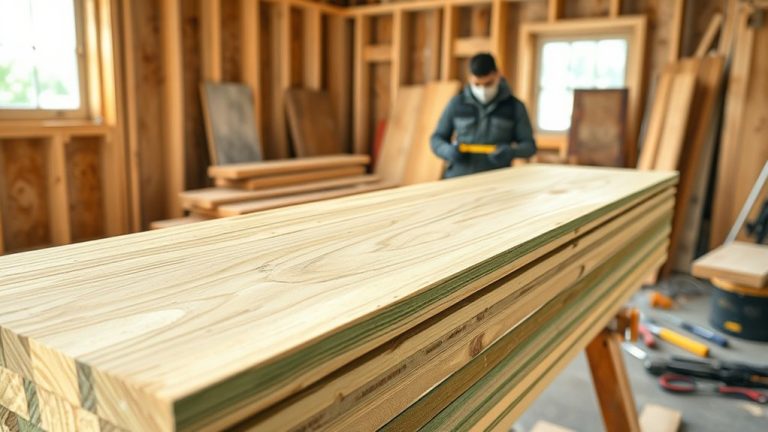
Understanding Wood Veneer: Importance and Benefits of Painting It

Wood veneer serves as a smart choice for both aesthetic appeal and structural support in furniture design.
When it comes to enhancing your pieces, painting wood veneer offers an exciting opportunity for customization. You can easily refresh outdated furniture or match a new color scheme without splurging on solid wood.
Plus, applying paint effectively hides imperfections, creating a uniform look across various surfaces.
To guarantee a professional finish without common issues like bubbling or cracking, it’s essential to use high-quality, water-based paint.
Remember, proper surface preparation is key. Clean the veneer and perform light sanding before painting.
This step will help you achieve a smooth and durable finish, giving your furniture a stunning makeover that lasts.
Essential Steps for Preparing Wood Veneer for Painting
To achieve a flawless paint finish on wood veneer, follow five essential steps that will secure your project’s success.
First, clean thoroughly using a mild detergent solution to eliminate dust and grease. This guarantees better paint adhesion.
Next, sand lightly with fine-grit sandpaper (around 220-grit) to create a smooth surface without damaging the veneer.
Sand lightly with 220-grit sandpaper to ensure a smooth surface while protecting the delicate veneer.
After sanding, it’ll be vital to repair imperfections. Fill any chips or cracks with wood filler and sand them smooth for an even base.
Once you’ve got that sorted, priming is essential. Apply a high-quality bonding primer designed for smooth surfaces to enhance paint adhesion and durability.
Finally, remove dust following priming to guarantee a clean surface for your paint application.
Essential Repairs for Smooth Painting: Filling and Gluing Damaged Veneer
Before you paint wood veneer, it’s important to check for any damage, like chips or peeling.
You want to know exactly what you’re dealing with before you start.
Then, picking the right fillers and gluing methods makes all the difference.
This way, your repairs will hold up well and give you a smooth surface to work on.
With just a little care and attention, you can get a flawless finish that looks like it was done by a pro.
Assessing Damage Extent
It’s essential to carefully evaluate your wood veneer surface for any signs of damage before diving into painting. Start by inspecting for chips, cracks, or peeling areas that require repair to guarantee the best paint adherence.
For chips and cracks, use a wood filler, allowing it to dry completely before sanding it smooth with the veneer surface.
If you encounter peeling veneer, apply quality wood glue and clamp the area until it sets, ensuring a strong bond.
After your repairs, double-check for any imperfections and lightly sand those areas to create a uniform texture.
This thorough evaluation of damage extent will prepare your veneer for a beautiful and lasting finish.
Don’t rush; properly completed repairs will make a significant difference.
Selecting Appropriate Fillers
When selecting fillers for your damaged wood veneer, the right choice can make all the difference in achieving a flawless finish. Opt for a high-quality wood filler that matches the color and grain of your veneer.
When applying the filler, confirm it’s designed for furniture applications to enhance durability and flexibility.
Once the filler dries, sand the entire area lightly to create a smooth and even surface. This smoothing helps the paint adhere properly.
Don’t forget to clean the veneer thoroughly after repairs; any dust or residue can negatively affect paint adhesion.
Gluing Techniques for Repairs
Three essential gluing techniques can help you effectively repair damaged wood veneer and guarantee a smooth painting surface. Start by selecting high-quality wood glue to reattach any loose or peeling sections. Apply the glue sparingly, then use clamps or weights to secure the areas while the glue sets.
It’s vital to allow adequate drying time as per the manufacturer’s instructions. Next, fill any chips or cracks with a matching wood filler and sand it smooth once dried.
| Technique | Steps | Tips |
|---|---|---|
| Reattaching Veneer | Apply glue, clamp, and wait | Use sparingly to avoid ooze |
| Filling Chips/Cracks | Fill, let dry, sand smooth | Match filler to veneer type |
| Final Inspection | Check for imperfections before painting | Don’t skip this step |
Selecting the Right Primer for Wood Veneer Projects
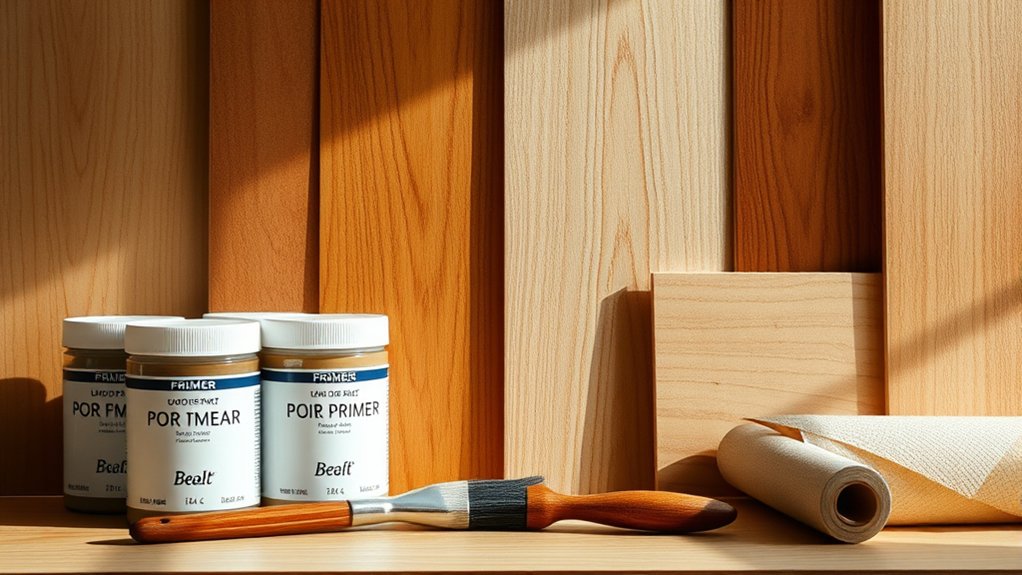
Look for bonding primers that are designed to grip tricky surfaces. This will help your paint last longer.
When applying, use thin coats of primer to avoid buildup, which can cause drips and an uneven finish.
Make sure to let the primer dry completely according to the manufacturer’s instructions. Usually, you’ll want to do some light sanding afterward to get a smoother feel.
Oh, and before you prime the whole piece, test it on a small, hidden spot first to make sure it works and sticks well.
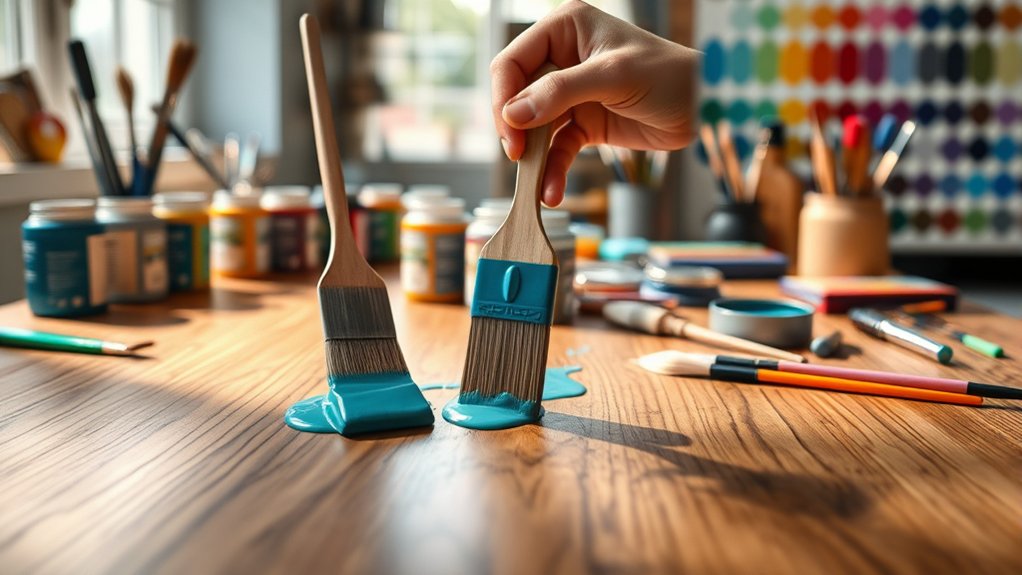
Best Paint Types for Painting Wood Veneer
If you want your wood veneer project to shine, choosing the right paint type is essential. Here are some great options:
| Paint Type | Description |
|---|---|
| Water-based latex | Easy to use, quick-drying, and safe for veneer. |
| Chalk Paint | Minimal prep, adheres well, and hides imperfections with a matte finish. |
| Satin finish | Enhances appearance and durability, ideal for high-traffic areas. |
| Semi-gloss finish | Provides a sleek look while offering protection. |
| Clear topcoat | Water-based polyurethane protects against scratches and extends lifespan. |
Remember to test paint samples in your space for color compatibility before diving into your project. It’s always a good idea to see how the color looks with your lighting and décor.
Tips for Painting Your Veneer Like a Pro
To get that professional-looking finish on your veneer, begin with proper surface preparation. First, make sure to clean the veneer thoroughly and then sand it down.
This step is key because it helps the paint stick better.
Next, pick the right type of paint for your project — this really makes a difference in the final look and durability.
Follow these tips, and you’ll be well on your way to a beautifully painted surface that lasts.
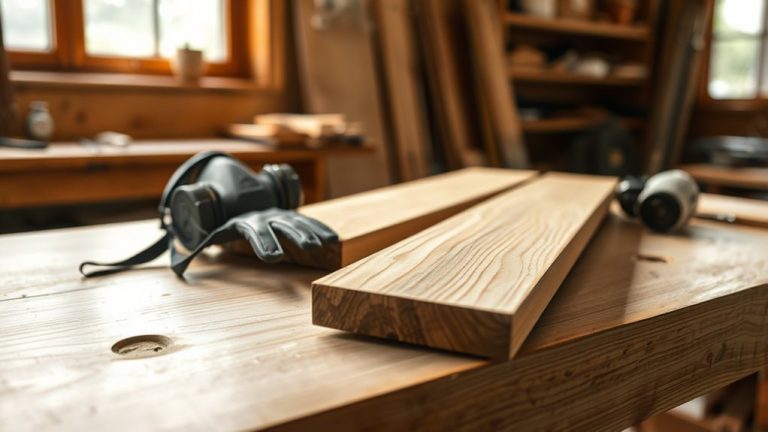
Surface Preparation Essentials
Before you plunge into painting your wood veneer, taking the time to prepare the surface properly can make all the difference in achieving a professional finish.
Follow these essential steps for effective surface preparation:
- Clean Thoroughly: Use a mild detergent solution to scrub away dust, grease, and residues that hinder paint adhesion.
- Lightly Sand: Gently sand the veneer with fine-grit sandpaper (220-grit) without damaging its thin surface.
- Fill Imperfections: Use wood filler to address chips and cracks, ensuring a smooth and even base for painting.
- Apply Bonding Primer: Coat with a high-quality bonding primer, allowing it to dry fully before painting.
Then, lightly sand again to perfect the surface.
These steps pave the way for a flawless finish! Just take your time, and you’ll see the difference it makes.
Choosing The Right Paint
Before painting, consider applying a high-quality bonding primer, especially on glossy veneers. This helps guarantee ideal adhesion.
When it’s time to paint, remember to apply multiple thin coats instead of a single thick coat. This prevents drips and allows each layer to dry completely.
Happy painting!
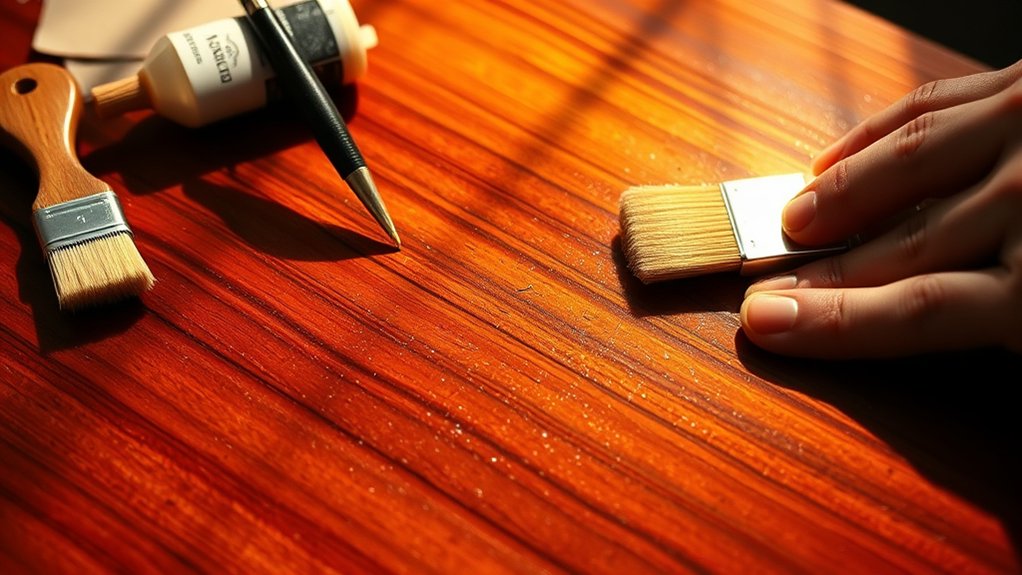
Applying Topcoats for Durability
Applying a clear topcoat is essential for enhancing both the durability and appearance of painted wood veneer surfaces. Here are four key tips to guarantee your topcoat does its job effectively:
- Choose the Right Product: Use a clear acrylic sealer or water-based polyurethane to protect your paint job.
- Use Clean Tools: Apply the topcoat with a clean brush or foam roller to avoid streaks and guarantee even coverage.
- Follow Drying Times: Allow 2-4 hours of drying time, as recommended by the manufacturer, for best results.
- Avoid Harsh Cleaners: Steer clear of harsh chemicals or abrasives, which can damage both the topcoat and the veneer beneath.
Maintaining Your Painted Veneer for Long-lasting Beauty
To keep your painted veneer furniture looking stunning for years to come, regular maintenance is key. Start by dusting it with a soft, damp cloth to remove dirt and prevent buildup that could harm the finish.
Avoid harsh chemicals or abrasive cleaners, as they can scratch and wear down the surface.
It’s also crucial to inspect your painted veneer regularly for any signs of wear or damage. Touch-ups can really help maintain its appearance.
If you store your furniture in a climate-controlled environment, it’ll help prevent warping from humidity fluctuations.
Every few years, consider applying a clear protective topcoat to enhance durability and preserve that beautiful finish.
Your diligence now guarantees lasting beauty!
Frequently Asked Questions
Can I Use Spray Paint on Wood Veneer?
Yes, you can definitely use spray paint on wood veneer! Choose the right spray paint types for your project, like acrylic or enamel, and be sure to prep the surface properly.
Opt for colors that complement your space.
When you’re spraying, hold the can about 12 inches away and apply several thin layers, allowing each one to dry.
Don’t forget to lightly sand between coats for a smoother finish and better adhesion!
It’s pretty straightforward once you get the hang of it. Just take your time, and your wood veneer will look great with that fresh coat of spray paint.
How Long Does Painted Veneer Last?
Painted veneer generally lasts between 5 to 10 years, depending on how durable the veneer is and how well you take care of it.
To get the most out of it, focus on simple maintenance like regular gentle cleaning. Avoid using harsh chemicals that could damage the surface.
Choosing your color wisely also helps since some colors may show wear faster than others. It’s a good idea to consider finish options like water-based polyurethane. This can protect the surface and make it more durable.
Also, try to keep your environment controlled. Managing humidity and sunlight exposure can really help keep your painted veneer looking vibrant for longer.
With just a little effort, you can extend its life and keep it looking great.
Is It Necessary to Seal Painted Veneer?
Yes, it’s necessary to seal painted veneer. Sealing techniques like water-based polyurethane or acrylic sealer can really boost the durability of your finish options.
Proper veneer preparation makes sure the paint sticks well, which helps prevent chipping and peeling over time.
After you’ve painted, let it cure for at least 24 hours before you apply the sealant.
This way, you’ll protect your work against wear and keep your veneer looking great for longer.
And don’t forget, regular maintenance will help too!
Can I Paint Over Existing Finish on Veneer?
Yes, you can paint over an existing finish on veneer.
Start with proper preparation steps: clean the surface, then lightly sand it, especially if the finish is glossy.
Choose the right paint types, like acrylic or latex, to guarantee durability.
Using a high-quality bonding primer enhances adhesion and prevents chipping.
Finally, explore different finish options to achieve the desired look.
And always test in an inconspicuous area first for the best results.
What Tools Are Best for Painting Wood Veneer?
To get the best results painting wood veneer, use fine-grit sandpaper and perfect your sanding techniques for a smooth surface.
Choose quality primer options like oil-based or shellac-based varieties for a solid foundation.
Select the right brush types, either a clean synthetic brush or a foam roller, for an even application.
Finally, opt for water-based latex or acrylic paint finishes to guarantee durability and avoid damage. This will help you create a beautiful, lasting look.
Conclusion
In painting wood veneer, you’re not just adding color; you’re breathing new life into a surface that holds stories within its grain. Like a well-chosen coat brightening a winter day, your painted veneer can transform a space, reflecting your unique style.
With the right preparation and care, you’ll guarantee that this new layer of beauty endures. Embrace the process, and let your creativity flow. Your wood veneer deserves to shine brightly for years to come.