Can You Paint Cedar Wood: Best Practices For Long Lasting Results
Yes, you can paint cedar wood successfully by preparing it thoroughly. Clean, sand, and seal with an oil-based primer to block tannin bleed.
Use high-quality acrylic latex paint for flexibility and UV protection, and apply at least two coats. Paint in ideal weather, avoiding high humidity or rain, and keep the wood dry below 15% moisture.
Maintain your finish with regular inspections and touch-ups to extend its life. Following these steps guarantees a durable, long-lasting result. And there are more tips ahead to protect and enhance your cedar wood.
Key Takeaways
- Clean and sand cedar wood thoroughly to remove dirt, old coatings, and smooth the surface before painting.
- Use an exterior oil-based primer to seal tannins and prevent bleed-through on cedar wood.
- Apply high-quality acrylic latex paint with at least two coats for durability and UV/moisture resistance.
- Paint cedar only when wood is dry, and temperature is between 50°F and 85°F to avoid peeling and blistering.
- Regularly inspect, clean, and touch up painted cedar to maintain protection and extend paint lifespan.
Why Paint Cedar Wood: Key Benefits and Risks
Why should you consider painting cedar wood? Painting cedar not only lets you customize its look with a variety of colors, but it also greatly boosts its long-term performance.
Painting cedar enhances its appearance and significantly improves its durability over time.
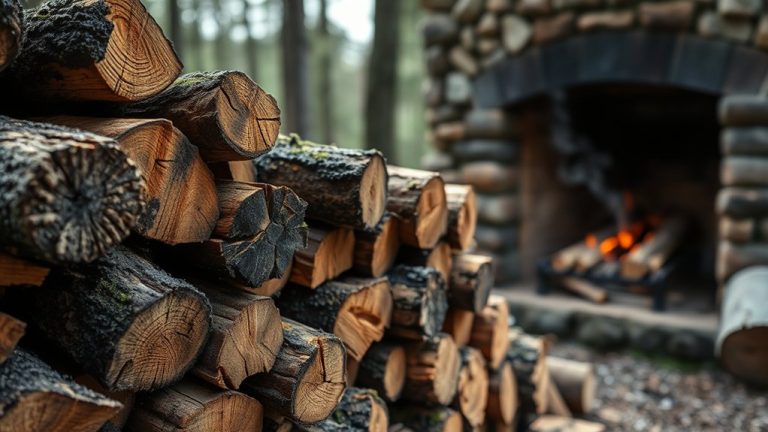
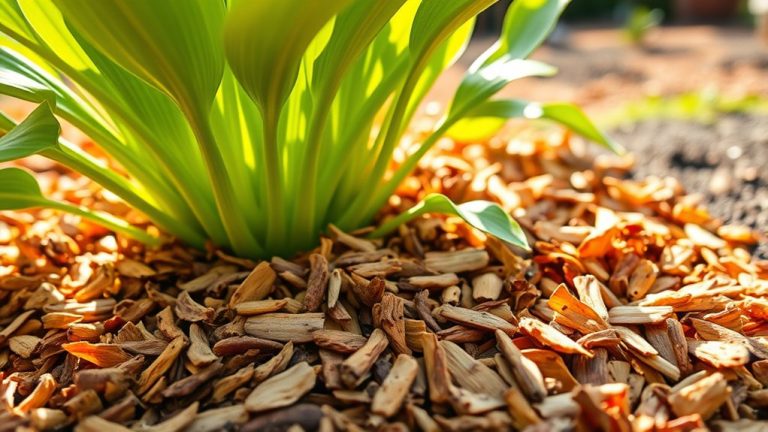
Cedar naturally resists insects and decay, but applying paint adds an extra protective layer against UV rays, moisture, and debris.
To make sure your paint job lasts, you need to properly prepare the surface by cleaning and applying a quality primer designed for exterior wood.
Using high-grade paint and primer, like Sherwin-Williams products, helps prevent peeling and cracking, which maximizes durability.
While cedar’s natural resistance is excellent, paint enhances protection and can extend the wood’s lifespan up to 8 to 12 years.
How Cedar Wood’s Color and Grain Affect Painting Results
Although cedar wood’s natural pinkish-red color and fine grain add unique beauty, they directly impact how paint sticks and looks on the surface. The wood grain’s fine texture and straight lines actually help paint adhere better.
But knots and varied patterns mean you’ll need to sand and prime thoroughly to get an even paint job on cedar.
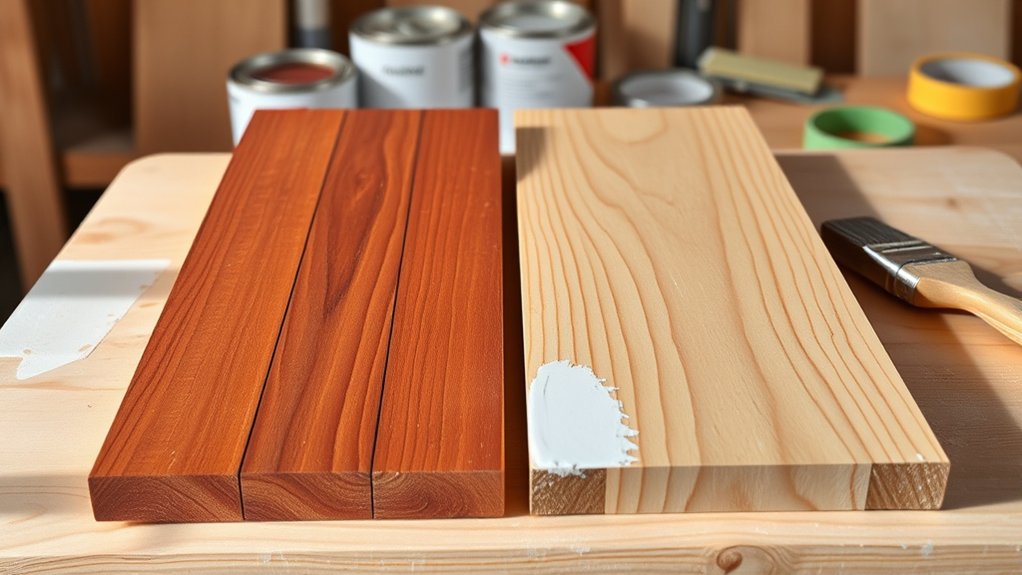
Cedar’s natural oils and tannins can bleed through paint if you skip using a high-quality primer and paint made to block stains. Also, lighter paint colors might look a bit muted because of cedar’s reddish hues, so expect some color influence from the wood itself.
Over time, weathered cedar turns silver or grey, and that can affect how long the paint lasts. Regular maintenance is key to keeping the finish looking fresh and durable on your painted cedar.
Choosing the Right Paint and Primer for Cedar Wood
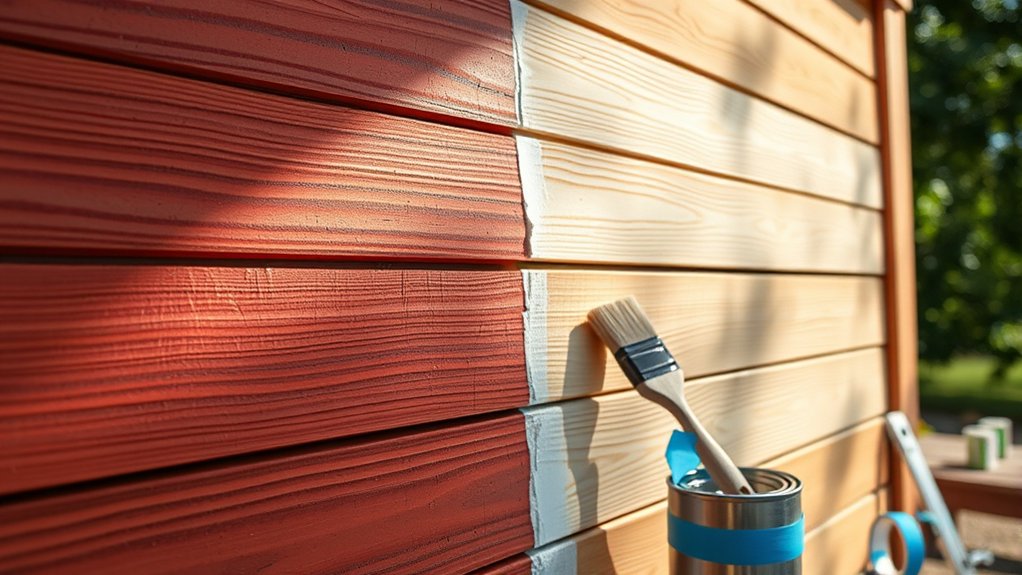
Selecting the right paint and primer is essential for protecting cedar wood and achieving a lasting finish. To paint cedar siding effectively, start with an exterior oil-based primer coat formulated to seal the wood and block tannin bleed-through. This primer enhances adhesion and prepares the surface for paint.
Begin with an oil-based primer to seal cedar and prevent tannin stains for a durable paint finish.
Choose an acrylic latex paint for its durability and flexibility. It’s great because it accommodates cedar’s natural expansion and contraction due to moisture content changes.
Opt for a high-quality paint that resists UV rays and moisture. This will help guarantee your finish lasts longer.
Applying at least two coats improves coverage and protection, especially when using lighter colors over darker cedar.
Using these products correctly will safeguard your durable wood siding and maintain its appearance over time.
Preparing Cedar Wood for Painting: Cleaning and Sanding
Before you apply any paint, thoroughly cleaning and sanding your cedar wood is essential to guarantee proper adhesion and a smooth finish.
Begin by cleaning the surface to remove dirt, dust, and any old coatings. This step guarantees optimal paint adhesion.
Next, sand the wood using 50-60 grit sandpaper, especially if it’s weathered, to create a smooth surface that promotes better paint bonding.
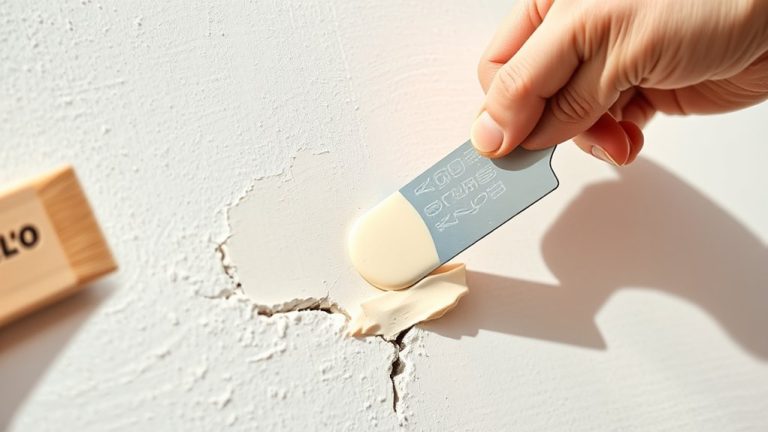
After sanding, inspect the wood for knots, cracks, or damage, and repair as needed to achieve a uniform finish.
Applying a wood conditioner before painting helps seal tannins and prevents uneven paint absorption.
Finally, make certain the cedar is completely dry before moving forward, as moisture can cause peeling and compromise the durability of your paint job.
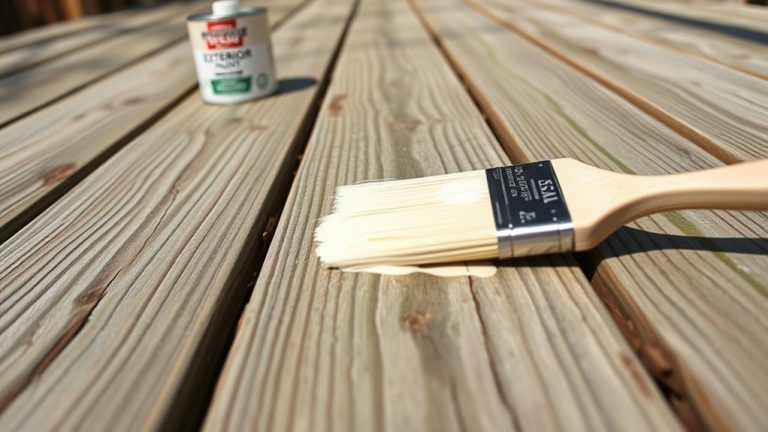
Step-by-Step Painting Guide for Lasting Results
Once your cedar is clean, sanded, and fully dry, you can start the painting process to guarantee a durable, attractive finish.
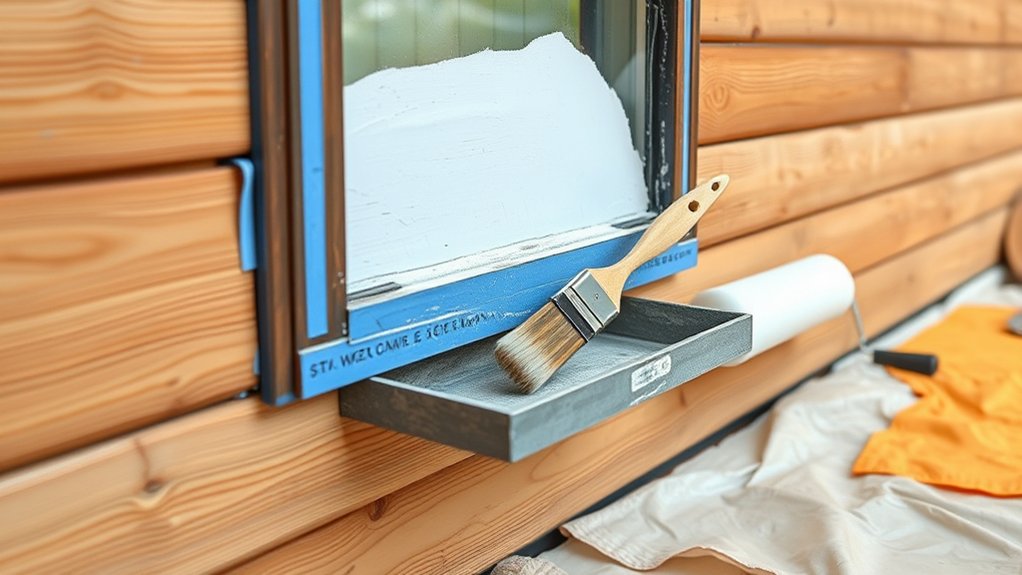
Begin by applying an exterior oil-based primer. This seals the clean cedar wood and prevents tannin bleed-through, ensuring better paint adhesion.
After the primer dries, apply 2-3 coats of high-quality acrylic latex paint. Make sure to wait for each coat to dry thoroughly. This layered approach maximizes protection and longevity.
For best results, paint cedar siding between the 3rd and 11th week after installation. This timing allows the wood to stabilize.
Once painted, commit to regular maintenance by inspecting and cleaning the painted surface annually. Doing this prevents peeling and cracking, greatly extending the life of your paint job and preserving the wood’s appearance.
How to Apply Primer and Prevent Tannin Bleed-Through
To prevent tannin bleed-through, start by choosing a high-quality oil-based, stain-blocking primer that’s made specifically for cedar wood.
You want to make sure the primer can really lock in those tannins.
Before you apply the primer, make sure the cedar is clean, dry, and lightly sanded.
This prep work is key because it helps the primer stick better.
Following these steps will protect your paint finish and help it last much longer.
Primer Selection Tips
Selecting the right primer is essential when painting cedar wood, especially to prevent tannin bleed-through that can discolor your finish over time. Use these primer selection tips to achieve lasting results:
First, choose an exterior oil-based primer designed for sealing cedar wood to effectively block tannins. Make sure the wood surface is clean and dry, with low moisture content, for maximum primer adhesion.
Also, try to apply primer within three weeks of installation to avoid weathering issues and enhance bonding.
Invest in a high-quality primer that creates a solid base for paint layers, improving durability and preventing bleed-through.
Always follow the manufacturer’s instructions on drying times and application methods. This approach guarantees your cedar wood paint job stays vibrant and well-protected.
Tannin Bleed Prevention
Proper application of primer plays a key role in preventing tannin bleed-through on cedar wood. Start by selecting a high-quality stain-blocking primer, either oil-based or acrylic latex, designed to seal tannins effectively.
Before priming, clean the cedar surface thoroughly by sanding lightly with fine-grit sandpaper and wiping away dust with a damp cloth.
Apply the primer within 3 to 11 weeks of cedar installation to guarantee ideal adhesion and reduce tannin migration. Let the primer dry fully, which usually takes about 24 hours, before painting. This seals the wood and blocks tannins from bleeding through the finish.
Finally, maintain and inspect painted cedar regularly to catch any tannin bleed early. This way, you can do timely touch-ups and help prolong the lifespan of your finish.
How Weather Affects Paint Adhesion and Drying on Cedar
Although cedar’s natural oils make it durable, weather conditions play a critical role in how well paint adheres and dries on its surface. You must consider the following to guarantee ideal paint adhesion and drying times:
Cedar’s durability is enhanced by its oils, but weather critically impacts paint adhesion and drying.
- High humidity levels increase moisture content in cedar, causing paint to peel or blister.
- Paint when temperatures range between 50°F and 85°F to avoid slow drying and poor curing.
- Avoid painting right after rain; the wood should dry to below 15% moisture content for proper bonding.
- Wind can speed drying but may cause uneven application or premature skinning, so monitor conditions closely.
Keep these points in mind when planning your painting project. That way, you’ll help ensure a smooth, long-lasting finish on your cedar surfaces.
Maintaining Painted Cedar Wood for Long-Lasting Finish
You should regularly clean your painted cedar wood with a mild detergent to keep dirt and mildew at bay. It’s a simple step but makes a big difference.
Also, keep an eye out for any peeling or cracking. If you spot any damaged areas, be sure to touch them up right away. This helps maintain a strong, durable finish.
By staying consistent with these easy steps, you’ll make your paint last longer and keep the wood well protected.
It’s all about regular care!
Regular Cleaning Routine
When you regularly inspect and clean your painted cedar wood, you catch signs of wear or peeling early. This helps prevent costly damage down the line.
Establishing a regular cleaning routine is key to keeping your siding looking great and lasting longer.
Follow these steps to protect your investment:
- Clean the surface at least once a year using a mild detergent mixed with water.
- Use a soft-bristle brush or sponge to gently remove dirt, mildew, and debris without damaging the wood.
- Rinse thoroughly to avoid detergent residue that can degrade paint quality.
- Check that the drainage around the siding is working well. This helps prevent water pooling and keeps your paint from failing too soon.
Timely Touch-Up Painting
Before you begin, clean the surface thoroughly to remove dirt, dust, or mildew that could hinder adhesion. Use the same paint type as the original paint job.
Also, apply primer on any bare spots to preserve color consistency and protect the wood.
Depending on environmental conditions and the quality of the original paint job, expect touch-ups to last three to five years. By addressing wear promptly with proper preparation and materials, you keep your cedar wood looking fresh and well-protected against the elements.
Inspect For Damage
Regular inspections play an essential role in maintaining painted cedar wood and ensuring a long-lasting finish. You need to inspect for damage early to prevent costly repairs.
Focus on these key areas:
- Look for peeling or cracking paint that signals surface distress.
- Check for moisture retention which can lead to wood rot beneath the paint.
- Identify any discoloration or mildew growth that affects paint adhesion.
- Watch for insect damage as cedar’s natural repellents weaken over time.
Taking the time to inspect your cedar regularly can really save you headaches down the line.
Catching problems early means you can fix them before they get worse. So, keep an eye out and stay ahead of any damage!
Frequently Asked Questions
Can I Paint Cedar Wood Indoors Without Proper Ventilation?
You shouldn’t paint cedar wood indoors without proper ventilation. Poor ventilation increases your exposure to harmful paint fumes, which can degrade indoor air quality and cause health issues.
Instead, make sure there’s good airflow by opening windows or using fans. If ventilation is limited, think about using alternative finishes like low-VOC or water-based paints to cut down on fumes.
Also, protect yourself by wearing a mask.
Always prioritize ventilation to keep your indoor painting safe and effective.
How Long Should Painted Cedar Wood Cure Before Exposure to Rain?
You should allow painted cedar wood a curing time of at least 24 to 48 hours before any light rain exposure, but ideally wait up to 7 days to guarantee durability.
Moisture levels and environmental conditions, like high humidity or low temperatures, can extend curing time.
Using high-quality acrylic paint and proper surface preparation also improve resistance.
Avoid heavy rain until the paint fully cures, typically around 2 weeks, for best long-lasting results.
It’s always better to be patient with curing to make sure your paint job lasts.
Is It Necessary to Remove Knots Before Painting Cedar Wood?
Knots in cedar wood are like small speed bumps; you don’t have to remove them, but smoothing the ride helps. You’ll want to focus on knot removal techniques like sanding or use knot sealing options to prevent resin bleed.
These steps improve paint adhesion factors considerably.
Follow wood preparation tips carefully and apply finishing recommendations to guarantee your paint job lasts longer and looks flawless.
Proper prep beats constant maintenance every time.
Can I Use Oil-Based Paint Instead of Acrylic on Cedar?
Yes, you can use oil-based paint on cedar. Oil-based paints have some advantages like strong wood sealing and a smooth paint finish.
However, acrylic paints are less flexible, which might cause cracking as cedar expands and contracts. To get lasting results, make sure you prepare the surface thoroughly.
Also, use an oil-based primer to prevent tannin bleed-through.
While oil-based paints are durable, acrylics usually adapt better to cedar’s natural movement. So, it really depends on what you prioritize for your project.
How Does Cedar Wood’s Age Affect Paint Adhesion?
When it comes to cedar wood aging, paint adhesion factors depend heavily on the wood’s condition.
Older cedar usually offers better adhesion since it’s drier and the natural oils have faded, but you still need surface preparation techniques like sanding and cleaning.
Weathering effects can roughen or damage the surface, so it’s important to do a thorough prep job.
Sealant compatibility becomes essential too. Priming oxidized older wood makes sure your paint sticks well and lasts longer.
Don’t skip these steps! They really make a difference in how your paint holds up over time.
Conclusion
You can definitely paint cedar wood successfully, but preparation and the right materials matter. Did you know that properly primed cedar surfaces can extend paint life by up to 50% compared to unprimed wood?
By cleaning, sanding, and using a high-quality primer and paint designed for cedar, you guarantee lasting protection and beauty. Make sure to keep an eye on weather conditions during application.
Also, maintain your painted cedar regularly to enjoy a durable, vibrant finish for years. It’s easier than you might think once you follow these simple steps!