Can You Use Heat Transfer Vinyl On Wood: DIY Guide
You can definitely use heat transfer vinyl (HTV) on wood by preparing the surface carefully and applying heat at around 300°F with firm pressure for 15-40 seconds. Make sure the wood is clean, dry, and lightly sanded for better adhesion.
Preheating the wood helps the vinyl stick and last longer, especially on unfinished or painted surfaces. With attention to layering and sealing, your design will look like paint and stand up well.
Keep going to master the full DIY process and tips. You’ll get the hang of it in no time!
Understanding Heat Transfer Vinyl (HTV)

Heat Transfer Vinyl (HTV) is a versatile material that lets you add custom designs to wood with heat and pressure. When you apply heat transfer vinyl to wood, the key is proper surface preparation. Sand the wood lightly and preheat it to guarantee the HTV adheres well and the design looks smooth.
Unlike traditional vinyl, HTV provides a matte finish that closely resembles paint, especially on painted wood surfaces. This gives your project an authentic touch.
HTV offers a matte finish that mimics paint, adding an authentic feel to your painted wood projects.
Remember, the adhesive side of HTV must face up during cutting, and you should mirror your design for correct application.
Applying heat around 300 degrees Fahrenheit with controlled pressing intervals helps the vinyl bond without melting. This way, you can achieve crisp, lasting results on wood. It’s all about finding that perfect balance between heat and pressure.
Can You Use HTV on Wood?
You can definitely use HTV on wood, whether it’s unfinished, painted, or stained. The key is to prepare the surface properly.
Start by preheating the wood—that really helps. Then, applying the right heat and pressure makes the vinyl stick tightly and last longer.
Oh, and don’t forget to mirror your design before cutting.
For best results, press at around 300°F for 15-40 seconds. It’s pretty straightforward!
HTV Suitability On Wood
Applying HTV to wood is definitely possible and can yield impressive results when done correctly. Whether you’re customizing wood signs or other projects, Siser Easyweed HTV works well because its adhesive activates with heat and pressure. You’ll want to use a heat press or iron set around 300°F to guarantee proper bonding.
Keep these points in mind for HTV suitability on wood:
The wood must tolerate heat without damage, including painted or stained surfaces. The adhesive molds to the wood, creating a smooth finish that looks painted, not like a sticker.
For textured wood, layer HTV in 15-30 second intervals to avoid melting the vinyl.
With the right approach, your HTV designs will stick beautifully and last on wood surfaces. Give it a try, and you might be surprised at how great your projects turn out!
Wood Surface Preparation
Preparing your wood surface properly is key to getting your HTV to stick smoothly and last longer. Start by making certain the wood is clean and free of dust or debris. This improves adhesion and prevents bubbles or bumps.
If your wood is painted or stained, allow plenty of drying time before applying HTV. This helps avoid lifting issues and ensures better results.
For the best outcome, sand the surface gently to create smoothness and prime it if needed. This step helps HTV adhere better.
Before pressing, preheat the wood for 5 to 10 seconds. Doing this activates the adhesive for a stronger bond.
Keep in mind textured wood may require extra care, including multiple presses and slow peeling. This way, you can guarantee the HTV sticks properly during your wood surface preparation.
Adhesion And Durability
Once the wood surface is properly prepped and preheated, HTV adheres surprisingly well to wood, even better than adhesive vinyl in many cases. Its thin, flexible nature allows it to mold to the wood grain, creating a paint-like finish with excellent adhesion.
To guarantee durability, focus on proper pressing techniques. Applying even pressure at around 300°F for 40 seconds works best, especially on textured wood.
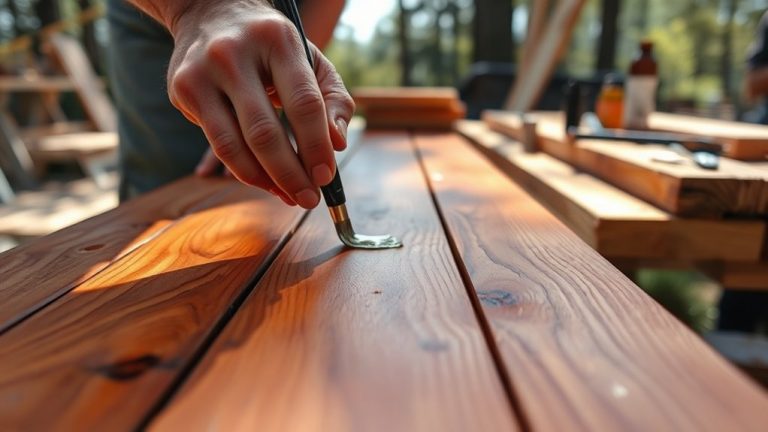
After application, consider sealing your design with a protective finish to boost weather resistance and longevity, particularly for outdoor projects.
Keep in mind:
- Preheating wood for 5-10 seconds enhances HTV adhesion and prevents lifting.
- Controlled temperatures allow layering HTV without melting.
- A protective finish extends your project’s durability against wear and elements.
With these steps, your HTV on wood will stay vibrant and secure.
Preparing Wood Surfaces for HTV Application
Before you start placing heat transfer vinyl (HTV) on wood, you’ll want to make sure the surface is perfectly ready to accept it.
Preparing wood surfaces begins with ensuring a clean surface. Wipe away any dust, dirt, or oils that could interfere with adhesion.
Lightly sand the wood to create a smooth surface. This helps the HTV stick better and prevents bumps or bubbles.
If you’re working with painted wood, make sure the paint is fully dry and cured. Otherwise, the HTV might lift or discolor.
Preheating the wood for 5 to 10 seconds before applying HTV can also enhance adhesion.
For an even better finish, consider priming or whitewashing the wood. This optimizes the surface for HTV application and improves the overall look.
Applying HTV on Wood: Step-by-Step Guide
Before you apply HTV on wood, make sure the surface is clean and preheated to boost adhesion.
You’ll want to use a heat press or iron at 300°F, applying firm pressure for about 40 seconds to secure the vinyl properly.
If you run into any issues with sticking, don’t worry—there are simple troubleshooting steps and techniques to help you get a smooth, lasting finish.
Just take your time, and you’ll have a great result in no time!
Surface Preparation Essentials
Although applying heat transfer vinyl (HTV) on wood might seem straightforward, preparing your surface properly makes all the difference in achieving a smooth, long-lasting finish.
Good surface preparation guarantees the HTV adheres well and withstands wear.
First, make sure your wood is clean and free of dust or debris. This prevents imperfections.
Next, sand and prime the wood if needed to create a smooth base that improves adhesion.
Finally, preheat the wood surface briefly to the right temperature (around 300°F) before applying HTV. This helps the vinyl bond better.
- Clean the wood thoroughly to remove dirt and debris
- Sand and prime for a smooth, adhesive-friendly surface
- Preheat the wood surface to optimize HTV adhesion and temperature consistency
Proper prep sets you up for success every time!
Heat Pressing Techniques
When you’re ready to apply heat transfer vinyl on wood, start by preheating the surface for 5 to 10 seconds to boost adhesion and eliminate any moisture.
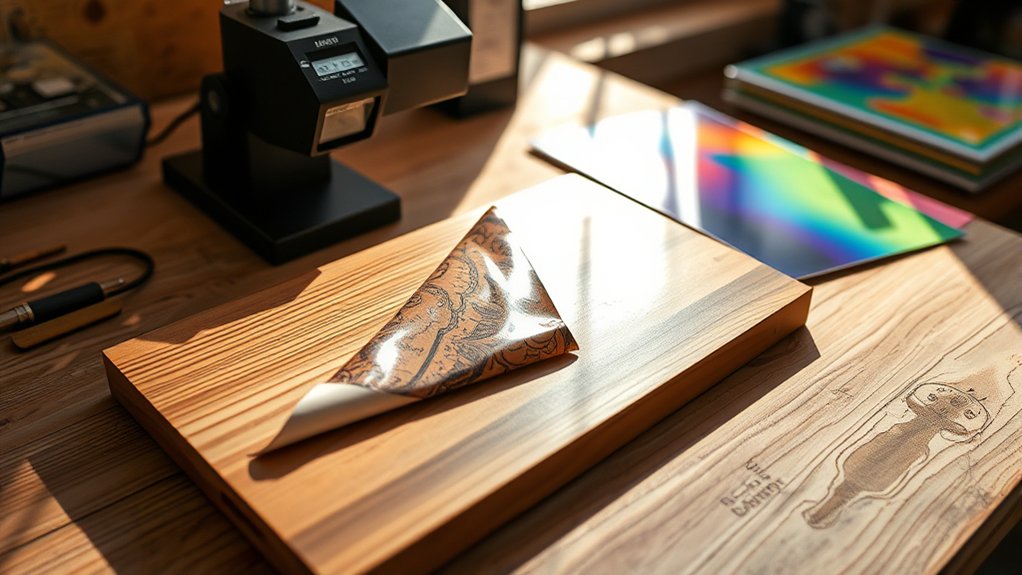
Next, position your HTV with the adhesive side up, making certain you’ve mirrored your design before cutting.
Place the vinyl on the wood, then cover it with a Teflon sheet or parchment paper to protect both surfaces.
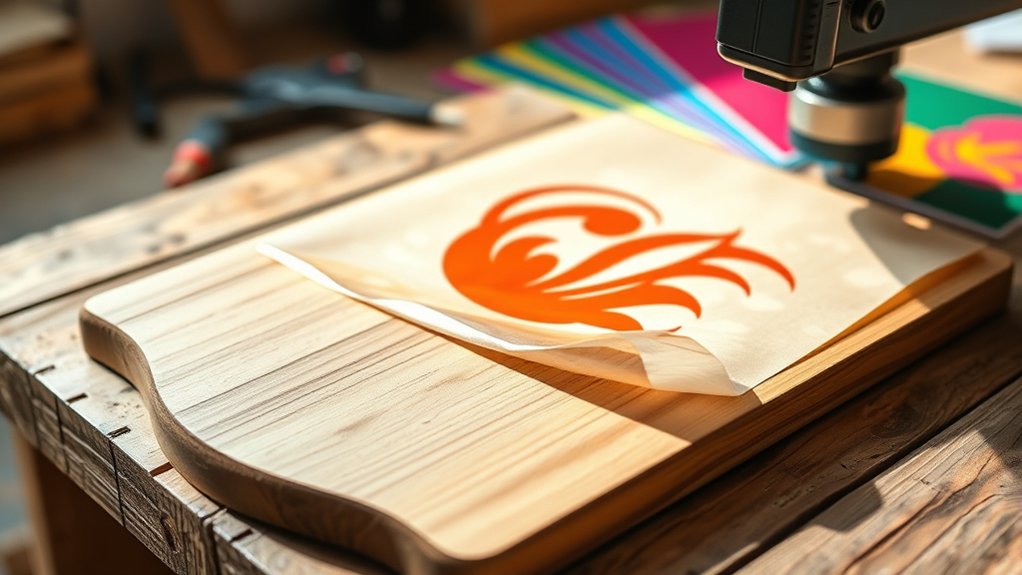
Using a heat press or an iron set to about 300°F, apply firm pressure for 40 to 60 seconds. This step is essential for bonding the vinyl to the wood.
After pressing, let the HTV cool slightly before you peel back the carrier sheet slowly. This careful peeling guarantees a clean transfer and prevents any lifting when you iron vinyl onto wood.
Easy, right? Just take it step by step, and you’ll get great results.
Troubleshooting Adhesion Issues
If your heat transfer vinyl isn’t sticking properly to the wood, don’t worry. You can fix it by carefully checking each step of your process. Adhesion issues often come from surface prep or heat application errors.
When using HTV on wood, make sure the surface is clean, smooth, and preheated for 5-10 seconds before applying heat. Use a heat press set to around 300°F with firm pressure for 15-40 seconds. Textured wood might need multiple pressing sessions and a back-and-forth peeling technique to get full adhesion.
Double-check that your design is mirrored before cutting the HTV. If you notice any lifting areas, just reheat them with an iron to reactivate the adhesive.
You can also tweak the pressing time or pressure depending on the wood texture and how the HTV responds. Following these steps will really help improve your HTV adhesion on wood.
Layering and Pressing HTV Without Damage
Mastering the art of layering and pressing heat transfer vinyl (HTV) on wood requires careful control of heat and timing to prevent damage.
Start by preparing a smooth wood surface to guarantee strong adhesion and to help your layers lay cleanly. Use a heat press rather than an iron for even pressure, which is essential for detailed designs.
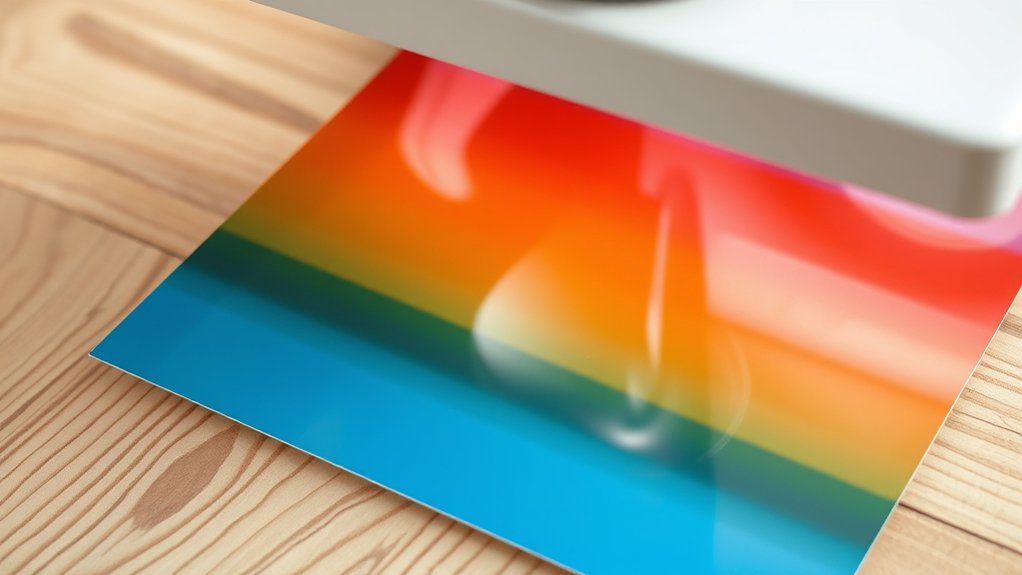
When layering HTV, press each layer for 15-30 seconds at the recommended temperature, usually around 300°F, to avoid melting or warping previous layers.
Let each layer cool slightly before adding the next to maintain design integrity and prevent shifting.
Keeping the temperature steady and timing precise will help you achieve vibrant, well-adhered layers without damaging the wood or your HTV.
It’s all about patience and attention to detail, really. This way, your final design comes out looking fantastic every time.
Troubleshooting HTV on Wood
Although applying heat transfer vinyl (HTV) on wood can yield stunning results, you might encounter some adhesion challenges that require quick fixes. To guarantee your design sticks well, always preheat the wood surface for 5-10 seconds before pressing.
If you’re working with painted or varnished wood and HTV doesn’t adhere properly, lightly sanding the area can improve grip.
When dealing with pine or sap-prone wood, use parchment paper instead of Teflon sheets to avoid sap transfer during pressing.
If your HTV lifts hours after application, simply reheat the area with an iron, applying multiple presses to reinforce adhesion.
For textured wood, gently peel and press back and forth until the HTV sticks evenly.
These troubleshooting tips help you achieve flawless HTV-on-wood projects every time.
Maintaining and Sealing HTV Wood Projects
Once your heat transfer vinyl design has fully adhered to the wood, taking the right steps to maintain and seal your project will keep it looking vibrant and secure for years.
First, allow your HTV to cure at least 24 hours before applying any sealant to avoid lifting.
If your piece will be used in the kitchen or outdoors, choose a clear, food-safe sealant for protection.
For extra durability, consider a layer of Mod Podge over the heat transfer vinyl, but test compatibility first.
Regular maintenance is key. Check for peeling or lifting, and if needed, use a quick iron reheat to restore adhesion.
For kitchen items, hand washing is best to extend HTV life and prevent damage from harsh detergents.
Frequently Asked Questions
Can HTV on Wood Be Used Outdoors Without Fading?
You can use HTV on wood outdoors, but HTV durability concerns mean you’ll need to take extra steps.
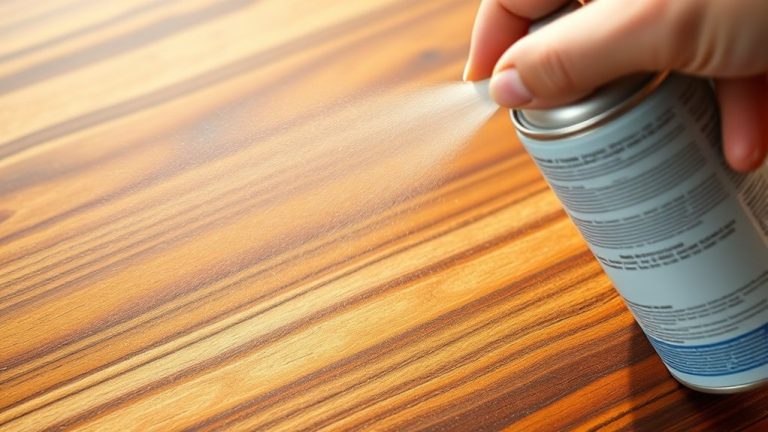
Focus on surface preparation methods to guarantee good adhesive strength factors. Use weatherproofing techniques like sealing with outdoor varnish or protective sprays for UV protection options.
When applying HTV outside, try to avoid prolonged direct sunlight.
Regular maintenance is also important to keep your design looking fresh. These actions help minimize fading and extend your design’s life on wood exposed to the elements.
What Type of Iron Works Best for HTV on Wood?
You’ll want an iron with adjustable heat settings, ideally one that reaches around 300°F for perfect adhesive activation.
A smooth, flat soleplate guarantees even pressure application, which is essential for crisp designs. Avoid steam irons since moisture can mess with vinyl brands’ adhesives.
For crafting tips, use circular motions to spread heat evenly. This iron type pairs well with project ideas involving wood, letting your HTV designs stick smoothly and last longer.
It really makes your creations look professional and stay put!
How Long Does HTV Last on Wooden Surfaces?
Think of HTV on wood like a well-tended garden. The adhesive longevity depends on careful surface preparation and application techniques.
If you sand and prime your wood, pick the right vinyl types like Siser Easyweed, and use proper heat settings, your design can last 3-5 years.
Don’t forget wood finishes and sealing, especially outdoors, to protect against wear.
With attention to detail, your HTV will stay vibrant and stick around for the long haul.
Can I Remove HTV From Wood Without Damage?
Yes, you can remove heat transfer vinyl from wood without damage by using careful removal methods.
Start by gently heating the vinyl to soften the adhesive, considering your wood type and surface prep. Use a weeding tool to lift edges slowly, avoiding splinters.
For delicate wood, a heat gun offers controlled heat. Always test a small area first to address durability concerns.
Proper application techniques and removal methods keep your wooden surface safe.
Is HTV Safe for Wooden Items Used With Food?
HTV isn’t the safest choice for wooden items used with food because of food safety concerns from the adhesive chemicals.
You’ll need to properly prepare the surface and apply heat carefully to make sure the vinyl sticks well. Even then, sealing it with a food-safe finish is really important.
Also, stick to gentle cleaning methods like hand washing to help protect the design’s longevity.
If you want something for direct food contact, it’s better to consider safer alternatives. HTV’s durability and safety mightn’t quite meet what you need for those uses.
Conclusion
Now that you know how to use heat transfer vinyl on wood, you’re ready to create stunning, personalized projects that even a Victorian craftsman would admire. Just prep your surface carefully, follow the steps, and layer with care to avoid any mishaps.
With a bit of patience and sealing, your wood designs will last beautifully. So grab your HTV and heat press. Your DIY masterpiece awaits!