Can You Paint Treated Wood: Preparation And Tips
You can paint pressure-treated wood, but first, let it dry for 3 to 6 months until moisture drops to 12-15%. Use a moisture meter or the water bead test to check if it’s ready.
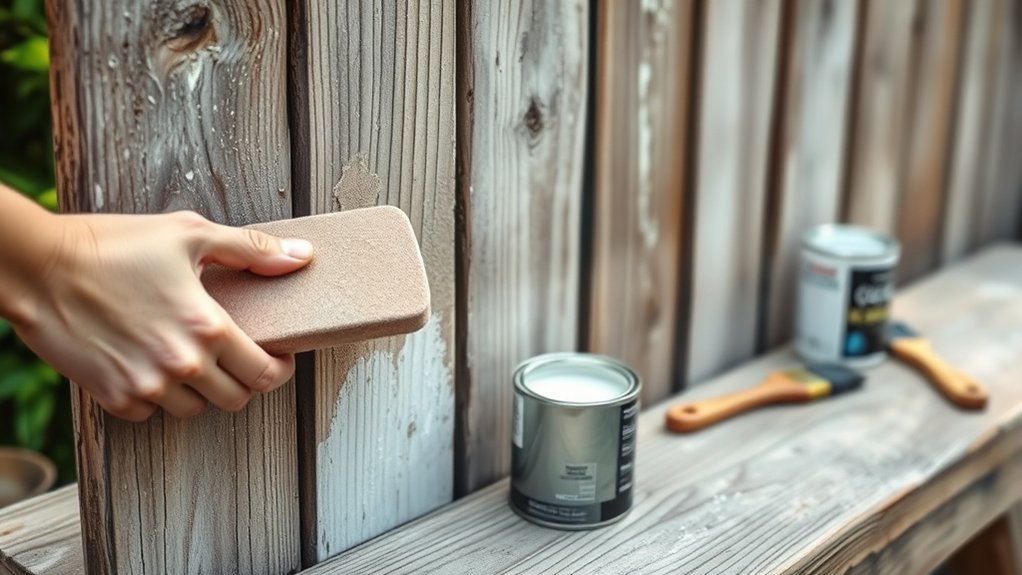
Make sure to clean it thoroughly, then sand lightly before you start painting. Apply an oil-based or latex primer designed specifically for exterior wood.
After the primer dries, go ahead and paint with high-quality exterior latex or acrylic paint in thin coats. Proper preparation and maintenance help prevent peeling and make the paint last longer.
Stick around for some tips on care and touch-ups to keep your wood looking great!
Why You Should Let Pressure-Treated Wood Dry First
Although pressure-treated wood offers excellent durability, you should always let it dry thoroughly before painting. This wood arrives saturated with chemical preservatives, which means its moisture content is initially very high.
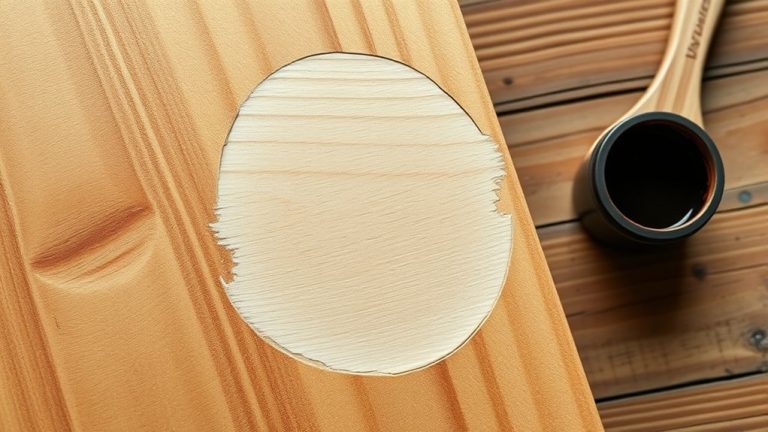
If you paint too soon, water beads will form on the surface, signaling excess moisture that prevents proper paint adhesion.
To guarantee a lasting finish, you need a waiting period of 3 to 6 months for the wood to dry to an ideal moisture content between 12-15%. Proper preparation during this time allows the preservatives to evaporate sufficiently, enhancing the wood’s ability to bond with paint.
Skipping this essential step risks peeling and bubbling, which can really undermine your project’s durability.
How to Tell When Pressure-Treated Wood Is Ready to Paint
To figure out when pressure-treated wood is ready to paint, a good first step is to check its moisture content. You can do this with a moisture meter, which gives you a precise reading.
If you don’t have one, don’t worry—you can try a simple water bead test instead. Just sprinkle a little water on the wood’s surface and watch what happens.
If the water soaks in within about 10 minutes rather than beading up, that’s a good sign the wood is dry enough to paint.
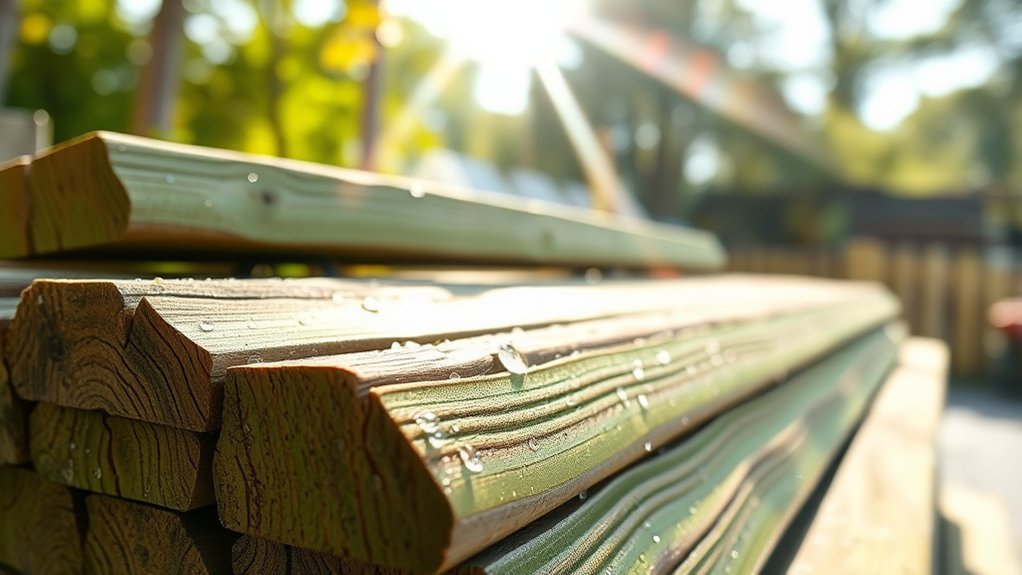
Another thing to look for is the wood’s color. When it starts to look lighter, kind of a yellow-brown shade, that usually means it has dried properly and is ready for your paint job.
Moisture Content Testing
How can you be sure pressure-treated wood is ready for paint? The key is moisture content testing.
First, wait to dry the wood for 3 to 6 months after installation, allowing moisture to evaporate naturally.
Then, use a moisture meter to check the wood’s moisture content. The ideal range to paint pressure-treated wood is between 12-15%. New pressure-treated wood often starts with moisture levels as high as 45-90%, so testing is essential.
Visual cues help too: a light yellow-brown color usually means the wood is fully dry, while green or dark hues indicate wetness.
Avoid painting if moisture content is too high, as this causes peeling or blistering.
While the water bead test offers a quick surface check, relying on a moisture meter provides precise confirmation that your wood is truly ready to paint.
It’s definitely worth taking the time to test before you start painting.
Water Bead Test
Wondering how to quickly check if your pressure-treated wood is ready for paint? The water bead test offers a simple, effective method. Just sprinkle a few drops of water onto the wood’s surface.
If the water beads up, the pressure-treated wood is still too wet. This means the moisture content is above the perfect 12-15% range. You’ll need to wait longer before painting to make sure the paint sticks properly.
On the other hand, if the water absorbs within 10 minutes, the wood is probably dry enough for painting. Adding the water bead test to your prep routine helps you avoid painting wet wood too soon, which can cause peeling and poor adhesion.
Visual Dryness Indicators
After performing the water bead test, you can further assess whether your pressure-treated wood is ready for paint by examining its color and texture.
Visual dryness indicators help determine if the wood is dry enough and ready for painting. Here’s what to look for:
- Color: Dry wood shifts from dark green to a light yellow-brown hue.
- Water Absorption: Drops of water should absorb within 10 minutes; if they bead, the wood needs time.
- Texture: The surface should feel dry and not tacky after cleaning with a water and mild cleaning solution.
- Moisture Content: Use a moisture meter to confirm it’s between 12-15%.
Use these indicators to make sure your wood is properly prepared. This will help you avoid paint failure caused by excess moisture.
Cleaning and Preparing Pressure-Treated Wood for Painting
Before you start painting pressure-treated wood, make sure to give it a good clean. Use a mild detergent or a wood cleaner to get rid of any dirt and residues that could prevent the paint from sticking properly.
Once it’s clean, you’ll want to check the moisture level. A simple way to do this is the water bead test—just sprinkle a little water on the surface. If the water beads up instead of soaking in, the wood isn’t dry enough yet and needs more time to dry out.
Taking these steps to prepare the surface and test the moisture will really pay off. Your paint will adhere better and last much longer.
Surface Cleaning Techniques
Start by thoroughly cleaning the pressure-treated wood to remove dirt, mildew, and any lingering chemical residues that could interfere with paint adhesion. Effective surface cleaning techniques involve these steps:
- Use a mild detergent and water solution to clean pressure-treated wood, scrubbing gently to avoid damage.
- For stubborn stains, apply a commercial deck cleaner and rinse with a low-pressure wash.
- Allow the wood to dry completely for at least 24 hours to verify ideal paint adhesion.
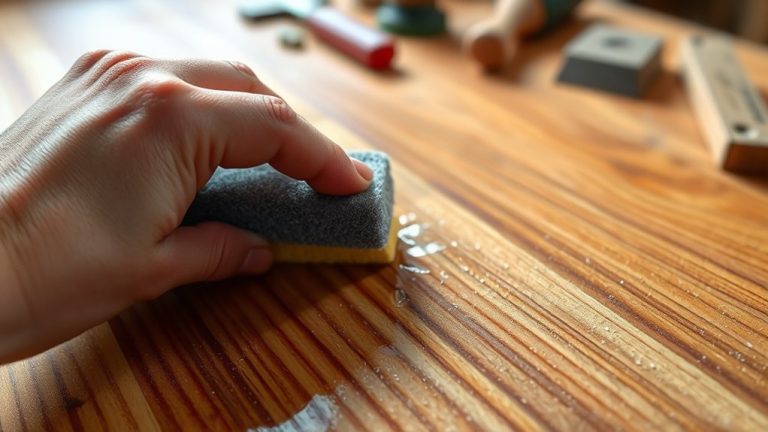
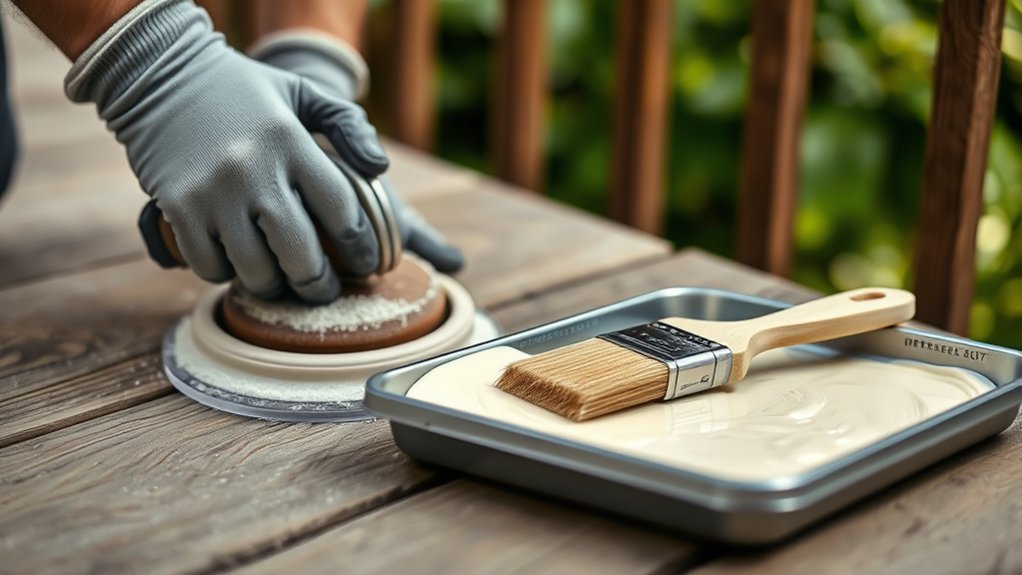
- Lightly sand the surface with fine-grit sandpaper after drying to create a smooth base.
Before painting, perform a moisture test by observing water beads on the surface. If beads form, the wood needs more drying.
Proper cleaning and preparation guarantee a durable paint finish.
Moisture Testing Methods
Two reliable moisture testing methods can help you determine if pressure-treated wood is ready for painting.
First, perform the water bead test by sprinkling water on the wood surface. If the water beads up, the wood’s moisture content is too high, and you need to allow it to dry longer.
Second, use a moisture meter to measure the exact moisture content. Aim for 12-15% to guarantee ideal paint adhesion.
Before testing, clean the wood thoroughly with a mild detergent or specialized cleaner to remove dirt and residues. These can affect the results.
After cleaning, allow the wood to dry for at least 24-48 hours.
Light sanding with fine-grit sandpaper can further smooth the surface. This improves paint adhesion and gives you a durable finish.
Choosing Primer and Paint for Pressure-Treated Wood
Although pressure-treated wood resists decay and insects, it still needs the right primer and paint to ensure lasting protection and a flawless finish. To make sure your paint sticks well and lasts, follow these key steps when choosing primer and paint.
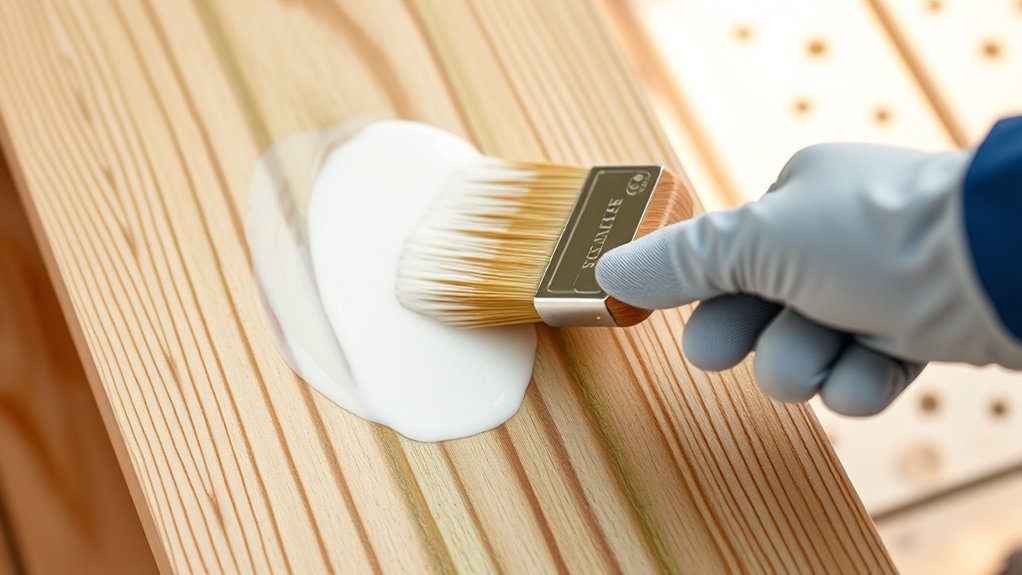
First, use an oil-based or latex primer made specifically for exterior wood to seal pressure-treated wood effectively. Then, pick a high-quality exterior latex or water-based acrylic paint for flexibility and long-lasting durability.
Make sure the primer is completely dry, usually about 24 hours, before you start painting. It’s a good idea to lightly sand the surface to help the paint stick better.
When you paint, apply multiple thin coats instead of one thick coat. Be sure each layer dries fully according to the manufacturer’s instructions before adding the next.
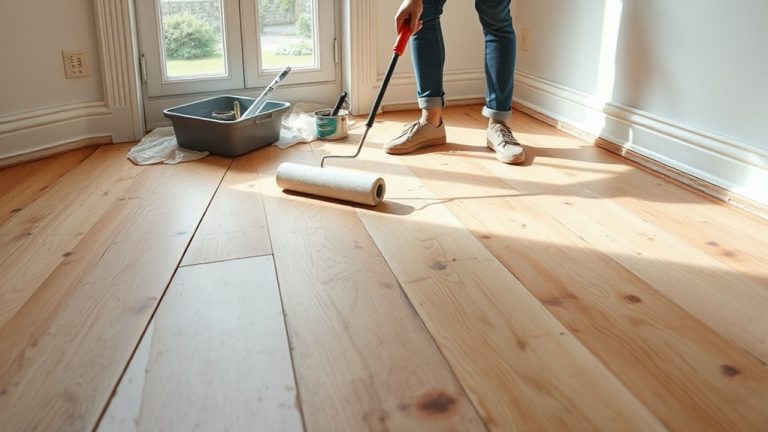
Step-by-Step Guide to Painting Pressure-Treated Wood
Typically, you’ll want to wait several months before painting pressure-treated wood to confirm it’s adequately dry. Make sure the moisture content is between 12-15% before you start. First, clean the surface thoroughly with a mild detergent and let it dry for 24-48 hours.
Next, apply a high-quality primer that’s suitable for exterior use and allow it to dry completely, which usually takes about 24 hours. Then, use exterior latex paint, applying two coats for lasting protection. Be sure to check the drying time between coats and verify the wood’s dryness with a water bead test.
Follow this step-by-step guide to achieve a durable, attractive finish.
| Step | Action |
|---|---|
| 1 | Wait 3-6 months for drying |
| 2 | Clean the surface thoroughly |
| 3 | Apply exterior primer |
| 4 | Paint two coats of exterior latex |
| 5 | Allow proper drying time |
Protecting Painted Pressure-Treated Wood
Since painted pressure-treated wood faces constant exposure to the elements, you need to protect it regularly to maintain its durability and appearance.
To guarantee your paint forms a lasting protective layer, follow these key steps:
To ensure your paint creates a durable, protective finish, follow these essential maintenance steps carefully.
- Conduct regular inspections to spot areas needing touch-ups or refinishing before damage worsens. This helps you catch problems early and keep the wood looking great.
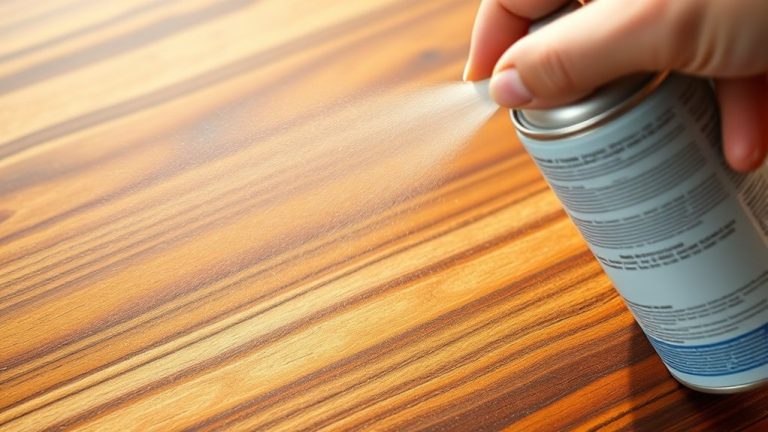
- Apply a high-quality clear water-repellent seal every few years to guard against moisture and UV damage. This extra layer really makes a difference in prolonging the life of your paint.
- Use synthetic brushes or rollers for repainting to improve paint adhesion and create a smooth finish. They work better than natural bristles and help your paint go on evenly.
- Ensure proper ventilation during drying to prevent moisture buildup that can cause peeling or blistering. Good airflow is key to keeping the paint intact and looking fresh.
When to Touch Up Painted Wood
When you notice peeling, bubbling, or fading paint on your treated wood, it’s a clear sign that it’s time to touch up the surface. Regular inspections every 6-12 months help you catch these issues early and prevent further damage.
Before you touch up painted wood, make sure the area is clean and dry. Ideally, wait 24-48 hours after cleaning to guarantee proper adhesion.
Use the same type and color of paint originally applied to keep a uniform finish. Apply touch-up paint in thin layers, allowing about 24 hours of drying time between coats.
This careful approach helps your touch-ups blend seamlessly with the existing surface. It protects your wood and keeps it looking its best.
Maintaining Painted Pressure-Treated Wood for Longevity
To keep your painted pressure-treated wood looking great and lasting longer, you need to perform regular maintenance tasks. Maintaining the wood properly prevents moisture damage and preserves paint integrity.
Follow these key steps:
- Inspect the painted surface annually for peeling, cracking, or wear to catch issues early.
- Clean the wood yearly with mild detergent and water to remove dirt and mildew that weaken paint.
- Reapply high-quality exterior paint every 5-7 years, depending on exposure, to maintain protective coverage.
- Apply a clear, water-repellent sealant every few years to shield against moisture and UV damage.
Make sure to address any touch-ups promptly to avoid moisture infiltration, which leads to deterioration.
Taking care of these small repairs as soon as you notice them really pays off. This proactive approach will extend the longevity of your painted pressure-treated wood effectively.
Frequently Asked Questions
Can You Paint Treated Wood That Is Already Stained?
Yes, you can paint treated wood that’s already stained, but you’ll need to use stain removal techniques like light sanding to prep the surface.
Choose primer options designed for stained wood to guarantee good adhesion.
Opt for high-quality exterior latex paint for durability and color selection. Apply using even strokes, and keep in mind the drying times of 3-4 months after staining.
Regular maintenance tips will help keep your finish durable and looking fresh longer.
It’s really about taking the right steps before you start painting to make sure the paint sticks well and lasts.
Is It Safe to Paint Treated Wood Indoors?
Sure, safety starts with smart steps! To protect indoor air quality, you should wait for proper drying times, usually 3 to 6 months, before painting.
Prioritize paint types like water-based primers to reduce health risks and long-term effects from VOCs.
Surface preparation is key, and don’t skip ventilation importance. Opening windows and using fans help clear harmful fumes.
Follow all safety precautions closely to ensure a safe, sturdy finish without compromising your health indoors.
How Long Does Painted Treated Wood Typically Last?
Painted treated wood typically lasts 5 to 10 years, depending on factors like paint adhesion and weather resistance.
How long it lasts really comes down to the wood’s natural longevity and how well you protect it.
To get the most out of your finish, focus on thorough surface preparation.
Also, choose high-quality paint colors and use good application techniques.
Regular maintenance is key.
Simple things like inspections and touch-ups can prevent moisture damage and help your wood last longer.
Can Untreated Wood Be Painted the Same Way as Treated Wood?
You can paint untreated wood similarly to treated wood, but you’ll want to focus more on wood preparation and surface priming to boost paint adhesion.
Untreated wood generally dries faster, so drying time is shorter.
Choose your paint based on finish types and weather considerations since untreated wood is more vulnerable to moisture.
It’s a good idea to check regularly for cracks and recoat as needed. This helps protect the wood and keeps your finish looking sharp.
What Are Common Mistakes to Avoid When Painting Treated Wood?
Painting treated wood without patience is like building a house on sand. It won’t last long. So, give it the time it needs—treated wood can take months to dry fully.
Next, focus on surface preparation. Clean it thoroughly and sand any rough spots to get a smooth finish. This step really makes a difference.
Make sure you pick the right paint, like water-based exterior latex, and always use a quality primer. These choices help your paint stick and last longer.
Also, keep an eye on the weather and environmental conditions. They can affect how well your paint adheres.
Finally, follow some maintenance tips to keep your finish strong and durable over time. It’s worth the effort!
Conclusion
Just like an artist waits for the perfect moment to stroke the canvas, you need to let pressure-treated wood dry fully before painting. By preparing it carefully, choosing the right primer and paint, and protecting your work, you guarantee a finish that stands the test of time.
With regular touch-ups and maintenance, your painted wood will weather seasons gracefully. This turns your project into a lasting masterpiece, much like a timeless work of art.