Can You Sand Pressure Treated Wood: What To Know
You can sand pressure treated wood, but it’s generally discouraged because it can lead to uneven tones, exposed splinters, and damage to the chemical treatment. Sanding creates toxic dust that contains arsenic and copper, so you need to wear proper protection.
Also, it’s best to wait at least six weeks after installation for the wood to dry before sanding. If you do decide to sand, make sure to use coarse to fine grits in order, and use a dust collection system to keep things cleaner.
To fully protect your wood and your health, it’s important to understand safer alternatives and some maintenance tips. That way, you can keep your wood looking good without the risks.
Can You Sand Pressure Treated Wood?
How should you approach sanding pressure treated wood?
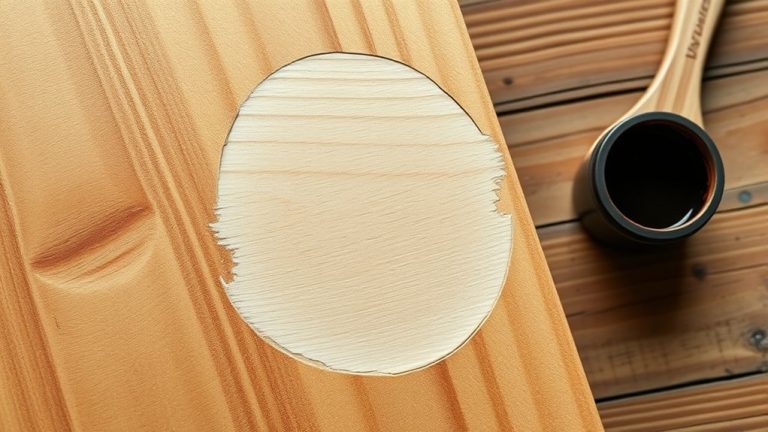
When sanding pressure treated lumber, you have to be careful. Sanding pressure treated wood can cause uneven tones, leaving lighter and darker patches that mess with the finish’s uniformity.
Plus, sanding permanently changes the chemical coating, so you can’t restore the original protective layer. Since treated lumber varies in quality, sanding might make problems like knot splitting worse and even produce hazardous splinters.
Sanding alters the chemical coating, worsening knots and creating hazardous splinters in treated wood.
Instead of heavy sanding, think about using wood cleaners or chemical strippers to prep the surface before applying solid stains.
Light sanding might be okay on high-contact areas to smooth rough spots, but often it’s not needed if the wood is already smooth.
This way, you keep the wood’s integrity intact and make sure your stain goes on evenly.
Why Sanding Pressure Treated Wood Is Usually Discouraged
Although sanding pressure treated wood might seem like a straightforward way to smooth its surface, it’s generally discouraged due to several practical drawbacks. Sanding changes the wood’s chemical coating in a way you can’t reverse. This causes uneven tones and a finish that looks inconsistent and is tough to fix.
The quality of pressure treated wood can vary a lot. This can lead to cracking and splitting, especially around knots. After sanding, there’s a higher chance of getting splinters, which is definitely something to avoid.
Plus, sanding creates dust that contains chemicals you mightn’t know about. Even if you wear protective gear, there are still health risks to consider. Because of all this, the benefits of sanding are pretty limited.
Instead, using wood cleaners or chemical strippers usually works better. These options don’t damage the wood’s integrity or put your health at risk.
Health and Safety Risks of Sanding Pressure Treated Wood
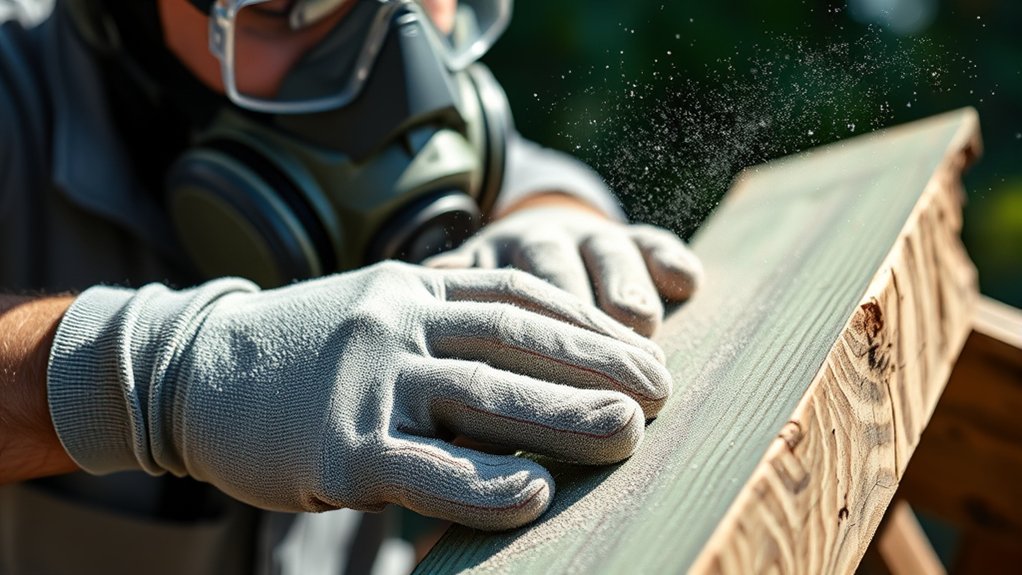
When you sand pressure treated wood, you release dust that contains toxic chemicals, posing serious health risks. This dust may contain arsenic, copper, and other hazardous substances. So, it’s really important to wear a proper respirator to avoid inhaling it.
Direct contact with the dust can cause skin irritation and long-term respiratory issues. Wearing gloves and protective goggles helps minimize exposure.
Skin irritation and respiratory problems can result from dust contact; gloves and goggles reduce risks.
Plus, sanding can cause splintering and cracking, which ups the risk of physical injury.
The chemicals in the wood also pose environmental hazards because they can leach out during and after sanding. To protect your health, always use the right safety gear and work in a well-ventilated area.
Just keep in mind the dangers that come with handling pressure treated wood dust.
When Should You Sand Pressure Treated Wood?
You should only sand pressure treated wood when the surface is dry and feels rough or has splinters, especially in spots where there’s a lot of contact.
It’s a good idea to check the moisture content before you start sanding because if the wood is still damp, it can clog your sandpaper and mess with how well any finish sticks.
Timing matters too—waiting until the wood is fully cured before sanding will give you better results and help avoid any damage.
Timing For Sanding
Since pressure treated wood retains moisture after installation, you should wait at least six weeks before sanding to confirm it has dried adequately.
Proper timing for sanding is essential because sanding too soon can damage the wood’s chemical treatment and affect its durability.
To assess readiness, perform the sprinkle test: if water absorbs into the surface rather than beading, the wood is dry enough for light sanding.
Focus on high-touch areas like railings where sanding can improve stain absorption without compromising integrity.
Avoid sanding prior to staining unless necessary, as properly dried pressure treated wood typically accepts stain well without surface preparation.
Moisture Content Importance
Although pressure treated wood often feels dry on the surface shortly after installation, its internal moisture content remains high and must be reduced before sanding.
Trying to sand pressure treated wood with excess moisture leads to poor sanding quality, weak stain adhesion, and potential wood damage.
To guarantee ideal results, wait 6 to 8 weeks for moisture content to drop to an acceptable level. You can perform a simple sprinkle test: if water beads up, the wood is too wet; if it absorbs, it’s ready for sanding.
Also, monitor environmental conditions like humidity and temperature to better judge drying progress.
Key points to keep in mind before sanding pressure treated wood:
- Confirm moisture content is sufficiently low to prevent sanding issues
- Use the sprinkle test as a practical moisture indicator
- Avoid sanding too early to maintain wood integrity and finish quality
Surface Condition Check
Surface roughness and imperfections determine when to sand pressure treated wood. Before sanding, inspect the wood’s surface, especially in high-contact areas like railings and stairs, for rough spots or peeling finishes.
If the pressure treated wood is already sanded, usually S4S (sanded on four sides), additional sanding may be unnecessary unless you detect irregularities.
Always confirm the wood’s moisture content first. Sanding damp wood compromises stain adhesion and finish quality.
Light sanding can improve stain absorption and enhance durability, but avoid aggressive sanding to protect the wood’s chemical treatment.
Focus on preparing only areas that need it to maintain the treated wood’s integrity while optimizing appearance and longevity.
This practical surface condition check guarantees you sand pressure treated wood only when necessary.
How to Safely Sand and Finish Pressure Treated Wood
When you sand pressure treated wood, you must prioritize safety by wearing a P95 respirator and protective gear to avoid inhaling harmful dust and chemicals.
Start by thoroughly cleaning the wood to remove dirt and moisture. This helps improve adhesion for your finishing options.
Begin by cleaning the wood thoroughly to eliminate dirt and moisture, ensuring better finish adhesion.
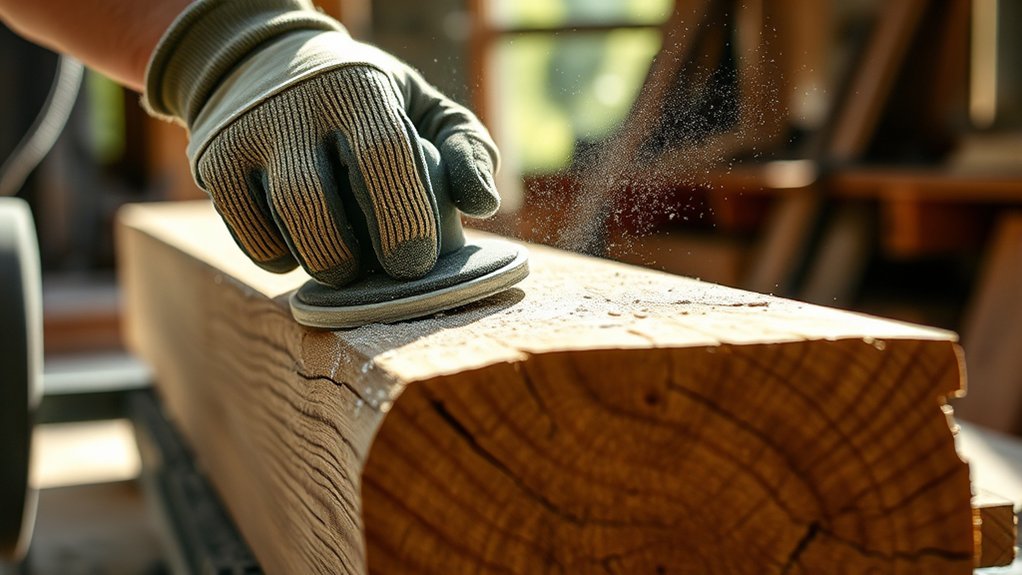
Use proper sanding techniques, beginning with coarse grits to smooth rough areas. Then, progress to finer grits for a smoother finish.
It’s a good idea to employ dust collection systems to minimize airborne particles and keep your workspace clean.
Remember, sanding removes the chemical coating on the wood. This can cause uneven tones and change the wood’s appearance, so keep that in mind as you work.
Key safety and finishing points to take into account:
- Always wear a P95 respirator and gloves during sanding.
- Use a vacuum or dust extraction system to manage dust.
- Choose appropriate finishing options after sanding for durability and protection.
Choosing the Right Sandpaper Grit for Pressure Treated Wood
You’ll want to start sanding pressure treated wood with a coarse grit, usually somewhere between 60 and 80. This helps get rid of rough spots and any imperfections on the surface.
After that, move on to finer grits like 100, then 120, and eventually up to 220 to achieve a smooth, even finish.
It’s important not to skip grit levels because that can lead to uneven surfaces.
Starting Grit Recommendations
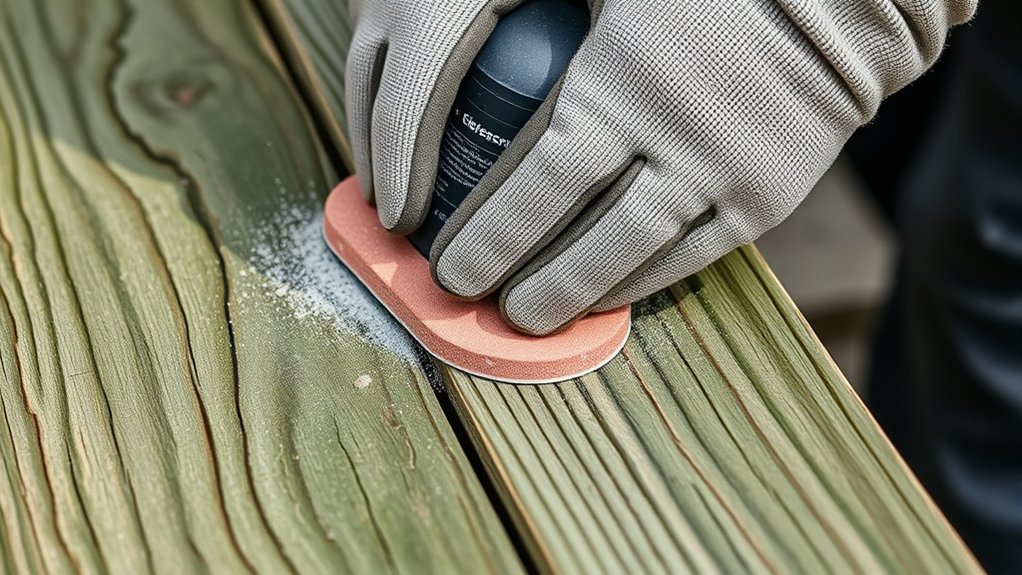
Starting with a grit between 60 and 80 provides the necessary abrasion to remove rough edges and surface imperfections on pressure treated wood effectively.
Your grit selection depends on the wood’s condition. Weathered, outdoors-exposed lumber often demands coarser grits initially.
Use proper sanding techniques to avoid uneven surfaces and maintain efficiency.
Also, regularly check your sanding tool’s condition. An old Ryobi square sander or any worn equipment could reduce performance and damage the wood.
Key points to keep in mind:
- Begin coarse to address roughness, then progress through finer grits without skipping steps
- Adjust grit based on wood texture and chemical treatment effects
- Maintain sanding tools to guarantee consistent abrasion and surface quality
This approach assures the best preparation for a smooth, even finish on pressure treated wood.
Progression For Smooth Finish
Selecting the right sandpaper grit progression guarantees a smooth finish on pressure treated wood while preventing surface damage.
Begin sanding with a coarse grit of 60-80 to remove rough edges effectively. Then, follow a systematic grit selection, moving through 100, 120, 180, and finally 220 grit.
Make sure you don’t skip levels to avoid uneven surfaces. Your sanding techniques should adapt to wood conditions. Exposure or prior planing may require starting with finer or coarser grits.
For high-touch finish types like railings, light sanding at finer grits enhances stain absorption and durability.
Using a random orbit sander assures uniformity, especially on rough pressure treated lumber. This precise grit progression optimizes surface smoothness while maintaining wood integrity for various finish types.
Alternatives to Sanding Pressure Treated Wood Before Finishing
Although sanding is a common method for preparing pressure treated wood, there are several effective alternatives that can save you time and reduce the risk of surface damage.
Instead of sanding, you can use wood cleaner alternatives to remove dirt and grime without harming the wood’s surface. Chemical strippers are great because they efficiently remove old finishes while preserving the wood’s integrity.
Power washing can also do the trick, as long as you keep the pressure below 1500 PSI to avoid damaging the wood. Using these gentler cleaning methods helps get your wood ready for finishing without the hassle sanding might bring.
- Use wood cleaner alternatives for safe surface preparation
- Apply chemical strippers to remove existing finishes without sanding
- Employ gentle power washing techniques to clean thoroughly
These options make sure your pressure treated wood is good to go for finishing, without the risks that sanding sometimes introduces.
Best Practices for Maintaining and Staining Pressure Treated Wood
When you want to preserve the lifespan and appearance of pressure treated wood, regular maintenance and proper staining are essential. Inspect your wood twice yearly to prevent moisture buildup and rot. Use quality wood cleaners before staining, and be sure to allow 24 hours for drying.
Choose a stain type that fits your wood and project needs. You can go with clear, semi-transparent, or solid stains. Apply the stain evenly using the right tools, and two coats usually do the trick for durability.
Keep a close eye on drying times because temperature and humidity can affect how the stain cures. Following these wood maintenance tips and stain application techniques will help you take great care of your pressure treated wood.
| Step | Action | Purpose |
|---|---|---|
| Inspection | Check for damage biannually | Prevent moisture and rot |
| Cleaning | Use quality cleaner | Remove dirt for better adhesion |
| Staining | Apply two coats evenly | Enhance protection |
| Drying & Curing | Monitor environmental factors | Guarantee stain longevity |
Frequently Asked Questions
Can Pressure-Treated Wood Be Sanded With a Hand Planer?
Yes, you can sand pressure-treated wood with a hand planer, but you need proper hand planer techniques to avoid uneven surfaces.
Start by ensuring the wood is thoroughly dry to improve wood preparation. Always prioritize sanding safety by wearing a respirator and protective gear to guard against harmful dust and chemicals.
Use light passes to maintain the wood’s integrity. Avoid deep planing that exposes inconsistent wood quality beneath the surface.
Taking it slow will help you get a smooth finish without damaging the wood.
How Long Does Pressure-Treated Wood Need to Dry Before Sanding?
You should allow pressure-treated wood to dry for 6 to 8 weeks before sanding.
During the drying process, moisture content needs to drop below 15-20% to guarantee effective sanding techniques and proper finish adhesion.
To check readiness, perform a sprinkle test. If water beads up, the wood isn’t dry yet.
Monitoring moisture content is essential because sanding too early can cause rough surfaces and finish failures.
Always follow manufacturer guidelines for the best results.
Taking the time to let your wood dry properly will save you from headaches down the road.
Does Sanding Affect the Wood’s Resistance to Insects?
Sanding strips the surface and seriously sabotages insect resistance by removing essential wood preservation chemicals.
If you use an aggressive sanding technique, you expose untreated layers. This invites insect invasion and compromises structural strength.
To preserve protection, avoid deep sanding. Instead, focus on careful finishing methods that maintain the chemical barrier.
Remember, your sanding approach directly affects durability.
Can You Paint Pressure-Treated Wood Without Sanding First?
Yes, you can paint pressure-treated wood without sanding first. The key is to clean off any dirt and moisture to make sure the paint sticks well.
Using the right techniques helps a lot. For example, applying a primer made specifically for treated wood can boost the paint’s durability and finish.
Sanding can smooth out rough spots, but it’s usually not necessary since treated wood often comes pretty smooth.
Just pick good-quality exterior paint designed for treated wood, and you’ll get professional, long-lasting results.
What Types of Finishes Work Best on Sanded Pressure-Treated Wood?
For stain application on sanded pressure-treated wood, oil-based stains work best. They penetrate deeply and really bring out the grain.
Water-based stains dry faster but don’t soak in as much.
Solid color stains give you uniform coverage and help hide imperfections after you’ve prepared the wood.
Once you’ve stained the wood, it’s a good idea to apply a high-quality sealant. This boosts durability and helps protect against moisture.
Always make sure to check if the finish types are compatible with your wood and any previous treatments. This ensures proper adhesion and long-lasting protection.
It’s worth taking the time to get it right!
Conclusion
Sanding pressure treated wood is like maneuvering through a minefield. You need to be cautious and precise. While it’s generally discouraged because of health risks from chemical residues, you can sand it safely if necessary.
Just make sure to use proper protective gear and the right grit sandpaper. Often, alternatives like cleaning and sealing work better. By following best practices for maintenance and finishing, you’ll protect both your health and the wood’s durability.
This way, you ensure a long-lasting, professional result.