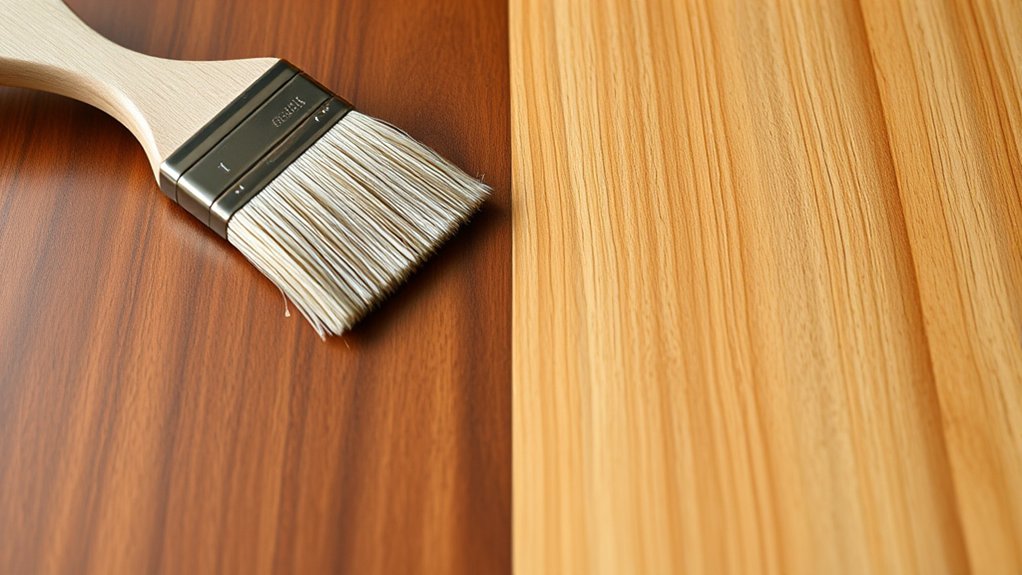
Can You Restain Wood Without Sanding? Expert Guideline
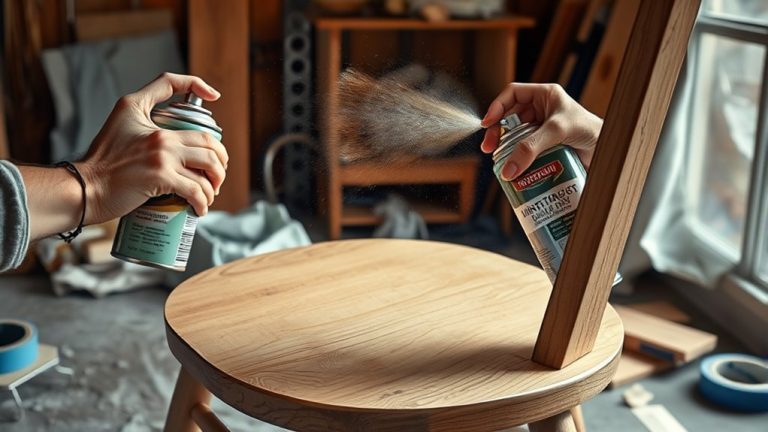
Yes, you can restain wood without sanding if the existing finish is intact and smooth. Start by thoroughly cleaning and lightly scuffing the surface to help the gel stain adhere. Choose a darker gel stain designed for finished wood and apply it carefully with a foam brush along the grain.
After staining, seal with a clear topcoat for protection. To guarantee a flawless result and know when sanding is necessary, you’ll want to explore detailed preparation and application techniques. It’s easier than you might think once you get the hang of it!
When to Restain Wood Without Sanding
If the existing finish on your wood is intact and free of damage, you can restain without sanding to save time and effort. This approach works best for wood furniture without deep scratches or peeling finishes, where the surface remains smooth and sealed.
Gel stain is particularly effective here because it bonds well to existing finishes, eliminating the need for extensive prep work.
You don’t have to strip or sand completely. Just make sure the surface is clean from dirt, grease, or wax buildup. Applying gel stain over a lighter stain lets you easily darken the wood without stripping the original finish.
How to Prepare Wood Surface for Restaining
Before you restain, you’ll want to start by cleaning the wood surface thoroughly. This helps get rid of any dirt and grease that might block the stain from soaking in properly.
Once that’s done, go ahead and lightly scuff the finish with some fine-grit sandpaper. This step improves adhesion but doesn’t sand down to the bare wood.
Cleaning The Surface
Although you’re not sanding the wood completely, thoroughly cleaning the surface is essential to guarantee the new stain adheres properly and looks even.
Cleaning the surface without sanding means removing dirt, grease, and old finish residues that can block stain absorption.
Here’s how to prepare your wood: Use a degreaser or all-purpose cleaner to break down grime and old finish.
Then, wipe the surface with a lint-free rag to eliminate dust and debris.
Next, inspect for water damage or imperfections, and take care of these before restaining.
Finally, allow the wood to dry fully to ensure the stain soaks in just right.
Light Surface Scuffing
A light surface scuffing plays an essential role in preparing your wood for restaining without stripping the existing finish. Use fine grit sandpaper, preferably 220-grit or higher, to gently scuff only the areas that need restaining. This creates a subtle texture that helps the new stain bond effectively without removing too much material or damaging the surrounding finish.
After scuffing, wipe away all dust and debris with a clean, lint-free cloth to guarantee a smooth application. This technique is especially effective when applying gel stains over previously stained wood. It helps you achieve a rich, even color.
By mastering light surface scuffing, you’ll enhance the adhesion of the new stain while preserving the wood’s existing character and finish.
It’s a simple step that makes a big difference in the final look.
Removing Grease Residue
Three key steps will help you remove grease residue effectively before restaining your wood.
First, apply a degreaser like Simple Green or Krud Kutter with a clean cloth to break down oils.
Next, thoroughly wipe the surface to guarantee it’s free of dust and debris. This creates a cleaned surface that’s perfect for stain adhesion.
For stubborn spots, use warm soapy water and a soft scrub brush. Just be careful to avoid excess moisture so you don’t damage the wood.
Finally, let the cleaned surface dry completely before proceeding.
- Use a quality degreaser to tackle grease residue.
- Wipe down and remove all dust and debris.
- Utilize warm soapy water for tough stains cautiously.
- Allow the surface to dry fully before restaining.
How to Pick the Best Gel Stain for Old Wood
When you’re picking the best gel stain for old wood, it’s a good idea to go for darker tones. These can easily cover lighter stains without the need for sanding.
Also, look for gel stains that are made specifically for pre-finished surfaces. Brands like General Finishes or Minwax are great choices because they stick well and give you a strong finish.
And don’t forget—always test your stain on a hidden spot first. This way, you can make sure the color looks right and that it works well with the wood’s existing finish.
Gel Stain Types
Choosing the right gel stain for old wood hinges on understanding the differences between oil-based and water-based formulas.
Oil-based gel stains offer richer, deeper colors but take longer to dry and emit stronger odors. Water-based gel stains dry faster and have less odor, making them more user-friendly for indoor projects.
When selecting a gel stain, consider these factors:
- Choose oil-based for a classic, intense finish; water-based for quick, low-odor application.
- Pick brands like General Finishes or Minwax for reliability and color variety.
- Confirm the wood surface is clean and free of debris to improve stain adhesion.
- Use gel stains designed for existing finishes to minimize prep work and get a smooth result.
Always test on a hidden spot before applying gel stain broadly on old wood.
It’s a simple step that can save you from surprises later on!
Color Selection Tips
How do you pick the perfect gel stain color for old wood that brings out its beauty without extra prep work? Start with darker gel stain tones. They cover lighter finishes effectively and eliminate the need to sand.
Choose gel stains made for furniture, like General Finishes or Minwax. These brands bond well with existing surfaces. It really helps to get a smooth, lasting finish.
Think about your wood’s undertones. Warm woods pair best with warm gel stain shades, while cooler woods suit cooler tones for a balanced look. It’s all about matching those natural hues.
Always test the gel stain on a hidden spot first. This way, you can confirm the color meets your expectations before committing.
Plus, keep in mind that gel stains darken over time. So, pick a shade that stays attractive as it ages.
These color selection tips guarantee your restaining project enhances old wood beautifully and efficiently. You’ll get great results with less hassle!
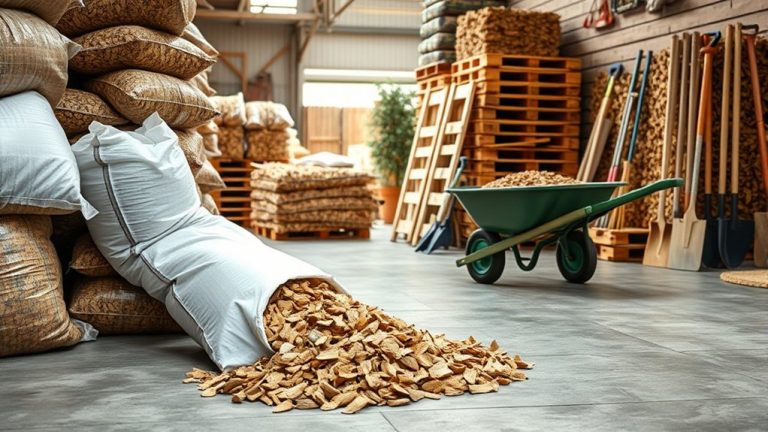
Top Products and Tools for Restaining Wood
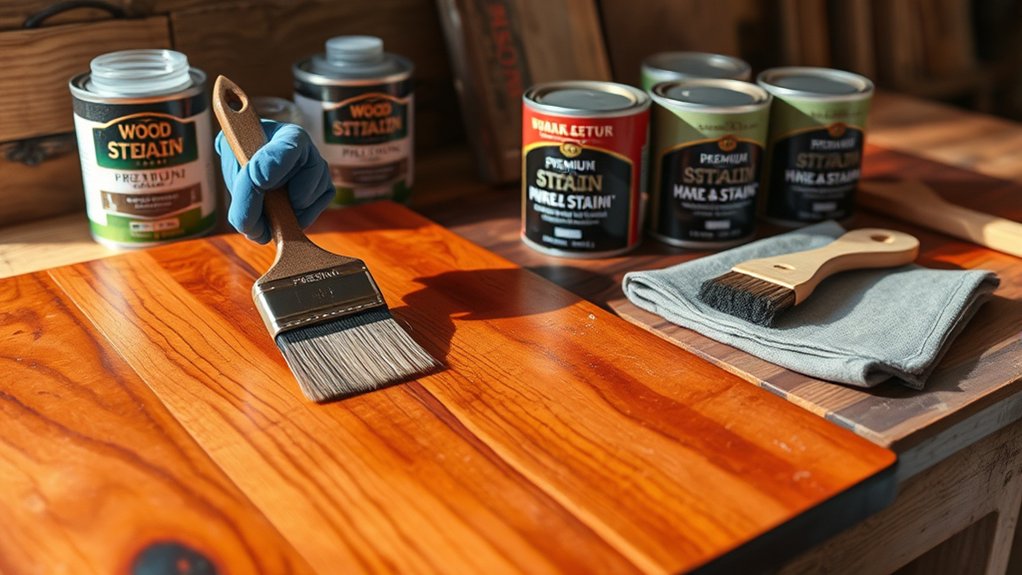
Gel stains like General Finishes Gel Stain and Minwax Gel Stain offer a reliable solution for restaining wood without sanding. These products let you refresh your furniture’s finish easily over existing coatings.
To get the best results, consider these top products and tools:
- All-Purpose Cleaner: Use cleaners like Simple Green to remove grease and dirt, making sure the wood surface is ready for staining.
- Fine Grit Sandpaper: A little light scuffing can improve gel stain adhesion without needing full sanding.
- Foam Brushes: These provide smooth, controlled application of gel stains, which is perfect for furniture projects.
- Top Coat: Seal with Minwax Clear Matte Polycrylic to protect the wood and boost durability. You don’t have to sand between coats either.
With these essentials, restaining wood becomes straightforward. Your furniture will look refreshed and professional in no time!
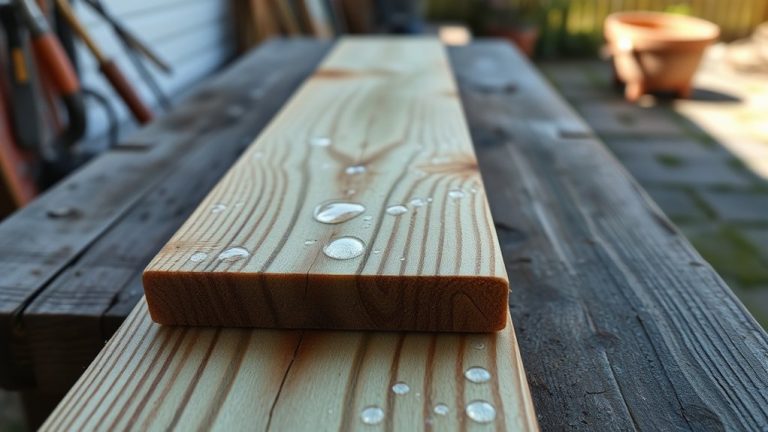
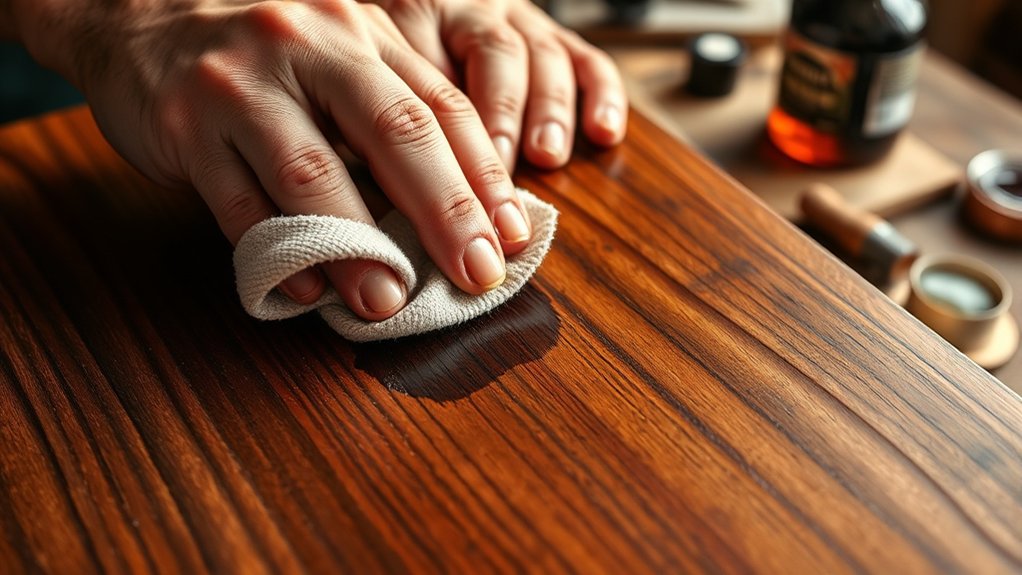
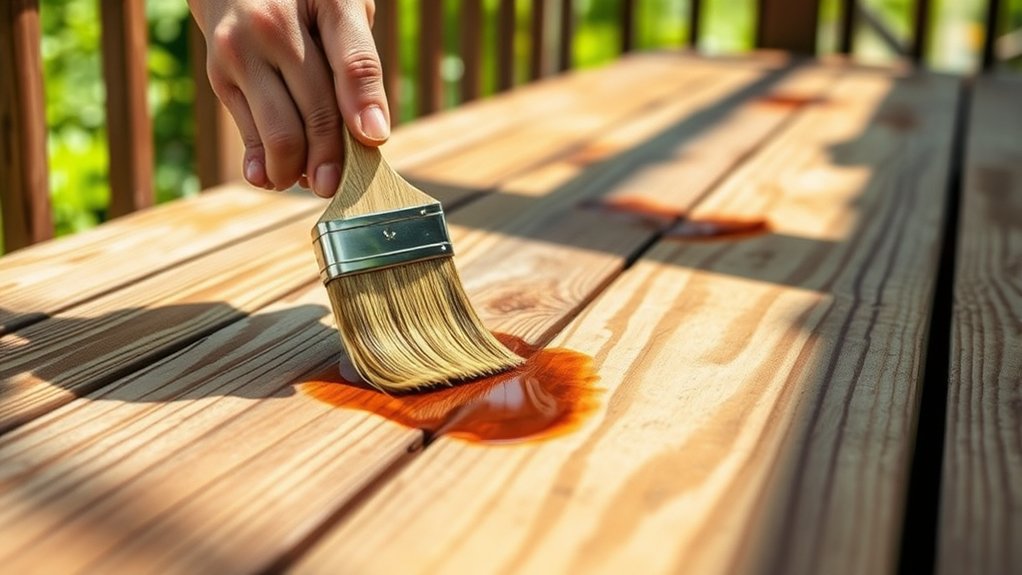
How to Apply Gel Stain on Finished Wood
Once you’ve gathered your cleaning supplies and tools, it’s time to apply the gel stain directly onto your finished wood. Start by lightly scuffing the surface with fine grit sandpaper to improve adhesion.
Using foam brushes, apply the gel stain in small sections, always following the wood grain for an even coat.
Let the first layer set for 8 to 10 hours to allow proper absorption. If you want a richer color, add a second coat, wiping off any excess stain after a few minutes to avoid blotching.
Foam brushes help control application, reducing streaks and ensuring smooth coverage.
This method lets you refresh finished wood without heavy sanding, making gel stain an efficient, professional choice for your restaining project.
It’s a simple way to bring new life to your wood surfaces without much hassle.
How to Seal and Protect Restained Wood
Protecting your freshly restained wood is essential to maintain its beauty and durability. To seal and protect your wood properly, follow these steps carefully.
First, let the gel stain cure for at least 24 hours to guarantee the first coat of sealer adheres well.
Next, apply a clear top coat, such as polycrylic or polyurethane, using a high-quality brush or foam applicator. Make sure you work with the wood grain to prevent bubbles and streaks.
It’s best to apply multiple thin coats for even coverage. Allow each coat to dry at least two hours before applying the next one.
Also, confirm proper ventilation during application, following the manufacturer’s instructions. This approach will safeguard your restained wood from scratches and wear while enhancing its finish.
Common Mistakes to Avoid When Gel Staining Wood
Applying a sealer correctly preserves the look of your restained wood. But mistakes during the staining process can still undermine your results. Without proper surface preparation, like cleaning and light scuffing, gel stain won’t adhere well, causing blotchy or uneven color.
Avoid overloading the brush. Thin layers prevent pooling and guarantee a smooth, consistent new wood tone. Don’t rush drying times. Waiting 8-10 hours between coats prevents smudging and builds depth.
Also, always test the gel stain on a small, hidden area first. This step helps you avoid surprises and assures the stain complements your wood’s natural appearance.
Skipping these precautions jeopardizes the final finish, making your restaining effort less effective and less durable.
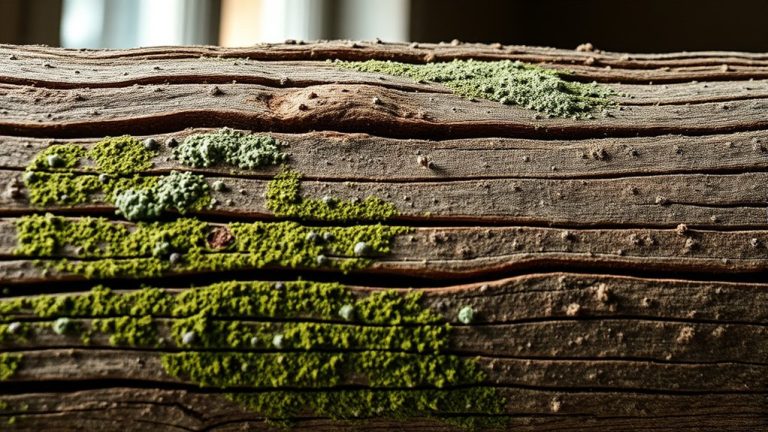
When Is Sanding Necessary Before Restaining?
Although you can often restain wood without sanding, there are specific situations when sanding becomes vital to achieve a flawless finish.
Sanding prepares the surface, guaranteeing the new stain adheres properly and looks uniform.
You should consider sanding in these cases:
- The wood has a glossy finish, which prevents the new stain from bonding effectively.
- The surface is damaged or uneven, requiring smoothing for consistent stain absorption.
- You’re applying a lighter stain over a dark or thick old finish to avoid uneven or diluted color.
- You’re switching from oil-based to water-based stains, needing to remove residues that hinder adhesion.
In these scenarios, proper sanding is essential to guarantee your new stain delivers a smooth, lasting appearance.
Frequently Asked Questions
Can Restaining Without Sanding Affect the Wood’s Texture?
Yes, restaining without sanding can affect the wood’s texture, but it often preserves the original wood finish better. If the finish is in good shape, you’ll maintain texture preservation since you’re not disrupting the wood grain.
However, if the surface has damage or inconsistencies, the new stain might absorb unevenly, altering texture.
Lightly scuffing with fine-grit sandpaper can improve adhesion and help keep the texture consistent while rejuvenating the finish.
How Long Does a No-Sanding Restain Last Compared to Sanding?
You’ll find the durability comparison shows no-sanding restains last about 3 to 5 years, while sanding extends that to 7 or more.
Without sanding, the stain bonds less effectively, so maintenance tips like applying high-quality sealants become essential to boost longevity.
To guarantee your finish holds up, regularly clean and reseal the wood, especially if it faces moisture or sunlight.
This will help you get the most from a no-sanding approach.
Are There Specific Wood Types Better Suited for No-Sanding Restain?
Yes, certain wood species are better suited for a no-sanding restain because their stain absorption is naturally higher.
Softwoods like pine, cedar, and fir absorb gel stains well without sanding due to their porous grain.
Hardwoods such as oak and maple might need light scuffing for better adhesion.
But tight-grain woods like cherry or walnut often show less color variation and accept stains smoothly.
Just make sure the surface is clean for the best results.
Can I Change Wood Color Dramatically Without Sanding?
Yes, you can achieve a dramatic color change without sanding by using specific color change techniques like applying gel stains.
Gel stains are excellent wood stain options that adhere well to existing finishes. They let you transform lighter wood tones into darker shades effectively.
Just lightly scuff the surface for better adhesion, apply multiple coats with drying time in between, and seal with a clear top coat for durability and a professional finish.
It’s a pretty straightforward process once you get the hang of it. This way, you save time and avoid the mess of sanding!
Is No-Sanding Restaining Safe for Outdoor Wooden Furniture?
Yes, no-sanding restaining can be safe for outdoor wooden furniture if you guarantee finish compatibility and prioritize weather resistance.
You should thoroughly clean the surface to remove dirt and grease so the new stain adheres properly. Using a gel stain designed for outdoor use helps maintain durability.
Lightly scuffing the surface can improve adhesion without full sanding, but avoid restaining if the existing finish is peeling or damaged to prevent future issues.
It’s really about making sure the surface is in good shape before you start. That way, your restain will last longer and look better.
Conclusion
You don’t always need to sand wood before restaining, especially with gel stains. In fact, 70% of professionals prefer gel stains for refinishing finished surfaces.
By properly preparing your wood and choosing the right gel stain, you can get a smooth, vibrant finish without the mess of sanding. Just remember to seal and protect your work to make sure it lasts.
Avoid common mistakes, and you’ll save time while restoring your wood to its best look. It’s easier than you might think!