Can You Paint Wet Wood: What Happens And Best Practices
You shouldn’t paint wet wood because moisture prevents paint from properly adhering, causing peeling, bubbling, and flaking. Wait until the wood’s moisture content drops below 15%, which you can check with a moisture meter or a simple water test. For pressure-treated wood, drying can take weeks or even months.
Use moisture-resistant primers and durable paints. Make sure to apply multiple coats and do thorough surface prep. These proper steps protect your paint job and the wood itself.
If you want to learn more, explore expert tips and maintenance advice to keep your wood looking great for longer.
Key Takeaways
- Painting wet wood causes poor adhesion, leading to peeling, bubbling, and reduced paint durability.
- Wood moisture must be below 15% for proper paint bonding and long-lasting results.
- Use a moisture meter or water test to confirm wood dryness before painting.
- Pressure-treated wood requires extended drying times, sometimes up to a year, before painting.
- Apply moisture-resistant primers and multiple paint coats, ensuring each dries fully to prevent moisture damage.
Can You Paint Wet Wood? Why You Should Wait
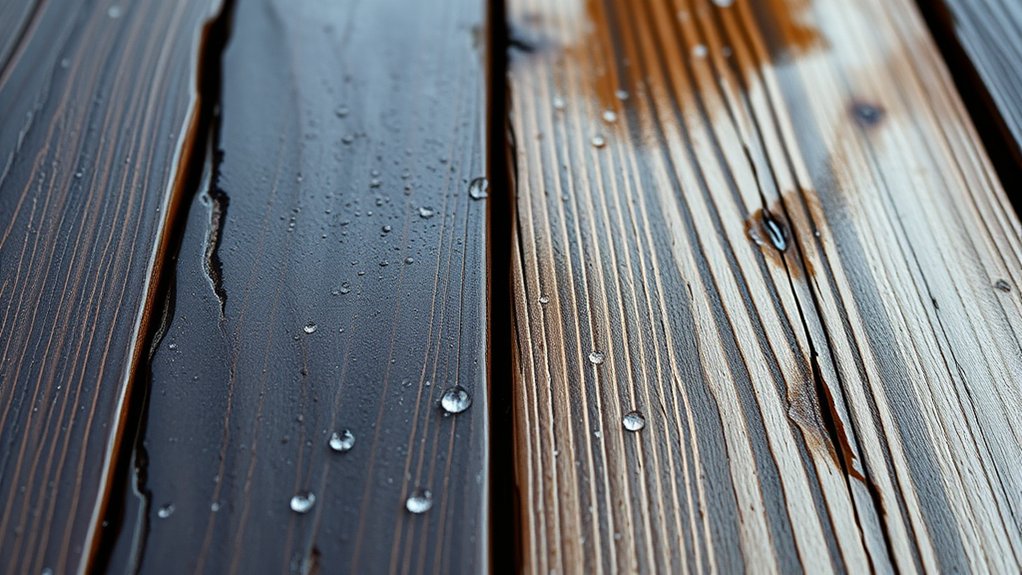
Why should you avoid painting wet wood? Painting on wood with high moisture levels stops the paint from sticking properly, which can cause peeling, bubbling, and flaking.
To get a durable finish, the wood’s moisture content needs to be below 15%. If you paint too soon, moisture trapped under the paint can damage the wood and even encourage mold growth. That’s not just bad for the wood, but also a health risk.
For a lasting finish, wood moisture must be under 15% to prevent damage and mold risks.
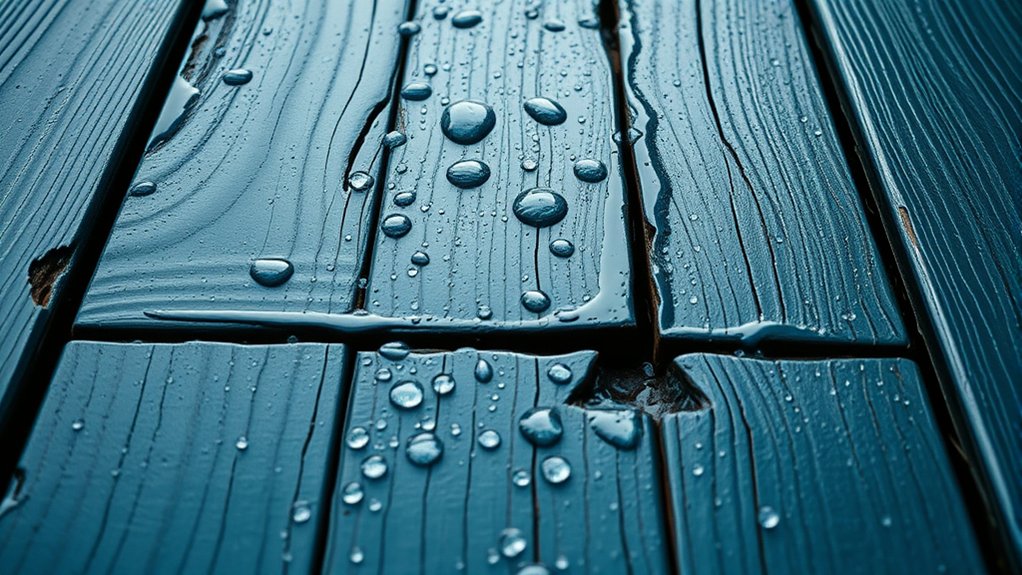
Wood, especially if it’s freshly pressure-treated, can stay damp for weeks or even months. Here’s a simple test to see if it’s ready: sprinkle some water on the surface. If the water beads up, the wood is still too wet.
Waiting until the wood is dry means better paint adhesion and a finish that lasts longer. It’s worth the wait!
What Happens When You Paint Wet Wood?
If you paint wet wood, you’re likely to run into adhesion problems. The paint just can’t bond properly, which means it might start peeling and flaking off.
Plus, when moisture gets trapped under the paint, it often causes blisters and bubbles that weaken the finish. Over time, that trapped moisture can even lead to mold growth and damage the wood’s structure.
Adhesion Problems
When you paint wet wood, the moisture interferes with the paint’s ability to properly bond, leading to adhesion problems such as peeling, bubbling, or flaking. This happens because high moisture content in the wood prevents the paint from forming a strong, lasting connection with the surface.
Trapped moisture beneath the paint creates pressure that further weakens adhesion, compromising the finish’s durability. To avoid these issues, you need to verify the wood’s moisture content is below 15% before painting.
Painting over damp wood not only causes adhesion problems but also shortens the lifespan of your paint job.
Always check moisture levels with a moisture meter and allow the wood to dry thoroughly to achieve a smooth, long-lasting finish.
Paint Blistering Risks
Beyond adhesion problems, painting wet wood also raises the risk of paint blistering. When moisture is trapped beneath the primer and paint layers, it creates pressure that forms bubbles or blisters on the surface. These blisters compromise the finish, exposing the wood to further damage from moisture and environmental factors.
To avoid this, always use a moisture meter to check that the wood’s moisture content is below 15% before painting. Applying primer and paint on damp wood encourages blistering, peeling, and flaking over time.
Furthermore, trapped moisture can promote mold and mildew growth, weakening the wood’s structure. Taking the time to verify the wood is dry prevents paint blistering and preserves the integrity of your finish.
Moisture Trapping Effects
Although it might seem convenient to paint wood before it’s fully dry, doing so traps moisture beneath the paint layers. This leads to poor adhesion and premature peeling. That moisture creates pressure under the paint, causing blistering and bubbles that weaken the finish.
Using a moisture meter before painting helps you make sure the wood’s moisture content is low enough to avoid paint failure. When moisture can’t escape, it encourages mold and mildew growth. This damages the wood’s structure over time.
Moisture trapped in woods like cedar or redwood often results in tannin bleed, which causes unsightly discoloration on your paint job.
Ultimately, painting wet wood leads to costly repairs and frequent repainting. So, to prevent these issues, always measure moisture levels and wait for the wood to dry properly before painting.
How to Test Moisture in Wet Wood Before Painting
To accurately determine if wood is ready for painting, you should perform at least two moisture tests. Start by sprinkling water on the wood surface. If it beads up, the wood is still wet and not ready for primer use.
Next, use a moisture meter to measure the moisture content. Aim for below 15% to guarantee proper adhesion and avoid issues with wet wood. Keep in mind, environmental factors like humidity and temperature affect moisture levels, so consider these before painting.
- Water beads on the surface, indicating high moisture
- Moisture meter reading above 15%, signaling wet wood
- Absorbed water droplets, showing readiness for primer use
Regular testing helps you avoid painting too soon and compromising the finish. It’s definitely worth taking the time to check before you start.
Drying Time for Pressure-Treated Wood (Special Considerations)
Testing moisture levels gives you a clear idea of when wood is ready for painting, but pressure-treated wood demands extra patience. Since it can retain moisture for weeks or months, you need to dry the wood thoroughly before your paint job. Use a moisture meter to verify the moisture content is below 15%.
Environmental factors like humidity and temperature affect drying time, so monitor them closely.
| Factor | Effect on Drying Time | Recommendation |
|---|---|---|
| Humidity | Slows drying | Wait longer |
| Temperature | Speeds drying | Ideal warm conditions |
| Water Beading (Test) | Indicates wet wood | Delay painting |
Patience is key. Waiting up to a year can promote better adhesion and longevity for your paint job.
Choosing Primers and Paints for Damp Wood
When you’re working with damp wood, it’s best to pick primers that are made to resist moisture. Oil-based primers are a good choice because they seal the wood well and block moisture effectively.
Just make sure the wood’s moisture content is below 15% before you start painting—that way, the primer and paint will stick properly.
For the topcoat, go for durable paints that are designed for treated surfaces. This helps prevent issues like peeling and bubbling, which can happen if moisture gets trapped underneath.
Primer Options for Dampness
Although painting damp wood can be challenging, choosing the right primer makes all the difference in ensuring proper adhesion and durability.
Before applying primer, use a moisture meter to confirm the wood’s moisture content is below 15%. For damp wood, moisture-resistant primers like Rustoleum RS Deck Start excel, as they adhere well to wet surfaces.
Oil-based primers, such as Zinsser Cover Stain, also form durable bonds and prevent moisture-related issues. For exterior projects, pick primers designed for pressure-treated wood to withstand harsh conditions.
Avoid painting if water beads on the wood; wait until it absorbs first.
Key primer options for damp wood include:
- Moisture-resistant primers with strong adhesion
- Oil-based primers for moisture barrier
- Primers compatible with exterior latex paint systems
Paint Selection Guidelines
Since damp wood requires special care, selecting the right primers and paints is essential to assure lasting protection and a smooth finish. Before you begin, use a moisture meter to confirm the wood’s moisture content is below 15%.
Choose primers designed for moisture resistance. Oil-based options like Zinsser Cover Stain or Rustoleum RS Deck Start work well to seal the surface.
Always clean the wood thoroughly with soap and water before applying primer. Once the primer followed by at least two coats of paint is applied, you’ll protect the wood from peeling and bubbling caused by trapped moisture.
For top coats, oil-based paints like Benjamin Moore’s Satin Impervo provide durability and a smooth finish.
Latex alternatives like Aqua Glo also offer good performance for damp conditions. So, you’ve got some solid choices depending on the look and feel you want.
How to Prepare Wet or Damp Wood for Painting
If you want your paint job to last, you’ll need to prepare wet or damp wood carefully before applying any paint.
Start by using a moisture meter to check the wood’s moisture content; it should be below 15% for proper adhesion. Perform a water test by sprinkling a few drops. If the water beads up, the wood isn’t ready.
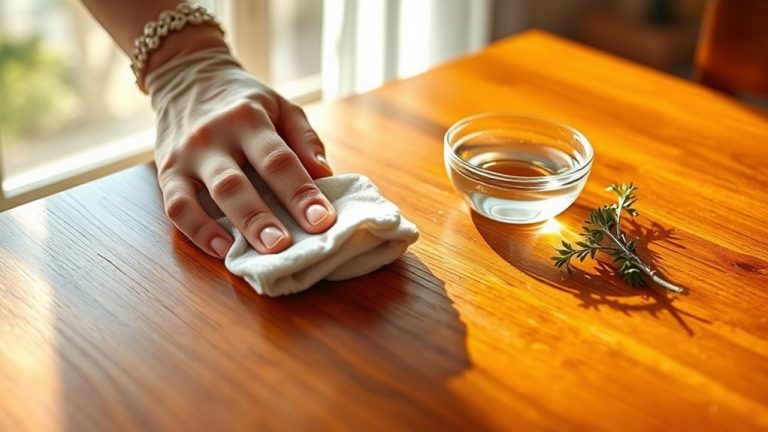
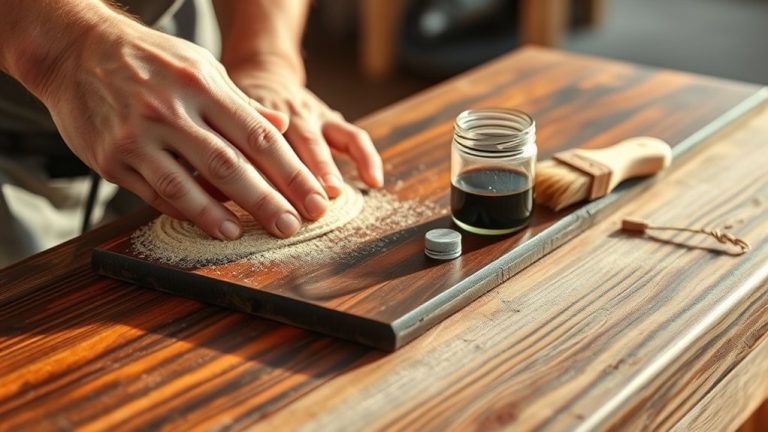
Next, clean the wood with soapy water and a stiff brush to remove dirt and mildew. Then rinse it and let it dry completely.
Lightly sand the surface to guarantee smoothness and better paint bonding.
Remember, the type of paint and primer you choose matters. Opt for primers made for damp conditions if needed.
- Moisture meter reading below 15%
- Clean, rinsed wood surface drying in sunlight
- Light sanding creating a smooth texture
Tips for Painting Slightly Wet Wood
When painting slightly wet wood, you need to take extra care to secure proper adhesion and durability. First, use a moisture meter to check that the wood’s moisture content is below 15%. This is especially important for treated wood and other surfaces.
You can also do a simple water test: sprinkle some water on the wood. If it beads up, it’s best to wait before painting.
For exterior painting, make sure to clean the surface thoroughly with soap and a stiff brush to get rid of dirt and contaminants. Then, let it dry as much as possible.
If you can’t avoid painting slightly damp wood, don’t worry too much. Just apply a primer designed for moist surfaces, like Rustoleum RS Deck Start, to help the paint stick better.
Finally, put on at least two coats of paint, letting each one dry fully. This will give you a long-lasting finish and good protection.
How to Keep Painted Wood Safe From Moisture
Although properly drying wood before painting is essential, you also need to take steps to keep moisture from compromising the painted surface over time. Use a moisture meter to confirm the wood is completely dry, ideally below 15% moisture content, before applying any coatings.
Choose primers and paints designed for exterior use that include water-resistant properties to form an effective moisture barrier. Moreover, maintain proper ventilation and drainage around painted surfaces to prevent water accumulation.
Apply a high-quality primer suited for damp conditions to seal wood pores. Inspect painted areas regularly for peeling or bubbling as signs of moisture intrusion.
Make sure gutters and downspouts direct water away from painted wood surfaces.
Following these steps helps protect your paint job and prolongs the wood’s lifespan. It’s all about keeping moisture at bay so your painted wood stays looking great for years.
Frequently Asked Questions
Can I Use a Dehumidifier to Speed up Wood Drying Before Painting?
Yes, you can use a dehumidifier to speed up wood drying before painting. It’s an effective drying technique that reduces moisture in the air and wood, helping you reach the ideal moisture level below 15%.
Just be sure to combine this with proper ventilation and measure humidity with a hygrometer to make sure levels stay below 60%.
Using a dehumidifier helps speed up drying, but don’t rush it. Allow enough time for complete moisture removal before painting.
Does Humidity Affect the Drying Time of Paint on Wood?
You might be surprised how much humidity affects your paint’s drying time on wood. High humidity slows evaporation, ruining drying conditions and causing poor adhesion or bubbling.
On the flip side, low humidity speeds drying but risks cracking.
To guarantee paint longevity, you need to monitor moisture levels closely and adjust conditions like temperature and airflow.
This careful balance will help your paint cure perfectly, lasting longer and looking better.
What Tools Help Remove Mold From Wet Wood Before Painting?
To remove mold from wet wood before painting, use mold removal techniques like scrubbing with a stiff-bristled brush and applying the best cleaning solutions, such as a bleach-water mixture.
A pressure washer can help on large surfaces but use it carefully.
Don’t forget safety precautions: wear gloves, goggles, and a mask to protect yourself from mold spores and chemicals.
Finally, confirm the wood’s dryness with a moisture meter before painting.
Can Sealing Wood Prevent Moisture Damage Without Painting?
Yes, sealing wood can prevent moisture damage without painting. By using effective wood sealing techniques, you create a strong moisture barrier that stops water from penetrating the wood fibers.
Sealing product options like water-repellent sealants or penetrating oils allow the wood to breathe while protecting it.
These moisture barrier benefits reduce risks of rot, warping, and mold growth. Plus, they help extend your wood’s lifespan without the need for a paint layer.
How Does Wood Type Influence Moisture Retention and Paint Adhesion?
Wood species directly affect moisture levels, which impact paint compatibility. Softer woods like pine absorb more moisture, making paint adhesion tricky unless fully dry.
Hardwoods, with lower moisture retention, offer better paint bonding sooner.
Tannin-rich species, such as cedar, may bleed through paint if moisture isn’t controlled. To guarantee ideal adhesion, you need to match your paint type to the wood’s moisture content and species.
Prepping the surface carefully is key for lasting results.
Conclusion
You might be tempted to paint wet wood, but patience is your best ally here. Painting damp wood is like building a house on sand. It just won’t hold.
Test moisture levels, wait for proper drying, and choose the right primer to guarantee lasting results.
By preparing carefully and protecting your wood from moisture, you’ll create a finish that stands the test of time.
Remember, good things come to those who wait, and your wood will thank you for it.