Can You Stain Over Stained Wood: Step By Step Guide
You can stain over stained wood by first making sure the existing color is lighter and the surface is sound without any peeling or damage. Lightly scuff-sand the wood to help the new stain stick better. Then, clean it thoroughly.
Next, test the stain compatibility by applying rubbing alcohol in a hidden spot. This step helps avoid surprises later on. When you’re ready, apply gel stain in thin, even coats. Wipe off any excess after a few minutes.
Make sure to allow plenty of drying time between layers. Finally, finish by sealing with multiple protective coats to keep your work durable. Keep exploring each step, and you’ll master the process for flawless results.
Ready To Stain Over Old Stain? When To Proceed
If you want to stain over old wood stain, make sure the existing color is lighter than your intended shade. This lets the new, darker stain stick properly without stripping the wood.
Stain over old wood only if the existing color is lighter than your new, darker shade for best results.
Before you stain over old stain, check that the surface is in good shape—no peeling, cracking, or water damage. That way, the new stain will adhere just right.
Lightly scuff-sand the existing stain to help the bond, but don’t overdo it or you might damage the wood fibers.
Always test the new stain on a hidden spot first to see if it’s compatible and the darker shade looks how you want.
How To Identify Your Wood’s Existing Stain And Finish
To identify your wood’s existing stain and finish, start by doing the Cotton Ball Test with rubbing alcohol. This helps you figure out whether the stain is water-based or oil-based.
Then, take a close look at the wood’s surface. Notice the sheen, how deep the color is, and watch for any signs of wear like cracking or peeling.
Finally, check the stain type by observing how the wood looks, and try a small test in an inconspicuous spot. This way, you can make sure the new finish will be compatible before you move forward.
Test Finish With Alcohol
Begin by dabbing a cotton ball soaked with rubbing alcohol onto a discreet section of the wood to determine the type of existing stain and finish. This test finish with alcohol helps you identify whether the existing finish is water-based or oil-based.
If color transfers onto the cotton ball, it indicates a water-based stain or finish. If the cotton ball remains clean, the finish is likely oil-based, as oil-based stains resist alcohol.
Always perform this test on an inconspicuous area to avoid visible damage on the main surface.
Determining compatibility between the existing finish and your new stain is critical for successful re-staining, preventing issues like tackiness or poor adhesion.
Observe Wood Surface Condition
After confirming the type of existing finish with the alcohol test, closely examine the wood surface for any signs of damage like peeling, cracking, or water stains. These damage signs indicate whether you need complete removal before attempting to stain over existing wood.
Next, observe wood surface undertones, such as red, yellow, or gray, to ascertain stain compatibility. Light stains can darken with a new stain application, but lightening the wood requires stripping the old finish entirely.
Always test your chosen stain on an inconspicuous area to verify how it interacts with the current wood finish and undertones. This step prevents unexpected color shifts and assures a uniform appearance.
Careful observation at this stage sets the foundation for successful stain application and long-lasting results.
Identify Stain Type
How can you accurately identify the existing stain and finish on your wood before applying a new layer? Start by performing a cotton ball test with rubbing alcohol. If the cotton ball discolors, the existing stain type is oil-based. If there’s no change, it indicates a water-based stain.
Examine the wood appearance. Lighter tones suggest a light finish. Darker hues point to medium or dark finishes. Also, assess glossiness. A shiny surface often means a polyurethane finish, whereas a matte or satin look implies a penetrating stain.
Use fine sandpaper on an inconspicuous spot. Significant lightening signals a water-based stain. Minimal change indicates oil-based.
Finally, consult product labels or manufacturer guides for stain type confirmation and compatibility. Accurately identifying the existing stain type guarantees proper preparation and ideal adhesion for your new finish.
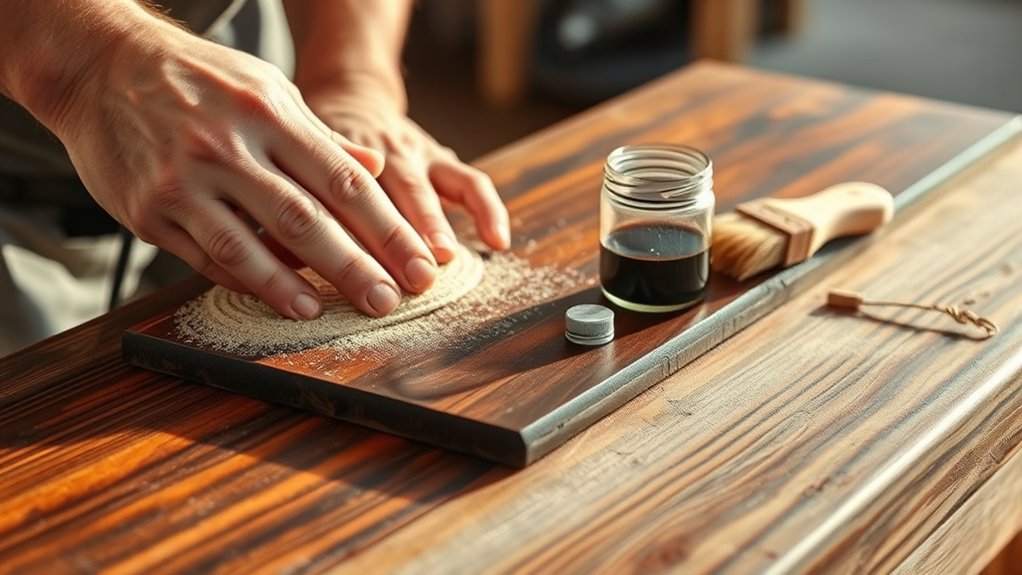
Preparing Stained Wood For A New Gel Stain Coat
Before you apply a new gel stain coat, make sure to thoroughly clean the existing stained surface.
Using a degreasing cleaner like Simple Green or Krud Kutter works great to remove any oils and contaminants.
Once it’s clean, go over the surface gently with some fine-grit sandpaper. This light scuffing helps the new stain stick better without stripping away the original finish.
After sanding, be sure to wipe away all the dust with a lint-free cloth so your new coat goes on smooth and even.
Cleaning Existing Stain
Start by thoroughly cleaning the stained wood surface using a degreasing cleaner like Simple Green or Krud Kutter to eliminate all dirt, oils, and residues. This cleaning step is essential for ideal gel stain application.
Next, lightly sand with fine grit sandpaper to promote adhesion without stripping the existing stain. Use a lint-free cloth to remove sanding dust.
Test the existing stain’s compatibility by applying rubbing alcohol on a cotton ball. This helps you figure out if it’s oil or water-based.
Finally, conduct a color test on a hidden area to confirm the gel stain’s color match.
| Step | Purpose |
|---|---|
| Cleaning | Remove grease, dirt, residues |
| Sanding | Enhance gel stain adhesion |
| Dust Removal | Guarantee clean surface |
| Compatibility Test | Identify stain base type |
| Color Test | Verify desired stain color |
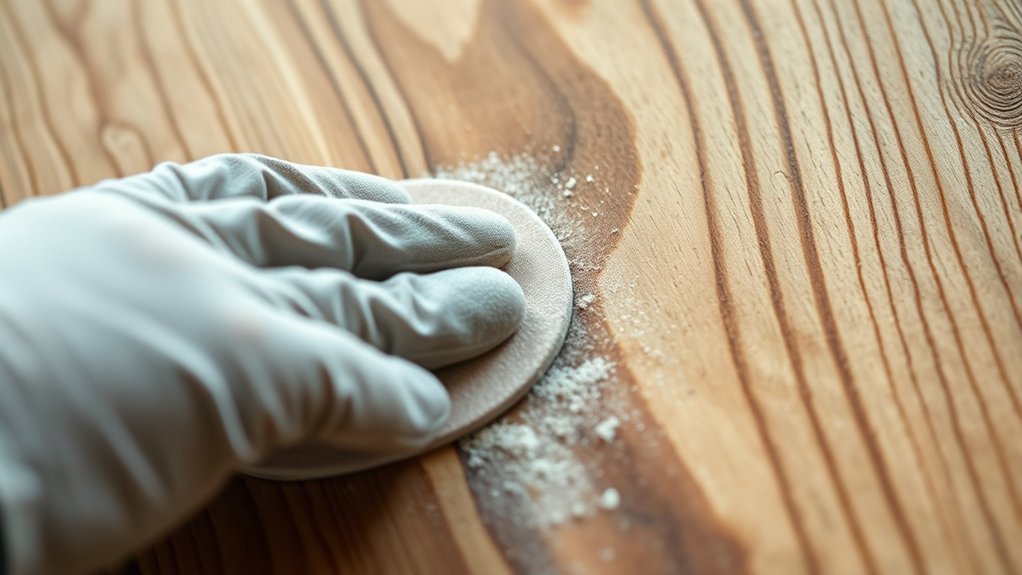
Light Scuff Sanding
Once you’ve cleaned and tested the existing stain, the next step is to perform light scuff sanding using fine grit sandpaper, typically around 220 grit. This light sanding creates the proper surface texture for gel stain adhesion without stripping the existing stain or damaging the wood surface.
When preparing to stain over stained wood, follow these key steps: use gentle pressure to avoid removing too much of the existing finish. Focus on uniform scuff sanding for an even coat. Always test on a hidden section first.
Wipe off all sanding dust thoroughly with a lint-free cloth. Make sure the wood surface is completely clean before applying gel stain.
This method guarantees the new gel stain bonds well, producing a smooth, durable finish over the existing stain. It’s a simple step that makes a big difference!
Choosing The Right Gel Stain For Your Project
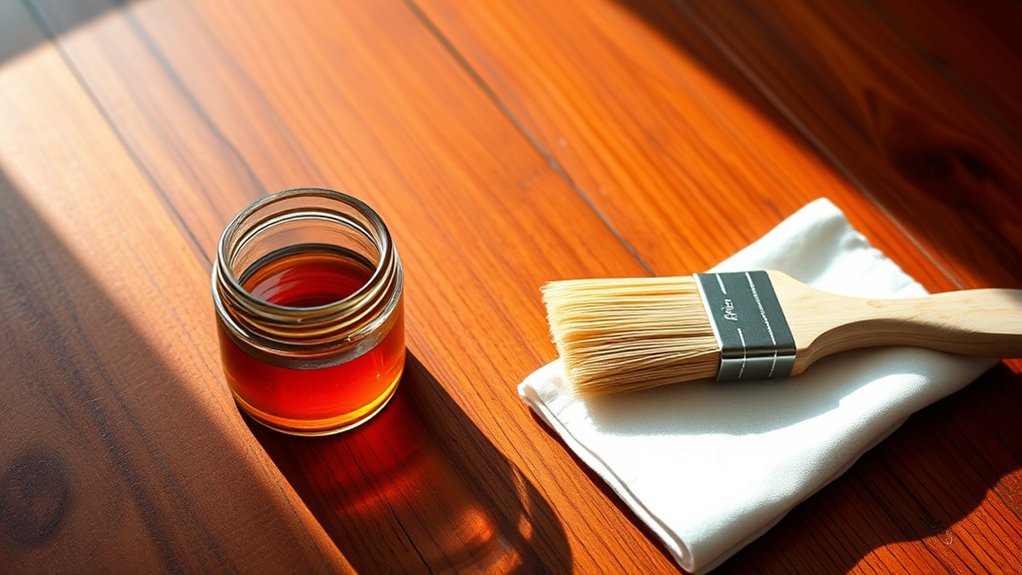
Although selecting a gel stain might seem straightforward, you need to carefully match it to your existing wood finish to avoid stripping or uneven coloration.
Start by identifying the existing stain color since darker gel stains should only be applied over lighter finishes.
Make sure you pair oil-based gel stains with oil-based stains and water-based gel stains with water-based finishes to maintain proper adhesion and color compatibility.
Test gel stain on a small, inconspicuous area to verify results and observe how underlying wood undertones interact with the stain.
Minwax Gel Stain, known for transforming furniture with minimal prep work, offers reliable shades like Coffee that complement various wood tones.
This precise selection process guarantees a consistent, professional finish on your project.
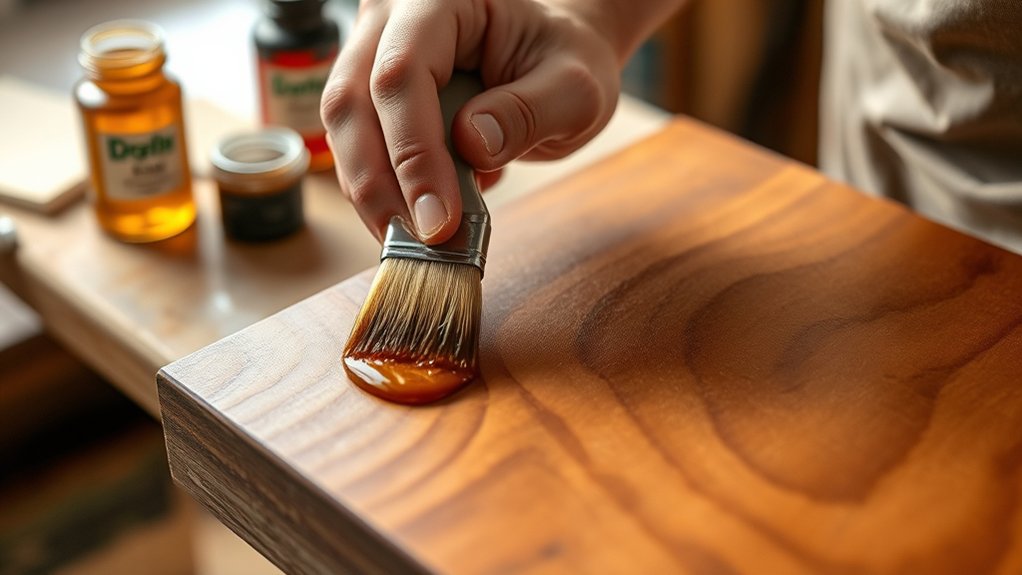
Applying Gel Stain Over Old Stain: Step-By-Step Process
Before you apply gel stain over an old stain, you’ll need to prepare the surface meticulously to guarantee proper adhesion and a uniform finish. Start by ensuring the wood is clean and free of contaminants using a cleaner like Simple Green.
Lightly scuff the existing finish with fine grit sandpaper. This promotes adhesion without stripping the old stain.
Always test the gel stain on an inconspicuous spot to check the dark color outcome before full application. Then, stir your gel stain thoroughly and apply it in sections, wiping off excess after 2-3 minutes for even coverage.
After the first coat dries 8-10 hours, apply a second coat. Once fully dry, seal the piece with a polycrylic top coat for protection.
- Clean surface thoroughly
- Lightly sand to scuff finish
- Test gel stain first
- Apply and wipe gel stain evenly
- Seal with polycrylic top coat
Tips For Layering Gel Stain To Get An Even Color
Proper preparation of the old stain sets the stage for successful layering of gel stain to achieve an even color. Before you stain over an existing finish, always test the gel stain on a small area. Lightly scuff the surface to improve adhesion without damaging the wood.
Apply gel stain in thin, even sections, wiping away excess after 2-3 minutes. Once the first coat is dry, allow the stain to cure 8-10 hours before applying multiple thin layers. Work in a well-ventilated area to guarantee proper drying and beautiful results.
| Step | Action | Tip |
|---|---|---|
| 1 | Always test | Check color compatibility |
| 2 | Lightly scuff surface | Use fine grit sandpaper |
| 3 | Apply gel stain | Work in sections, wipe excess |
| 4 | Allow first coat to dry | 8-10 hours drying time |
| 5 | Apply multiple thin layers | Build color gradually |
Sealing And Protecting Your Restained Wood Surface
Once your gel stain has fully dried, sealing the wood surface becomes essential to protect your work and extend its lifespan. Applying a protective topcoat like polycrylic or polyurethane enhances durability and moisture resistance.
Follow these key steps for ideal sealing:
First, verify the stain is completely dry (24-48 hours) before applying the topcoat. Use a high-quality brush or foam applicator to apply thin coats along the wood grain.
Apply 3-4 thin coats, allowing each to dry thoroughly before the next.
Make sure to maintain proper ventilation and wear protective gear during application. Inspect the finish for smoothness, and if needed, re-sand lightly before the final coat.
This precise sealing process guarantees a durable, even finish that preserves your restained wood surface effectively.
Frequently Asked Questions
Can I Use Oil-Based Stain Over Water-Based Stain?
You shouldn’t apply oil-based stain directly over water-based stain because they don’t really get along well. This incompatibility can cause peeling or flaking, which nobody wants.
To do it right, first test the existing finish. Then, either remove the old stain or do some light sanding to help the new stain stick better.
Keep in mind drying times and environmental factors too. These can cause uneven color changes if you’re not careful.
Make sure you prepare your wood thoroughly. It’s also smart to match the finish types to the wood types you’re working with.
Following proper maintenance tips will help your finish last longer. Skipping preparation? That usually leads to poor results and the finish falling apart sooner than it should.
How Long Should I Wait Between Stain Coats?
Imagine you’re refinishing a maple table. You’ll want to wait about 24 hours between oil-based stain coats to guarantee proper drying and avoid tackiness.
Your stain application techniques should consider drying time comparison. Water-based stains dry faster, usually within 2 to 4 hours.
Stain absorption factors and wood preparation tips impact this timing too. Make sure to follow stain layering methods carefully.
Check compatibility guidelines and consider environmental conditions as well.
Doing all this will help you achieve perfect color matching and maintain the durability of your finish. Taking the time to wait between coats really pays off in the end.
Will Staining Over Old Stain Darken the Wood Permanently?
Yes, staining over old stain can darken the wood permanently, but the effect depends on stain absorption and surface preparation.
Different wood types absorb stain unevenly, causing color variation. Ensuring finish compatibility and proper drying times improves stain durability.
Applying thin coats with consistent application techniques prevents blotching. Maintenance tips like sealing extend results.
Project examples show sanding to bare wood may be necessary for drastic color changes.
So, if you want a big change in color, sometimes you’ll need to strip or sand the wood first.
Otherwise, expect the new stain to build on the old one and darken the wood. Just take your time and prep the surface well for the best outcome.
Can I Stain Over Painted Wood Surfaces?
You can stain over painted wood surfaces, but it’s like painting on glass. Adhesion isn’t natural, so you need to be careful. Focus on stain compatibility and thorough surface preparation.
Make sure to clean the surface well, lightly sand it, or remove the paint if possible. Choosing gel stains usually gives better results. Also, think carefully about color matching.
It helps to understand the type of wood you’re working with and the finish options available. Apply the stain using proper techniques, respect drying times, and add protective coatings.
Plan your project well to get a durable and attractive finish.
How Do I Remove Stain From Accidental Spills?
To remove stain from accidental spills, start by blotting with a clean cloth to stop the stain from soaking in any further.
Use the right cleaning solution depending on the type of stain. For water-based stains, mild soap works well. For oil-based stains, try mineral spirits, but make sure to test it first.
If the stain doesn’t go away, gently sand the area to prepare the wood surface. Sometimes stubborn spots need extra care.
You might want to use chemical strippers or carefully apply heat.
Natural remedies like vinegar can be helpful too.
Just remember, the main goal is to restore the finish while keeping the wood’s integrity intact. That way, your wood stays looking great.
Conclusion
So, you’re ready to slap new gel stain over that stubborn old finish? Perfect, because nothing says “I love sanding” like ignoring proper prep. Just kidding! Follow each step meticulously: identify, prep, choose, apply, layer, and seal.
Skip one, and you’ll have a blotchy disaster that screams “amateur hour.” Remember, staining over stained wood isn’t magic, it’s chemistry and technique. Treat it right, or enjoy your DIY “abstract art” project for years.