Can You Stain Dark Wood Lighter: Techniques Explained
Yes, you can lighten dark wood by carefully preparing it. Start by cleaning it thoroughly. Then strip paint or varnish to expose the surface.
Sand progressively from coarse to fine grit to remove deep stains evenly. After that, apply wood bleach and neutralize it promptly. Don’t forget to sand raised grain for smoothness.
Finish with white wax layers and a light, protective top coat to enhance brightness without darkening. Using these precise methods helps preserve the wood’s integrity and achieves a natural, lighter tone. I’ll explain each essential step in more detail soon.
Can You Really Lighten Dark Wood? What to Know
How exactly can you lighten dark wood effectively? To lighten stained wood, you first need to remove the stain and any existing varnish or polyurethane. These finishes often darken the surface beyond the original wood tone.
Start by stripping stain and finishes that darken wood beyond its natural color.
Household bleach is a common agent to lighten wood, but it raises the grain. So you’ll have to sand afterward to restore smoothness.
Keep in mind that wood species react differently. Some absorb bleach unevenly, which might mean multiple treatments or trying other methods.
Always perform testing in hidden areas to see how the wood responds. This way, you can make sure you get the color you want without damaging the surface.
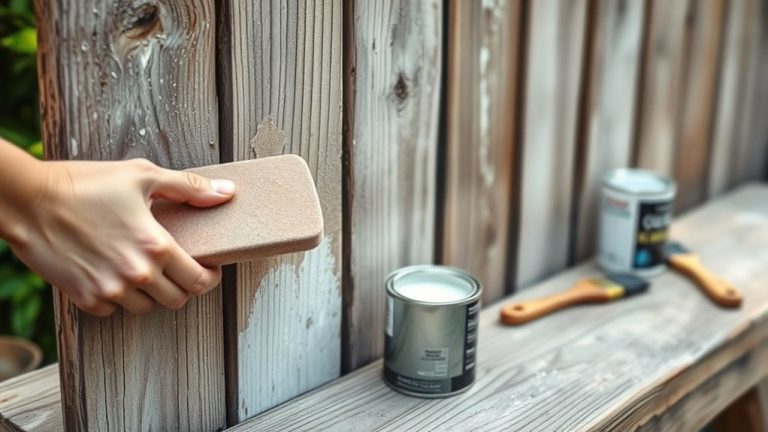
How to Prepare Dark Wood for Lightening Without Damage
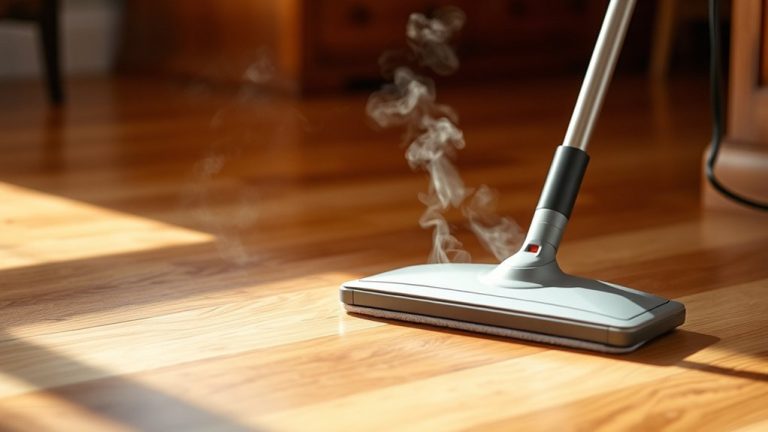
Before lightening dark wood, you need to thoroughly prepare the surface to avoid damage and guarantee even results.
Start by cleaning the wood with a mild soap and water solution, then dry it using a clean cloth to remove dirt and oils that could hinder the process.
Next, apply a paint and varnish stripper to remove the dark stain effectively, letting it sit for up to 24 hours.
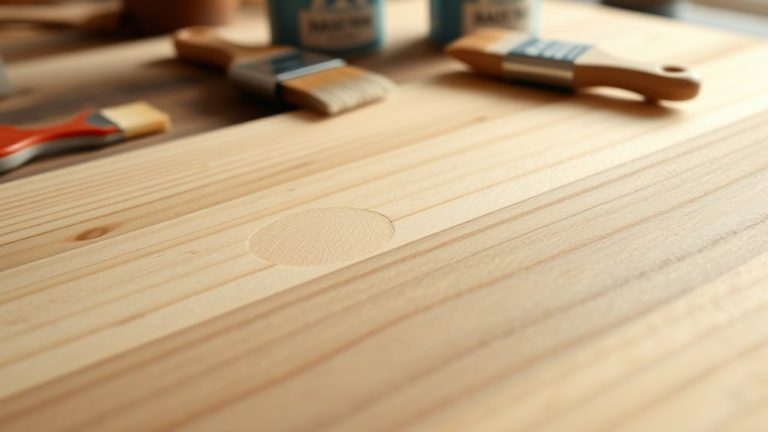
After stripping, lightly sand the surface with fine-grit sandpaper, respecting the wood grain to avoid scratches.
Finally, test a small, hidden area for desired lightening results. This way, you can be sure you’re happy with how it looks before going all in.
- Clean with mild soap, dry with clean cloth
- Apply stripper, let sit 24 hours
- Sand lightly along wood grain
- Test in hidden spot before proceeding
Sanding Techniques to Remove Dark Stain Layers
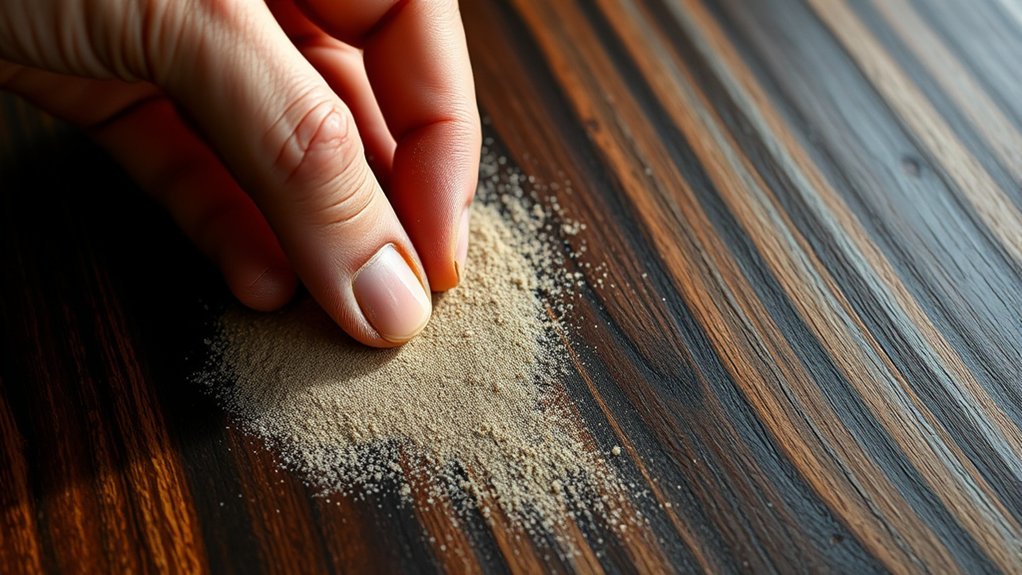
Start by sanding with a coarse grit, somewhere between 60 and 80. This will help you get rid of those dark stain layers effectively.
Once that’s done, you can gradually switch to finer grits, like 150 to 220, to smooth everything out.
Make sure to sand deeply into the wood grain—that way, you’ll remove the stain evenly and avoid any annoying surface scratches.
Following this method sets you up perfectly for applying a lighter stain that looks consistent and smooth.
Progressive Grit Sanding
Although removing dark stain from wood can be challenging, employing progressive grit sanding guarantees controlled and effective layer removal.
Begin with coarse grit sandpaper (60 or 80 grit) to remove layers of stain efficiently, then shift through finer grits (150, 220) to smooth the surface. Always sand in the direction of the wood grain to prevent scratches.
Use an orbital sander for larger areas and hand sanding for precision in corners and edges.
Follow these steps:
- Start with coarse grit sandpaper to strip most of the dark stain.
- Check the surface regularly to gauge stain removal progress.
- Move to medium and fine grits for gradual smoothing.
- Sand consistently along the wood grain for uniformity.
This technique preserves wood integrity while ensuring thorough stain removal. It’s a reliable way to get the job done right without damaging the wood.
Sanding Deep Into Grain
Explore deep into the wood grain to effectively remove stubborn dark stain layers by progressing through sandpaper grits. Start with coarse 60 or 80 grit to break down heavy finishes, then move to finer 150 and 220 grits for a smooth, even surface.
When sanding deep into the grain, use grit sandpaper carefully to avoid damaging the real wood beneath. Removing the color takes patience, especially with dark tone stains that penetrate deeply. It’s a good idea to start by testing a hidden area to see how far the stain reaches.
Using a chemical stripper beforehand can reduce sanding time and protect the wood’s natural texture. Consistent, controlled sanding guarantees you eliminate dark spots thoroughly.
This way, you prepare the surface for your desired final color without compromising the wood’s integrity.
Using Bleach and Wood Bleaches to Lighten Wood
When you apply household bleach or specialized wood bleaches, you actively alter the wood’s color by breaking down its natural pigments. Household bleach raises the grain, so you’ll need to sand after treatment.
Wood bleaches like Savogran use oxalic acid to more aggressively lighten dense woods such as mahogany.
Always test on a hidden section first to see how the wood reacts and avoid any damage. After bleaching, neutralizing with a vinegar-water solution stops the chemical activity and helps stabilize the wood.
For the best results, think about the wood species and undertones, since these affect the final shade.
To effectively lighten wood using bleach or wood bleach:
- Test on a hidden section first.
- Apply bleach evenly in a well-ventilated area.
- Neutralize after the recommended time.
- Sand raised grain for a smooth finish.
When to Use Paint and Varnish Strippers to Lighten Wood
When you need to remove dark stains or old finishes, paint and varnish strippers like CitriStrip and SuperStrip can be really effective.
Just make sure to apply them carefully, following the manufacturer’s instructions.
You’ll want to give them up to 24 hours to fully penetrate the wood surface.
It’s always a good idea to test the stripper on a small, hidden area first, just to see how it reacts.
After stripping, don’t forget to clean the wood thoroughly with mineral spirits.
This step gets the wood ready for whatever treatment you want to do next.
Stripper Types Overview
Although stripping dark wood can be labor-intensive, choosing the right type of paint or varnish stripper is essential for effective lightening. Stripper types mainly include solvent-based and biodegradable options. The latter are eco-friendlier but demand longer application times.
You may need multiple layers of stripper for deep stains, applying carefully after testing a hidden spot. After stripping, thorough cleanup with mineral spirits removes residue before further treatment. Always observe safety precautions, wearing gloves and masks to avoid irritation and inhalation.
- Select stripper types based on stain depth and environmental concerns.
- Allow sufficient application time. Some strippers require up to 24 hours.
- Use multiple layers when single applications don’t fully remove stains.
- Perform cleanup immediately to prepare wood for sanding or bleaching.
Application Best Practices
Selecting the right type of paint or varnish stripper sets the foundation, but applying it correctly determines how effectively you can lighten dark wood.
When working with Stained Wood Furniture, choose a product like CitriStrip that removes old wood stain without heavy sanding. Always test the stripper on a hidden spot to gauge its effect on Natural Wood.
Apply household gloves and follow the instructions precisely; some strippers require up to 24 hours to work efficiently.
After stripping, neutralize the surface with a vinegar-water solution to prevent darkening.
For best results, thoroughly clean the wood, then apply a protective top coat to seal and maintain the lighter finish. This process guarantees your furniture stays protected and resists absorbing new stains.
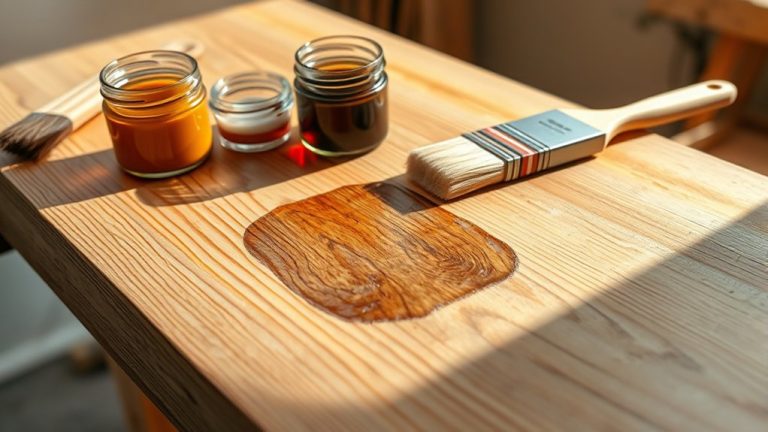
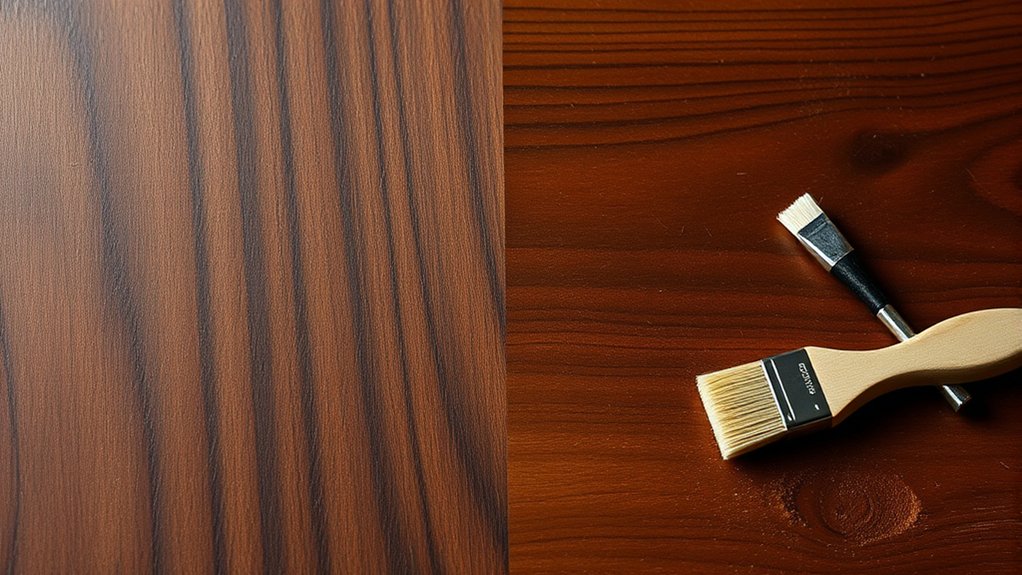
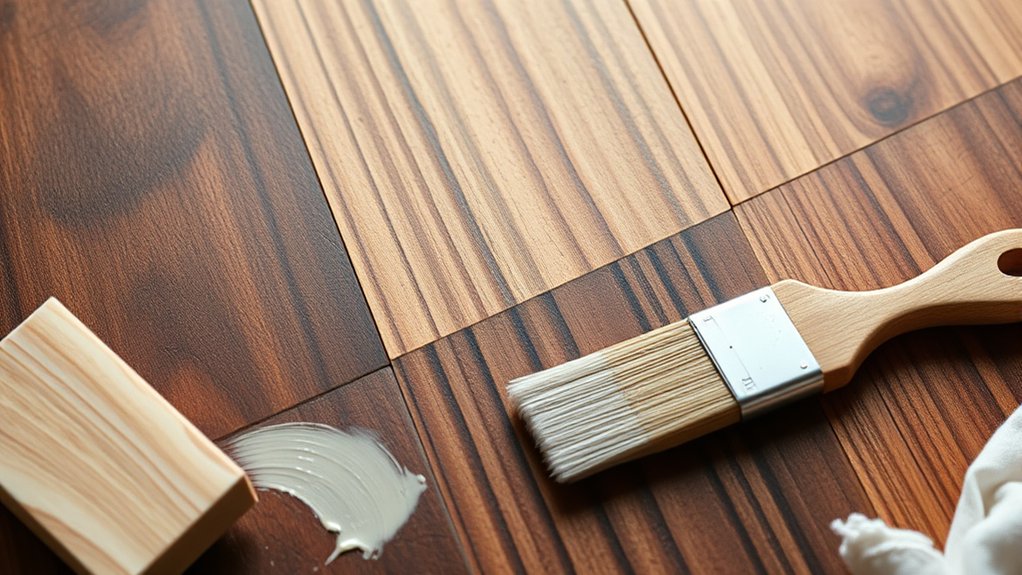
Applying White Wax and Top Coats for a Lighter Finish
Applying two or more layers of white wax over dark stained wood can considerably lighten its appearance while softening the intensity of darker tones.
Before applying white wax, make sure the wood surface is clean and free of dust for the best adhesion. Use a stiff bristle brush to apply the white wax in a crosshatch motion, then buff with a lint-free cloth to get an even sheen.
Top coats like Flat Out Flat offer a lighter finish and protect the wood without darkening it. This way, you keep the look fresh and bright while giving your wood some extra protection.
Follow these steps for the best results:
- Prepare a clean wood surface.
- Apply white wax with a stiff bristle brush using crosshatch strokes.
- Buff to uniformity with a lint-free cloth.
- Apply multiple layers and finish with a protective top coat for a lighter finish.
How to Combine Methods for a Natural Light Wood Tone
Achieve a natural light wood tone by carefully combining sanding, bleaching, and protective finishing techniques. Begin with sanding using coarse grit to strip the dark stain, then move to finer grits for a smooth surface.
Next, apply household bleach evenly, and neutralize it with a vinegar-water solution. Always test on a hidden area first to see how the wood reacts.
Once the wood is dry, apply white wax to soften any darker undertones and protect the surface. Finish with a light top coat to seal the wood, enhance brightness, and preserve its natural texture.
| Step | Method | Purpose |
|---|---|---|
| 1 | Sanding | Remove stain, smooth surface |
| 2 | Bleaching | Lighten wood tone |
| 3 | Neutralizing | Prevent bleach damage |
| 4 | White wax | Soften tone, protect wood |
| 5 | Light top coat | Seal, enhance brightness |
Frequently Asked Questions
Can I Lighten Dark Wood Without Changing Its Grain Pattern?
Yes, you can lighten dark wood without altering its grain pattern by using wood bleaching methods that rely on controlled chemical reactions.
Choose natural lighteners like oxalic acid or commercial wood bleaches, applying them carefully following wood finishing tips to preserve grain integrity.
Make sure to incorporate grain preservation techniques such as gentle sanding and proper cleaning beforehand.
These steps help prepare the wood without damaging its natural look. It’s all about being gentle and precise.
Also, keep an eye on drying times to avoid uneven results.
This way, the wood lightens uniformly while maintaining its natural texture and appearance.
With a bit of patience, you’ll get the look you want without losing that beautiful grain.
What Safety Gear Is Needed When Lightening Wood?
You need safety goggles, a dust mask, and chemical gloves when lightening wood to protect your eyes, lungs, and skin from chemicals and dust.
Wood preparation involves sanding or applying strippers, so always work in a well-ventilated area to avoid inhaling fumes.
Wear protective clothing like long sleeves and pants to minimize skin exposure.
These precautions guarantee safe handling of harsh substances during the lightening process, keeping you injury-free and healthy.
How Long Does the Lightening Process Typically Take?
The lightening process typically takes from a few hours to several days, depending on your chosen lightening methods and wood types.
Surface preparation like sanding or stripping may require multiple sessions, which can extend the time. Bleach applications need 30-60 minutes drying time each, plus 24 hours for full drying.
Color variations affect how many treatments you’ll need.
Don’t forget maintenance tips like sealing finishes, which add extra drying time for ideal results.
Can Lightened Wood Be Stained Darker Again Later?
Of course, you can stain lightened wood darker again because wood finishing techniques love a good comeback story.
But beware: stain absorption factors vary wildly after lightening. So, use wood conditioning methods to prep the surface.
Nail color matching tips by testing small spots first. Skipping this leads to classic DIY staining mistakes.
Allow full drying time to guarantee even tone and long-term maintenance.
Precision now saves you headaches later.
Are There Eco-Friendly Products for Lightening Wood?
Yes, you can use natural alternatives and homemade solutions like vinegar and baking soda for wood bleaching.
These options reduce the environmental impact compared to chemical products.
Citrus-based strippers with d-limonene also provide effective, eco-friendly wood lightening.
Plus, look for water-based bleaches and eco-friendly varnishes that minimize VOC emissions.
These sustainable practices help you lighten wood safely and preserve indoor air quality.
You’ll achieve your desired shade without using harsh chemicals.
Conclusion
Lightening dark wood is like revealing a hidden sunrise beneath a shadowed forest floor. You carefully strip away layers, exposing warmth and clarity. By sanding, bleaching, or applying white wax, you control the transformation without harming the wood’s integrity.
Combining these methods lets you craft a natural, luminous finish that breathes new life into the grain. It turns dense darkness into a vibrant canvas ready to showcase your skill and precision.