Can You Stain Wood Filler: How To Match Color Perfectly
You can stain wood filler, but matching the color perfectly takes some careful prep and testing. Choose a stainable filler and try samples on scrap wood to see how it absorbs the stain compared to natural wood. Mixing sawdust from your wood species with glue customizes the filler color for a closer match.
Use wood conditioner beforehand to even out absorption. Dark stains help hide filler better, but expect slight variations. Keep experimenting, and you’ll discover how to achieve seamless, professional-looking repairs.
Can You Stain Wood Filler? What to Expect
How well can you stain wood filler to match your surrounding wood? Stainable wood filler, like Minwax Stainable Wood Filler, improves your chances of achieving a close color match because it absorbs stain more like natural wood.
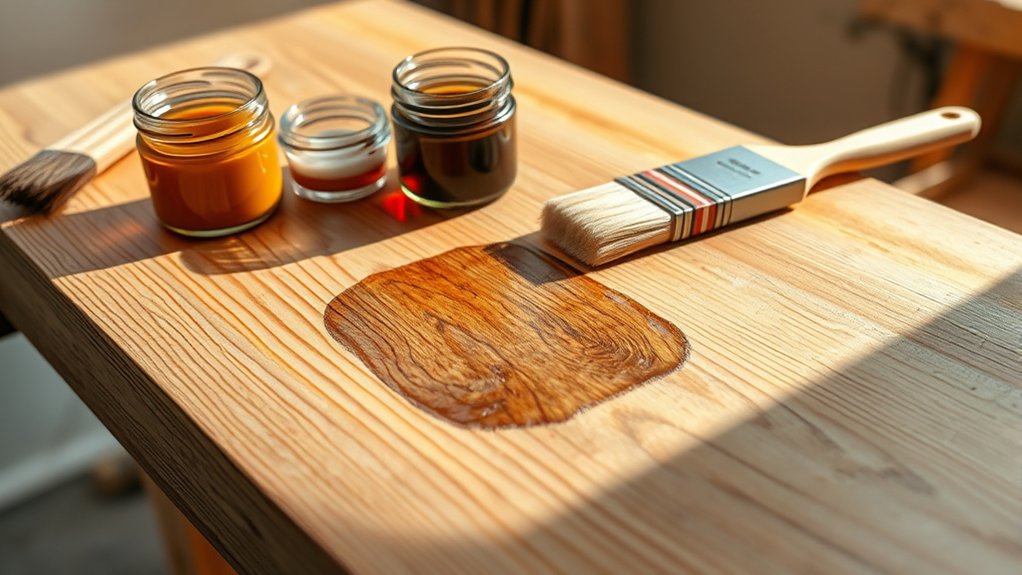
You should always test your stain on scrap wood with filler applied to see how both materials react.
Mixing pigments into the filler lets you tweak the color before application, but keep batches small to maintain consistency.
Dark stains typically conceal wood filler better than lighter ones, making them a safer choice for filled areas. While stainable wood filler helps, expect slight variations.
Following these steps methodically will give you the best results and minimize noticeable color discrepancies between filler and wood.
Why Wood Filler and Stain Don’t Always Match
You might’ve noticed that wood filler and stain don’t always match perfectly. That’s because they soak up stain at different rates.
The stuff wood filler is made of, especially if it’s oil-based, can cause it to absorb stain unevenly compared to natural wood. Knowing this can help you pick the right filler and stain combo so the colors blend better.
Different Absorption Rates
Although wood fillers and stains are designed to complement each other, differences in absorption rates often cause mismatched colors. Real wood typically absorbs stains deeper than wood fillers, creating noticeable hue and sheen variations.
To manage this, consider these key factors:
- Filler type: Oil-based fillers absorb stains more uniformly than water-based ones, improving color consistency.
- Wood species: Different woods absorb stain at unique rates, affecting how both wood and filler respond.
- Application method: Techniques like wiping or brushing influence stain penetration on wood fillers and surrounding wood.
Always test stain on scrap pieces containing both wood and filler to predict final results accurately.
Understanding absorption differences helps you achieve seamless color matching despite natural material variations.
Filler Composition Effects
Since wood fillers often contain materials unlike the natural fibers in wood, their composition directly impacts how stains absorb and appear.
Filler composition effects happen because fillers may include plastic, synthetic resins, or oil-based components. These materials absorb stain differently than wood.
This difference causes filled areas to look lighter or off-color compared to the surrounding wood. It’s especially noticeable if the wood and filler respond to different stain types, like water-based versus oil-based.
Even when you mix pigments into the filler, the material differences can stop you from getting a perfect color match.
To manage filler composition effects, always test your stain on a scrap piece that combines the same wood and filler.
Doing this helps you anticipate and adjust for color variances before finishing your project. It’s a simple step that saves you from surprises later on.
Choosing the Right Wood Filler for Dark Stains
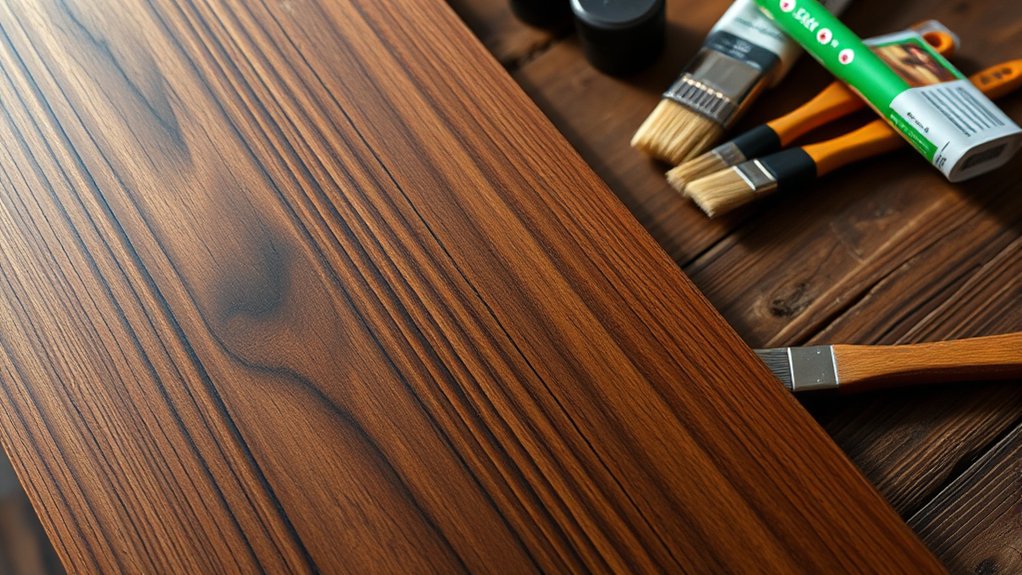
When working with dark stains, selecting a stainable wood filler is essential to achieve a seamless finish. Not all wood fillers absorb dark stains evenly, so choosing the right one is critical.
Follow these steps to confirm compatibility:
- Opt for a stainable wood filler like Minwax Stainable Wood Filler, proven to match surrounding wood tones well.
- Test multiple fillers on scrap wood with your chosen dark stain to observe absorption and color match.
- Avoid fillers that are too light or fail to absorb stain properly, as they create noticeable color differences.
Always apply a test stain on a small, inconspicuous filled area before proceeding.
Test stain a discreet filled spot first to ensure perfect color blending before full application.
This methodical approach guarantees your wood filler blends perfectly with dark stains, producing a flawless finish.
Mixing Sawdust and Glue for Custom Stainable Wood Filler
If you find that commercial stainable wood fillers don’t provide the exact color match you need, mixing your own filler using sawdust and wood glue offers a reliable alternative.
Start by collecting sawdust from the same wood species to guarantee a close color and grain match. For ideal consistency, combine approximately three parts sawdust with one part wood glue.
Mix thoroughly until you get a workable paste. Apply the mixture to the repair area and let it dry completely before sanding for a smooth, flush finish. This method enhances the repair’s appearance by blending seamlessly with the surrounding wood.
You can adjust the sawdust-to-glue ratio or add pigments to refine the color. Mixing sawdust and glue for custom stainable wood filler gives you precise control over your wood repairs.
It’s a simple trick that really makes a difference!
How to Test and Match Stain Colors on Wood Filler
Start by preparing test samples using the same wood and filler combination to see how they absorb stain. It’s a good idea to choose fillers that are compatible with your wood species.
You might even want to mix in some sawdust from the same wood to get a better color match.
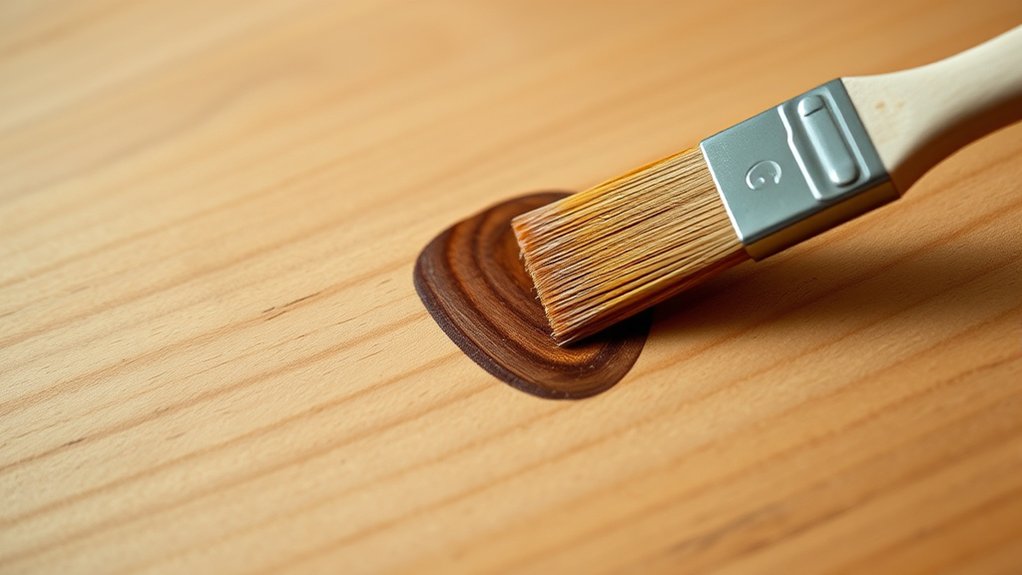
When applying the stain, go slowly and carefully—using a pencil brush works well for this.
Make sure to use consistent techniques so the filler blends seamlessly with the surrounding wood. This way, you’ll have a much better chance of achieving a natural, uniform look.
Preparing Test Samples
Although matching wood filler color can be challenging, preparing accurate test samples makes the process manageable. Start by using wood scraps of the same species as your project to guarantee consistency. Applying a wood conditioner beforehand helps achieve even stain absorption on the wood, which is essential for comparison.
Follow these steps to prepare your test samples:
- Mix various amounts of stain with different fillers to create a range of samples.
- Apply stain separately to wood and filler samples using a consistent method, like wiping with a rag, for uniform absorption.
- Record the stain-to-filler ratios that produce the closest color match for future reference.
This methodical approach lets you see how the filler reacts to stain compared to the wood. It really makes the repair process much smoother and easier.
Choosing Compatible Fillers
After preparing your test samples, the next step is selecting wood fillers that work well with your chosen stain and wood species.
Choose stainable fillers designed to absorb color similarly to your wood for a natural blend. Always test the filler on a scrap piece filled with the same product to observe how it takes the stain compared to the surrounding wood.
You can mix pigments into the filler to fine-tune the color before application. For best results, stain the wood first and let it dry completely before applying the filler. This helps the filler match more closely.
By experimenting with different filler and stain combinations on test pieces, you’ll understand how each product interacts and achieve a seamless, professional finish.
It’s all about finding what works best for your specific project.
Applying Stain Techniques
How can you guarantee your wood filler blends seamlessly with the stained wood? Testing and matching stain colors carefully is key when staining wood. Follow these steps to achieve a perfect match:
First, test the stain on a scrap piece of matching wood with the filler applied. This helps you compare absorption and color before working on your project.
Next, apply stain gradually. Let it soak for a few minutes before wiping off the excess to control the depth of color.
Also, use a wood conditioner on the entire piece. This ensures uniform stain absorption between the wood and filler.
Additionally, think about mixing sawdust from your wood species with glue to make a custom filler that stains better. It’s a handy trick for a more natural look.
And don’t forget to keep records of your stain and filler combinations. That way, you can get consistent results in future projects without the guesswork.
How to Stain Filled Wood Without Highlighting Flaws
When staining filled wood, you need to approach the process carefully to prevent the filler from standing out against the natural grain. Start by testing wood stain on a scrap piece with a similar filler to observe absorption differences.
Using a custom filler made from sawdust mixed with wood glue helps match the surrounding wood’s color more closely.
Apply a wood conditioner before staining to reduce uneven absorption. When applying the wood stain, use a light touch and apply evenly to avoid oversaturation, which makes the filler more noticeable.
Opt for a solvent-based putty if using oil-based stains, as this guarantees better compatibility and a smoother finish.
Following these steps assists you in achieving a seamless, natural look without highlighting any flaws in the filled areas. It’s all about taking your time and paying attention to the details.
That way, your wood project will look flawless every time.
When to Paint or Use Protective Plates Instead of Staining
If staining filled wood shows significant contrast or poor absorption, painting the entire piece is an easy way to get a uniform look. You should think about using paint or protective plates when the wood filler absorbs stain unevenly, causing noticeable color differences that paint can easily hide.
Also, if there are heavily filled areas that catch the eye, solid paint or stain can give a cleaner, more consistent finish.
And if you want to cover up damaged spots without doing complicated repairs, putting on brass or metal protective plates works well to hide those imperfections.
Before you decide, try out different paint colors on scrap wood to find the best match.
Plus, rustic styles often don’t mind visible repairs, so paint can be a practical choice instead of stressing over blending the filler perfectly.
Using paint or protective plates makes maintenance simpler and improves the overall look when staining doesn’t cut it.
Frequently Asked Questions
How Long Should Wood Filler Dry Before Staining?
You should allow wood filler to dry for 15-30 minutes before sanding and staining, but drying time varies with filler type.
For water-based fillers, wait at least 72 hours to guarantee proper stain adhesion and color absorption. Oil-based fillers generally need about 24 hours.
Always confirm drying time on the manufacturer’s instructions, then sand the filler flush with the wood.
Testing stain on a scrap piece helps you achieve a perfect color match. It’s a simple step that can save you from surprises later on.
Can I Use Wood Filler Outdoors With Stain?
You can absolutely use wood filler outdoors with stain, but you’ll want to choose one labeled for exterior use to guarantee outdoor durability.
Oil-based fillers hold up better against moisture and temperature changes. Let the filler fully cure before staining to avoid uneven absorption.
For best results, mix stain into the filler before applying, then test on scrap wood.
This careful approach guarantees your repair blends perfectly and withstands the elements. It’s all about making sure your outdoor wood looks great and stays protected over time.
Does Temperature Affect Wood Filler Stain Absorption?
Yes, temperature impacts wood filler stain absorption considerably. Warmer conditions thin the filler, which helps the stain penetrate better. But too much heat can cause the filler to dry quickly, leading to uneven absorption.
On the other hand, cooler temperatures slow down drying. This can help the stain integrate more evenly, but it also raises the risk of dust settling on the surface.
To manage how temperature affects your project, try to keep the environment consistent between 65°F and 75°F while you apply and let the filler dry.
It’s also a good idea to test the filler on scrap wood at different temperatures. This way, you can get a feel for how it behaves and adjust your approach to get the best stain results.
Can Tinted Wood Fillers Improve Color Matching?
You’ll find tinted wood fillers improve color matching by up to 40% compared to untinted fillers, especially when dealing with complex color variations.
They absorb stains more evenly, reducing patchiness and making repairs less noticeable.
To get the best result, test different tinted fillers on scrap wood to see how they react with your stain.
This methodical approach guarantees you achieve a seamless, natural look that blends perfectly with surrounding wood.
How to Remove Excess Stain From Wood Filler?
To remove excess stain from wood filler, act quickly before it dries. Use a clean, lint-free cloth to wipe away the stain in gentle circular motions.
Different stain types, oil-based or water-based, may require specific approaches.
If the stain has dried, lightly sand the area with fine-grit sandpaper, about 220 grit, to blend the filler with the wood.
Mineral spirits can help with stubborn oil-based stains, but always test first to avoid damage.
Just remember, working fast usually makes the cleanup easier.
And if you’re unsure about the stain type, testing a small hidden area can save you some trouble later on.
Conclusion
You might think staining wood filler is straightforward, but it’s anything but simple. The truth? Wood filler often resists stains, revealing flaws instead of hiding them.
Yet, with the right filler, careful color matching, and proper technique, you can achieve near-perfect results. Before you plunge into it, test thoroughly and decide if staining or painting suits your project best.
The secret to flawless woodwork lies in these subtle choices. Don’t overlook them.