How Long Before You Can Stain Pressure Treated Wood: Full Guide
You should wait between six weeks and six months before staining pressure-treated wood to guarantee it dries properly. Check if the wood is ready by performing a water test. If it soaks in quickly, it’s good to go. Aim for moisture below 15%.
Keep an eye on weather because dry, breezy days speed drying, while humidity slows it down. Clean and repair your wood before staining for the best finish. Keep going to get all the tips for a flawless stain job.
How Long to Wait Before Staining Pressure Treated Wood
Although pressure-treated wood is ready to use immediately after installation, you should wait between 6 weeks and 6 months before staining it to confirm the wood’s moisture content has dropped sufficiently. This drying time varies depending on climate, humidity, and how long the wood was stored before use.
To guarantee proper application, follow the manufacturer’s instructions carefully. You can perform a water test: if water beads on the surface, the wood isn’t ready to stain; quick absorption means it’s likely dry enough.
For outdoor projects, waiting allows the pressure-treated wood to reach a moisture content below 15%, the ideal level for effective staining.
Regularly check the wood’s readiness to stain to avoid peeling or blotching and confirm long-lasting results.
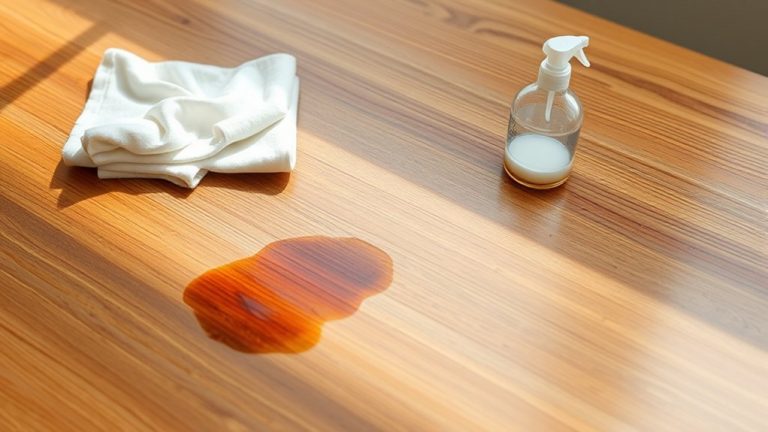
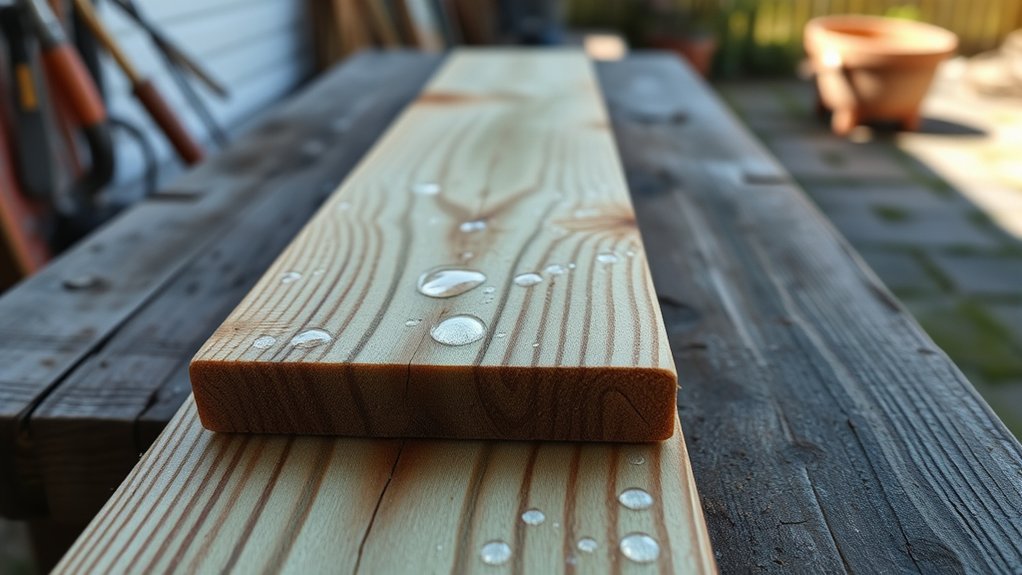
How to Test If Pressure Treated Wood Is Dry Enough to Stain
After waiting the recommended drying period, you’ll want to verify the wood is ready for staining before applying any finish.
To test if pressure treated wood is dry enough to stain, start with the water drop test: place a few drops on the surface. If the water beads up, the moisture content is too high. If it absorbs quickly, that’s a good sign.
For accuracy, use a moisture meter to guarantee the ideal moisture content is below 15%.
You can also rely on visual cues. Look for a fading color from green or brown to a greyish tone. The touch test works too; dry wood feels rough, not slick.
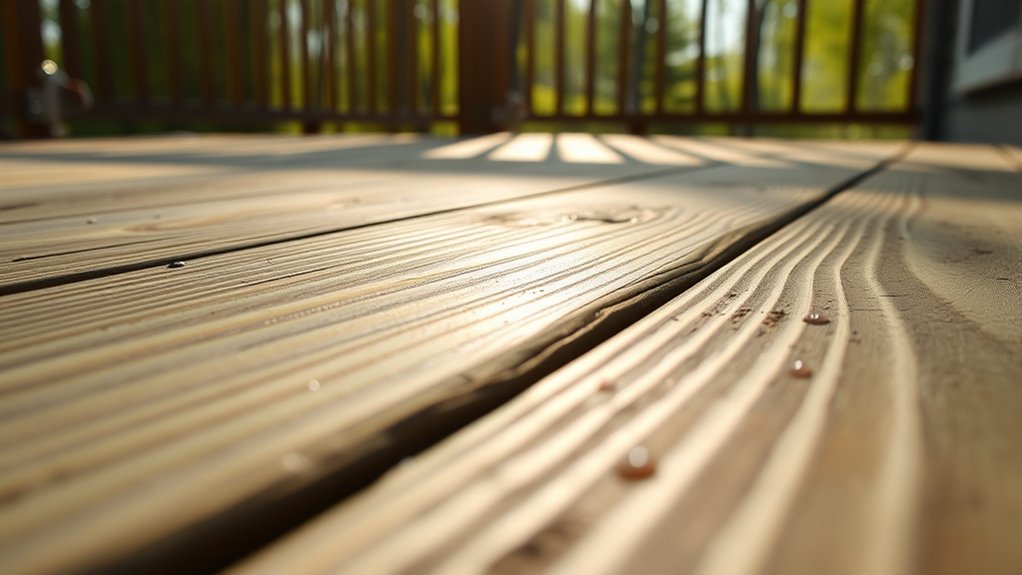
How Weather Affects Drying Time of Pressure Treated Wood
Because weather plays a major role in drying pressure-treated wood, you need to pay close attention to conditions before staining. Weather affects the wood’s moisture content and drying time, which directly impacts the curing process and stain adhesion.
Here’s what to take into account:
- Humidity. High humidity slows drying, while dry, breezy days speed it up.
- Direct sunlight. It helps dry the wood but avoid extreme heat to prevent uneven moisture loss.
- Temperature. Ideal conditions are between 50°F and 90°F for proper drying and staining.
- Seasonal changes. Cooler, wetter months extend drying time compared to warm, dry summers.
Monitoring these factors guarantees your pressure-treated wood is ready, making staining pressure-treated wood more successful and long-lasting.
Just keep an eye on the weather, and you’ll get great results every time.
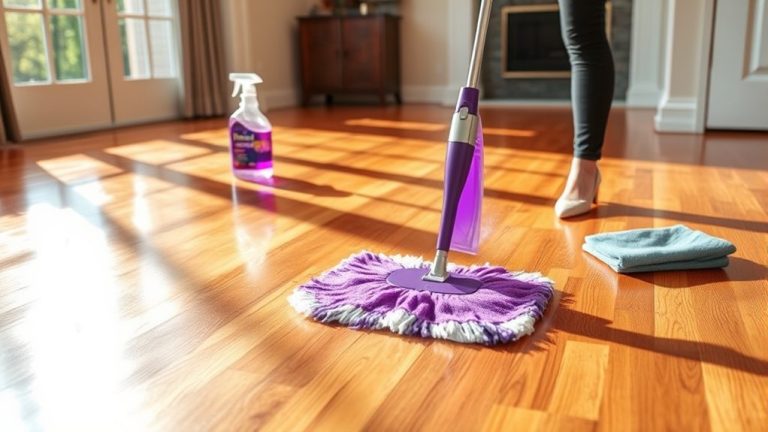
How to Clean and Repair Pressure Treated Wood Before Staining
Start by clearing away any loose dirt and debris from your pressure-treated wood using a broom or brush.
For a deeper clean, apply a deck cleaner or a water-soap mixture, scrubbing along the wood grain to remove mildew and stains effectively. If you choose to use a pressure washer, set it to low pressure to avoid damaging the wood fibers while removing grime.
After cleaning, let the wood dry completely. Ideally, give it about 24 hours to make sure no moisture remains because wet wood won’t absorb stain properly.
Next, check the surface for any popped nails or damage. Fix these issues to create a smooth, even base.
Inspect the wood for popped nails or damage and repair to ensure a smooth, even surface before staining.
Proper cleaning and repair really help the stain stick better and give your wood a uniform, long-lasting finish.
Taking these steps might take a bit of time, but it’s worth it for a great-looking result.
How to Choose the Right Stain for Pressure Treated Wood
Once your pressure-treated wood is clean, dry, and repaired, the next step is picking the right stain to protect and enhance it.
To stain pressure-treated wood effectively, choose the right stain based on your needs.
Use oil-based stains for durability and water resistance, especially outdoors. They really hold up well against the elements. If you want to keep some of that natural wood grain visible, pick semi-transparent stains. These last about 2-4 years.
You might want solid stains for uniform coverage on aging or inexpensive wood. They work great on vertical surfaces.
Or, if you want to showcase the natural beauty without adding color, consider clear stains for low-traffic areas.
Always test the stain on a hidden spot first. That way, you can make sure the color matches your expectations.
And don’t forget to follow the manufacturer’s instructions carefully to keep the wood protected.
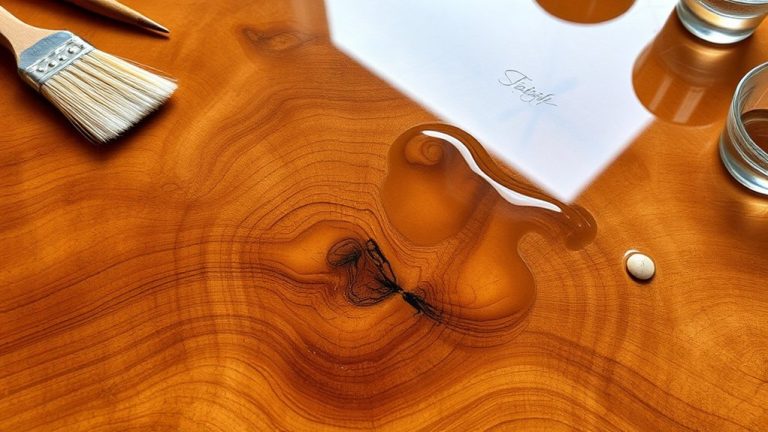
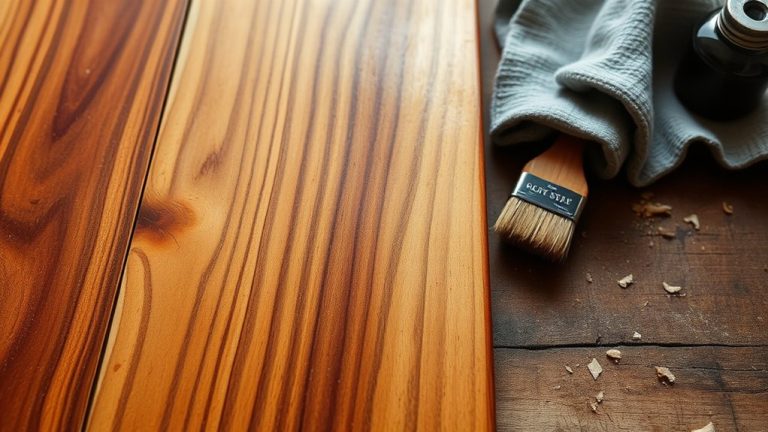
How to Apply Stain on Pressure Treated Wood: Step-by-Step
Before you apply the stain, make certain the wood is completely dry and clean to guarantee proper absorption. Start by cleaning the wood with a deck cleaner or soap-water mixture, then let it dry for 24-48 hours.
Perform a water drop test. If water soaks in within 5-10 minutes, the pressure treated lumber is ready for staining.
Stir the stain thoroughly for at least two minutes to get a consistent mixture, and test the color on a hidden spot first.
To apply the stain, use a paint pad for large areas and a brush for details. Always follow the wood grain for an even finish.
Remember to wait 24-48 hours between coats, as drying times vary depending on stain type and weather conditions. Taking your time here really pays off with a great-looking result.
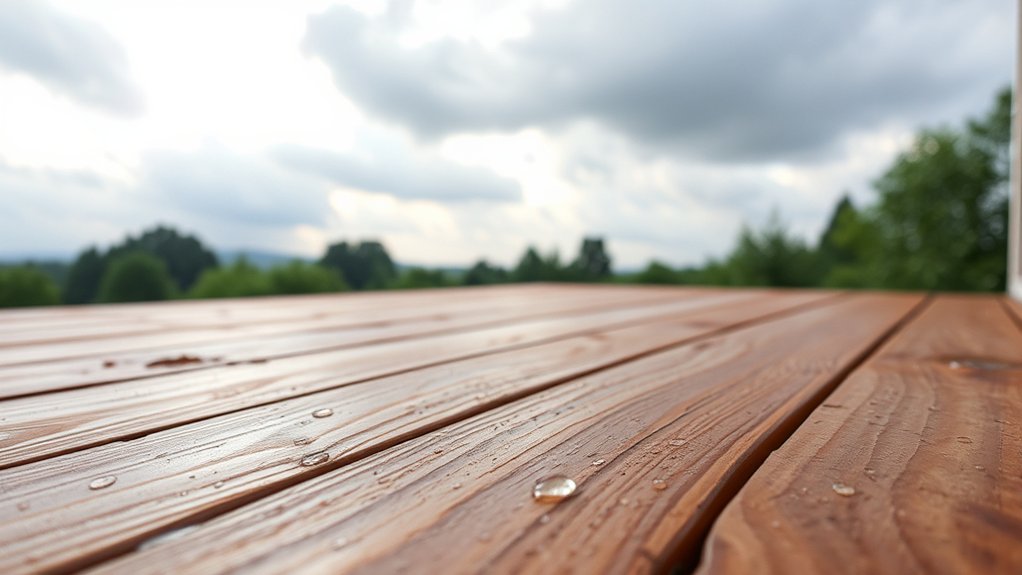
How Long Stain Takes to Dry and Cure on Pressure Treated Wood
Although drying times vary, stain on pressure treated wood generally takes between 24 and 48 hours to dry, depending on the type of stain and environmental conditions. You’ll want to take these factors into account for best results.
Stain drying times depend on the moisture content of the treated wood and the outdoor wood’s exposure to humidity. Curing times can range from one week to several months, so be patient before heavy use.
Always protect the stained surface from rain or moisture during drying to avoid damage.
Follow the manufacturer’s instructions closely, especially regarding the ideal temperature, between 50°F and 90°F, to apply stain effectively and guarantee proper curing.
Mistakes to Avoid When Staining Pressure Treated Wood
If you want your stain job to last, you need to avoid common mistakes that compromise adhesion and durability.
First, don’t stain pressure treated wood too soon. The wood needs to wait at least 3 to 6 months to become properly dried wood.
Use a moisture meter to confirm moisture levels are below 15% before applying the stain. Skipping the water drop test often leads to staining wood that’s still wet, causing poor stain adhesion and peeling.
Also, always clean off dirt and debris, including mildew, to guarantee the stain bonds well.
Finally, check weather conditions. Avoid staining before rain or extreme temperatures to protect the finish.
Following these steps helps you achieve a durable, even stain that lasts. It’s really worth taking your time here!
Frequently Asked Questions
Can I Stain Pressure Treated Wood Indoors?
You can stain pressure treated wood indoors, but you need proper preparation tips and allow adequate drying time to reduce wood moisture.
Make sure indoor ventilation is excellent to avoid fumes and speed drying.
Use stain types designed for interior use, follow manufacturer application methods, and pick color choices that suit your space.
Don’t forget maintenance tips for longevity and safety precautions like wearing masks.
Product recommendations include low-VOC stains to keep air quality safe.
Just take your time and make sure the area is well-ventilated for the best results.
Does Sealing Pressure Treated Wood Affect Staining Time?
Yes, sealing pressure treated wood definitely affects stain absorption rates. Since sealants create a barrier, they slow absorption, so you must consider wood drying time and weather conditions before sealing.
Different wood grain types react uniquely to sealant types, impacting stain longevity and color matching.
Applying stain before sealing often yields better results. Use proper application techniques and follow maintenance tips to protect your wood and guarantee a lasting finish.
What Tools Are Best for Applying Stain on Pressure Treated Wood?
For stain application techniques on pressure treated wood, synthetic bristle brushes excel in detailed areas, while rollers speed up large surface coverage.
Sprayers offer smooth, even coats but require safety precautions due to overspray. Choose oil-based or water-based stains based on durability and weather considerations.
Make sure to prepare the surface thoroughly, and keep in mind the drying time can vary depending on conditions.
Regular maintenance helps preserve stain durability. Always wear gloves and masks to protect yourself during application.
It’s all about finding the right tool for the job and taking your time to do it properly. That way, your stain will look great and last longer!
How Often Should I Re-Stain Pressure Treated Wood?
You should aim for a stain frequency of every 2 to 4 years, depending on weather conditions and environmental factors.
Regular wood maintenance, including proper wood preparation before stain application, guarantees better finish durability and wood longevity.
Using solid stain types offers longer-lasting protective coatings compared to semi-transparent options.
Keep an eye on signs like fading or water absorption to time re-staining correctly. This helps maintain your wood’s protection and appearance over time.
Can Pressure Treated Wood Be Painted Instead of Stained?
Painting pressure treated wood is like giving it a fresh suit. It’s totally doable but needs care. You’ll want to pick latex paint for durability because oil-based paints chip faster.
Proper surface preparation is key. Clean, dry, and remove mill glaze before priming with a latex primer.
Also, consider drying times—usually 3 to 6 months—and maintenance tips to keep colors vibrant.
When comparing wood treatment options, painting offers more color choices but requires more upkeep than staining.
Conclusion
You might feel enthusiastic to stain your pressure treated wood right away, but rushing leads to peeling and uneven color. Waiting might seem like a delay, yet it’s the key to lasting beauty and protection.
By testing dryness, prepping properly, and choosing the right stain, you turn patience into a strong, stunning finish. Remember, the short wait now saves you from long-term frustration. Stain smart, and your wood will thank you for years.