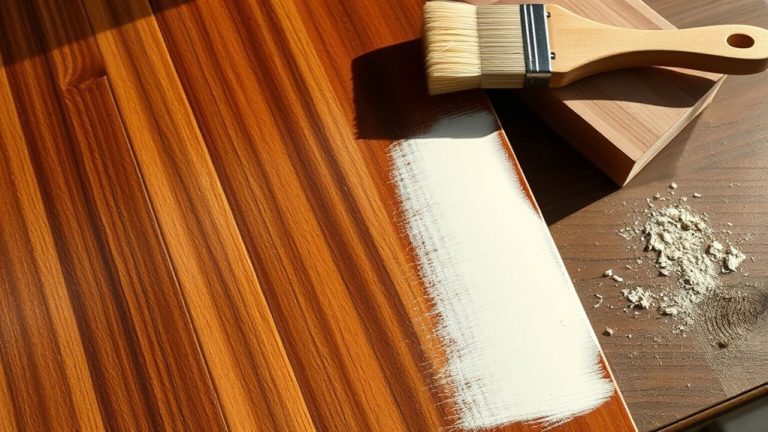
Can You Stain Wood In Cold Weather: Tips For Success
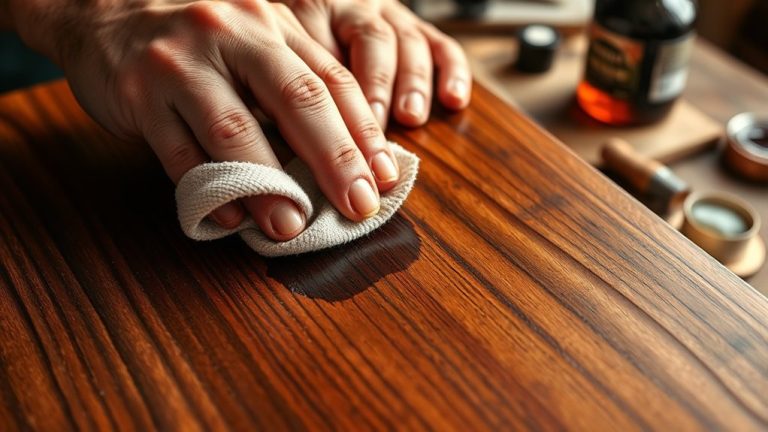
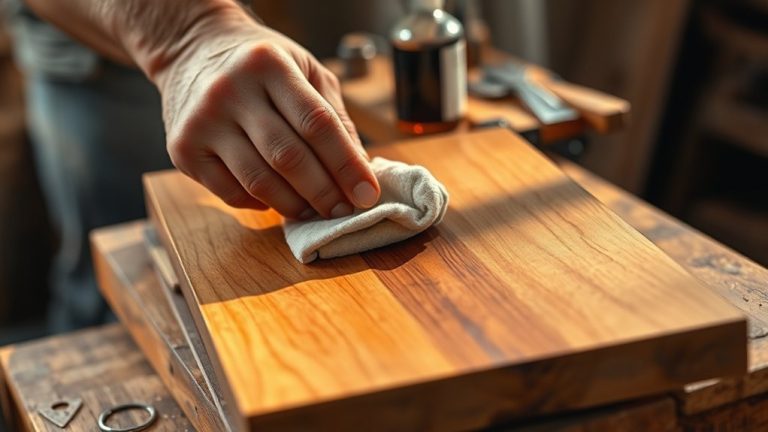
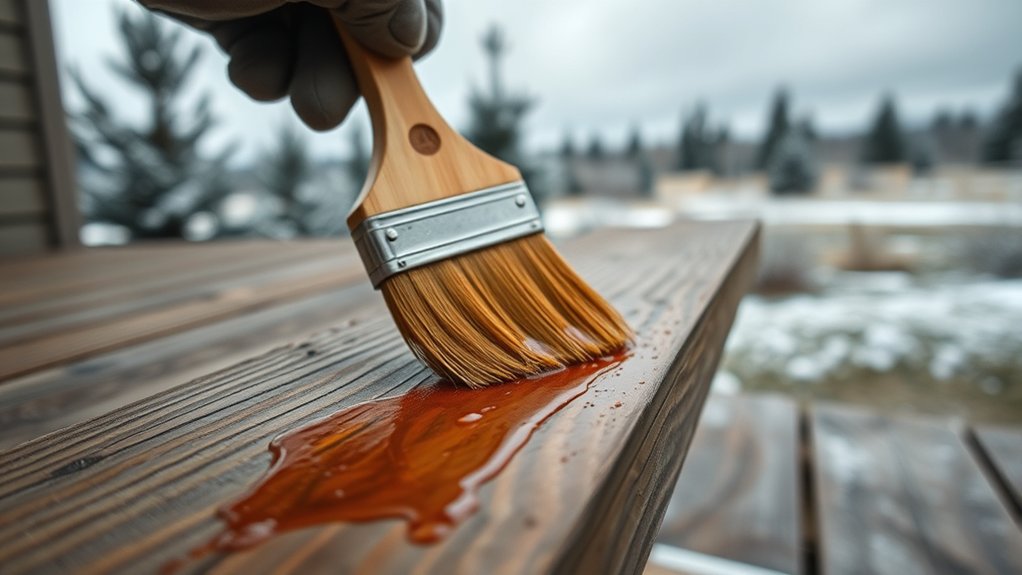
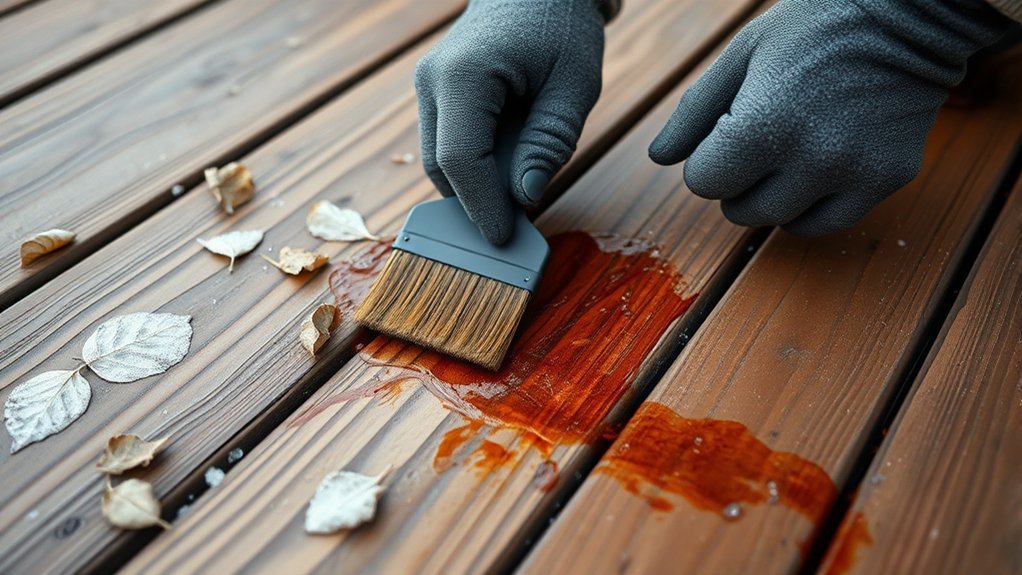
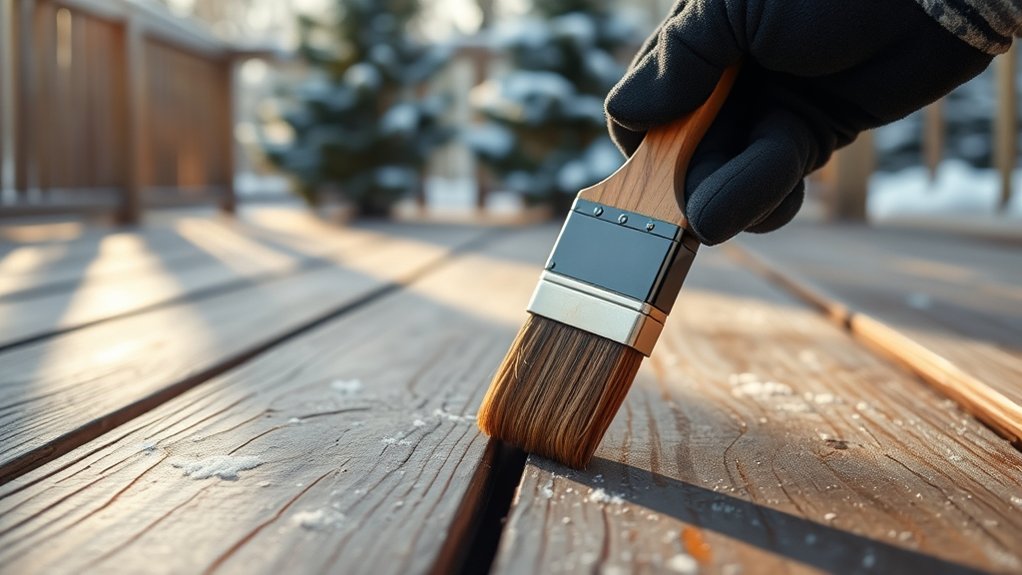
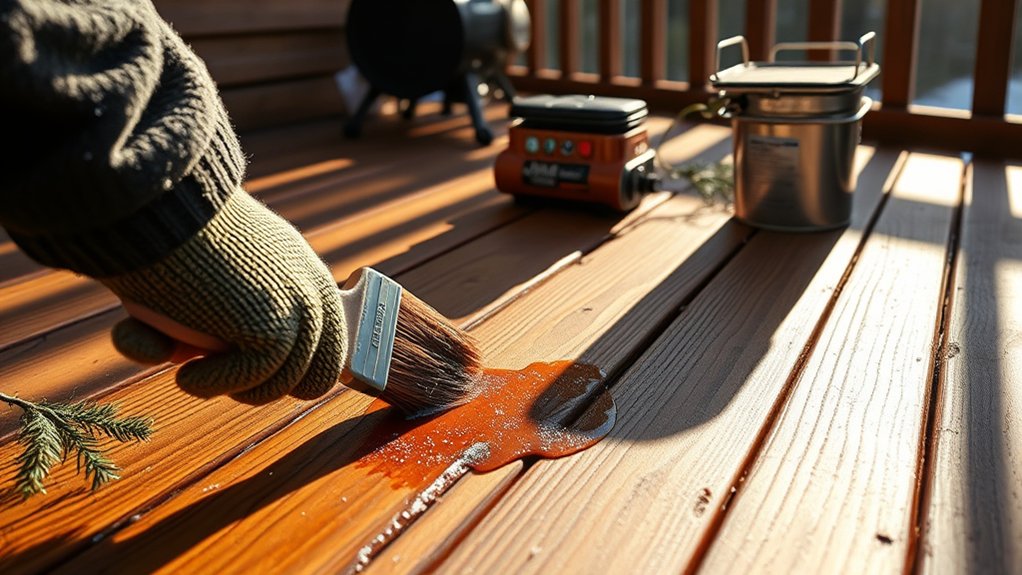
You can stain wood in cold weather, but you’ll need to take extra care. Use oil-based stains since they work down to 35°F, and make sure the wood and stain are warmed to around 70°F before applying. Clean and dry the wood thoroughly, apply thin coats, and stain during the warmest part of the day.
Protect the wood with coverings after staining to avoid moisture damage. Keep these tips in mind, and you’ll get better results even in chilly conditions. It’s definitely doable if you plan ahead.
Explore further techniques to master cold weather staining. With a little patience, you can get great results no matter the temperature.
Challenges of Staining Wood in Cold Weather
When you stain wood in cold weather, you’ll face several challenges that can affect the final result. Cold temperatures slow down drying times considerably, sometimes extending them up to 48 hours. This delay can really hold up your project.
Applying stain when it’s below 50°F can cause poor penetration, which leads to patchy, uneven finishes. You might also notice that delayed curing creates gloss variations and inconsistent color. That definitely ruins the even finish you’re aiming for.
Oil-based stains work better in these conditions because they don’t rely on evaporation. This makes them effective at temperatures as low as 35°F. However, humidity combined with cold can still hinder stain absorption and cause adhesion problems.
Knowing these factors ahead of time helps you prepare for a more successful staining job in cold weather. It’s all about working smart and adjusting to the conditions.
Best Temperature for Cold Weather Wood Staining
Although you can stain wood in cold weather, maintaining the temperature between 50°F and 90°F guarantees the best results. The ideal temperature to apply the stain is around 70°F, which helps with proper absorption and an even color.
Oil-based stains are great for colder conditions because they can be applied at temperatures as low as 35°F. Plus, they don’t rely on evaporation to dry, which is a big advantage.
Keep in mind, colder weather slows down the curing process, so drying times can stretch up to 48 hours. Avoid staining if freezing temperatures are expected since that prevents proper penetration and causes uneven finishes.
Always check the weather before you start, and make sure no rain is forecast for at least 48 hours after application. Doing this helps you get a durable, consistent wood stain even when it’s cold outside.
Best Wood Stains for Cold Weather Conditions
Since colder temperatures affect how stains dry and adhere, choosing the right product is essential for successful wood staining in winter.
The best wood stains for cold weather are oil-based stains because they don’t rely on evaporation to dry and can perform well even as temperatures drop to around 35°F. These stains penetrate the wood deeply, ensuring better adhesion and durability in cold temperatures.
Water-based stains, by contrast, struggle in freezing conditions and often fail to deliver consistent results.
Keep in mind that oil-based stains may require a longer drying time, sometimes up to 48 hours, but their performance justifies the wait.
To get the best results, opt for high-quality oil-based stains specifically formulated for low temperatures, ensuring your wood finish holds up despite the chill.
Preparing Wood and Your Workspace for Cold Weather Staining
To achieve a smooth, even stain in cold weather, you’ll need to prepare both the wood and your workspace carefully. First, verify the wood is completely clean and dry. Moisture can prevent proper stain absorption and cause uneven results.
Before you apply stain, warm the wood indoors or in a temperature-controlled space to at least 50°F (10°C). Choose a heated garage or similar area to minimize cold weather’s impact on drying and curing.
For cold weather staining, oil-based stains work best since they don’t rely on evaporation and remain effective down to 35°F (1.7°C).
Finally, check the forecast to avoid rain or snow within 48 hours after staining. This way, the stain has ample time to cure properly and protect your wood.
Step-by-Step Guide to Staining Wood When It’s Cold
First, make sure your wood is clean and dry because any moisture can mess with how the stain soaks in, especially when it’s cold.
Try to keep the temperature above 50°F if you can.
It also helps to warm up both the wood and the stain before you get started—that way, you’re more likely to get better results.
Plan to do your staining during the warmest part of the day.
Plus, using tarps or heat lamps can keep things cozy and steady while you work, which really makes a difference.
Prepare Wood Properly
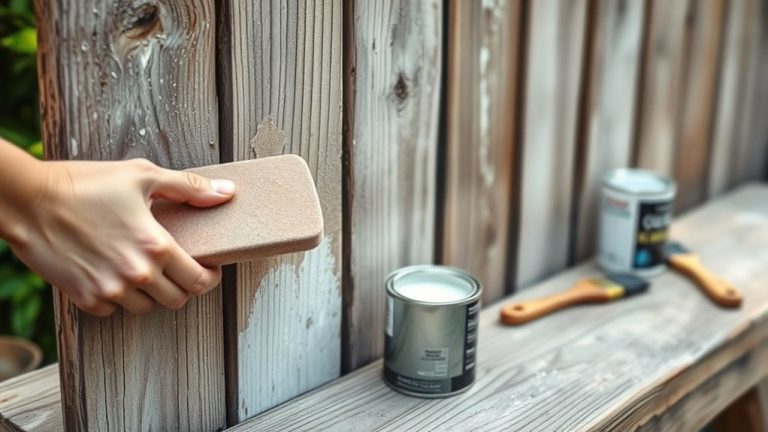
Although cold weather can complicate the staining process, preparing your wood properly guarantees better results. Start by thoroughly cleaning wood surfaces with a wood cleaner or mild detergent to remove dirt and mildew.
Next, sand the wood following its grain to facilitate an even coat and improve stain penetration.
After cleaning and sanding, let the wood dry thoroughly for 2-3 days to avoid moisture interfering with the stain. Choose an oil-based stain, as it penetrates deeper and resists cold temperature effects better than water-based options.
Keep temperature considerations in mind by staining only when it’s above 50°F and dry outside.
These steps help you prepare wood properly, assuring the stain adheres well and lasts longer despite cold weather challenges. Following this advice makes the whole process smoother and your wood look great for a long time.
Control Temperature Conditions
When temperatures dip below 50°F, you need to take extra steps to control the environment for staining wood effectively. To control temperature conditions during cold weather, bring your wood and stain indoors or into a heated garage. Aim for ideal conditions around 70°F.
If you must apply stain outside, choose oil-based stains that work as low as 35°F since they don’t rely on evaporation to dry properly. Warm the materials beforehand by placing them in warm water or a heated space to improve absorption.
Always check the weather forecast to avoid rain or snow for at least 48 hours after applying stain.
Following these expert tips and best practices guarantees your stain cures well, even in colder temperatures. This way, you preserve your wood’s finish and durability.
How Cold Weather Affects Wood Stain Drying and Curing
Because cold temperatures slow down the drying process, you can expect wood stains to take much longer to dry, sometimes up to 48 hours. Lower temperatures cause stains to dry unevenly, which can result in blotchy color and inconsistent gloss. When staining wood in cold weather, oil-based stains are your best bet since they don’t rely heavily on evaporation.
They can cure properly even at 35°F. However, if the stain freezes before it soaks in, it can peel or flake later. So, keep in mind that cold weather delays the stain from drying and curing fully.
Patience is key when working in these conditions.
| Factor | Effect in Cold Weather |
|---|---|
| Drying Time | Up to 48 hours |
| Color & Gloss | Uneven, blotchy |
| Stain Type | Oil-based stains perform best |
| Adhesion | Risk of peeling if too cold |
Tips to Prevent Common Cold Weather Staining Issues
To prevent common cold weather staining issues, you should choose oil-based stains and warm both the wood and stain before application. Oil-based stains penetrate better and dry more reliably in chilly conditions.
Always clean and prepare the surface thoroughly by sanding and removing dirt to guarantee the stain adheres uniformly.
Next, apply thin coats to avoid uneven drying and peeling. Thin layers help the stain dry steadily despite the cold.
Monitor weather conditions closely. Stain during the warmest part of the day and avoid applying if rain or snow is expected within 48 hours.
Warming the wood and stain to around 70°F also boosts absorption and drying.
How to Protect Wood After Cold Weather Staining
Although staining wood in cold weather can be challenging, protecting it afterward is just as essential to guarantee the finish lasts.
After applying stain, make sure to let the wood dry thoroughly for at least 48 hours before exposing it to moisture. This waiting period helps the stain cure and adhere properly.
To protect your wood during this time, cover it with tarps or plastic sheeting to shield it from rain or snow. For the best results, consider applying a high-quality sealant after the stain has fully cured to boost moisture resistance.
Cover stained wood with tarps during curing and apply a quality sealant for enhanced moisture protection.
Finally, keep up with routine maintenance by inspecting the wood regularly and addressing any peeling or cracking promptly.
- Allow sufficient drying time before exposure
- Use protective coverings during curing
- Apply sealant and perform regular upkeep
Frequently Asked Questions
Can I Use a Heater to Speed up Stain Drying in Cold Weather?
Yes, you can use a heater to speed up stain drying in cold weather. Choose safe heater types like torpedo or large space heaters that maintain ideal temperatures between 50°F and 90°F. This helps boost stain absorption rates and cuts down on drying time variations.
Just be sure to follow safety precautions to avoid direct flames or overheating. It’s important to keep things safe while you speed up the process.
Also, combine this with proper stain application techniques and project preparation tips. Doing this will help guarantee even curing and a quality finish, even when it’s cold outside.
How Long Should I Wait Before Applying a Second Coat in Cold Conditions?
Think of staining like baking bread. If you rush the second rise, it won’t turn out right.
In cold weather, wait at least 48 hours before applying a second coat to account for increased drying time.
Temperature effects slow stain absorption and curing. So, keep an eye on moisture levels and make sure the first coat isn’t tacky before you start the next one.
Focus on surface preparation, use proper application techniques, and pick products made for low temperatures. That way, you’ll get the best results.
Does Humidity Affect Staining Wood More Than Temperature?
Yes, humidity affects staining wood more than temperature because it directly impacts wood absorption and stain viscosity. High humidity slows drying time, causing uneven absorption despite proper surface preparation.
Low humidity speeds drying, risking tacky finishes.
While temperature affects application techniques and drying speed, maintaining balanced humidity levels is essential for consistent results.
You should monitor both but prioritize controlling humidity to guarantee the stain cures evenly and adheres well.
Can Staining in Cold Weather Prevent Mildew Growth on Wood?
Yes, staining wood in cold weather can help with mildew prevention if you focus on proper wood preparation and application techniques.
Cold weather slows drying times, so you need to guarantee the stain fully cures for maximum stain effectiveness.
Use oil-based stains suited for cooler conditions, and consider environmental conditions like humidity.
Are There Specific Wood Types That Stain Better in Cold Weather?
Like a well-fitted glove, certain wood species handle cold weather staining better because of their wood density and moisture content.
Hardwoods like oak and maple offer superior stain absorption even when temperature effects slow down curing time. Their dense grain allows oil-based stains to penetrate deeply, which helps ensure the finish works well.
Softwoods, on the other hand, struggle here and risk uneven color.
Conclusion
Staining wood in cold weather might feel like David facing Goliath, but with the right preparation and patience, you can conquer it. Keep your workspace warm, choose cold-weather stains, and follow the steps carefully to avoid common pitfalls.
Remember, like a craftsman shaping his masterpiece, your attention to detail guarantees a beautiful, durable finish. Embrace the challenge, and your wood will stand strong against winter’s bite.