Can You Paint Wood With Acrylic Paint: Easy Guide For Beginners
Yes, you can paint wood with acrylic paint easily by prepping your surface first. Sand the wood smooth, clean off dust and oils, then apply a water-based primer or gesso for better color vibrancy.
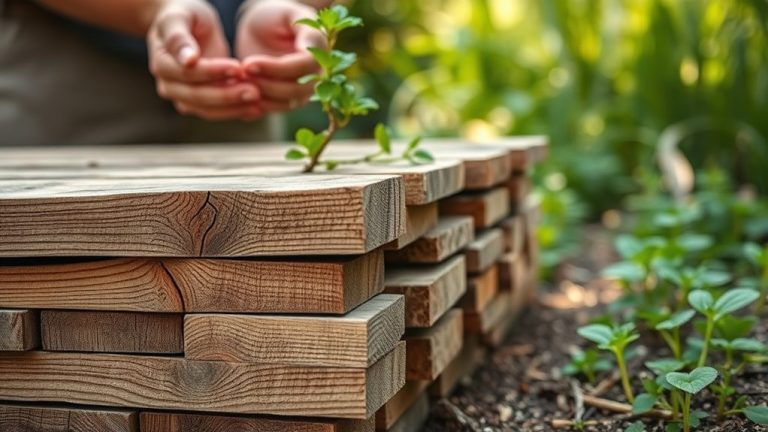
Choose wood types like MDF, birchwood, or basswood for the best results. Use thin layers of paint and finish with a protective sealant to keep your work lasting.
Keep going, and you’ll uncover detailed tips and techniques to make your project stand out beautifully. It’s easier than you think once you get the hang of it!
Key Takeaways
- Sand and clean wood thoroughly before painting to ensure smooth surface and proper acrylic paint adhesion.
- Use a water-based primer or gesso to enhance paint vibrancy and create an even base.
- Choose smooth wood types like MDF, birchwood, or basswood for better paint application and detail.
- Apply thin, even acrylic paint layers, letting each dry fully to build vibrant colors and avoid smudging.
- Seal finished artwork with a water-based varnish after curing to protect and preserve the paint on wood.
Can You Paint Wood With Acrylic Paint?

Although painting wood with acrylic paint might seem straightforward, achieving a smooth, vibrant finish requires proper preparation.
To start, you should sand the wood and apply a layer of gesso to seal the wood and create an ideal surface for acrylic paint on wood. This primer helps the paint adhere better and prevents peeling.
Begin by sanding and priming wood with gesso to ensure smooth paint adhesion and prevent peeling.
When applying acrylic paint, it’s best to use multiple layers, letting each dry fully before adding the next. This approach enhances color depth and durability.
Once your artwork is complete, make certain to seal the wood with a varnish to protect it from dust, moisture, and UV damage.
This beginner’s guide to acrylic painting on wood guarantees your project looks professional and lasts longer.
Best Wood Types for Acrylic Painting
When you’re picking wood for acrylic painting, you’ll want surfaces that soak up primer evenly and give you a nice, smooth texture to work on.
The wood grain is something to keep in mind, too, since it can impact how detailed your painting turns out and might mean a bit more prep work.
Also, think about how durable the wood is and how much time you’re willing to spend getting it ready.
That way, you’ll get the best results without any surprises.
Ideal Wood Surfaces
Choosing the right wood surface plays an essential role in how your acrylic paint will adhere and appear. MDF is a favorite for its smooth surface and even primer absorption, perfect for detailed acrylic painting techniques.
Birchwood offers a harder, durable base that supports vibrant colors but needs more prep. Basswood is lightweight and easy to carve, ideal if you want to add intricate designs, though it’s a bit softer.
Plywood gives you a sturdy, affordable option but often requires sanding to smooth out imperfections before painting.
For the best results, pick surfaces like MDF or Birchwood that provide smoothness, helping your paint stay vibrant and your details sharp. This foundation makes your acrylic painting techniques shine on wood.
Wood Grain Considerations
Three key factors determine how well acrylic paint interacts with wood grain: surface smoothness, grain visibility, and wood hardness.
When selecting wood for acrylic paints, smooth surfaces like MDF, birchwood, or sanded plywood offer the best foundation. These woods minimize wood grain interference, allowing for better paint adhesion and enabling detailed work without texture distractions.
MDF stands out for its minimal grain, offering a sleek finish, while birchwood combines smoothness with durability, making it ideal for both art and furniture.
Remember, regardless of the wood type, priming and proper sanding are essential steps to enhance paint adhesion and guarantee your artwork lasts.
By considering these wood grain factors, you’ll achieve smoother, more vibrant results with your acrylic painting projects.
It really makes a difference in the final look, so taking the time to choose the right wood and prep it properly is totally worth it.
Durability And Preparation
Although wood types vary widely, selecting the right one for acrylic painting directly impacts your artwork’s durability and ease of preparation.
MDF offers a smooth surface that’s perfect for applying acrylic gesso evenly, preventing paint bleed-through. Birchwood boasts excellent durability and a fine surface, but it needs more preparation, like thorough sanding with sandpaper, to guarantee it’s properly primed.
Plywood is sturdy but can have imperfections, so sanding is key to a smooth finish. Basswood is soft and lightweight, ideal for intricate designs, but its delicate nature means you’ll want to handle it carefully.
No matter the wood, always sand the surface well and apply a coat of acrylic gesso to prime it. This preparation step maximizes paint adhesion and extends the durability of your finished piece.
It really makes a difference in how your artwork holds up over time. So, taking the time to prep your wood surface is totally worth it.
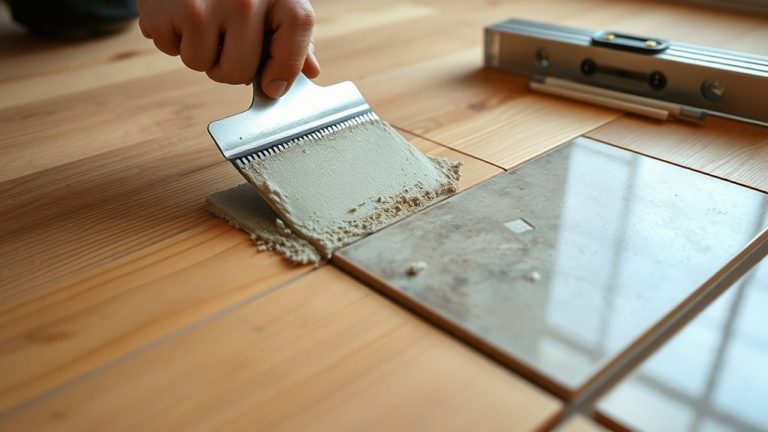
How to Prepare Wood for Acrylic Paint (Cleaning, Sanding, Priming)
Begin by thoroughly cleaning your wood surface with a heavy-duty cleaner to remove oils, dust, and any residues that could prevent the paint from sticking properly. Rinse with distilled water and let it dry completely.
Next, focus on sanding. Lightly sand the wood with 220-320 grit sandpaper to create a “tooth” for the acrylic paint. If the wood is glossy or finished, degloss by sanding to improve adhesion.
Lightly sand with 220-320 grit to create a tooth and improve paint adhesion on glossy or finished wood.
Don’t forget to remove all dust after sanding to guarantee a smooth, clean surface.
Finally, apply a thin layer of water-based primer or gesso to seal the wood. Let it dry fully before painting to enhance color vibrancy and durability.
Proper cleaning, sanding, and priming set the stage for flawless acrylic paint on wood.
Step-by-Step Acrylic Painting Process on Wood
First, make sure your wood surface is nice and smooth by sanding it with some fine-grit sandpaper.
Don’t forget to wipe away any dust afterward.
Then, go ahead and start applying your acrylic paint in thin layers.
It’s best to begin with the lighter shades and let each layer dry completely before adding the next one.
This way, your colors will really pop and the finish will be strong and long-lasting.
Wood Surface Preparation
A smooth wood surface sets the foundation for a successful acrylic painting project. Proper wood surface preparation guarantees your acrylic paint adheres well and looks vibrant.
Start by following these key steps:
First, sand the wood with fine-grit sandpaper (140-180 grit) to create a flawless base. Then, clean the surface thoroughly with a damp cloth to remove dust.
Next, apply a thin layer of gesso primer to seal the wood and prevent paint absorption. Let it dry completely before moving on.
For the best results, apply multiple layers of gesso. Sand lightly between each layer to keep the surface smooth and improve paint adhesion.
Doing this prep work will make your acrylic paint stand out beautifully. It gives your artwork a professional finish and helps it last longer.
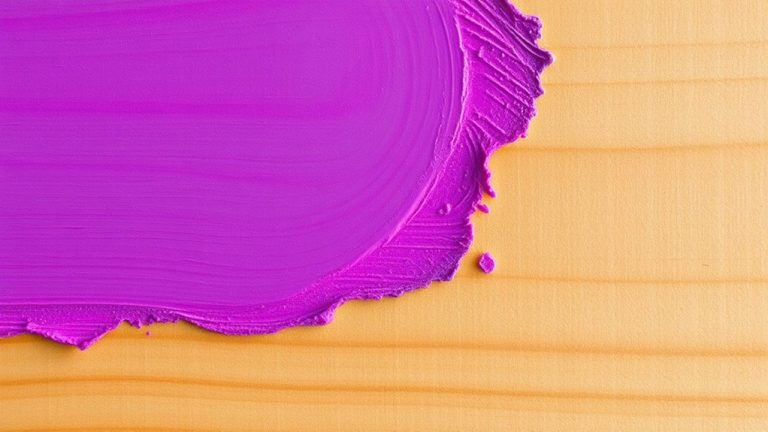
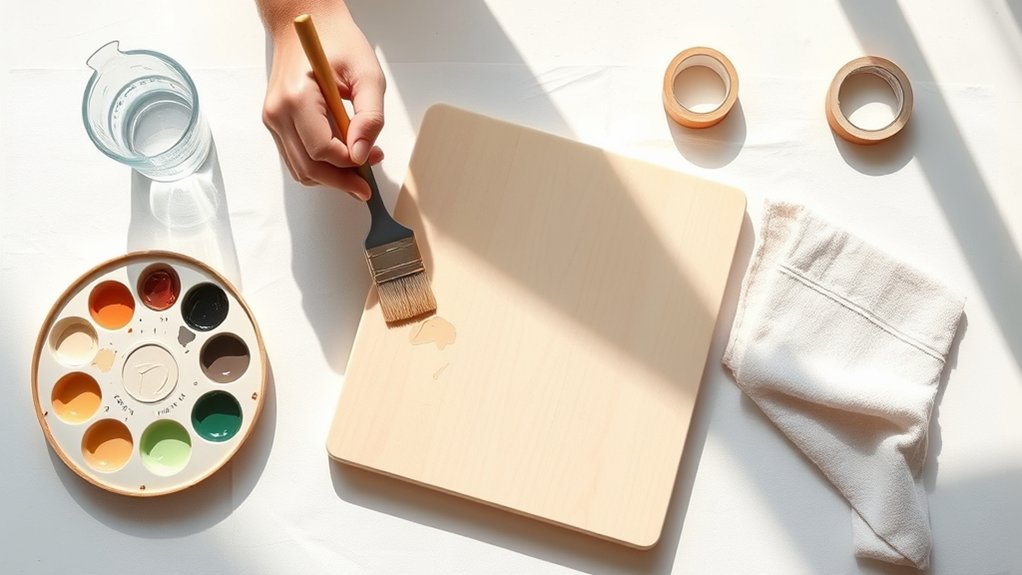
Layering Acrylic Paint
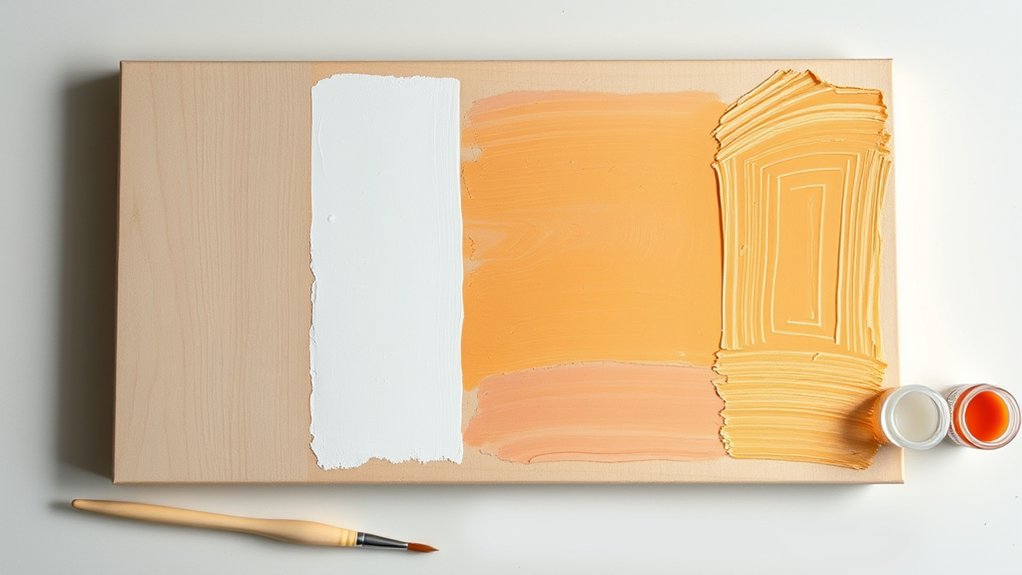
To layer acrylic paint effectively on wood, start by applying thin, even coats that build up color gradually.
First, make sure to apply a primer in thin layers, allowing each layer to dry completely before sanding. This creates a smooth, ideal base for your paint.
When layering acrylic paint, use thin layers of lighter colors first. Let each layer dry before adding darker shades to avoid muddying your work.
Don’t hesitate to experiment with layering techniques like glazing for transparency or impasto for texture to add depth.
Once you’re happy with your painting, finish by applying a protective sealant. This step safeguards your artwork from dust and wear.
It helps ensure your piece stays vibrant and durable over time.
Acrylic Painting Techniques for Wood Projects
Although acrylic paint is versatile, achieving a smooth, vibrant finish on wood requires some specific techniques. To get the best results, follow these key steps:
- Prepare and Prime: Sand the wood smoothly, then apply a thin layer of wood primer or gesso. This seals the surface, preventing the paint from soaking in and boosting color vibrancy.
- Layering Techniques: Paint directly with thin acrylic paint layers, letting each dry fully before adding the next. This builds depth and avoids muddy colors.
- Detail Work and Finishing Touches: Use fine brushes for crisp details, keeping them damp to avoid clumps. Once your design is complete, add finishing touches to enhance brilliance.
Mastering these techniques will help your wood projects look polished and vibrant every time.
Give it a try—you’ll be surprised how much of a difference these simple steps can make!
How to Protect and Seal Acrylic Paint on Wood
Protecting your acrylic-painted wood projects guarantees their beauty lasts and resists wear from dust, moisture, and sunlight. To do this, start by allowing enough curing time, about 7 to 14 days, so your paint fully dries.
Next, apply an isolation coat using a diluted acrylic medium. This layer helps the sealant stick better and protects the paint underneath.
Choose a water-based varnish in your preferred finish like matte, satin, or gloss to seal your work. When applying the sealant, use thin coats and let each dry completely before adding more. This helps avoid drips or pooling.
Always test the varnish on a small, hidden spot first to make sure it’s compatible.
Following these steps will protect your acrylic paint and keep your wood project looking vibrant for years.
Mistakes to Avoid When Painting Wood With Acrylics
When painting wood with acrylics, skipping essential preparation steps can quickly undermine your project’s success. Avoid these common painting mistakes to guarantee your acrylics on wood look vibrant and last longer.
First, don’t neglect sanding the wood surface. Sanding creates a smooth “tooth” for better paint adhesion. This helps prevent peeling or chipping later on.
Also, don’t skip using a primer or gesso. Without a proper base, acrylic paint soaks into the wood. That can cause dull colors and uneven application.
And finally, avoid painting on glossy or oily surfaces without deglossing. If you do, the paint won’t stick properly and will flake over time.
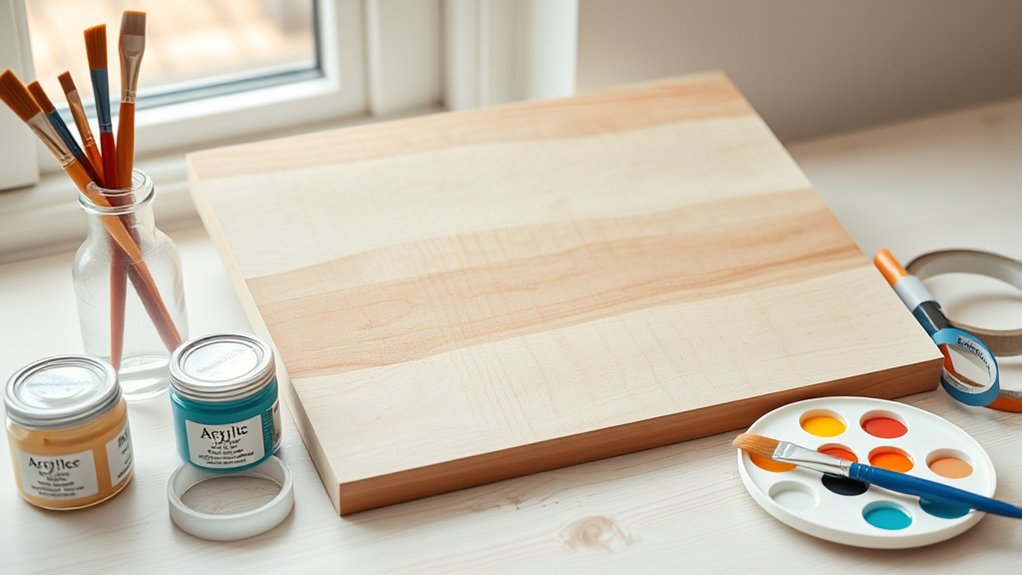
Best Places to Buy Acrylic Painting Supplies
Finding the right acrylic painting supplies can make all the difference in your project’s outcome. You’ll want to explore local art supply stores first. They offer a wide variety of acrylic paint and an acrylic brush set, so you can pick exactly what feels right.
If you prefer shopping from home, online retailers like Amazon and Blick Art Materials provide extensive selections with helpful customer reviews.
Craft stores are another great option. They often host workshops that complement your beginners guide to acrylic painting.
For budget-friendly choices, check out big-box stores like Walmart or Michaels. They frequently run sales on essential supplies.
Finally, specialty art shops carry unique, high-quality products if you’re after something specific.
Whichever you choose, having the right tools will boost your painting success.
Frequently Asked Questions
Can Acrylic Paint on Wood Be Used Outdoors Without Fading?
Yes, you can achieve outdoor durability with acrylic paint on wood, but you’ll need to focus on color retention and weather resistance.
Make sure you choose exterior-grade acrylics that offer UV protection. Proper surface preparation, like sanding and priming, helps the paint stick better.
After painting, apply paint sealers to protect against moisture and fading.
With regular maintenance, your painted wood can stay vibrant and withstand outdoor conditions for a long time.
It’s all about giving your paint the best chance to last outside.
How Long Does Acrylic Paint Take to Fully Cure on Wood?
Acrylic paint takes about 7 to 14 days to fully cure on wood, like a slow bloom unfolding. Your drying time depends on environmental factors like temperature and humidity, as well as paint thickness.
Proper surface preparation speeds the curing process, ensuring better adhesion.
Applying thin layers and letting each dry fully helps, too.
Once cured, you can choose finish options like sealants to protect and prolong your painted wood’s beauty.
Is It Safe to Paint Wooden Toys With Acrylic Paint?
Yes, you can safely paint wooden toys with acrylic paint if you choose non-toxic options that meet safety standards.
Look for recommended brands specifically labeled safe for children to guarantee child safety.
After painting, apply a durable sealant to protect toy finishes and enhance paint durability during play.
Always let the paint dry completely to avoid any risks.
And don’t forget to regularly check the toys for wear to maintain safety and appearance.
It’s a simple way to keep your little ones safe and their toys looking great!
Can You Mix Acrylic Paint With Wood Stain for Different Effects?
Yes, you can mix acrylic paint with wood stain to create unique staining effects. Use mixing techniques like a 1:1 ratio for balanced color blending, and always test first.
Apply thin layers using layering methods to let the wood grain show through.
For application tips, work in small sections and wipe excess for transparency.
Finish with proper drying time and sealing to enhance durability and achieve beautiful finishing touches on your project.
Give it a try and see how it transforms your woodwork!
How Do You Remove Acrylic Paint From Wood if Needed?
Oh, you thought acrylic paint would just vanish magically from wood? Not quite! For effective paint removal techniques, start with warm soapy water and gentle scrubbing.
If that doesn’t do the trick, try the best solvents like rubbing alcohol or acetone. Sanding methods work too, but be gentle to avoid damage.
Heat gun application can soften paint for easier scraping.
Don’t forget to clean brushes right away and follow prevention tips to avoid future headaches!
Conclusion
Now that you know how to paint wood with acrylics, you’re ready to transform any wooden surface into a masterpiece! With the right prep, techniques, and sealant, your paint job will last longer than a thousand years. Just avoid common mistakes, and you’ll be amazed at how easy and fun this process can be.
So grab your brushes and paints. Your next stunning wood project is just a stroke away!