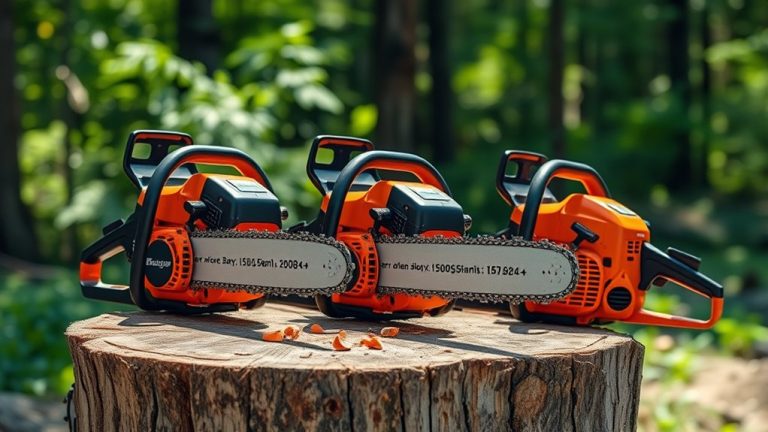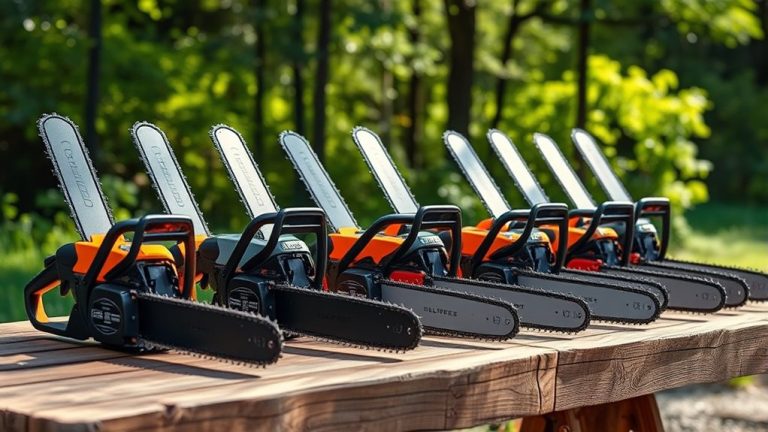
How To Put A Chain On A Chainsaw – Easy Installation Guide
To put a chain on your chainsaw, first make sure it’s powered off. Wear gloves and eye protection before you start. Safety first, right?
Next, remove the old chain by loosening the side panel and releasing the tension on the guide bar. Then, take your new chain and place it with the cutters facing forward. Loop it around the clutch drum and guide bar grooves carefully.
After that, align the chain adjuster pin and tighten the side plate nuts. Don’t tighten them all the way just yet; leave some slack for adjustment. Finally, adjust the tension so the chain moves freely but only lifts slightly when pulled.
If you want, you can learn how to fine-tune and check your setup to make sure everything is safe before you get to work.
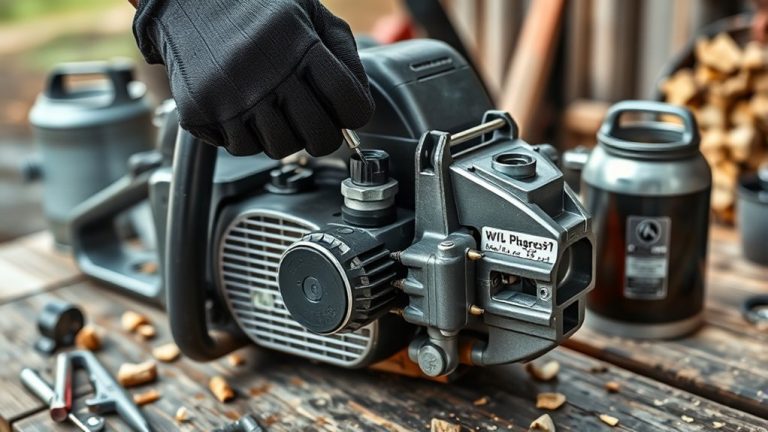
Prepare Your Chainsaw and Wear Safety Gear
Before you start installing the chain, make certain your chainsaw is completely powered off. Disconnect the spark plug lead or remove the battery if applicable.
To prepare your chainsaw properly, clear your workspace and make certain it’s well-lit for easy access to all components.
Ensure your workspace is tidy and well-lit for smooth, safe chainsaw maintenance.
Prioritize safety by wearing gloves to protect your hands from the sharp chain links.
Safety gear is essential: put on eye protection to guard against any flying debris. Dress in long pants and a long-sleeved shirt to minimize skin exposure. These precautions reduce injury risk during installation.
Following these steps will create a safe, efficient environment. This way, you can focus on the precise task of installing the chain without distractions or hazards.
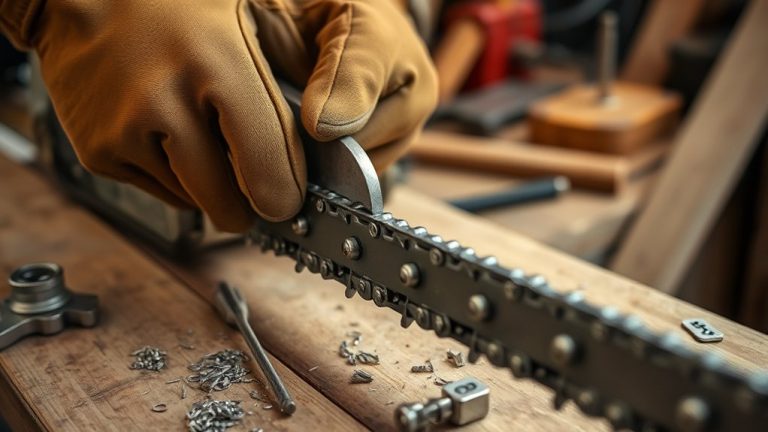
Remove Old Chain and Clean Guide Bar
Start by loosening the guide bar side panel nuts to access the old chain. If your chainsaw brake is attached to the side plate, release it to make removal easier.
Next, carefully pull the nose of the guide bar to release tension. This will allow you to remove the old chain smoothly.
Detach the chain by pulling the drive links from the guide bar and slipping the chain off the clutch drum.
Once the chain is removed, focus on cleaning the guide bar thoroughly. Clear any debris and check that the oil holes are free from obstructions. This helps keep the lubrication flowing properly.
Cleaning the guide bar is essential for peak chainsaw performance and longevity.
Properly removing the old chain and cleaning the guide bar gets your tool ready for replacing the chain. It’s a simple step that makes a big difference.
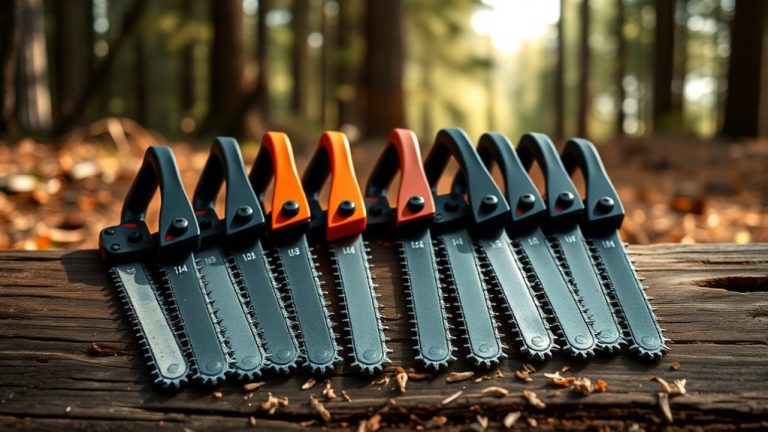
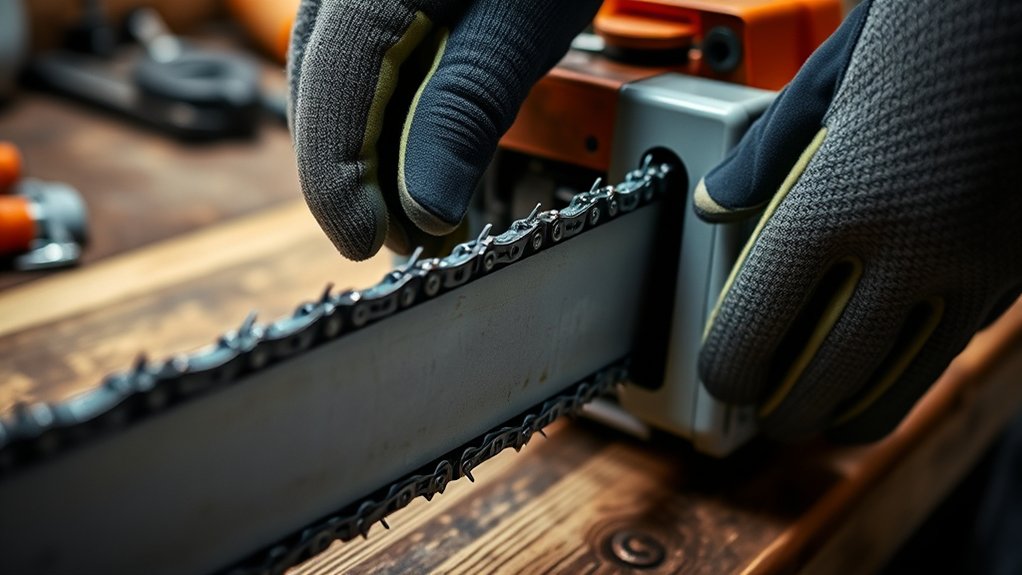
Place the New Chain on the Guide Bar With Cutters Forward
Place the new chain onto the guide bar with the cutters facing forward to guarantee it cuts in the correct direction. When placing a chainsaw chain, align the drive links precisely within the guide bar groove. This alignment guarantees smooth operation and prevents slippage.
Confirm the chain meshes properly with the sprocket to maintain consistent chain tension. Avoid twists or kinks, as these compromise performance and increase wear. Check that the tensioning device fits into the chain’s designated hole to facilitate ideal adjustment.
| Step | Importance | Result |
|---|---|---|
| Correct orientation | Prevents reverse cutting | Efficient cutting |
| Proper alignment | Guarantees smooth movement | Reduced wear |
| Chain tension check | Maintains safety | Reliable operation |
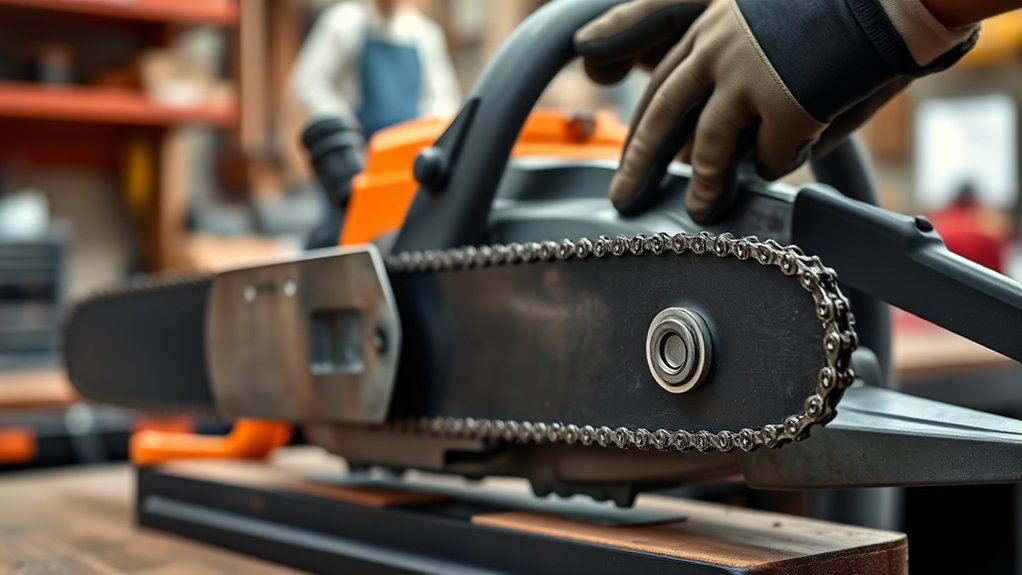
Loop the Chain Around the Clutch Drum and Guide Bar
Start by carefully looping the chain around the clutch drum. Make sure the drive links engage the sprocket properly so everything runs smoothly.
Next, position the chain along the guide bar with the cutters facing forward. Take a moment to align the links securely within the bar groove.
Finally, double-check that the chain fits snugly and meshes correctly with the tensioning mechanism. This will help keep the operation smooth and efficient.
Chain Positioning Essentials
To position the chain correctly, you’ll need to loop it around the clutch drum first, making sure the drive links fully engage with the sprocket.
Next, carefully thread the chain along the guide bar, making sure the sharp cutters face forward in the cutting direction. The chain must sit securely in the guide bar’s groove, with drive links properly seated to maintain smooth operation.
Confirm the chain fits snugly but still allows slight slack for later tension adjustments. Check that the tensioning mechanism aligns with the adjuster pin before securing the side plate.
These chain positioning essentials are critical for safe, efficient chainsaw performance and to avoid derailment or uneven cutting.
Following these precise steps sets the foundation for proper chain alignment and tensioning. Taking a little extra time here really pays off when you’re out cutting. It keeps everything running smooth and safe.
Aligning Chain With Bar
Two critical steps guarantee proper chain alignment: looping the chain around the clutch drum and threading it along the guide bar.
First, make sure the chain on a chainsaw is oriented correctly, with the sharp cutters facing forward.
Position the chain over the guide bar, ensuring the drive links fit snugly into the bar groove for precise alignment.
Next, loop the chain around the clutch drum, confirming the drive links are fully engaged and seated to avoid slippage during operation.
Check that the chain tensioning mechanism aligns with the chain and guide bar, keeping it accessible for adjustments.
Finally, manually rotate the chain to verify it moves freely and smoothly around the bar and clutch drum before tightening all fasteners securely.
Ensuring Proper Chain Fit
Anyone installing a chainsaw chain must guarantee it’s oriented correctly, with the sharp edges of the cutters facing forward as you loop it around the guide bar and clutch drum.
When replacing a chainsaw chain, place the chain around the clutch drum, verifying the drive links engage properly with the sprocket.
Next, thread the chain smoothly along the guide bar without twists or kinks.
Align the chain adjuster pin with its hole to enable the tensioning screw to function accurately.
Key points to verify proper fit:
- Engage drive links fully into the sprocket drum
- Align chain adjuster pin with guide bar hole
- Confirm chain runs smoothly without kinks before tightening
This precision guarantees ideal chain tension and safe operation.
It’s really important to get this right for both performance and safety.
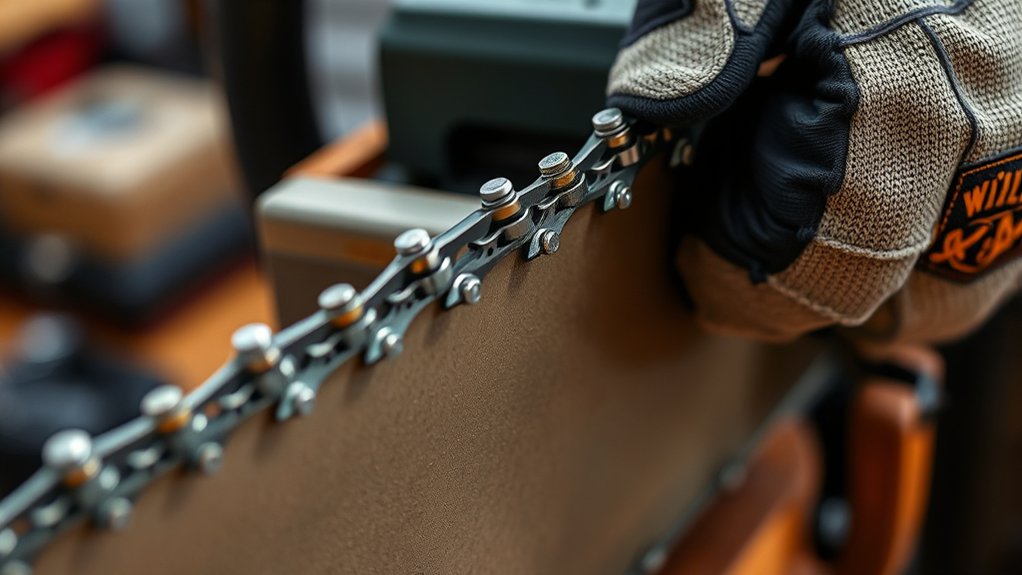
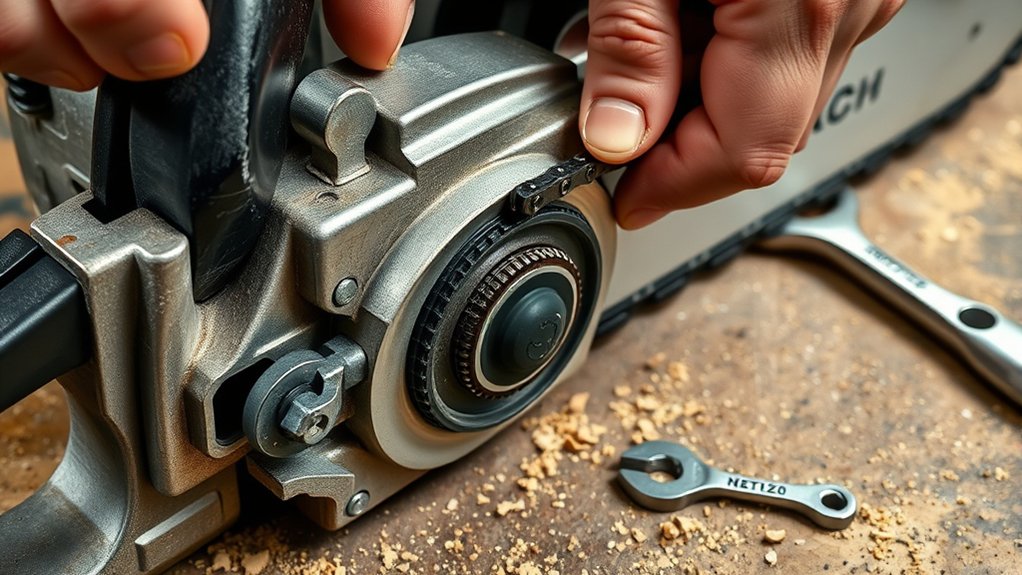
Align Guide Bar and Secure the Side Plate
Align the guide bar carefully with the clutch drum, making certain the drive links fit properly into the sprocket. Insert the guide bar into its slot, guaranteeing it sits flush against the chainsaw housing. When you align guide bar positioning correctly, it ensures smooth operation and reduces wear on replacement parts.
Next, place the side plate over the guide bar, matching the holes with the mounting studs. Hand-tighten the nuts on the side plate to hold the guide bar temporarily in place. This step lets you confirm proper placement before final tightening.
Once you verify the guide bar alignment and chain positioning, fully tighten the side plate nuts. Securing the side plate firmly guarantees the guide bar and chain remain stable during operation.
Adjust Chainsaw Chain Tension Properly
Although it may seem straightforward, adjusting the chainsaw chain tension properly is essential to confirm safe operation and peak cutting performance.
To do this, first loosen the bar nuts. Then use the tensioning screw to tighten the chain until it sits snugly against the guide bar.
Begin by loosening the bar nuts, then tighten the chain using the tensioning screw until snug on the guide bar.
A new chainsaw chain typically requires frequent checking and slight adjustments as it stretches during use. You want the chain to have slight upward movement without slack and to snap back firmly when pulled.
Keep these points in mind to adjust chainsaw chain tension properly:
- Loosen bar nuts before adjusting tension
- Confirm the chain fits tightly but moves freely on the guide bar
- Regularly check chain tension before each use for safety and efficiency
Tighten the Chain and Side Plate Nuts
After you’ve adjusted the chain tension so it fits snugly against the guide bar, start by loosely tightening the side plate nuts to hold the bar in place without locking it down completely.
This allows minor adjustments to the chain tension if needed. Use the tensioning screw to fine-tune the chain, ensuring it doesn’t sag but still moves with slight resistance.
Once the chain sits correctly, tighten the side plate nuts firmly to secure both the guide bar and chain. Properly tightened side plate nuts prevent the chain from loosening during operation, maintaining safety and performance.
Check Chain Movement and Perform Safety Checks
Manually rotate the chain around the guide bar and sprocket to confirm it moves smoothly without binding or catching. This step is essential to check chain movement and prevent operational hazards.
Next, verify the chain tension by lifting it slightly; it should snap back without slack or excessive tightness.
Also, make sure the chain aligns perfectly with the guide bar, and the drive links sit securely in the bar groove.
Perform safety checks by inspecting the chain brake. Engage and disengage it to confirm proper function.
Finally, double-check that all nuts and screws are tightened securely before starting the chainsaw.
- Chain moves freely with no resistance
- Chain brake engages and releases correctly
- Chain tension is ideal and alignment precise
Frequently Asked Questions
What Type of Oil Is Best for Lubricating the Chainsaw Chain?
You should use bar oil types specifically designed for chainsaws, as they offer ideal chain oil viscosity to guarantee smooth lubrication in all temperatures.
High-viscosity oils stick better to the chain, reducing wear and overheating.
Consider biodegradable options to minimize environmental impact without sacrificing performance.
Avoid motor oils, which can cause buildup and damage.
Regularly check your oil level to maintain consistent lubrication and protect your chainsaw’s components effectively.
It’s a simple step that goes a long way in keeping your saw running smoothly.
How Often Should I Replace My Chainsaw Chain?
You should replace your chainsaw chain every 50 to 100 hours of use, depending on chain longevity and cutting conditions. Keep an eye on how often you’re using it and how it’s holding up.
Watch out for signs like dull teeth, broken links, or if the chain just isn’t cutting as well as it used to. These are clear indicators that it’s time for a change.
Regular maintenance really helps extend the chain’s life. Sharpening the chain and making sure it’s properly lubricated can make a big difference.
Don’t wait until the chain is worn out completely. If you do, it could damage the guide bar and lower your tool’s efficiency and safety.
It’s better to swap it out a bit earlier than to risk bigger problems.
Can I Sharpen the Chain Myself or Should I Hire a Professional?
You can definitely sharpen the chain yourself if you follow proper sharpening techniques and safety precautions. Use a round file and depth gauge tool, maintaining the correct angles as per manufacturer guidelines.
Regular maintenance tips, like checking for dullness and cleaning the chain, help improve efficiency and safety. It’s not too hard once you get the hang of it.
However, if you’re unsure or want precise results, hiring a professional guarantees peak performance and prolongs your chain’s lifespan.
Sometimes it’s just easier to leave it to the experts, especially if you want the best outcome.
What Are the Signs of a Dull or Damaged Chainsaw Chain?
Have you noticed your chainsaw dragging or smoking excessively? Those are clear chain replacement signs. Dull or damaged chains often make uneven cuts, pull to one side, or emit a burning smell.
Regular chain maintenance tips include inspecting for cracked links, missing teeth, and making sure the chain tension is just right.
If you find yourself pushing harder to cut, or if the chain looks worn out, it’s definitely time to sharpen or replace it.
Doing this keeps your chainsaw running safe and efficient, so you don’t have to struggle or risk damage.
How Do I Safely Store My Chainsaw When Not in Use?
For chainsaw safety, store your saw in a dry, cool place to prevent rust and moisture damage. Engage the chain brake and make sure the chain tension is just right before putting it away.
It’s a good idea to use protective storage solutions like a hard case or cover. This helps shield it from dust and any accidental bumps.
Don’t forget to clean the saw thoroughly and inspect it regularly.
These simple steps keep your chainsaw in great shape and help lower the risk of accidents while it’s stored.
Conclusion
Now that you’ve installed your chainsaw chain correctly, you’re ready to work safely and efficiently. Did you know that improper chain tension causes over 30% of chainsaw accidents? This shows just how important it is to get the tension right, not only for performance but also for your safety.
Always double-check the tension and make sure all parts are secure before you start using the chainsaw. Taking these simple steps helps your chainsaw run smoothly. Plus, it lowers the chance of getting hurt while you’re on the job.