Can You Use Acrylic Paint On Wood: Easy Painting Guide
Yes, you can definitely use acrylic paint on wood! Start by sanding the surface smooth and cleaning off dust. Then, apply a primer or gesso to help the paint stick better and keep colors vibrant.
Acrylic paint dries quickly, so layering is easy. Once you’re done, seal your work with a compatible varnish to protect it from damage.
Follow these simple steps, and you’ll create beautiful, lasting results. Keep going to discover tips on woods, techniques, and sealing.
Why Use Acrylic Paint On Wood?
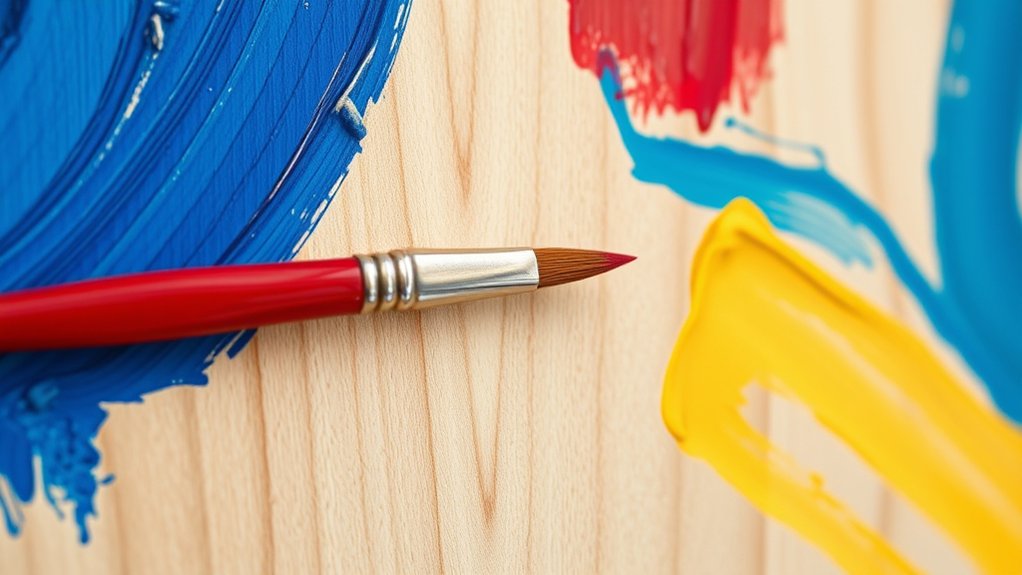
Although there are many types of paint you can use on wood, acrylic paint stands out because it’s versatile, durable, and quick-drying.
When you choose acrylic paint on wood, you tap into its versatility. It works for detailed designs and bold, textured finishes alike.
You’ll appreciate the quick drying time, which lets you layer colors or make adjustments without long waits. Plus, acrylic paint offers vibrant colors that stay bright over time. This really helps enhance your wood projects beautifully.
Its durability is impressive, too. Once sealed, it resists fading and peeling whether your piece is indoors or outdoors.
Sealed acrylic paint resists fading and peeling, ensuring lasting beauty indoors or outdoors.
This combination makes acrylic paint a smart, reliable choice for wood painting. It helps you create lasting, eye-catching results with ease.
Which Woods Are Best For Acrylic Paint?
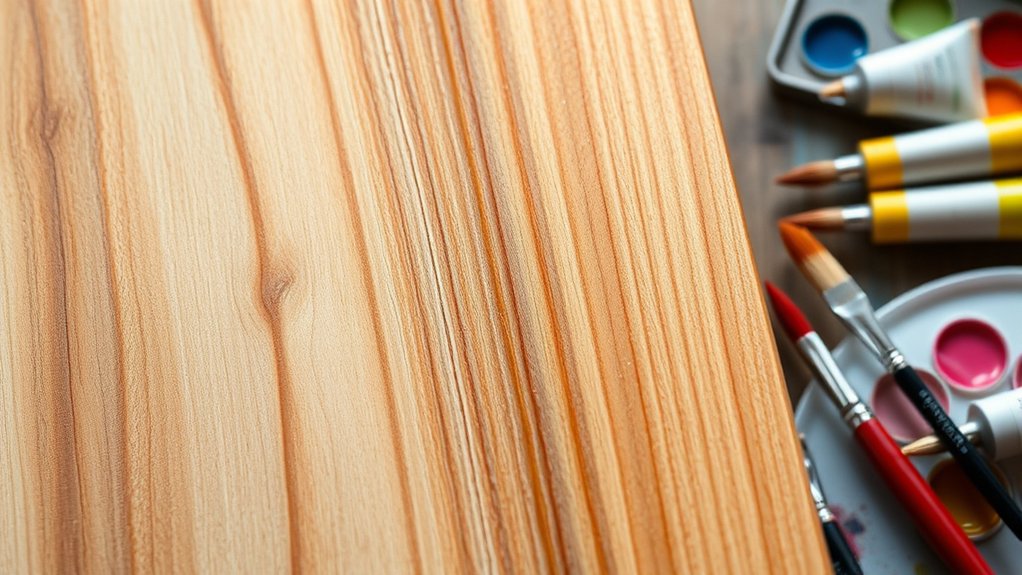
Choosing the right type of wood can make a big difference in how your acrylic paint project turns out. MDF is a top choice because its smooth surfaces allow even primer absorption, giving you a flawless finish. However, it’s heavier and sensitive to moisture, so handle it carefully.
Plywood offers sturdiness and is lightweight, perfect for larger pieces. Just watch for imperfections that might need extra prep before you start painting.
Basswood is soft and fine-grained, ideal for detailed artwork, though it tends to be pricier. Birchwood provides a strong, smooth surface suitable for bigger projects but requires thorough preparation to guarantee paint sticks well.
When selecting wood, prioritize smooth surfaces with minimal grain. This helps your acrylic paint adhere better and keeps your artwork looking sharp and vibrant.
Preparing Wood For Acrylic Paint
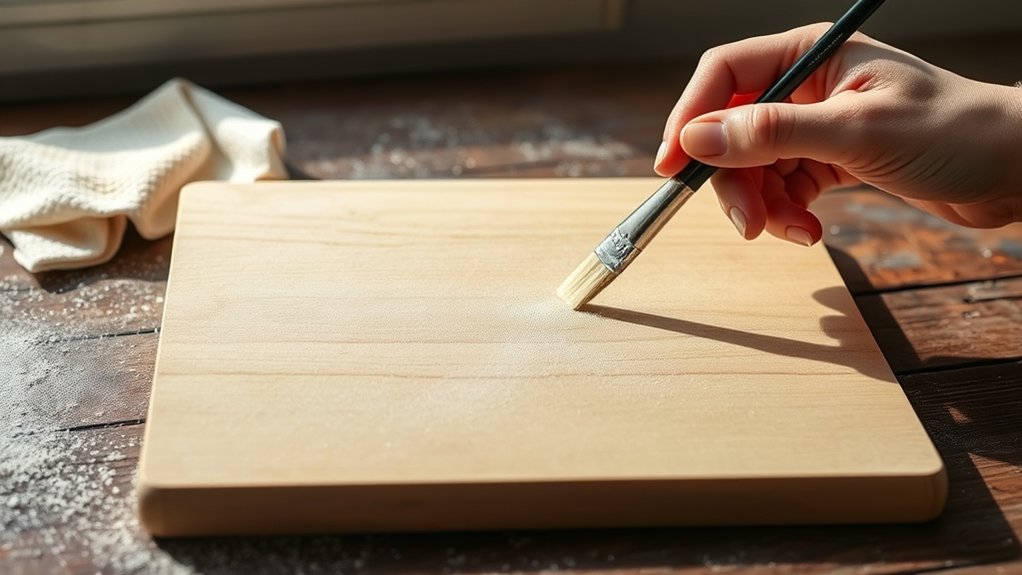
Before you start painting, follow five essential steps to prepare your wood surface properly.
Begin by sanding the wood with 140 to 180-grit sandpaper to create a smooth surface and remove imperfections. Next, clean off all dust and debris to guarantee good adhesion of your paint.
Check the wood’s moisture content to avoid warping or cracking later. Then, apply a primer or gesso, which seals the wood and promotes better paint adhesion by preventing uneven absorption.
Finally, consider sealing all sides of your wood panel to protect against discoloration and damage.
By carefully preparing your wood this way, you’ll create an ideal base for acrylic paint, ensuring a beautiful, durable finish every time.
It’s worth taking the time because a good foundation makes all the difference in how your paint looks and lasts.
Should You Prime Wood Before Painting?
You definitely want to prime your wood before painting to make sure your acrylics stick well and look vibrant.
Using a quality primer or gesso in thin, even layers helps seal the wood and keeps moisture damage at bay.
So, what’s the best type of primer to use?
And how do you apply it for a smooth, lasting finish?
Let’s dive into that next.
Benefits Of Priming
Although it might seem like an extra step, priming wood before painting makes a big difference in the durability and appearance of your finished piece.
Priming with acrylic gesso or a suitable primer helps seal the wood, creating a smoother surface that improves paint adhesion. This means your acrylic paint will stick better, preventing peeling and chipping over time.
Priming also reduces paint absorption, so colors stay vibrant and consistent. If you’re working with softer woods like pine, priming is essential to block natural oils from bleeding through and to protect against warping or cracking caused by moisture changes.
Applying multiple thin layers of primer builds a strong foundation, ensuring your artwork lasts longer and looks polished.
Don’t skip priming. It’s key to professional results.
Primer Types To Use
Since priming plays an essential role in preparing wood for acrylic paint, choosing the right type of primer can make all the difference in your project’s success.
For acrylics on wood, the most popular primer types to use are Gesso Primer and wood primer designed specifically for acrylic paints. Gesso provides a smooth, sealed surface that helps your paint adhere better and prevents it from soaking into the wood.
Applying multiple thin layers of gesso, at least three, creates a solid foundation and enhances color vibrancy.
Alternatively, a specialized wood primer seals the wood, reducing risks of warping or discoloration. Whichever you pick, make certain to let each layer of primer dry completely before adding the next.
This step guarantees your painting surface is perfectly prepped for vibrant, lasting results.
It might take a little extra time, but trust me, it’s worth it for the finish you’ll get.
Primer Application Tips
Three essential steps make priming wood before painting with acrylics a must for any project.
First, apply the primer in thin layers to avoid uneven surfaces and guarantee smooth coverage.
Next, let each layer dry completely before adding the next. This promotes better adhesion and prevents peeling.
Finally, use at least three layers of primer, especially on softer wood, to create a solid base that stops natural oils and resins from bleeding through your acrylic paint.
You can also choose a tinted primer to boost the vibrancy of lighter acrylic colors. This gives your artwork a more unified look.
Step-by-Step Acrylic Painting On Wood
Begin your acrylic painting on wood by selecting a smooth surface like MDF or plywood. Then sand it with fine-grit sandpaper to create an even texture.
Next, apply a primer in thin layers on the wooden surface to seal it. Make sure to let each coat dry completely. This step really helps boost paint adhesion and makes the colors pop.
Once primed, sketch your design lightly. You can do this directly on the wood or on paper first if you want to plan it out.
Use acrylic paint starting with lighter shades and gradually add darker tones. Choose brushes that suit your painting style and clean them promptly after use to keep them in good shape.
Finally, protect your artwork by applying a clear protective sealant like varnish. This helps prevent chipping and makes sure your painting lasts longer.
Creative Techniques For Acrylic Painting On Wood
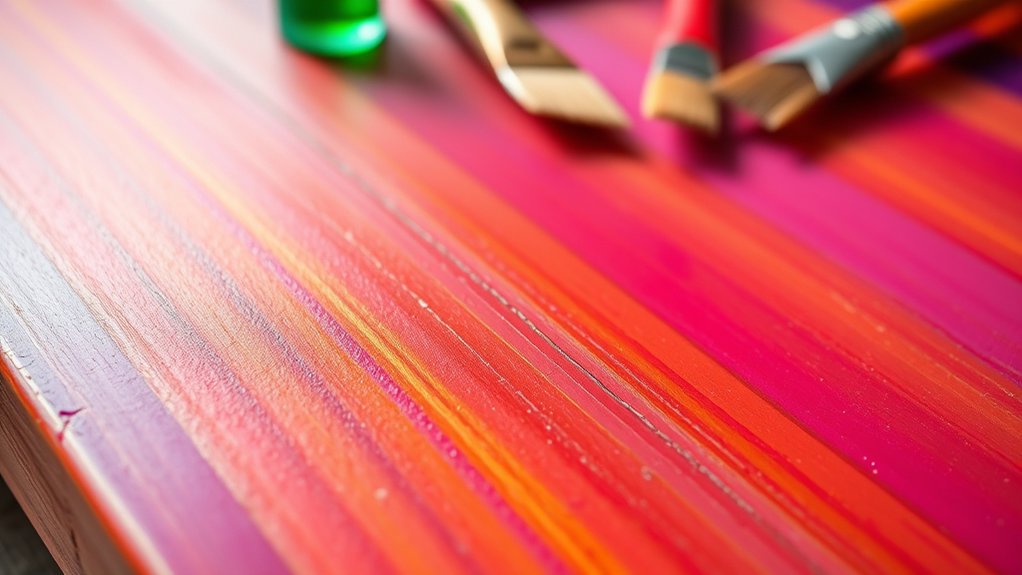
While exploring acrylic painting on wood, you’ll find that creative techniques can transform a simple piece into a stunning work of art. Start by using layering to build depth. Apply one layer of acrylic paint, let it dry, then add another for a richer finish.
To soften your design, try diluting the paint with water for a watercolor effect on wood. For added dimension, use the impasto technique by applying thick paint layers that create a textured effect with visible brushstrokes.
Stenciling helps you add precise shapes or patterns, which is perfect if freehand feels tricky.
Finally, dab paint with a sponge to produce unique textures and backgrounds. Experimenting with these methods will make your acrylic painting on wood truly stand out.
Sealing And Protecting Painted Wood
Because acrylic paint can chip or peel over time, sealing your painted wood is essential to protect your artwork and extend its life.
To guarantee effective sealing painted wood, follow these steps:
Ensure durable protection for painted wood by following these essential sealing steps carefully.
- Apply an isolation coat first. This layer shields the acrylic paint and improves sealant adhesion.
- Choose a varnish compatible with acrylic paint. Pick from matte, satin, or glossy finishes to match your style.
- Allow each sealant layer to dry thoroughly, following the product instructions for best results.
Using the right sealant protects your piece from damage and keeps colors vibrant longer.
Cleaning Up And Safety Tips For Painting Wood
Two essential habits will improve your painting experience and results: cleaning up promptly and following safety precautions.
After finishing your project, clean up brushes immediately with soap and water to prevent acrylic paint residue and keep them in good condition. Dispose of leftover paint responsibly, adhering to local guidelines to protect the environment.
For safety tips, always wear gloves to shield your skin from paint and varnish. Keep your workspace well-ventilated to avoid inhaling fumes, and maintain an organized, clutter-free area to reduce spills and accidents.
Store any leftover acrylic paint in a cool, dry place with the lid tightly sealed to preserve its quality.
By adopting these habits, you’ll enjoy a safer, more efficient painting process and better results every time. It really makes a difference when you take these simple steps.
Frequently Asked Questions
How Long Does Acrylic Paint Take to Fully Cure on Wood?
The cure time for acrylic paint on wood usually takes 1 to 2 weeks, depending on drying conditions like humidity and temperature.
Applying thin paint layers and proper surface preparation helps the paint adhere better and cure evenly.
Remember, while the paint may feel dry in 20-30 minutes, it’s not fully cured yet.
Once cured, you can apply finish options like sealers to protect your work and get a smooth, durable result.
Can Acrylic Paint Be Used on Outdoor Wooden Furniture?
You can absolutely use acrylic paint on outdoor wooden furniture. Think of it like dressing your wood for battle against the elements.
To boost outdoor durability and weather resistance, start with thorough surface preparation. Sand and prime well. This step guarantees strong paint adhesion.
After painting, seal your work with a quality finish to guard against fading and peeling. With the right finish options and care, your furniture will stand tall and colorful through every season.
What Brushes Work Best for Acrylic Painting on Wood?
For acrylic painting on wood, choose brush types with synthetic bristles because they handle paint thickness and wear really well.
Use stiffer brushes when you want textured stroke techniques like dry brushing, and softer ones for smooth blends. Mixing flat and round brushes is a smart way to cover broad areas and add details.
Also, pay attention to the bristle quality so you don’t end up with shedding while you paint.
Always clean your brushes right after use with soap and water. This helps keep their shape and performance ready for your next project.
How Do You Fix Mistakes When Acrylic Paint Dries on Wood?
When mistakes dry on wood, don’t panic. Think of it as a second chance to shine.
Start with acrylic paint removal by gently scraping or using rubbing alcohol, but make sure to test first to avoid damage.
Use fine-grit sandpaper for smoothing and blending colors effectively.
For touch-up methods, mist water to reactivate the paint or apply primer before repainting.
Is It Possible to Mix Acrylic Paint With Wood Stain?
Yes, you can mix acrylic paint with wood stain to create custom colors. When you combine them, consider stain absorption by testing on scrap wood to see how well the mixture penetrates.
Use careful application techniques for even coverage. Pay attention to finish compatibility to guarantee the paint and stain bond well.
Also, expect varied drying times, so allow extra time before sealing your project for durability and a vibrant, unique look.
Conclusion
Now that you know how to use acrylic paint on wood, you’re ready to transform any wooden surface into a masterpiece! With just a little prep, the right techniques, and sealing, your painted wood will last longer than a thousand years.
Don’t hesitate. Grab your brushes, get creative, and enjoy the process. Remember, every stroke brings your vision to life. So keep going and have fun turning wood into art!