Can You Sublimate On Wood: Process Explained
You can sublimate on wood by selecting coated or painted surfaces, as raw wood produces dull colors. Start by cleaning and lightly sanding the wood, then apply a white latex base coat for color vibrancy. Use a sublimation printer with dye sublimation ink, secure your design with heat-resistant tape, and press at 375°F to 400°F for about 60 seconds.
Seal the transferred image with a matte spray to prevent fading. Understanding each step guarantees ideal, durable results. So, take your time and explore the full process for detailed guidance.
Best Wood Types for Sublimation
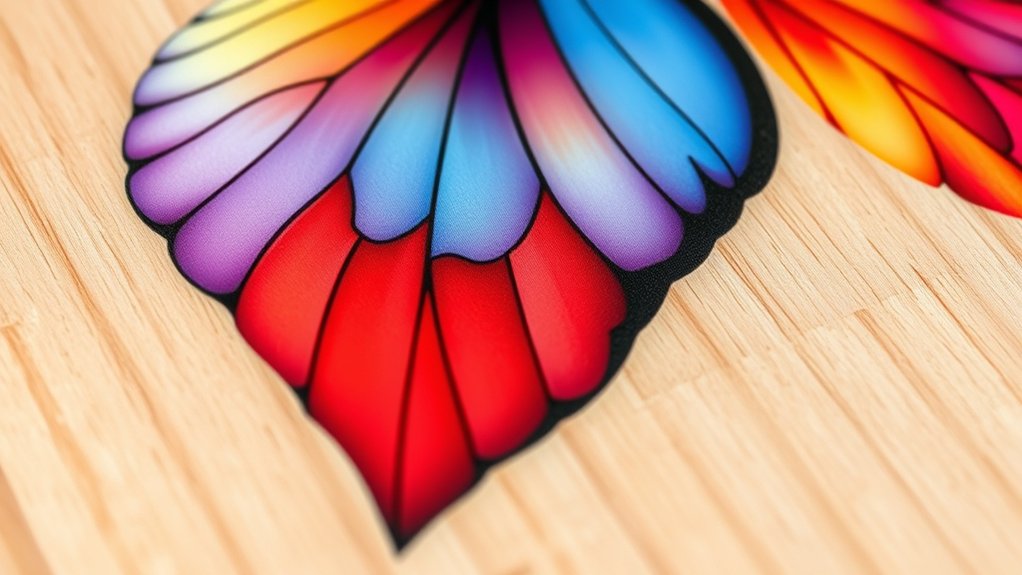
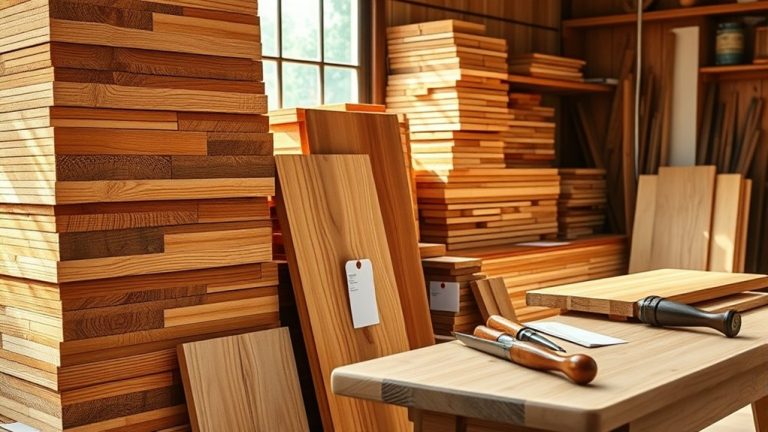
Choosing the right wood type is essential for successful sublimation because it directly impacts ink adhesion and color vibrancy.
For sublimation on wood, coated wood like MDF or laminated surfaces offers the best results. This is due to their smooth texture and light color, which enhance ink transfer from your sublimation printer.
Natural wood, such as bamboo, can be used without coatings, but results vary depending on the wood’s grain and porosity. Raw, uncoated wood generally produces duller colors and often requires additional preparation.
Applying a polycrylic coating markedly improves sublimation by creating a uniform, receptive surface for the ink.
To get the best results, test different wood types and coatings systematically. Make sure your sublimation printer works efficiently with your chosen substrate. That way, you can achieve sharp, vibrant prints every time.
Preparing Wood for Sublimation Transfers
Before you start sublimation, it’s important to give the wood surface a good clean. You want to get rid of any dust or oils that might mess with how the ink sticks.
Then, lightly sanding the wood is a great next step because it creates a bit of texture, which helps the ink bond better.
Now, if your wood isn’t already coated, you might want to apply a layer of white latex paint. This really makes a difference, especially when it comes to making the colors pop and capturing all the fine details during the transfer.
Surface Cleaning Techniques
Although sublimation ink can bond directly to some wood surfaces, making sure the wood is thoroughly cleaned and prepped really helps the ink stick better and prevents any defects in your final design. Effective surface cleaning techniques are super important when you’re getting the wood ready, especially if it’s uncoated.
Start by lightly sanding the surface to smooth out any imperfections and help the ink absorb better. After sanding, grab a lint roller to carefully remove dust and debris. This step stops anything from messing with the sublimation process.
If you’re working with uncoated wood, try applying a thin layer of polycrylic or clear matte spray. This seals the surface and makes the ink bond even better.
It’s always a good idea to test on small wood samples first to fine-tune your cleaning and prep methods before jumping into bigger projects.
Taking this approach helps make sure your sublimation results come out consistent and high-quality every time.
Sanding For Better Adhesion
To improve ink adherence on wood for sublimation transfers, sanding the surface lightly is a key step. Sanding refines the wood’s texture, creating a clear winner for adhesion in sublimation printing.
Use fine-grit sandpaper (around 220 grit) to avoid deep scratches that could distort the final design. Proper preparation here guarantees the sublimated image is vivid and long-lasting.
Sanding smooths the wood surface, enhancing ink bonding. Fine-grit sandpaper prevents damage that hinders adhesion.
Make sure to thoroughly clean the wood after sanding to eliminate any dust. It’s also a good idea to test small samples first to verify adhesion and color vibrancy.
This way, you’ll get the best results every time.
Applying White Paint
When you apply a layer of flat white latex paint to wood, you create an optimized surface that greatly enhances ink adhesion during sublimation. This step is essential for wood sublimation, especially on darker wood types.
Painted wood allows sublimation ink to display true color vibrancy and fine detail.
After applying white paint, let it fully dry, which usually takes about one hour. This helps avoid smudging during the heat press process.
Before sublimation, use a lint roller to remove any dust or debris from the painted wood surface. This ensures a clean transfer.
Applying white paint standardizes the substrate’s color and texture, promoting consistent sublimation ink penetration.
As a result, you get sharper, more vivid designs. This preparation considerably improves the overall quality and durability of your sublimated wood projects.
Choosing Sublimation Equipment for Wood
Selecting the right sublimation equipment is essential for achieving high-quality transfers on wood. You need a sublimation printer, such as Epson EcoTank or Sawgrass, compatible with sublimation ink that vaporizes under heat to bond with the wood’s coated surface.
A reliable heat press capable of maintaining 375°F to 400°F guarantees proper ink transfer. Protect your project with heat-resistant tape to secure the sublimation paper and use laminating sheets to enhance color vibrancy and adhesion.
- Use a sublimation printer designed for dye sublimation ink
- Apply sublimation ink that converts to gas under heat
- Employ a heat press with precise temperature control
- Utilize heat-resistant tape and laminating sheets to transfer the design securely
This equipment combination assures precise, durable sublimation results on wood. It’s all about having the right tools and a little bit of care to get great results every time.
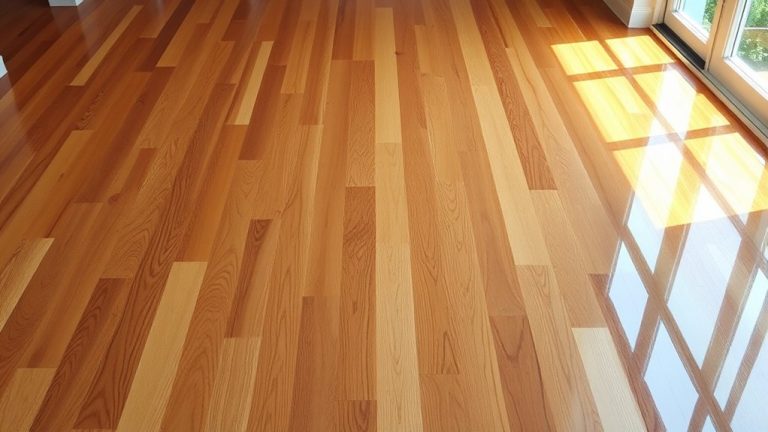
Comparing Sublimation Methods: Painted vs. Unpainted Wood
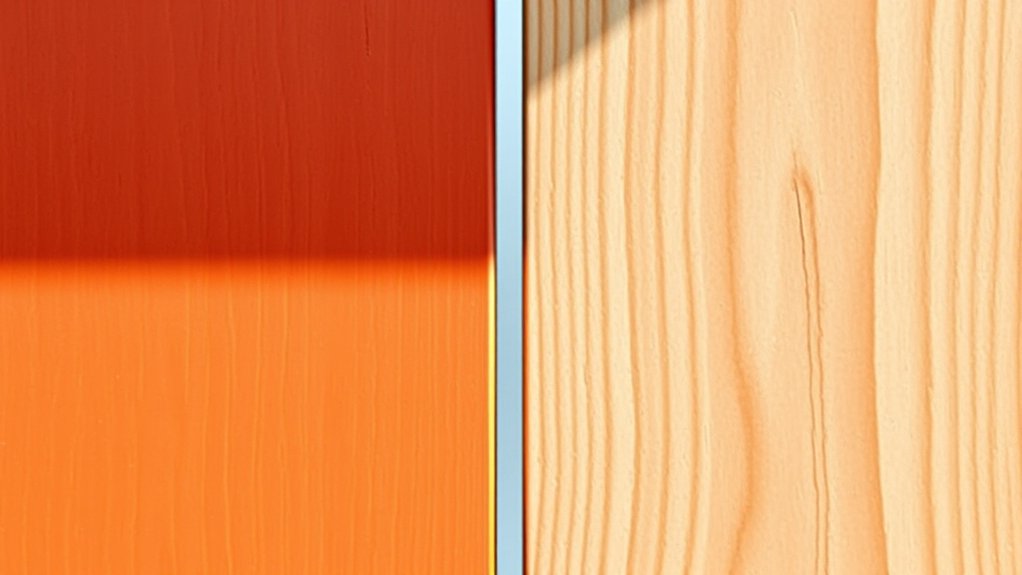
Although both painted and unpainted wood can serve as substrates for sublimation, painted wood generally produces more vibrant colors and finer detail. This is because its smooth, non-porous surface helps the ink stick consistently.
On the other hand, unpainted wood often soaks up sublimation ink unevenly. This can make the colors less bright and the details less sharp.
Unpainted wood absorbs sublimation ink unevenly, resulting in duller colors and less defined details.
If you want better results on unpainted wood, you’ll need to do some extra prep work. Sanding or applying a protective coating can help, and white latex paint is a popular choice to boost vibrancy and stop the wood from warping.
Since wood types and finishes can vary a lot, it’s a good idea to test samples of both painted and unpainted wood. That way, you’ll figure out the best sublimation method for your project.
This approach helps you find the right balance between how it looks and how long it lasts.
Step-by-Step Guide to Sublimate on Wood
Achieving vibrant and detailed sublimation on wood depends heavily on how you prepare the surface and manage the heat transfer process.
Start by selecting a raw piece of wood or apply white latex paint to enhance color vibrancy. Use a sublimation printer to print your mirrored design on sublimation paper.
Position the printed side carefully on the wood and secure it firmly with heat-resistant tape to prevent movement. Set your heat press to 400°F for 60-70 seconds with consistent pressure.
Make sure the heat is distributed evenly for the best ink transfer. After pressing, remove the paper cautiously and let the wood cool completely.
Try not to handle it right away to avoid smudging. Once cooled, apply a clear matte spray sealant to protect your design.
This method guarantees precise, durable sublimation results on wood. It’s a great way to get professional-looking results with a bit of care and patience.
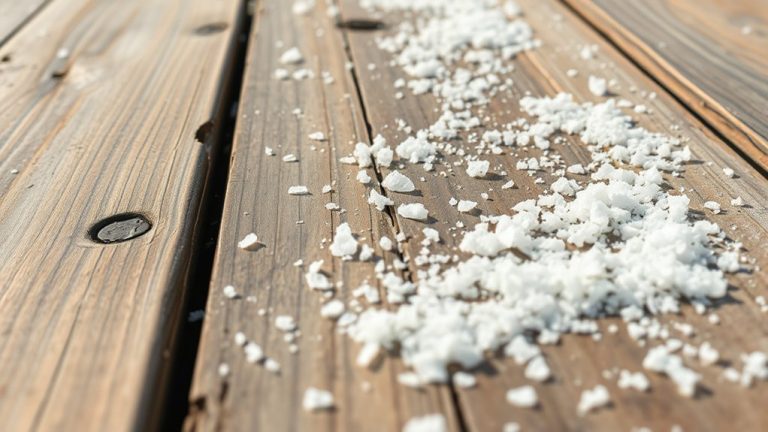
Sealing and Protecting Sublimated Wood
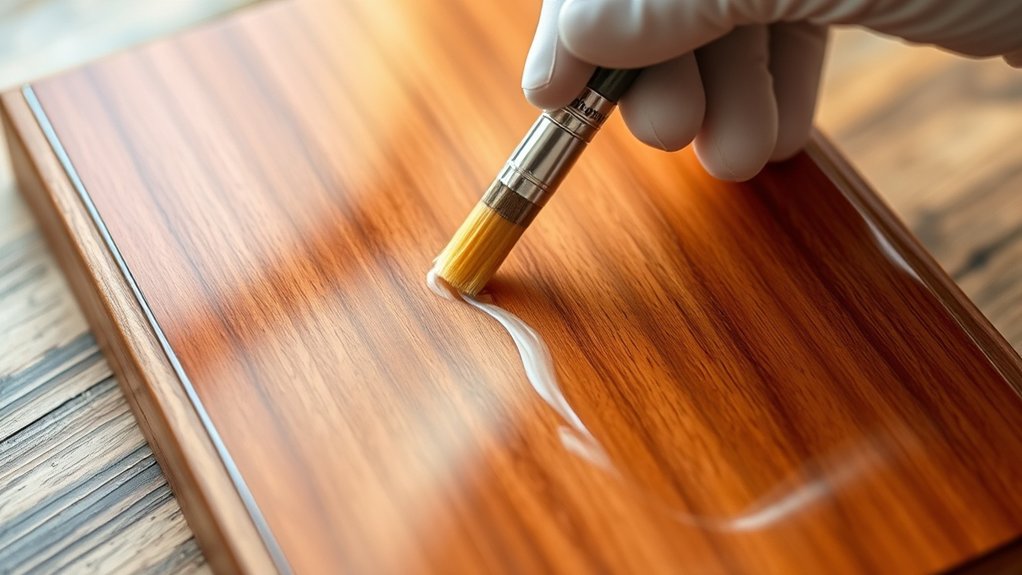
You’ll want to use a clear matte spray to seal sublimated wood because it helps preserve the color vibrancy without changing how the design looks.
It’s a great way to keep your image looking just like you intended.
Make sure to apply multiple coats, allowing enough drying time between each one.
Doing this really boosts the durability and helps the ink stay put for longer.
Matte Spray Benefits
When you seal sublimated wood with a clear matte spray, you enhance the design’s longevity and vibrancy by creating a durable protective layer. This matte spray safeguards the sublimated image against environmental wear without compromising the original texture of the wood.
Unlike glossy finishes, the matte spray minimizes glare, preserving visual clarity and true color vibrancy. It also guarantees consistent durability by resisting scratches and fading over time. So, you get a protective finish that really holds up.
Plus, it keeps the look natural and subtle instead of shiny or reflective.
Key benefits of using matte spray include:
- Prolonged longevity through effective sealing
- Preservation of the wood’s natural grain and texture
- Enhanced vibrancy by reducing light distortion
- Creation of a non-reflective, durable protective layer
Using matte spray optimizes both aesthetic quality and functional protection for sublimated wood projects. It’s a simple step that makes a big difference in how your work looks and lasts.
Multiple Coats Importance
Building on the benefits of a clear matte spray, applying multiple coats is key to maximizing protection and durability for sublimated wood. You should apply at least two to three coats, especially in high-traffic areas where sublimated designs face more wear.
Each layer requires proper sealing, which means allowing sufficient drying time to guarantee adhesion. Between coats, use light sanding to enhance the bond and achieve a smooth finish.
This process considerably prevents ink fading and maintains the design’s clarity over time. Avoid glossy finishes, as they can distort the sublimated designs and offer less protection than matte sprays.
By following these steps, you guarantee your sublimated wood not only looks great but also withstands environmental stressors effectively.
It’s really about taking that extra time to protect your work so it lasts longer and stays looking fresh.
Common Wood Sublimation Issues and Fixes
Although sublimation on wood offers unique creative possibilities, it comes with some technical challenges that can affect the quality of your final product. You might experience poor ink transfer if you use uncoated or bare wood surfaces because sublimation ink doesn’t bond well.
Warping of wood often happens during heating. Using thicker blanks and pre-dampening the wood can help reduce this problem. Fading of colors is another issue, especially if you don’t seal the wood properly. Applying multiple clear matte coats really helps enhance durability.
Adhesion problems like peeling or bubbling can occur if the laminate isn’t applied correctly. So, it’s super important to keep your surface clean and dust-free before starting.
Also, inconsistent temperature settings can mess with sublimation quality. Keeping the temperature steady around 375°F is key.
- Guarantee a clean and dust-free surface before sublimation
- Use coated wood surfaces to improve ink transfer
- Apply multiple clear matte coats to prevent fading
- Control temperature settings precisely to avoid warping and adhesion issues
Creative Project Ideas for Sublimated Wood
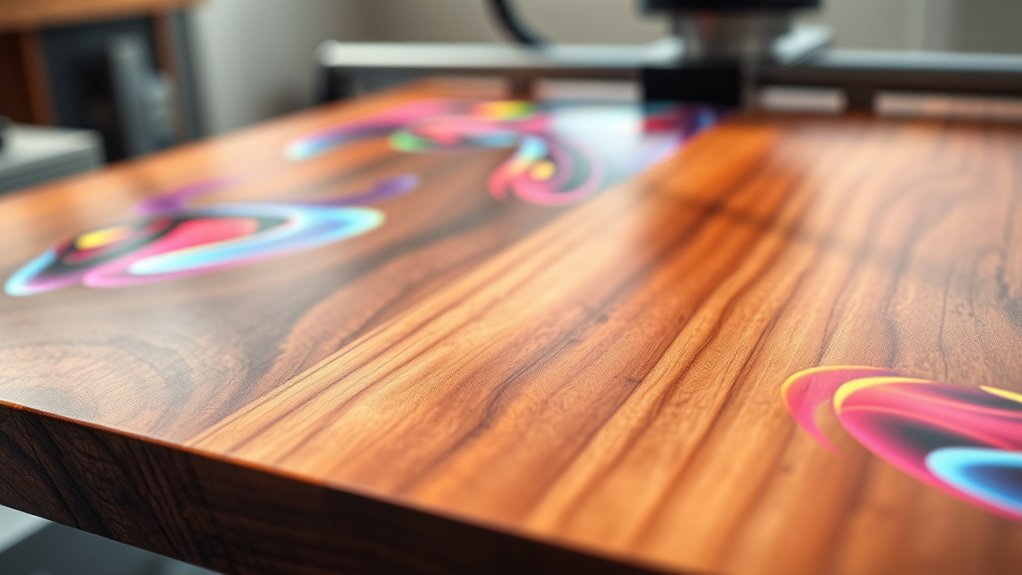
Since sublimation on wood allows for high-resolution, durable transfers, you can create a variety of personalized and functional items that blend aesthetics with practicality.
You can sublimate directly onto wood rounds to produce custom coasters featuring family photos or unique designs. Using design software, craft intricate images for wood wall art panels that enhance interior decor with modern precision.
Create personalized wood coasters and detailed wall art panels with high-precision sublimation for lasting beauty.
Employ thin wood slices and a laminate pouch to sublimate detailed graphics onto custom keychains or tags, ideal for personal gifts or branding.
Furthermore, you can create vibrant puzzle pieces or festive ornaments by sublimating precise images or messages. Each project leverages sublimation’s capacity for color fidelity and durability, ensuring your wood products maintain visual integrity over time.
Frequently Asked Questions
Can Sublimation Ink Be Used on All Types of Wood Finishes?
You can’t use all sublimation ink types on every wood finish because wood finish compatibility varies greatly.
Coated or laminated surfaces work best, as they guarantee effective color transfer techniques during sublimation. To optimize results, focus on surface preparation tips like cleaning and sealing.
Also, make sure to adjust your heat press settings precisely to accommodate the wood’s texture and coating.
Understanding the nuances of the sublimation process really helps you achieve vibrant, durable designs on suitable wood finishes. It’s all about matching the right ink and finish for the best outcome.
How Long Does a Sublimated Wood Project Typically Last?
Think of your sublimated wood project as a well-tuned clock. Its sublimation durability depends on precise wood preparation and ideal heat settings.
When you use the right finish types, like coated wood, and guarantee careful design transfer, you’ll maximize color retention.
Proper sealing and avoiding sunlight exposure extend the life of your project. With these controlled variables, your project typically lasts 5-10 years.
During this time, it maintains vibrant colors and sharp detail through consistent performance.
Is It Safe to Use a Regular Household Iron for Sublimation on Wood?
You shouldn’t use a regular household iron for sublimation on wood because iron temperature settings rarely reach the consistent 350°F needed.
Without precise heat and pressure application methods, you risk uneven transfers. Proper wood preparation techniques and sublimation coating options require stable conditions for transfer paper types to work effectively.
Using a heat press enhances project durability factors, ensuring vibrant, long-lasting designs, which irons can’t reliably provide.
Can Sublimated Wood Items Be Washed or Cleaned With Water?
You shouldn’t wash sublimated wood items directly with water. Sublimation techniques rely on proper wood preparation and ink adhesion that aren’t fully waterproof. So, washing with water can cause problems.
To keep the colors bright and the sublimation strong, just clean them gently with a damp cloth. It’s a simple way to avoid damage without much hassle.
Applying protective coatings like clear matte sprays can help a lot. These sprays boost moisture resistance and make your design last longer.
Just remember to avoid soaking or using water-based cleaners since they can weaken the ink and reduce the quality over time.
What Are the Best Design Software Options for Sublimation Printing?
Design software acts as the palette where your sublimation masterpiece begins. You’ll want tools like Adobe Illustrator or CorelDRAW for precise vector graphics and control over image resolution.
Canva offers user-friendly templates, while Silhouette Studio integrates seamlessly with cutting files.
Prioritize software with robust color management and adaptable print settings to guarantee vibrant hues.
Also, confirm the program supports various file formats for smooth workflow and ideal sublimation results. This way, you’ll avoid any last-minute hiccups and keep your creative process flowing.
Conclusion
Sublimating on wood transforms your projects into vibrant tapestries of color and texture, marrying science with artistry. By selecting the right wood and mastering preparation, you’ll reveal a seamless transfer process that resists fading and wear. Think of each piece as a canvas where heat and ink dance in perfect harmony.
With precision and care, your sublimated wood creations will stand as enduring symbols of both technique and creativity. It’s all about getting the details right and watching your work come to life. Once you get the hang of it, the results are truly stunning.