When Can You Stain Treated Wood: Timing And Tips
You can stain treated wood once its moisture content drops to 12-17%. You can test this by sprinkling water or using a moisture meter. Make sure the wood is dry to guarantee proper stain adhesion and prevent peeling.
Choose a mild day between 50°F and 90°F, and avoid direct sun, rain, and high humidity. Clean the wood well and protect nearby surfaces before you start. Follow these basics to get a durable finish.
And don’t be afraid to explore further tips to perfect your staining process. It’ll help you get the best results and make your wood look great for years to come.
How to Test If Pressure Treated Wood Is Ready for Staining
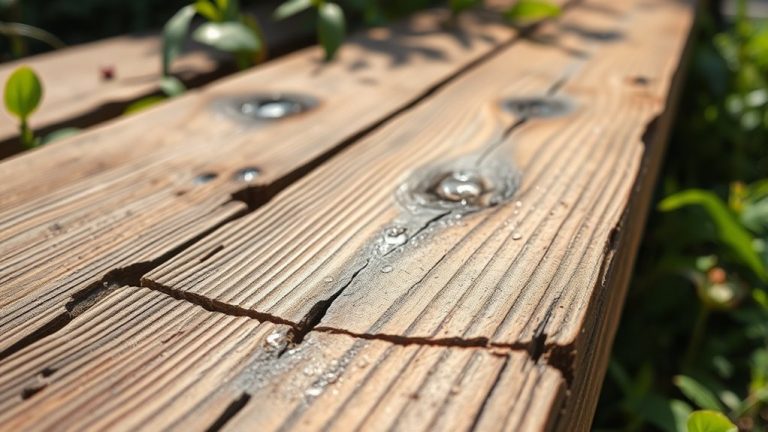
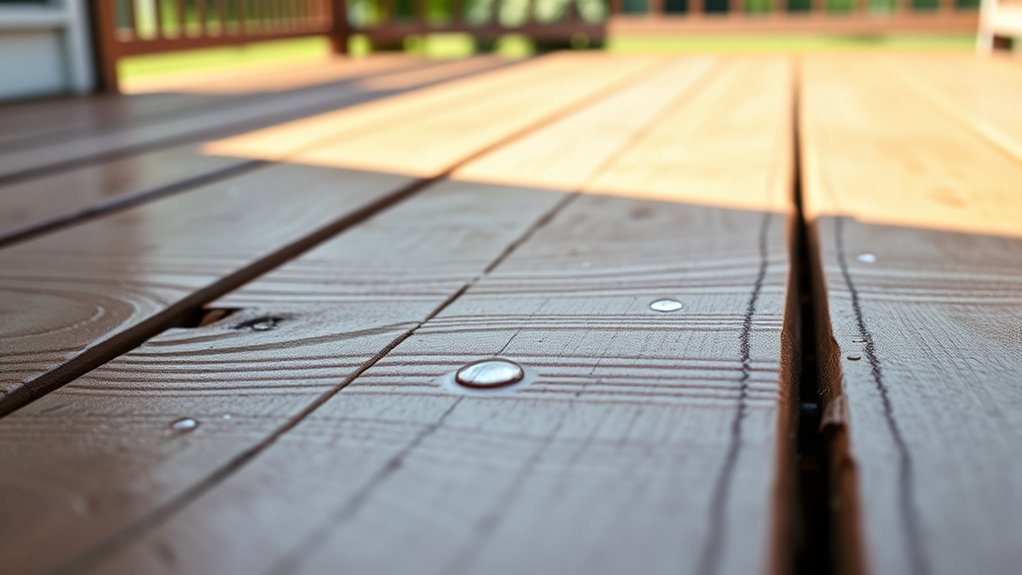
How do you know when pressure-treated wood is ready for staining? Start with a simple water test by sprinkling water on the wood’s surface.
If the water absorbs quickly, the wood needs staining. If it beads up, wait several days before testing again.
This means the moisture content is still too high. Ideally, the wood’s moisture content should be between 12-17% for stain to dry properly and stick well. You can use a moisture meter for precise readings.
Begin testing about 90 days after installation, but keep in mind drying times vary with weather and humidity.
Regularly checking makes sure you don’t stain too soon, which can cause peeling or flaking later. Waiting for the wood to reach the right dryness will give you a durable, even finish.
Why You Must Wait for Wood to Dry Before Staining
Because newly pressure-treated wood retains high moisture levels, you must wait until it dries adequately before applying stain. Staining pressure-treated wood too soon causes poor adhesion, leading to peeling and flaking that damage the wood’s appearance and durability.
To guarantee proper timing, you should wait to stain until the wood’s moisture content reaches 12-17%. Use a moisture meter for accurate readings rather than guessing.
Wait to stain pressure-treated wood until moisture content is between 12-17% for best results.
A simple water test also helps: if water absorbs into the wood, it’s ready. If it beads up, you need to let the wood dry longer.
Allowing the wood to dry thoroughly guarantees the stain penetrates correctly, protecting and enhancing your woodwork effectively. Always prioritize drying time for ideal staining results.
How Weather Conditions Influence Staining Timing
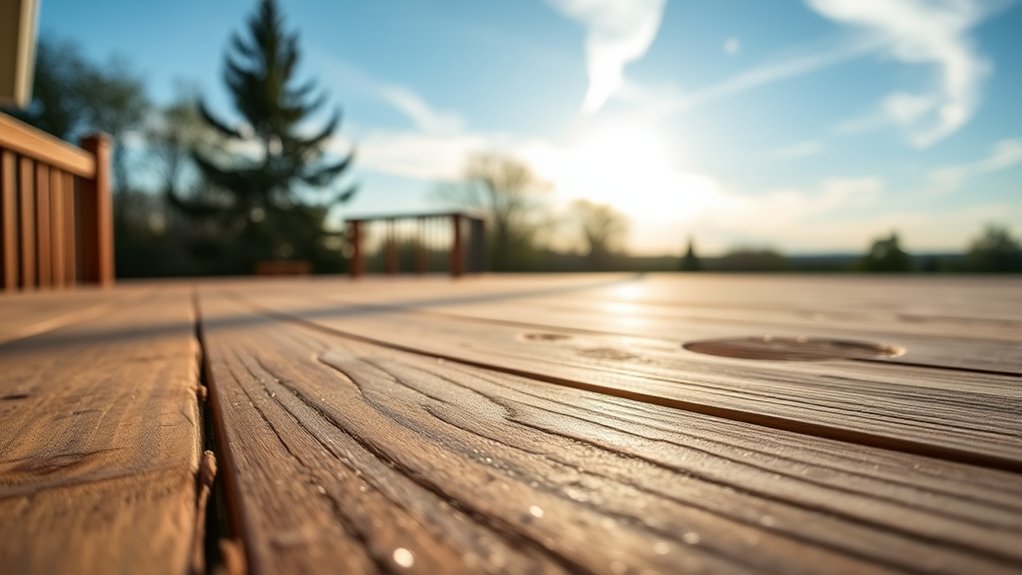
When you plan to stain treated wood, paying close attention to weather conditions can make or break your project’s success. Aim for mild temperatures between 50°F and 90°F, as extreme heat or cold hinders stain adhesion.
Avoid staining in direct sunlight since it causes the stain to dry too quickly, resulting in uneven coverage.
Also, don’t stain if rain is expected within 24 hours because moisture will prevent the stain from drying properly. Windy conditions are problematic too; dust and debris can settle on the wet stain, ruining the finish.
High humidity slows drying and may cause bubbling or peeling, so check humidity levels before you start.
Choosing a dry, calm day with moderate humidity guarantees your stain cures evenly and lasts longer. It’s really all about picking the right conditions to get the best results.
How to Clean and Prepare Wood for Staining
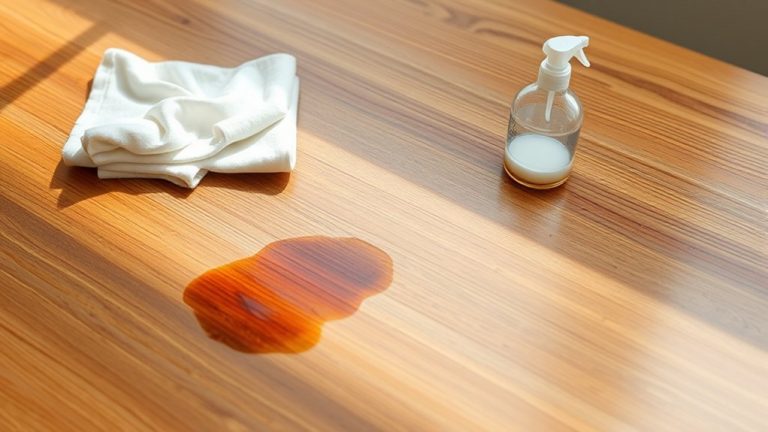
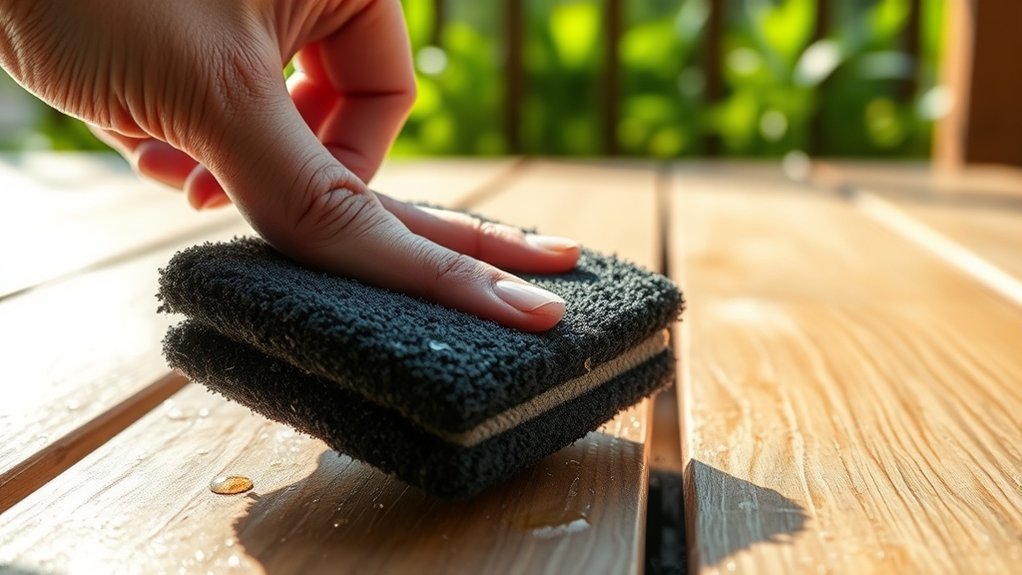
Choosing the right weather sets the stage, but proper cleaning and preparation of treated wood guarantee your stain adheres correctly and lasts. To clean pressure-treated wood, use a deck cleaner or a soap-water mixture. Scrub gently with a brush or a pressure washer, avoiding excessive force that can damage wood fibers.
After cleaning, allow the wood to dry for about 24 hours. While prepping, inspect the wood for mildew or stains that need special treatment. Protect surrounding areas with tarps or painter’s tape.
For applying stain, a staining pad helps assure even coverage.
| Step | Tip |
|---|---|
| Clean | Use deck cleaner or mild soap |
| Inspect | Check for mildew and stubborn stains |
| Dry & Prepare | Allow the wood to dry 24 hours |
How to Choose the Right Stain for Pressure Treated Wood
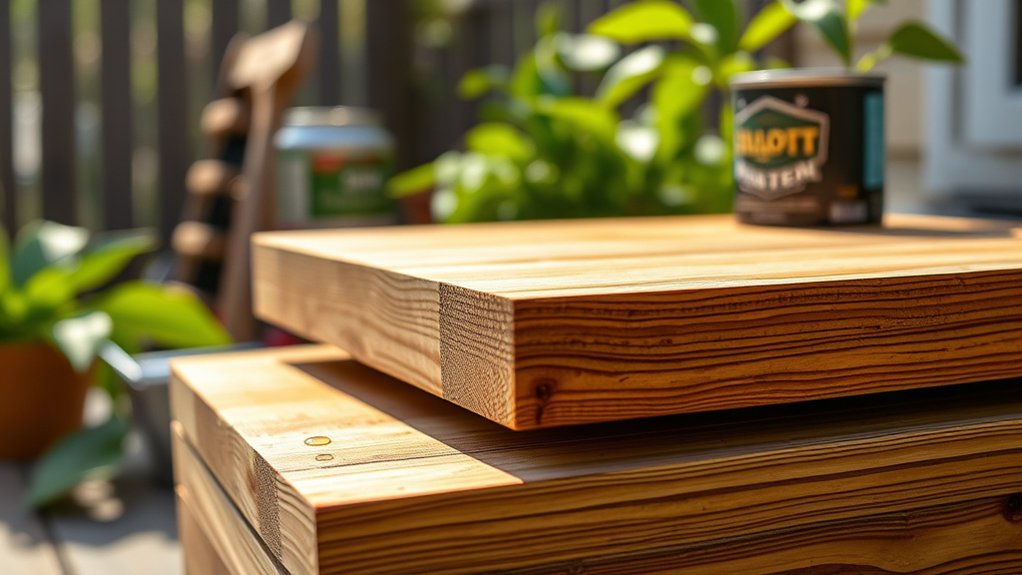
When you’re picking out a stain for pressure-treated wood, it’s important to think about the opacity. Clear stains really show off the natural grain, which is great if you want that woodsy look.
On the other hand, solid stains give you better coverage, especially if the wood is older or has some wear.
You’ll also want to find a stain that has UV protection. This helps keep the wood safe from sun damage and stops it from fading too quickly.
Stain Opacity Options
Three main stain opacity options, clear, translucent, and solid, offer different levels of coverage and protection for pressure treated wood. When choosing, think about the look you want and how durable the finish needs to be.
Translucent and semi-transparent stains let the wood grain show through. They balance beauty and protection nicely. Solid stains, on the other hand, provide thick coverage. They’re great for aging or less expensive wood that needs maximum defense.
| Stain Type | Key Features |
|---|---|
| Clear | Highlights natural wood, minimal coverage |
| Translucent | Shows wood grain, moderate protection |
| Semi-Transparent | Similar to translucent, slightly more color |
| Solid | Thick coverage, high durability |
| Durability | Solid stains best for harsh weather |
Pick a stain opacity option that suits your wood’s condition and how you want it to look outdoors. It’s all about finding the right balance for your project.
UV Protection Benefits
Although pressure-treated wood is durable, it still needs protection from UV rays to prevent fading and deterioration over time. To stain pressure-treated wood effectively, choose a stain with UV protection additives designed to block harmful sun exposure.
Semi-transparent stains offer a good balance. They enhance the wood’s natural grain while providing moderate UV protection.
If you want a long-lasting finish with maximum defense, solid stains are your best bet. They offer full coverage, hide imperfections, and extend wood life.
Keep in mind that clearer stains may require more frequent reapplication to maintain UV protection.
How to Apply Stain to Pressure Treated Wood
Start by performing a water test on your pressure-treated wood to verify it’s ready for staining. If water soaks in quickly, you can go ahead and proceed. But if it beads up, give it more drying time.
Proper timing is key because it makes sure the wood is dry enough to absorb the stain well.
When you’re ready to apply the stain, use a synthetic bristle brush, staining pad, or roller. Work from top to bottom and follow the ‘end-to-end’ rule to avoid lap marks.
Make sure to mix the stain thoroughly so you don’t get bubbles. Apply thin, even coats for the best results.
For ideal protection and appearance, apply two coats, allowing 24 to 48 hours of drying time between them, depending on the temperature and humidity.
This approach helps your pressure-treated wood absorb the stain evenly and last longer. You’ll be happy with how it looks and holds up over time.
How to Protect Surroundings During Staining Projects
Before you start staining, make sure to protect nearby plants and grass. It’s a good idea to either remove them temporarily or cover them up so they don’t get damaged.
You’ll also want to use tarps or drop cloths to shield the ground from any drips or spills.
For a neat finish and extra protection, apply painter’s tape around windows, siding, and walkways.
And don’t forget about any fixtures like grills or air conditioners—either cover them up or move them out of the way to keep stains and chemicals off.
Taking these steps will help keep everything safe and clean while you work.
Protect Plants And Grass
When you stain treated wood, protecting the surrounding plants and grass is essential to prevent damage from stains and chemicals.
Start by covering nearby vegetation with drop cloths or plastic sheeting to shield them from drips and overspray. Remove any decorative items, like bird feeders or planters, to avoid accidental spills.
Use painter’s tape to mask off adjacent surfaces such as siding, windows, and walkways. This helps reduce the risk of unwanted stains.
Keep a water source close by so you can quickly rinse off any stains and chemicals that accidentally touch plants or grass. This will minimize harm.
After staining, carefully remove all protective coverings.
Give your plants and grass some time to recover from any exposure during the project.
Taking these steps will help keep your greenery safe and healthy throughout the staining process.
Use Tarps And Tape
Although staining treated wood enhances its appearance, you’ll need to protect the surrounding areas carefully to avoid unwanted messes. To do this effectively, use tarps to cover nearby plants, grass, and furniture, shielding them from drips and overspray. Secure the tarps firmly so they don’t shift in the wind or during work.
Apply painter’s tape along edges, such as siding or walkways, to create clean lines and prevent stain from bleeding onto unwanted surfaces. Before you begin, remove any accessories like bird feeders or planters to protect them and keep your workspace tidy.
After staining and drying, carefully remove tarps and tape, then clean the protected areas to restore them. This approach guarantees a professional finish while keeping your surroundings safe and spotless.
It’s a simple step that really pays off!
Cover Nearby Fixtures
Taking care to cover nearby fixtures plays an essential role in keeping your staining project tidy and damage-free. To protect against spills and prevent damage, you must shield surrounding areas effectively.
Here’s how to cover nearby fixtures properly:
- Remove or cover plants, furniture, and equipment near your work zone to avoid contamination.
- Lay down drop cloths or tarps to shield surrounding areas from any stray stain drips or overspray.
- Apply painter’s tape along edges and corners to create clean lines and protect adjacent surfaces.
Keep checking and adjusting your protective coverings throughout the staining process to maintain cleanliness. It might seem like a small detail, but it really helps keep everything looking great!
Tips for Cleaning Up and Maintaining Your Stained Wood
Be certain to let your stained wood dry for at least 24 to 48 hours before uncovering nearby plants or items to prevent any residue transfer.
After staining, clean your tools properly. Use soap and water for water-based stains or mineral spirits for oil-based stains, and dispose of cleaning solutions safely.
Store leftover stain according to the manufacturer’s guidelines to maintain its quality.
To maintain your stained wood, regularly inspect it for wear or damage. Reapply stain or sealant as necessary.
Use a moisture meter to confirm the wood’s moisture content stays between 12-17% before resealing. This helps the stain adhere properly and extends the finish’s life.
Proper cleaning and maintenance keep your wood looking its best and protected over time.
Frequently Asked Questions
Can I Stain Treated Wood in Winter or Only Warm Seasons?
You can stain treated wood in winter, but it’s tricky. Winter conditions often raise moisture content and lower temperatures, which affect drying time and stain adhesion.
To succeed, make certain the wood is completely dry and the temperature stays between 50°F and 90°F.
Follow proper staining techniques, avoiding days with rain or snow. Otherwise, wait for warmer seasons to avoid temperature effects that cause bubbling or uneven finishes.
It’s all about timing and being mindful of the weather when you decide to stain.
How Often Should Treated Wood Be Restained for Maintenance?
You should plan your stain application frequency around every 2 to 3 years.
But keep in mind, environmental factors like intense sunlight or moisture might require restaining every 1 to 2 years. Watch for signs like color fading as indicators.
To get the most out of your wood treatment, clean the surface thoroughly before applying stain.
Use the best staining techniques. Check moisture levels and follow manufacturer guidelines to guarantee proper adhesion and a durable finish that protects your treated wood effectively.
Are There Specific Stains Recommended for Different Wood Types?
Yes, specific stain types suit different wood compatibility needs. For example, oil-based stains penetrate pressure-treated wood deeply, offering moisture protection but require longer drying times.
Water-based stains dry fast and are easier to clean but mightn’t last as long on treated wood.
Choose clear stains for natural beauty, semi-transparent for a balance, and solid stains for maximum coverage.
Focus on proper application techniques and color selection to enhance wood’s appearance and durability.
It really comes down to what kind of wood you have and what look you want to achieve.
Taking the time to pick the right stain can make a big difference in both the look and lifespan of your wood.
Can Staining Treated Wood Prevent Insect Damage?
Yes, staining treated wood can boost insect resistance by sealing the surface and enhancing wood treatment effectiveness.
To maximize stain effectiveness, apply it after the wood is dry, using proper application techniques like even brushing or spraying.
These preventative measures help block moisture, which attracts pests, and often include fungicides or insecticides.
Regular maintenance guarantees long-lasting protection. It prevents insect damage and preserves your wood’s durability over time.
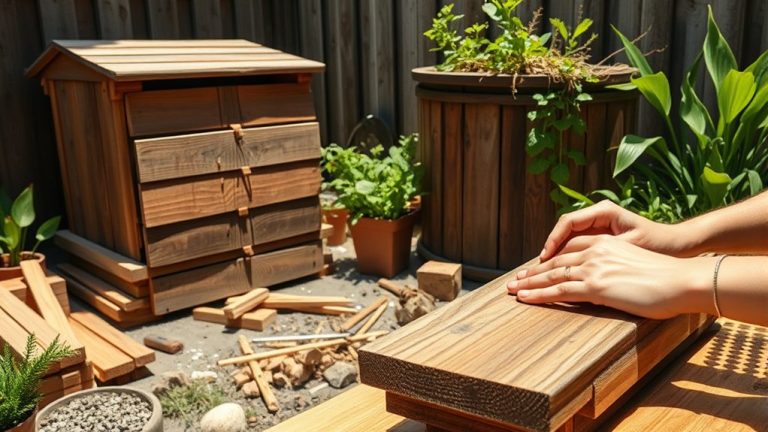
Is It Safe to Stain Treated Wood Near Edible Plants?
Yes, you can safely stain treated wood near edible plants by choosing stains with low environmental impact and checking wood treatment types.
Consider stain absorption rates to avoid excessive chemical leaching. Use water-based, non-toxic stains and apply with careful techniques.
Make sure to seal and dry the wood thoroughly before bringing your plants back near it. This way, you protect both your edible plants and the wood. It helps minimize chemical exposure and keeps your garden healthy.
Taking these steps guarantees the safety of your edible plants while maintaining a great growing environment. It’s all about being careful and choosing the right products.
That way, your garden stays safe and your wood lasts longer.
Conclusion
Staining pressure treated wood is like waiting for the perfect sunrise. You’ve got to time it right for the best results. By testing dryness, considering weather, and prepping thoroughly, you guarantee your stain bonds well and lasts longer.
Choose the right stain and protect your surroundings to keep things smooth. Follow these steps carefully, and your wood will not only look stunning but also stand strong against the elements for years to come.