Can I Stain Pressure Treated Wood: Tips And Advice
You can stain pressure-treated wood, but only after it’s fully dry. This usually takes about 3 to 6 months. To be sure, use a moisture meter to check that the moisture level is below 15%.
Also, do a water drop test to make sure the wood will absorb the stain properly. Before staining, clean and sand the surface to get rid of mill glaze and dirt.
When picking a stain, oil-based options soak in deeper, while water-based stains dry faster. Applying stain when the weather is just right helps your finish last longer.
Want to keep your wood looking great? Learn how to avoid common mistakes and maintain the finish effectively. It’s easier than you might think!
Can You Stain Pressure Treated Wood? When to Start
Although you can stain pressure-treated wood, you should wait until it’s completely dry. Usually, this means waiting 3 to 6 months after installation before applying any stain. This drying time allows the wood to dry thoroughly and guarantees maximum stain absorption.
To check if the wood is ready, perform the water drop test. If water beads on the surface, the wood is still too wet. But if it soaks in within 5 to 10 minutes, you’re good to go and can proceed to stain the wood.
Perform the water drop test: if water soaks in within 5-10 minutes, the wood is ready for staining.
You can also use a moisture meter to make sure the moisture content is below 15%, which is ideal for staining.
Newer treatments like YellaWood® can reduce drying time, letting you stain in as little as six weeks. Just make sure the wood looks weathered and feels dry before starting your staining project.
How to Check If Pressure Treated Wood Is Dry Enough to Stain
To check if pressure-treated wood is dry enough to stain, start with the water drop test. Just apply a few drops of water on the surface and watch to see if the wood soaks them up within 5 to 10 minutes.
If the water beads up or stays on top, it probably needs more drying time.
Then, you can use a moisture meter to get a more precise reading. Ideally, the wood’s moisture content should be below 12-15% for the stain to adhere properly.
Using both of these methods together gives you a pretty good idea of whether the wood is ready to be stained or if it needs to dry out a bit longer.
Water Drop Test
How can you quickly determine if pressure-treated wood is ready for staining? Use the water drop test by sprinkling small amounts of water onto the wood surface. If water beads on top, the wood is too damp, meaning it’s not dry enough for staining.
For proper staining readiness, the water should absorb into the wood within 5-10 minutes. This absorption shows that moisture levels have dropped enough. Make sure to check multiple spots to be sure the dryness is consistent across the whole surface.
While the water drop test gives a quick visual cue, a moisture meter provides a more accurate reading. Ideally, the moisture content should be below 12-15% to confirm the wood is dry enough.
Use these checks to ensure your stain sticks well and doesn’t peel or look uneven.
Moisture Meter Reading
You can confirm the dryness of pressure-treated wood more precisely by using a moisture meter. Aim for a moisture meter reading of 12-15% moisture or lower, which indicates the wood is dry enough to stain effectively.
To guarantee accuracy, test multiple areas, including shaded spots where moisture tends to linger. Consistent readings across different sections confirm overall dryness.
If readings exceed 15%, wait longer before staining to avoid peeling and uneven coverage. Use the moisture meter alongside the water drop test. If water beads up instead of soaking in, the wood is still too wet.
Combining these methods helps you figure out the ideal time to apply stain. This way, you’ll get a durable, even finish on your pressure-treated wood.
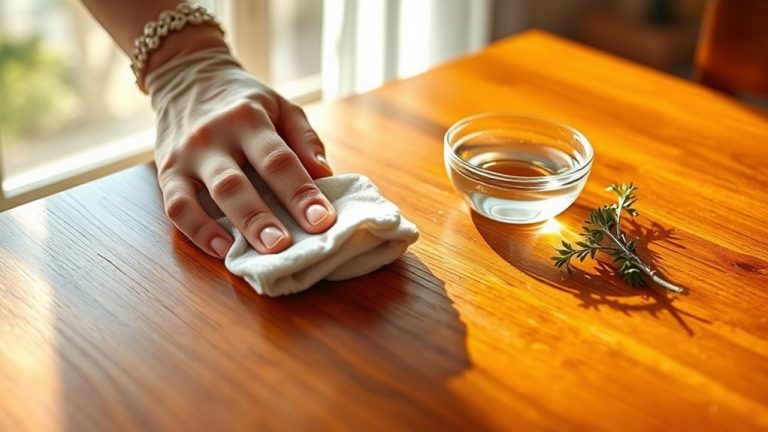
Cleaning and Preparing Pressure Treated Wood for Staining
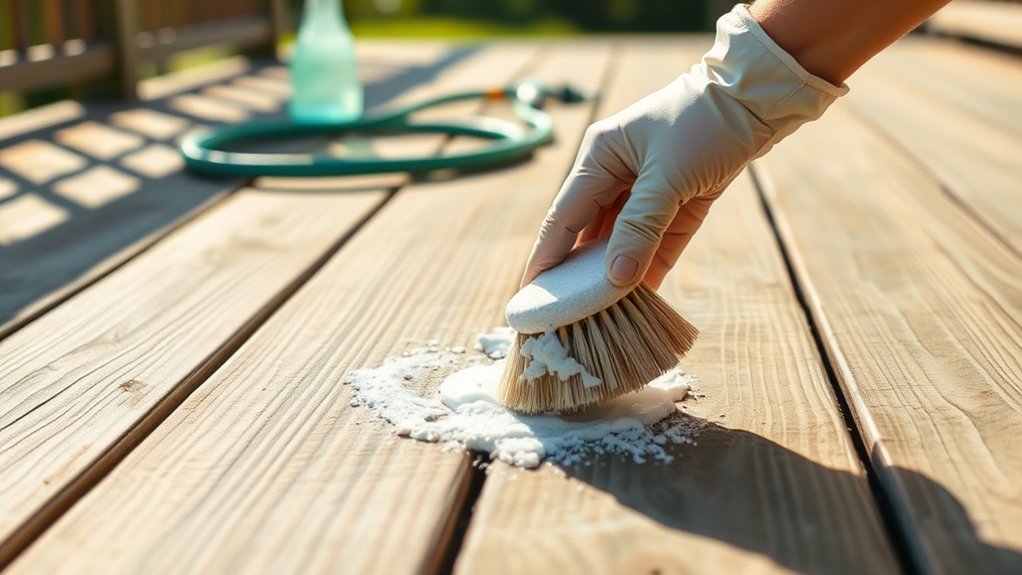
Start by removing all the dirt and debris using a deck cleaner or just a simple soap-and-water solution. This step is important because it helps the stain stick properly.
After that, grab some 60 to 80-grit sandpaper and sand the surface to get rid of the mill glaze and help the stain soak in evenly.
Lastly, make sure the wood is totally dry before you start staining—an easy way to check is by doing a water drop test. If the water beads up, wait a bit longer; if it soaks in, you’re good to go!
Removing Dirt And Debris
Although pressure-treated wood is designed to resist decay, removing dirt and debris from its surface is essential before staining. This step helps guarantee proper stain adhesion and prevents peeling.
To clean effectively, apply a deck cleaner with a brush or sprayer. Scrub along the wood grain to lift grime.
Pressure washing at 1,500–2,000 psi can remove deeper dirt, but be careful not to use too much pressure to avoid damaging the wood.
After cleaning, rinse thoroughly and let the wood dry for 24–48 hours. Make sure the moisture content drops below 15%.
Always do a touch test: the surface should feel dry and rough before you stain.
Eliminating Mill Glaze
Three critical steps guarantee the effective elimination of mill glaze, a shiny surface layer formed during milling that prevents stain absorption.
First, clean the wood using a deck cleaner specifically formulated to remove mill glaze. Apply the cleaner according to the manufacturer’s instructions.
Next, scrub the surface with a firm brush while the cleaner remains wet, working along the grain to break down the glaze thoroughly. This mechanical action assures the wood fibers are opened for ideal stain absorption.
Finally, rinse the wood thoroughly with water to remove residues. Proper application of these steps is essential because failing to clean the wood properly compromises stain adhesion, causing peeling and blotchy coverage.
By eliminating mill glaze effectively, you prepare the surface for uniform, long-lasting stain absorption and finish durability.
It’s really all about giving your wood the best chance to look great and last longer.
Ensuring Complete Dryness
Before staining pressure-treated wood, you need to confirm it’s completely dry, with a moisture content ideally below 12-15%. Achieving this guarantees proper stain absorption and prevents peeling.
To check the wood right, perform the water drop test by sprinkling water on the surface. If droplets bead up, the wood remains too wet, so let it dry longer.
Thoroughly clean the wood using a deck cleaner to remove dirt, mold, and mildew, then rinse it well.
After cleaning, sand the surface with 60 to 80-grit sandpaper to remove splinters and enhance stain adhesion.
Finally, let the wood dry for at least 24 hours before staining pressure-treated wood. This helps you achieve a durable, long-lasting finish.
Oil vs Water-Based Stains for Pressure Treated Wood
When choosing between oil-based and water-based stains for pressure treated wood, you’ll want to think about factors like penetration, drying time, UV resistance, cleanup, and environmental impact.
Oil-based stains penetrate deeper into wood fibers, offering better adhesion and durability. But they take longer to dry, usually 24 to 48 hours.
Water-based stains dry quickly, often within a few hours, and come with UV blockers that protect better against sun damage.
Oil-based stains give a rich color, but they need solvent-based cleanup, which makes maintenance a bit more complicated.
On the other hand, water-based stains clean up easily with soap and water and are more eco-friendly thanks to lower VOC levels.
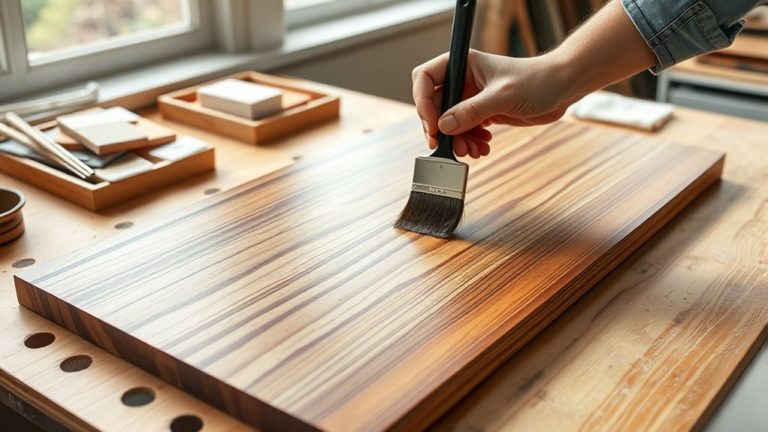
Step-by-Step Guide to Applying Stain on Pressure Treated Wood
Selecting the right stain is only part of the process; applying it correctly guarantees durability and appearance. Start by confirming your pressure treated wood is dry. Wait 3-6 months or perform a water drop test to verify absorption.
Choosing the right stain matters, but proper application ensures lasting beauty—verify wood dryness first.
Clean the surface thoroughly with a deck cleaner and a firm brush, then let it dry for 24 hours.
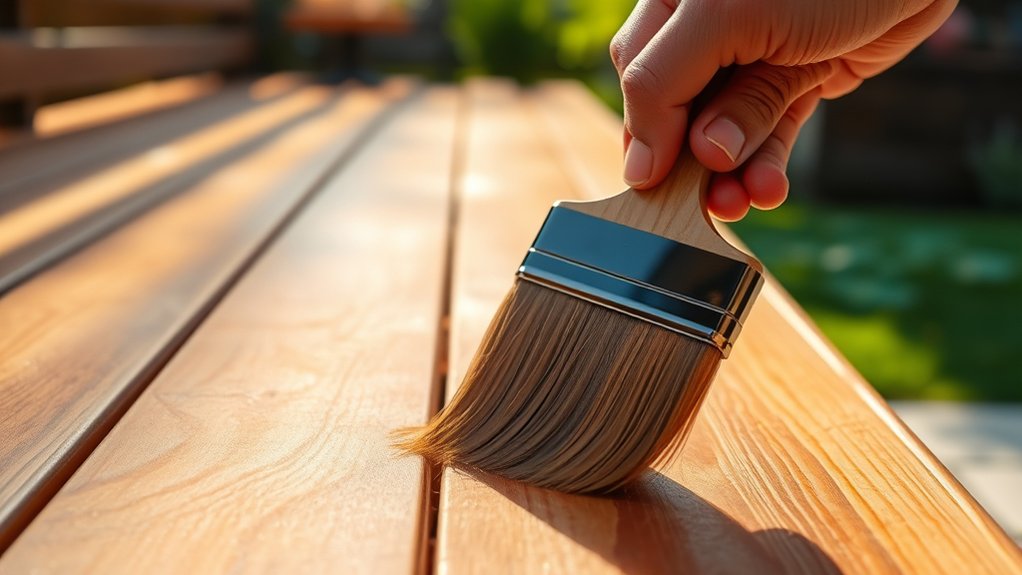
When applying stain, choose between semi-transparent or solid based on your desired opacity. Use a brush for detailed areas and a pad applicator for larger surfaces, always following the wood grain to enhance penetration and uniformity.
If you opt for a water-based stain, make sure it’s spread evenly and wipe off drips immediately. Allow 24-48 hours between coats and avoid staining before rain to achieve the best results.
It really makes a difference when you take your time with each step!
Common Mistakes to Avoid When Staining Pressure Treated Wood
Although staining pressure treated wood can enhance its appearance and longevity, overlooking critical steps often leads to unsatisfactory results. One common mistake is neglecting proper preparation. Failing to clean the surface or remove mill glaze prevents ideal stain absorption.
You also need to check the moisture content. Staining wood above 15% moisture causes the stain to bead, which reduces penetration. Avoid bleach-based cleaners since they can damage the wood and interfere with stain adhesion.
When sanding, use 60-80 grit sandpaper to maintain a surface texture that promotes stain absorption. Using finer grits will make the wood too smooth.
Also, consider weather conditions carefully. Applying stain before rain or during high humidity can mess with the curing process.
Finally, pick the right application tools to make sure you get even coverage and avoid blotching on pressure treated wood. Taking these steps will help you get the best results every time.
How Often to Re-Stain Pressure Treated Wood
Proper preparation and application set the foundation for effective staining, but maintaining the wood’s condition requires periodic attention. You should plan on re-staining pressure treated wood every 2 to 3 years to protect against moisture and UV damage.
Factors like climate, wood exposure, and stain type affect this timeline. Using high-quality penetrating stains and performing routine maintenance, such as cleaning and debris removal, can extend stain life and reduce how often you need to re-stain.
| Factor | Recommendation |
|---|---|
| Re-staining interval | Every 2 to 3 years |
| Signs to re-stain | Fading, water pooling, mold |
| Stain type | Use penetrating stains |
| Maintenance | Regular cleaning advised |
Fixing Peeling and Uneven Stain on Pressure Treated Wood
How do you restore a peeling or uneven stain on pressure treated wood?
Begin by thoroughly cleaning the surface with a deck cleaner to eliminate dirt and any old finishes.
Next, sand the peeling areas using 60 to 80-grit sandpaper to smooth the wood and enhance stain adhesion.
Perform a moisture test to confirm the wood’s moisture content is below 15%. Staining damp wood causes peeling, so it’s important to wait until it’s dry.
Once dry, apply a high-quality, semi-transparent stain in thin, even coats. Allow 24 to 48 hours to dry between applications. This method guarantees uniform coverage and durability.
To prevent future peeling and unevenness, maintain your pressure treated wood by cleaning and re-staining every 2 to 3 years. Keeping up with this will preserve both the appearance and protection of your wood.
Frequently Asked Questions
Can I Use Pressure-Treated Wood Indoors?
You can use pressure-treated wood indoors, but you need to take into account indoor air quality and moisture levels carefully. The wood treatment methods involve chemicals that may off-gas harmful VOCs, so allow the wood to air out in a well-ventilated space for months before installation.
Durability factors are good for resisting rot, but moisture can cause warping or mold.
Does Staining Pressure-Treated Wood Affect Its Toxicity?
Staining pressure-treated wood doesn’t greatly alter its toxicity, doesn’t increase health concerns, and doesn’t worsen environmental impact.
Using proper staining techniques enhances wood preservation and minimizes chemical leaching.
You should choose low-VOC, water-based stains to reduce fumes and guarantee safety.
Follow product recommendations carefully, wear protective gear, and work in well-ventilated areas.
This approach protects you, preserves the wood, and respects the environment simultaneously.
It’s really the best way to handle stained pressure-treated wood safely and effectively.
How Long Does Stained Pressure-Treated Wood Typically Last?
Stained pressure-treated wood typically lasts 2 to 4 years, depending on stain longevity, wood preservation quality, and environmental factors like sunlight and moisture.
To maximize lifespan, follow a strict maintenance schedule including cleaning and resealing.
Use advanced staining techniques, such as applying UV-resistant, high-quality stains, to enhance protection.
Regular upkeep guarantees durability against mold and mildew.
This helps you maintain ideal wood preservation and prolong the functional and aesthetic life of your stained wood.
Can I Paint Over Stained Pressure-Treated Wood?
Yes, you can paint over stained pressure-treated wood. Just make sure to wait until the stain is fully cured and the wood is completely dry. This helps the paint stick better and last longer.
When picking out colors, try to choose ones that complement your existing stain. Also, go for finishes that can handle outdoor conditions so your paint job holds up well.
Don’t forget to use the right techniques, like applying a high-quality primer before painting.
And a little regular maintenance, like cleaning and touch-ups, will keep your painted surface looking fresh for a long time.
What Tools Are Best for Staining Pressure-Treated Wood?
For stain application on pressure-treated wood, use synthetic bristle brushes for detailed areas and paint pad applicators for large, flat surfaces.
Rollers work for quick coverage but require back-brushing to guarantee even penetration. Airless sprayers speed up the process but need touch-ups.
Proper wood preparation and accounting for drying time are essential.
Choose finish types suited for exterior durability. Following maintenance tips, like cleaning tools immediately, helps keep your wood looking great longer.
Conclusion
Staining pressure treated wood is essential for durability and aesthetics, but timing matters. Wait until moisture content drops below 15%. Studies show wood left unstained can degrade up to 30% faster due to weather exposure.
By properly cleaning, choosing the right stain type, and applying carefully, you’ll extend the wood’s lifespan considerably. Remember to avoid common mistakes. Also, re-stain every 2-3 years to maintain protection and appearance effectively.