Can You Paint Pressure Treated Wood: Best Practices
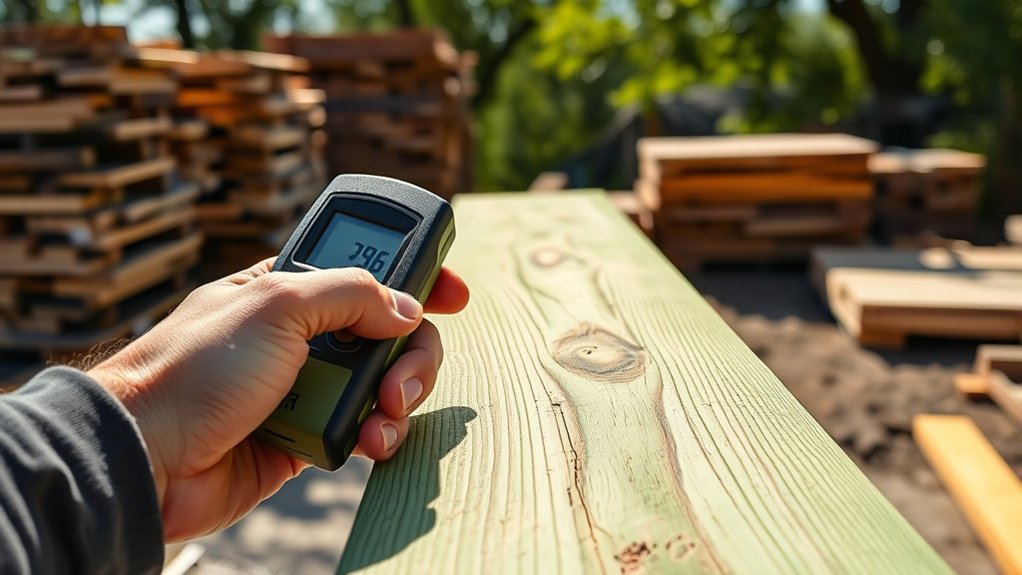
You can paint pressure treated wood, but you need to wait 4 to 12 weeks for it to dry fully, with moisture below 15%. To check if it’s dry, sprinkle some water on the wood or use a moisture meter.
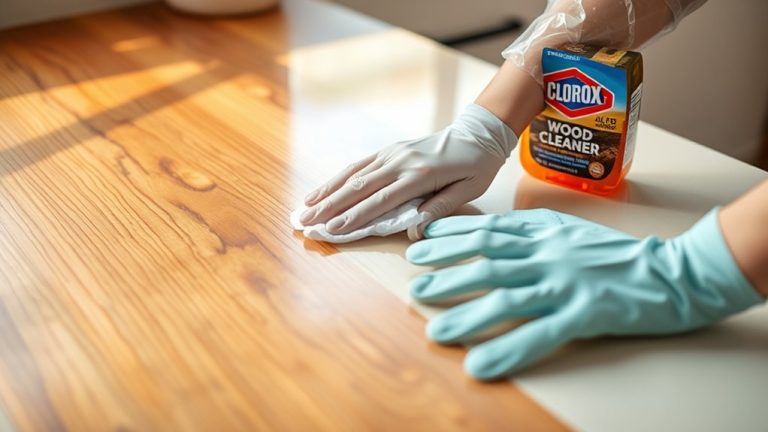
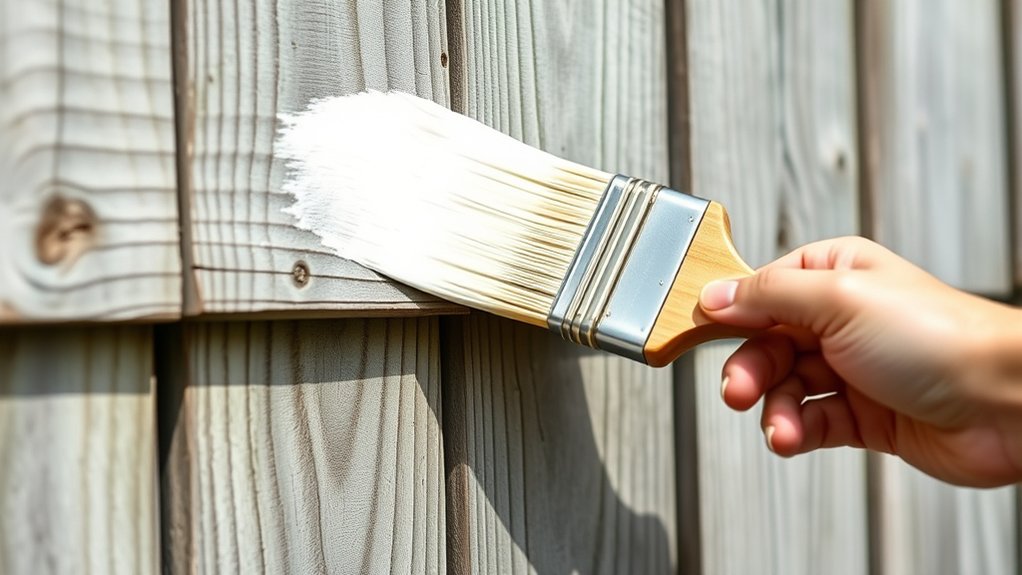
Before painting, clean the wood with mild soap and a stiff brush. Then, sand any rough spots to get a smooth surface.
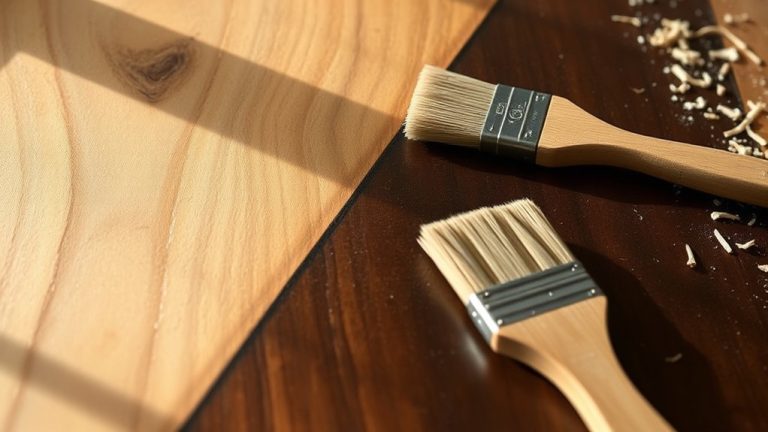
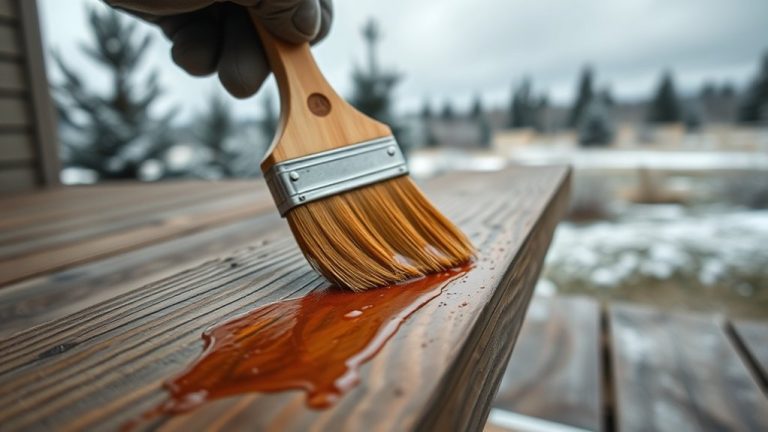
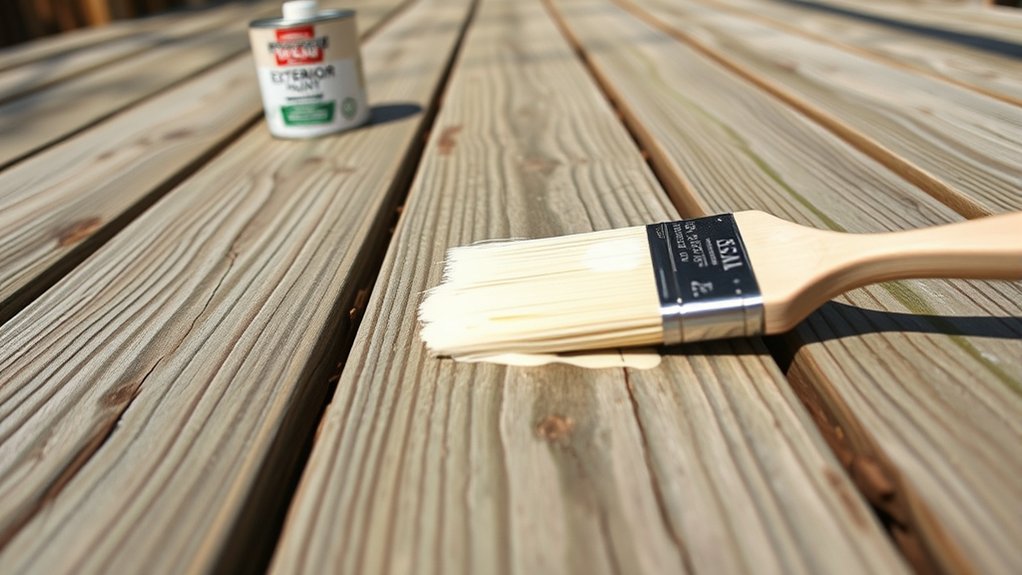
For the best results, use a high-quality exterior primer that has mildew inhibitors, followed by 100% acrylic latex paint. This combo helps ensure durability and long-lasting protection.
By following these steps, you’ll get great results and protect your wood for years to come. Give these techniques a try to perfect your project!
Can You Paint Pressure Treated Wood?
Although you can paint pressure treated wood, you must wait until it’s completely dry, usually between 4 to 12 weeks, before applying any paint.
To know when it’s ready, sprinkle water on the surface. If water beads up, you need to wait before painting. If it absorbs quickly, the wood is dry enough.
Proper preparation is key to guarantee the paint adheres well. Clean the wood with a stiff brush and mild soap, then sand any rough spots.
Next, apply a high-quality exterior-grade bonding primer to create a strong base for the paint.
Using this approach not only helps paint pressure treated wood effectively but also prevents peeling or blistering caused by trapped moisture.
This ensures a durable, long-lasting finish.
Why Wait to Paint Pressure Treated Wood?
You need to wait because pressure treated wood holds a lot of moisture from the treatment process.
This moisture can prevent paint from sticking properly. If you paint too soon, you risk blistering, peeling, and flaking since the trapped moisture can damage the finish.
Moisture Content Importance
Waiting at least 4 to 12 weeks before painting pressure treated wood is essential to allow its moisture content to drop below 15%.
Pressure-treated lumber holds a lot of moisture after treatment, so you need to let it dry thoroughly before applying paint.
If you don’t wait until the wood is properly dried, the high moisture can stop the paint from sticking right.
To check if it’s ready, sprinkle some water on the surface. If the water beads up, the wood isn’t dry yet. But if it soaks in quickly, you’re good to go.
Painting pressure-treated wood while it’s still wet traps moisture under the paint, which hurts its durability and look.
Risks Of Early Painting
Since pressure treated wood retains moisture after treatment, painting it too soon can trap that moisture beneath the paint layer. When you paint pressure-treated wood before it’s dry, moisture gets sealed inside, causing blistering, peeling, and poor paint adhesion.
These risks not only ruin the finish but also reduce its durability, leading to more frequent maintenance. It’s crucial to wait between 4 to 12 weeks, depending on thickness and weather, to guarantee proper drying.
You can test readiness by sprinkling water on the surface. If it absorbs quickly, you’re good to paint. If it beads, it needs more time.
Testing Dryness Before Painting Pressure Treated Wood
How can you be certain that pressure treated wood is dry enough for painting? Testing dryness is crucial to achieve ideal paint adhesion and avoid issues caused by painting too early.
Start by sprinkling water on the wood’s surface: if it quickly absorbs, the wood is likely completely dry. If water beads up, the wood requires more drying time.
For greater accuracy, use a moisture meter to measure moisture content, aiming for 15% or less. Depending on thickness and climate, drying can take 4 to 12 weeks.
Properly evaluating dryness prevents trapping moisture under the paint, which leads to blistering and peeling.
Cleaning and Preparing Pressure Treated Wood for Painting
Before painting pressure treated wood, you need to thoroughly clean and prepare its surface to guarantee proper paint adhesion. To clean pressure treated wood effectively and secure lasting results, follow these steps:
- Use a stiff brush and soapy water to remove any dirt, mold, and mildew. Avoid power washing to prevent surface damage.
- Rinse and allow the wood to dry completely. The moisture content should be 15% or less to promote paint adhesion.
- Lightly sand rough areas after drying to smooth the surface and prevent splintering.
- Apply a high-quality exterior bonding primer before painting to enhance adhesion and durability.
Taking these steps to clean pressure treated wood and prepare it properly ensures your paint job will last longer and look better.
It’s worth putting in the effort to get it right!
Picking the Best Primer and Paint for Your Wood
To get the best results, start with a high-quality water-based primer made especially for pressure-treated wood—it really helps the paint stick better.
After that, go for 100% acrylic latex paint because it’s durable and stands up well against fading and mildew.
It’s always a good idea to test a small area first to make sure everything works well together before you dive into the whole project.
Primer Selection Tips
Since pressure-treated wood tends to resist paint adhesion, choosing a high-quality, water-based exterior bonding primer designed specifically for this material is essential.
To guarantee a durable, long-lasting finish, follow these primer selection tips:
- Pick a water-based primer formulated for pressure treated wood to maximize adhesion and flexibility.
- Opt for primers with mildew inhibitors to prevent mold growth in outdoor environments.
- Confirm the primer’s compatibility with your paint, ideally 100% acrylic latex, for a smooth, uniform finish.
- Apply primer generously, covering imperfections, and respect the recommended drying time, usually 24 to 48 hours, before painting.
Following these guidelines guarantees your primer bonds well, providing a solid foundation for paint while protecting the wood from moisture and mildew.
It’s all about setting yourself up for success and making sure your paint job lasts.
Paint Types Comparison
Choosing the right primer sets the stage, but selecting the best paint or stain will determine the final look and protection of your pressure-treated wood.
In your paint types comparison, prioritize high-quality exterior-grade bonding primers to improve adhesion.
Water-based exterior latex paint is ideal for flexibility and resistance to fading and peeling outdoors.
If you prefer a natural look, consider semi-transparent and solid color exterior stains. They penetrate well and still protect.
Remember to stain pressure-treated wood if you want to preserve its grain and texture.
Lighter colors often need multiple coats due to varying wood absorption.
Always let primer and paint dry thoroughly, typically 1-3 hours, between coats to guarantee durability.
This approach ensures a long-lasting, attractive finish on your pressure-treated wood.
Step-by-Step Guide to Painting Pressure Treated Wood
Start by making certain your pressure treated wood is completely dry, which usually takes between 4 to 12 weeks.
Proper drying prevents moisture from compromising paint adhesion.
Ensuring proper drying stops moisture from ruining how well your paint sticks.
Here’s a step-by-step guide to painting pressure treated lumber:
- Let the wood dry thoroughly before starting.
- Clean the surface with a stiff brush and mild soap, then rinse and allow it to dry again.
- Lightly sand rough areas to create a smooth surface for better paint adherence.
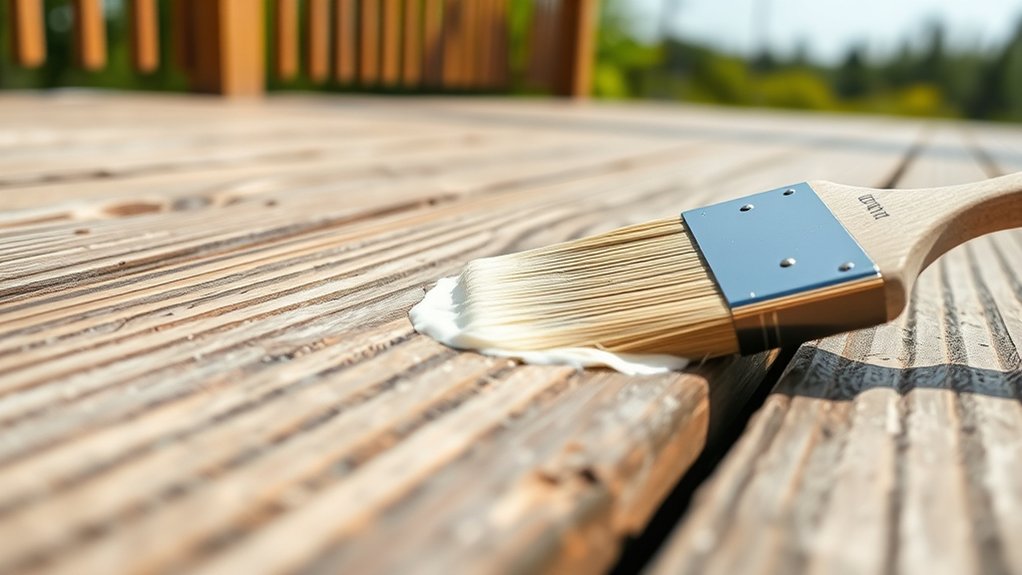
- Apply a high-quality, exterior-grade bonding primer, let it dry, then finish with two coats of 100% acrylic latex paint. Make sure to wait at least one day between coats.
Following these steps guarantees a durable, long-lasting finish on your pressure treated lumber.
It’s really not that hard once you know the trick!
Painting or Staining Pressure Treated Wood?
How do you decide whether to paint or stain pressure treated wood? First, verify the wood is completely dry. This can take 4 to 12 weeks depending on climate and thickness.
Painting pressure treated wood offers a smooth finish and full coverage. It’s ideal if you want a uniform look. However, paint tends to require touch-ups every 2-3 years.
Staining, on the other hand, allows the natural grain to show through and typically demands less maintenance. It’s a great choice for outdoor use if you prefer a more natural appearance.
Both paint and stain protect pressure treated wood from moisture and UV damage. Use high-quality, exterior-grade primers and products, such as 100% acrylic latex paint or semi-transparent stains, to ensure durability and long-lasting protection.
Maintaining Painted Pressure Treated Wood
Although painting pressure treated wood provides excellent protection and a clean look, maintaining that finish requires regular care. To keep your paint job durable and attractive, follow these steps:
First, regularly inspect the wood for peeling, blistering, or fading to spot areas that need maintenance or repainting. It’s all about catching problems early before they get worse.
Next, clean the surface annually with a mild soap solution and a stiff brush. This helps remove dirt and mildew and makes sure the paint sticks better.
Repaint every 2-3 years, or sooner if the wood is exposed to harsh weather. This keeps up the quality protection against moisture and UV damage.
And don’t forget to promptly touch up any damaged spots. Fixing those areas quickly prevents moisture from getting in and causing the wood to deteriorate.
Using a high-quality paint made for pressure treated wood will also cut down on maintenance and help your finish last longer. It’s worth investing in good paint to save time and effort down the road.
Frequently Asked Questions
Can I Paint Pressure-Treated Wood Indoors?
Yes, you can do interior painting on pressure-treated wood, but you need to address moisture concerns first.
Make sure the wood is completely dry to guarantee proper paint adhesion and avoid peeling. Drying time indoors varies with humidity and temperature, so be patient.
Use low-VOC primer and paint for safety precautions, and confirm good ventilation to reduce fumes.
It’s a good idea to keep an eye on the wood after painting to catch any moisture issues early.
Taking these steps will help ensure your paint job lasts and looks great.
How Does Weather Affect Painting Pressure-Treated Wood?
Imagine painting pressure-treated wood on a humid, rainy spring morning. Moisture retention will extend drying time, making paint adhesion tricky.
Temperature fluctuations between cold nights and warm days can cause the wood to expand and contract, risking cracks in the paint.
UV exposure during hot afternoons can dry paint too fast, trapping moisture beneath.
Considering seasonal factors, you’ll want to pick a dry, mild day with stable temperatures to guarantee lasting results.
It really helps to plan ahead and watch the weather forecast before you start. That way, your paint job will look great for years to come.
Are Oil-Based Paints Suitable for Pressure-Treated Wood?
Oil-based paints aren’t usually the best choice for pressure-treated wood because they take longer to dry. This slower drying can trap moisture, which increases the risk of peeling. So, it’s something to keep in mind if you want your paint job to last.
That said, if you want to go with oil-based paint for its durability, make sure to prepare the wood thoroughly first.
Also, check that the moisture level is below 15%. This step is super important to avoid problems later.
You’ll want to pick a primer that’s compatible with oil-based paints to help it stick better.
And choosing colors that resist fading can really improve how your project looks over time.
With proper prep and the right primer, your paint job can still hold up well, despite the usual challenges with oil-based paints.
Can I Use a Paint Sprayer on Pressure-Treated Wood?
Yes, you can use a paint sprayer on pressure-treated wood. Just make sure the wood is fully dry and clean before you start surface preparation.
Choose exterior-grade paint types that are suited for treated wood. Also, use proper sprayer settings to avoid overspray.
Always apply a bonding primer first for better adhesion.
And don’t forget safety precautions like wearing a mask and goggles.
Allow sufficient drying time between coats to get a durable, even finish. It’s worth taking the time to do it right!
How Long Does Painted Pressure-Treated Wood Typically Last?
Think of painted pressure-treated wood like a well-cared-for garden. Its beauty depends on key durability factors. Typically, it lasts 5 to 15 years, but paint types and surface preparation play huge roles.
Using high-quality exterior paints and primers, cleaning thoroughly, and ensuring dryness before painting boost color longevity.
Don’t forget maintenance tips like repainting every 2-3 years to keep your wood protected and looking fresh despite harsh weather.
Conclusion
Painting pressure treated wood is like giving life a fresh coat of confidence. By waiting for it to dry, testing its readiness, and prepping it thoroughly, you guarantee your paint sticks strong and true.
With the right primer and paint, your wood won’t just survive, it’ll thrive, standing tall against time and weather. Follow these steps, and your project will shine with lasting beauty.
You’ll be turning rough wood into a masterpiece you’ll be proud of.