Can You Spray Paint Wood: Tips For Smooth Finish
You can spray paint wood effectively by starting with thorough cleaning and light sanding to guarantee paint adhesion. Use a compatible high-quality primer and spray paint designed for wood, holding the can 8-12 inches away while applying thin, even coats. Let each layer dry fully and sand between coats for smoothness.
Avoid heavy applications and environmental issues like wind or humidity. Following these steps will give you a durable, professional finish. Plus, more detailed tips await to refine your technique.
How to Spray Paint Wood for a Smooth Finish
To achieve a smooth finish when spray painting wood, start by thoroughly cleaning and lightly sanding the surface to improve paint adhesion.
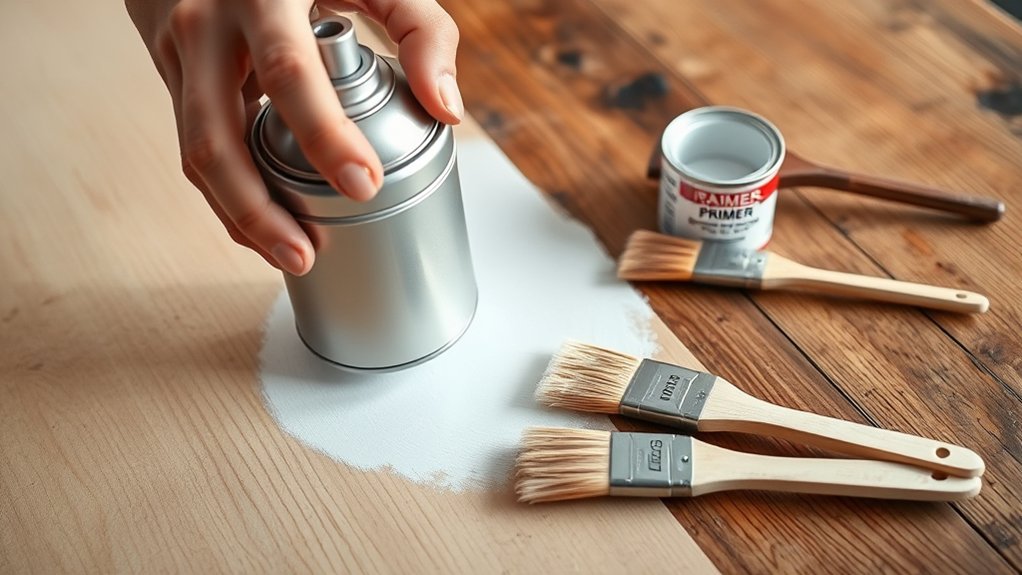
Next, apply a quality wood primer, like Rust-Oleum 2X Ultra Cover Spray Primer, to seal the wood and prevent uneven paint absorption.
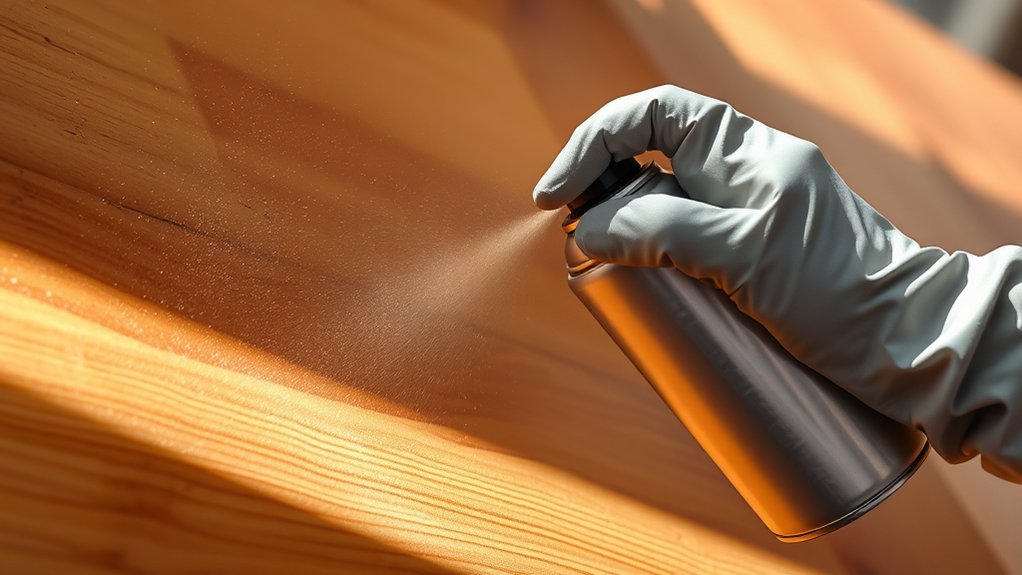
When you spray paint wood, hold the nozzle 8-12 inches away and apply thin, even coats of paint. Make sure to allow each coat to dry completely before applying the next one. This helps you avoid runs and wrinkles.
For larger surfaces, you might want to use a foam roller or airless sprayer. These tools help you keep a consistent technique and get that glass-like smooth finish.
Finally, protect your work with a clear topcoat that’s compatible with your paint. This adds durability and scratch resistance, so your project stays looking great longer.
Preparing Wood Properly Before Spray Painting
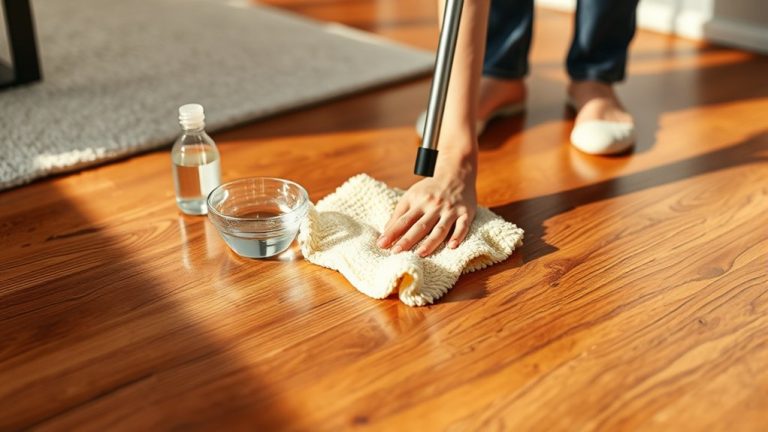
Start by thoroughly cleaning the wood surface with soapy water or a heavy-duty cleaner to remove dirt and grease.
Next, lightly sand glossy areas with fine-grit sandpaper to enhance paint adhesion and smoothness.
Check the wood for dents or holes. Fill these imperfections with wood filler, then sand the repairs flush with the surface.
After sanding, do a final cleanup to remove all dust and debris that could mar the finish.
Finally, apply a primer that’s compatible with your paint type. This creates a uniform base and reduces paint absorption.
Following these steps will ensure your wood is perfectly prepared for a high-quality spray paint finish.
Choosing the Best Spray Paint and Primer for Wood
When you’re picking out spray paint for wood, go for a high-quality brand like Rust-Oleum. It really helps ensure your project turns out durable and has that nice, smooth finish.
You’ll also want to pair it with a good wood primer. Something like Rust-Oleum 2X Ultra Cover works great because it improves adhesion and seals the surface well.
Just make sure the primer and paint are compatible with each other. That way, you can avoid any finish problems and get the best coverage possible.
Spray Paint Brand Selection
Although selecting the right spray paint might seem straightforward, choosing a brand like Rust-Oleum guarantees durability, a smooth finish, and fast drying times for wood projects.
Rust-Oleum’s formulations are engineered for peak adhesion and consistent coverage, reducing the risk of uneven layers or peeling.
Pair your spray paint with a Rust-Oleum primer designed specifically for wood to seal the surface and prevent absorption, which guarantees a uniform finish.
Always review the coverage details on the spray paint can to calculate the amount needed accurately.
When selecting your spray paint, consider the finish type: matte, satin, semi-gloss, or gloss, based on your desired aesthetic.
Prioritizing brand reliability and compatibility between spray paint and primer is essential for a professional, long-lasting wood finish.
Primer Compatibility Choices
Selecting the right spray paint brand sets a solid foundation, but pairing it with a compatible primer designed for wood guarantees maximum adhesion and durability. Always choose a primer formulated specifically for wood to prevent peeling and chipping.
After the primer dries, lightly sanding it creates a smooth surface, enhancing the topcoat’s finish quality. Check the paint can for compatibility to avoid adhesion issues, and allow the primer to fully dry per manufacturer instructions, usually 1-2 hours.
| Primer Brand | Compatibility | Key Feature |
|---|---|---|
| Rust-Oleum 2X Ultra Cover | Most spray paints | Excellent sealing |
| Zinsser Bulls Eye 1-2-3 | Latex and oil-based | Fast drying |
| Kilz Original | Oil-based paints | Strong adhesion |
How Much Spray Paint Do You Need for Wood Projects
Estimating the right amount of spray paint for your wood project starts with measuring its dimensions and consulting the coverage details on the can. Different brands provide varying coverage information, so always check the label to determine how much spray paint you’ll need.
Begin by measuring your project and checking the can’s coverage to estimate the right amount of spray paint.
For a small piece like a side table, plan on about 1.5 cans to guarantee full coverage. Larger items, such as dressers, typically require 2 to 3 cans for an even finish.
When calculating paint quantity, factor in an extra can to cover touch-ups or additional coats necessary to achieve the desired smoothness.
Accurate measurement combined with thorough coverage information helps you avoid running short and guarantees a professional result every time. It’s always better to have a little extra than to stop midway and run out of paint.
Step-by-Step Spray Painting Techniques for Wood
First, make sure to clean and sand the wood really well. This helps the paint stick better and gives you a nicer finish.
Next, go ahead and apply a good-quality primer. This step is important because it seals the wood and stops the paint from soaking in unevenly.
When you start spraying, try to use thin, even coats. Hold the spray can or gun about 8 to 12 inches away from the surface.
Don’t rush—give each layer enough time to dry before adding the next one. This way, you’ll end up with a smooth and long-lasting finish.
Surface Preparation Essentials
Proper surface preparation is essential for achieving a durable, smooth finish when spray painting wood. Start by thoroughly cleaning the wood surface with soapy water or a degreaser to remove dirt and grease. This really helps improve paint adhesion.
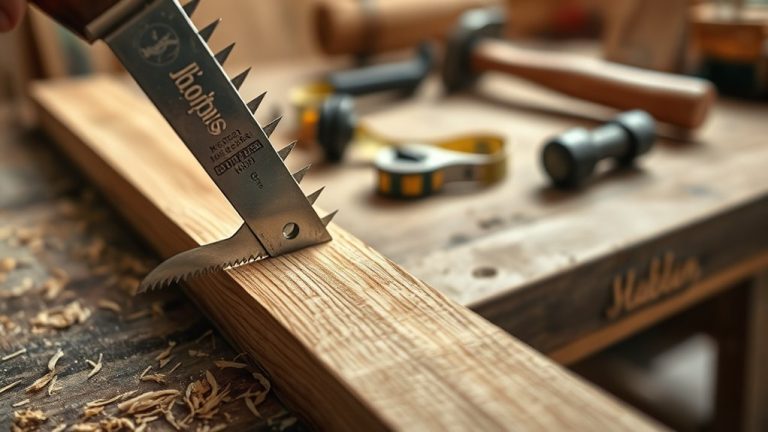
Next, lightly sand the wood using 220-grit sandpaper or sanding blocks to create an even surface and enhance the paint bond. If you notice any imperfections, apply wood filler and then sand it smooth for an even finish.
After sanding, apply a coat of Paint Primer, like Rust-Oleum 2X Ultra Cover, to seal the wood and prevent uneven absorption of the topcoat.
Finally, wipe down the surface with a lint-free cloth to remove all sanding dust.
These surface preparation steps are key to getting a professional, long-lasting spray paint job on wood. Taking your time here really pays off in the end.
Spray Application Tips
Hold the spray can 8 to 12 inches from the wood surface to achieve even coverage and prevent runs. Start by applying a high-quality primer to seal the wood and enhance paint adhesion.
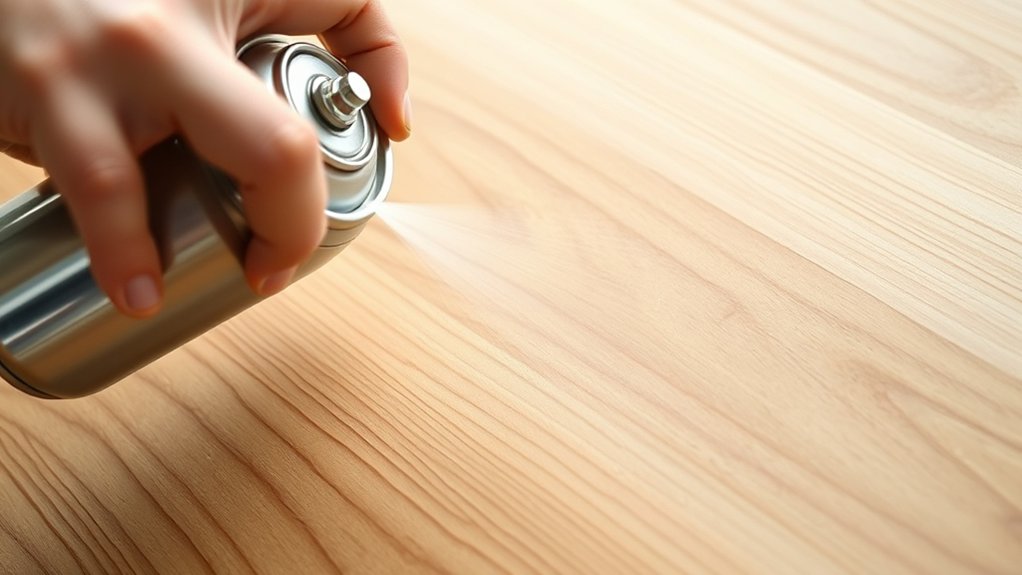
Use light, even coats of spray paint, moving the can steadily side to side. Avoid heavy layers. Thin coats dry faster and reduce drips.
After each coat dries, sand the wood lightly with fine-grit sandpaper to smooth imperfections and improve the next layer’s bond. Repeat this process until you achieve full coverage.
It’s a good idea to practice your technique on scrap wood beforehand to get a feel for controlling your spray motion and distance.
These spray painting tips will help you get a smooth, professional finish by focusing on consistent application, proper drying, and surface prep.
Tips for a Professional Spray Paint Finish on Wood
Although spray painting wood may seem straightforward, achieving a professional finish requires careful surface preparation and technique. Before you start, thoroughly clean and lightly sand the wood to improve paint adhesion and smoothness.
Using a high-quality spray paint designed for wood, such as Rust-Oleum, guarantees durability and excellent coverage. Apply thin, even coats from 8-12 inches away, allowing each coat to dry fully before the next to prevent runs and wrinkles.
Consider a primer to seal the wood and promote uniform color.
- Clean and sand wood surface before painting
- Use premium spray paint for furniture
- Apply thin coats, let each coat dry thoroughly
- Use primer for even paint absorption
Follow these steps to attain a flawless, professional spray paint finish on your wood project. It’s easier than you might think once you get the hang of it!
Protecting and Sealing Spray-Painted Wood
Once your spray paint has fully cured, typically within 24 to 48 hours, you’ll need to apply a clear topcoat to protect the finish from scratches, chips, and wear.
Choose a compatible topcoat. Polycrylic is ideal for water-based spray paint because it offers durable protection without yellowing.
Pick a finish that suits your style: matte, satin, semi-gloss, or gloss.
Before you apply the topcoat, lightly sand the surface with fine-grit sandpaper. This helps the topcoat stick better and gives you a smoother finish.
Apply the topcoat evenly, and be sure to let each layer dry completely before adding another.
Multiple thin coats work better than one thick coat when it comes to durability and appearance.
This sealing step is key to protecting your spray paint job, so your wood looks great and lasts a long time.
Common Spray Painting Mistakes and How to Avoid Them
If you want a smooth, professional finish, you need to avoid common spray painting mistakes that compromise adhesion and coverage. Surface preparation is an important step. Always clean, sand, and fill imperfections before applying spray paint. Skipping this leads to poor adhesion and uneven texture.
Keep these points in mind for good results:
- Apply thin, even coats to prevent runs and drips. Let each coat dry fully.
- Maintain a consistent distance of 8-12 inches from the wood surface to guarantee uniform coverage.
- Use a primer to seal bare wood. This helps avoid uneven paint absorption.
- Avoid spraying in windy or humid conditions to prevent dust contamination and finish flaws.
Following these tips will help you achieve a flawless, durable finish on wood surfaces. Just take your time and pay attention to the details!
Frequently Asked Questions
Can I Spray Paint Wood Outdoors in Humid Weather?
You can spray paint wood outdoors in humid weather, but humidity effects will slow drying time and weaken paint adhesion.
Outdoor conditions with high moisture increase the risk of drips, runs, and bubbling.
To guarantee a smooth finish, check the paint’s humidity tolerance, choose times with lower humidity, and use fans to circulate air.
These steps help counteract humidity’s negative impact and improve the final paint quality on your wood surface.
How Long Does Spray Paint Take to Dry on Wood?
Spray paint drying time on wood varies by spray paint types and environmental conditions but generally takes 20-30 minutes to be touch-dry.
Proper wood preparation guarantees better finish quality and can speed drying.
Full curing often requires up to 24 hours, especially with enamel or oil-based paints.
Applying thin, even coats and maintaining moderate humidity and temperature accelerates drying, giving you a smooth, durable finish.
Always check the paint can for specific drying instructions.
It’s a good idea to be patient and let the paint dry properly for the best results.
Is Spray Paint Safe to Use on Furniture for Kids?
Yes, you can use spray paint on kids’ furniture, but make sure to choose child-safe options with low or zero paint toxicity to protect their health.
It’s best to go for paints labeled non-toxic. Also, remember that good ventilation is really important while you’re spraying to keep fumes at bay.
To keep the furniture durable, apply a child-safe clear topcoat that resists scratches and spills. This helps the paint last longer, especially with little ones around.
And don’t forget—always let the paint fully cure before the furniture gets used.
That way, you’ll have a safe, long-lasting finish that’s perfect for kids’ spaces. It’s all about making sure it’s both safe and sturdy!
Can I Mix Different Brands of Spray Paint on Wood?
You shouldn’t mix different brands of spray paint on wood, as spray paint compatibility varies widely. Imagine a patchwork quilt where each square shrinks differently. That’s how adhesion differences can warp your finish quality.
Brand performance inconsistencies often cause uneven layers or bubbling. To avoid unpredictable results, test small areas first or stick to a single brand.
This way, you’ll get consistent drying times and a smooth, professional finish every time.
How Do I Remove Spray Paint From Wood if Needed?
To remove spray paint from wood, start with chemical paint removal techniques while following safety precautions closely.
Apply a stripper designed for your paint type, whether latex or oil-based. Then, use a plastic scraper to lift the softened paint gently.
If you find any stubborn spots, a heat gun can help. Just keep it at a safe distance so you don’t damage the wood.
After that, finish by sanding lightly and cleaning the surface.
This will prepare the wood for refinishing and ensure smooth, even results. It’s a simple process once you know the steps!
Conclusion
Now that you know how to prep, choose, and apply spray paint on wood, you’re set for a smooth, professional finish. Avoid common pitfalls by following each step closely. Think of it like tuning a vintage radio; precision matters.
Seal your work properly to protect it from wear and weather. With these expert tips, your wood projects will look sharp and last long. Spray paint isn’t just a quick fix but a reliable technique.