Can You Stain Wood Putty: Tips And Best Practices
You can stain wood putty effectively by choosing stainable fillers like Minwax Stainable Wood Filler and preparing the surface thoroughly. Make sure to clean, sand smooth, and remove any glue residue before you start.
Mixing stain or fine sanding dust into the putty helps achieve a closer color match and mimics natural grain better. Always test these combinations on scrap wood first for the best results.
With the right techniques, you’ll guarantee seamless, natural-looking repairs that blend perfectly with your wood’s finish. More detailed tips can guide you further.
Choosing the Right Wood Putty for Staining
When choosing wood putty for staining, you’ll want to focus on products specifically labeled as stainable to guarantee a better color match. Stainable wood putty, like Minwax Stainable Wood Filler, generally offers superior compatibility with wood stains compared to alternatives such as DAP Plastic Wood or Elmers ProBond.
You should avoid non-stainable fillers, as they often absorb stain unevenly, resulting in blotchy finishes.
To improve color matching, consider mixing stain directly into the putty or blending sanding dust from your project with the putty.
Enhance color matching by mixing stain or sanding dust directly into your wood putty before application.
Keep in mind that different fillers absorb stains differently, so always test your chosen putty and stain combination on scrap wood before applying it to your project. This way, you can be sure you’ll get precise, professional-looking results.
Can You Stain Wood Putty? Key Expectations
You can stain wood putty, but it’s important to remember that how well it takes the stain can really change the final appearance.
Different types of fillers tend to absorb stain unevenly, which often leads to noticeable color differences between the repaired spot and the surrounding wood.
So, to get the best match, it’s a good idea to test out different stain and putty combinations first.
You might even want to try mixing the stain directly into the putty before applying it to make the color blend more smoothly.
Stain Compatibility Factors
Although staining wood putty can be challenging, understanding stain compatibility factors helps you achieve a seamless finish. Different wood fillers absorb stain unevenly, so your choice of putty directly affects the final look. Some fillers take stain better, while others resist it, causing noticeable differences.
To improve results, consider mixing stain into the putty before application, which promotes uniform color. Always test your stain and putty combination on scrap wood to predict how they interact.
Keep in mind, dark stains tend to mask wood filler more effectively than lighter stains, making them preferable for repairs.
Color Matching Challenges
Since wood putty absorbs stain differently than natural wood, achieving a perfect color match can be tricky. The color matching challenges come up because various fillers and wood species interact uniquely with stains, causing uneven absorption.
Dark stains usually hide wood putty better than lighter ones, making them the safer bet for less noticeable repairs.
To get a more uniform look, you can mix stain directly into the wood putty before applying it. Just be ready to experiment a bit to find the right balance. Always test your combinations on scrap wood first to see how the putty and stain work together.
Remember, the surrounding wood grain patterns affect how visible the filler is. So, using some cosmetic blending techniques might be necessary to get a seamless finish.
It’s all about patience and a bit of trial and error.
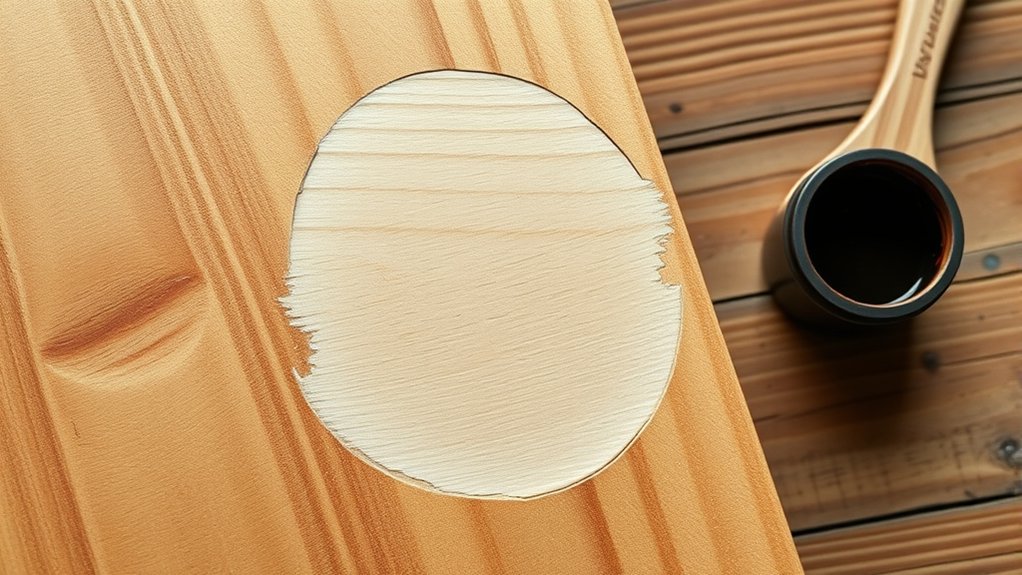
Preparing Wood Putty Repairs for a Smooth Finish

Before you start staining, make sure the wood putty repair is clean and free of any dust or glue residue. This will help the stain stick properly.
Next, gently sand the area with fine-grit sandpaper. Try to blend the putty smoothly with the surrounding wood so there are no bumps or rough spots.
Doing these little things will really help you get a flawless, professional-looking finish.
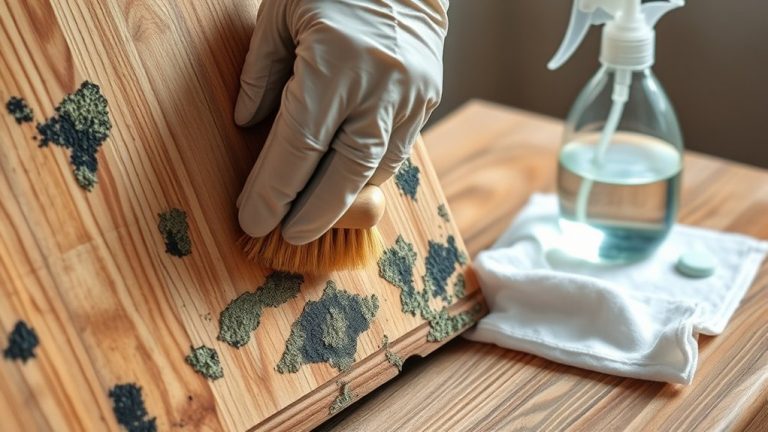
Surface Cleaning Techniques
When preparing wood putty repairs for staining, you need to start by thoroughly cleaning the surface to eliminate any residual glue or contaminants that could hinder stain absorption.
A reliable surface cleaning technique involves wiping the area with a mixture of equal parts white vinegar and water. This solution effectively removes residues that can compromise the wood stain’s adherence.
After the putty is fully cured, lightly sand the filled spots with fine-grit sandpaper to smooth and blend them with the surrounding wood.
Then, use a clean cloth to remove all dust and debris from sanding. These surface cleaning techniques guarantee the wood stain penetrates evenly, resulting in a uniform finish.
Always test the stain on a scrap piece first to see how it interacts with both wood and putty.
It’s a simple step that can save you from surprises later on.
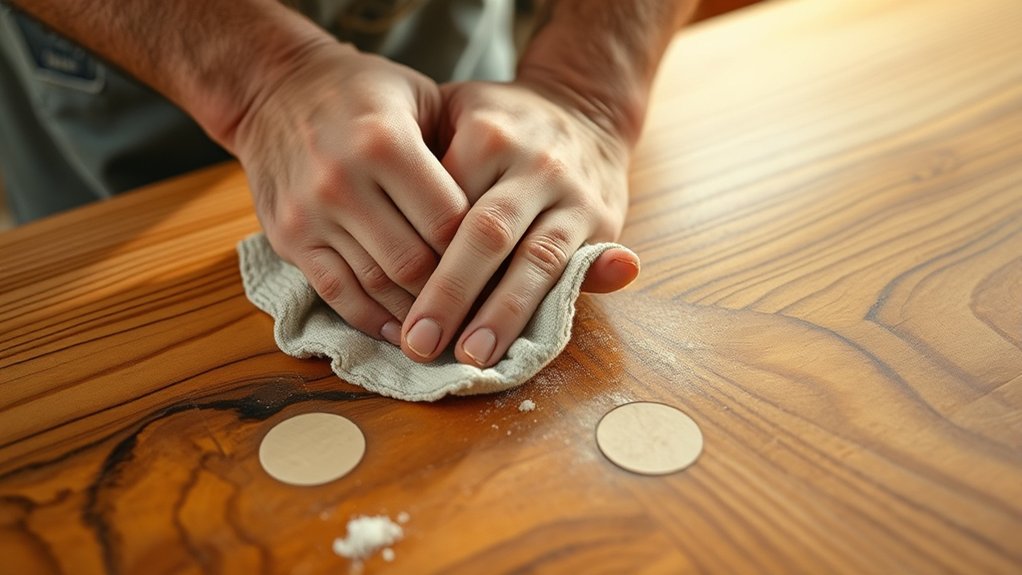
Proper Sanding Methods
Although wood putty repairs can look rough right after you apply them, properly sanding them transforms the surface into a smooth, seamless patch that blends with the surrounding wood. Mastering proper sanding methods is key to getting a natural look. Just make sure you wait until the putty fully cures before sanding to avoid any distortion.
Use fine-grit sandpaper (220-grit or higher) for the best finish. Keep these tips in mind for proper sanding methods:
Sand with a block or orbital sander to apply even pressure. Always sand along the wood grain because it helps reduce visibility. Avoid heavy sanding since it can create dips or uneven spots.
After sanding, remove dust with a damp cloth. Then, check for smoothness by both touch and sight before you move on to staining.
If you follow these steps, your wood putty repair will be ready for a flawless finish every time.
Glue Residue Removal
Two simple ingredients, white vinegar and water, can effectively remove glue residue from your wood putty repairs.
Mix equal parts white vinegar and bottled water in a spray bottle and lightly mist the repaired area. Then, wipe with a clean cloth to eliminate any excess glue.
This glue residue removal step is essential because leftover glue can cause uneven stain absorption and blotchy finishes.
By thoroughly cleaning the surface, you maintain the wood’s integrity and ensure the stain penetrates evenly.
A residue-free surface not only improves the appearance but also enhances the durability of the finish applied over the wood putty.
Incorporating this straightforward cleaning method prepares your repairs for a smooth, professional-looking finish every time.
Removing Glue Residue Before Staining
Before staining wood, you’ll want to remove any glue residue to guarantee an even finish. Removing glue residue before staining is vital because leftover wood glue can cause uneven stain absorption, resulting in a patchy surface.
To effectively clean the area, mix equal parts white vinegar and bottled water in a spray bottle. Spray the solution on the repaired spot, then wipe it off with a clean cloth.
Always let the wood dry completely before staining to avoid moisture issues.
For best results, test this cleaning method on a scrap piece first.
- Mix white vinegar and water (1:1 ratio)
- Spray on glue residue gently
- Wipe with a clean cloth
- Allow the area to dry fully
- Test on scrap wood before main project
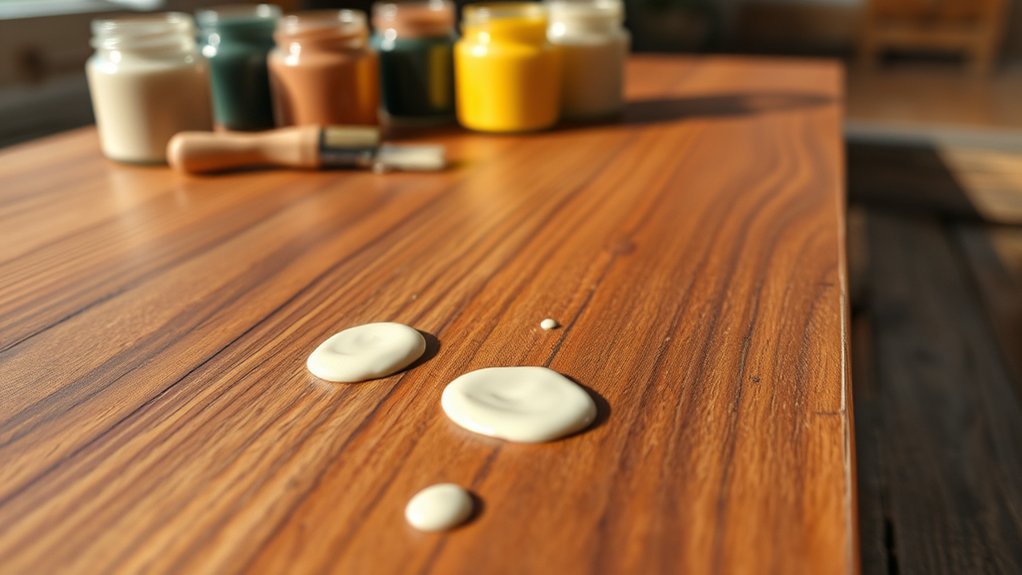
How to Mix Stain Into Wood Putty for Color Match
Once you’ve removed glue residue and prepared the surface, you can focus on blending stain into wood putty to achieve a seamless color match.
Start by choosing a compatible stain, like a water-based one, which mixes well with wood fillers.
Then, mix a little stain into the wood putty gradually, adjusting the amount until you reach the desired shade. This step-by-step approach gives you better control over the final color.
Always test your mixture on a scrap piece of wood to see how it looks after drying.
Avoid adding too much stain at once, as it can affect putty consistency.
Using Sanding Dust and Wood Putty for Natural Color
If you want your wood repairs to blend naturally, mixing sanding dust from your project with wood putty is a great way to go. This technique helps you get a color that matches the surrounding wood perfectly.
Start by collecting fine sanding dust from your project and combine it with Durhams Water Putty. It mixes easily and reaches an ideal consistency for filling holes.
You can adjust the amount of sanding dust to fine-tune the color until it looks just right. It’s always a good idea to test the mixture on a scrap piece before applying it to your project.
Using sanding dust and wood putty together really helps minimize how visible the repair is, especially after staining.
- Collect fine sanding dust from your project
- Mix dust with Durhams Water Putty for smooth consistency
- Adjust dust ratio for precise color match
- Test mixture on scrap wood first
- Apply and fill holes seamlessly
How to Blend Wood Putty Repairs With Wood Grain
Although applying wood putty smoothly is important, blending the repair with the natural wood grain is key to making it nearly invisible. To achieve this, use a wood graining tool immediately after applying the putty to mimic the wood’s natural patterns.
Mixing stain directly into the wood putty before application enhances color matching and creates a more uniform look. Applying multiple coats of stain to the filled areas helps achieve a closer match to surrounding tones.
Mix stain into wood putty and apply multiple coats for seamless, uniform color matching.
Darker stains often disguise repairs better than lighter ones, which can actually highlight imperfections. So, keep that in mind when choosing your stain color.
Always test your blending wood putty repair techniques and stain combinations on scrap wood first. This way, you can guarantee compatibility and get the best possible appearance before working on your actual project.
It’s a little extra step, but totally worth it!
Best Wood Stains and Finishes to Use Over Wood Putty
When choosing the best wood stains and finishes to use over wood putty, you want options that penetrate well and match the surrounding wood seamlessly.
Water-based wood stains with Aniline Dye work best because they absorb better and blend with the stained wood around the repair. Darker stains typically conceal wood putty more effectively than lighter ones.
You can also mix stain into the putty before applying it for a more uniform color. Adding sanding dust to wood filler can mimic natural grain, which really enhances the overall appearance.
Here are some quick tips to keep in mind:
- Use water-based stains with Aniline Dye
- Prefer darker stains for better concealment
- Mix stain directly into wood putty for larger repairs
- Incorporate sanding dust into filler for grain texture
- Always test combinations on scrap wood before the final application
Doing a quick test run helps you avoid surprises and get the best results every time.
Frequently Asked Questions
Can Wood Putty Be Used Outdoors Without Staining?
You can use wood putty outdoors without staining, but you’ll sacrifice outdoor durability. Unstained wood putty tends to absorb moisture and degrade faster when exposed to weather.
To improve its lifespan, choose an exterior-grade putty and apply a protective finish after it dries.
Without staining or sealing, your putty won’t hold up well against UV rays and moisture. So, regular maintenance becomes essential to prevent damage.
How Long Should Wood Putty Dry Before Staining?
You should let wood putty dry for at least 24 hours before staining to guarantee proper adhesion and stain absorption.
During putty application, drying times can vary, especially in humid conditions, so always check the manufacturer’s guidelines.
After drying, sand the surface smooth to enhance the finish.
Does Temperature Affect Wood Putty Staining Results?
Yes, temperature effects play a vital role in wood putty staining results. If it’s too warm, the putty dries quickly, causing uneven stain absorption and color inconsistency.
If it’s too cold, drying slows down, potentially trapping moisture and affecting the finish.
To get the best results, you should stain wood putty in a controlled environment with stable temperatures.
Always test your stain-putty combo under those conditions before applying it widely. That way, you’ll avoid surprises and get a smoother, more consistent finish every time.
Can Tinted Wood Putty Replace Staining Altogether?
You can often use tinted wood putty to replace staining altogether, especially for small repairs where precise color matching matters. It integrates color directly into the filler, giving a uniform look without extra steps.
However, for larger repairs or complex wood tones, staining might still be necessary for perfect color matching.
Always test the putty on scrap wood first to guarantee it matches your project’s finish before committing.
What Tools Are Best for Applying Wood Putty Before Staining?
You’ll find that 85% of woodworkers prefer a putty knife for wood putty application because it offers precise control and smooths the surface evenly.
For application techniques, start with a putty knife for general repairs. Then, switch to a flexible drywall knife for larger areas.
Use a small brush to work putty into tight corners.
Always clean your tools beforehand to avoid contamination.
And don’t forget to sand the dried putty for a flawless finish before staining.
Conclusion
You absolutely can stain wood putty, but expecting a perfect match without prep is like hoping to paint the sky. It’s tricky! With the right putty, careful mixing, and sanding, you’ll blend repairs seamlessly into your wood grain.
Just don’t skip removing glue residue or choosing compatible stains. Follow these tips, and your wood projects will look so flawless, even a pro couldn’t tell where the putty ends and the wood begins!