Can Engineered Wood Be Refinished: What You Should Know
You can refinish engineered wood floors if the wear layer is at least 3mm thick. This thickness allows for safe sanding without exposing the plywood core. First, measure the veneer thickness carefully and check for any water damage or warping.
Make sure to use proper sanding techniques to avoid damaging the surface. Also, choose finishes that are compatible with your floor’s wear layer. After refinishing, maintain your floor carefully to keep it looking great.
Understanding these key factors helps you preserve your floor’s durability and appearance. Take some time to explore further so you can master every step.
What Is Engineered Wood and How Is It Different From Solid Hardwood?

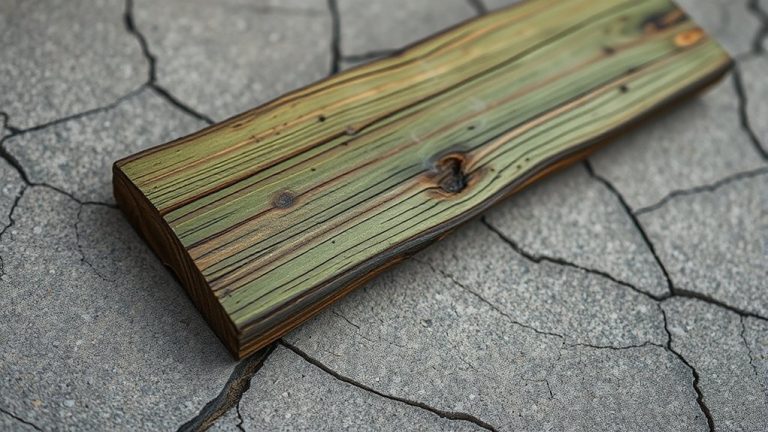
Engineered wood features a layered construction topped with a real wood veneer. It combines the natural look of solid hardwood with enhanced durability and dimensional stability. Unlike solid hardwood, engineered wood consists of multiple layers that resist warping caused by humidity and temperature fluctuations.
The veneer layer ranges from 0.6mm to 6mm thick and defines your refinishing options. Only thicker veneers allow for sanding and refinishing.
Engineered wood is generally more affordable than solid hardwood, yet it can mimic a variety of wood species and finishes.
Installation is simpler and faster. You can glue, staple, or float engineered wood over different subfloors without extensive preparation.
When choosing between the two, consider engineered wood for its stability, versatile design, and cost-effective installation in environments prone to moisture and temperature changes.
Why Wear Layer Thickness Matters for Refinishing Engineered Wood
Three millimeters is the minimum wear layer thickness you should look for when considering refinishing your wood floor.
Engineered wood wear layers typically range from 2mm to 8mm, but anything below 3mm risks sanding through the plywood core, which can compromise structural integrity.
Thicker wear layers, between 4mm and 8mm, allow multiple refinishing sessions by carefully sanding down to reveal fresh wood grain without damaging the plywood core beneath.
Each sanding reduces the wear layer’s thickness, so it’s really important to measure precisely before you start refinishing.
If you misjudge the thickness, you could end up exposing the substrate, which can lead to costly repairs.
Understanding the wear layer thickness helps you sand safely and keeps your engineered wood looking great and durable over time.
That’s why it’s such a key factor when planning any refinishing project.
How to Check If Your Engineered Wood Floor Can Be Sanded
Start by measuring the wear layer thickness. It should be at least 3mm to safely sand without damaging the floor.
Then, take a close look at the surface for any signs of water damage, warping, or unevenness—these issues can mess up the refinishing process.
If you’re not sure about the condition or the wear layer, it’s a good idea to check the manufacturer’s guidelines or get a professional opinion before moving forward.
Wear Layer Thickness
Before sanding your wood floor, you’ll need to verify the wear layer thickness to avoid damaging the plywood core beneath. Engineered wood typically has a wear layer thickness between 2mm and 6mm. To safely refinish without risking the plywood core, the veneer must be at least 3mm thick.
Use a caliper to measure the wear layer at an exposed edge or cut corner. Floors with 4mm or more can usually handle up to three sandings, while 2mm layers often allow only one. Signs of wear like scratches or dullness indicate the need to refinish, but never skip checking thickness first.
Keep in mind, previous sanding reduces the wear layer, affecting how much sanding your engineered wood floor can endure.
Surface Condition Assessment
Although verifying wear layer thickness is essential, evaluating the overall surface condition of your engineered wood floor is just as important to determine if sanding is feasible.
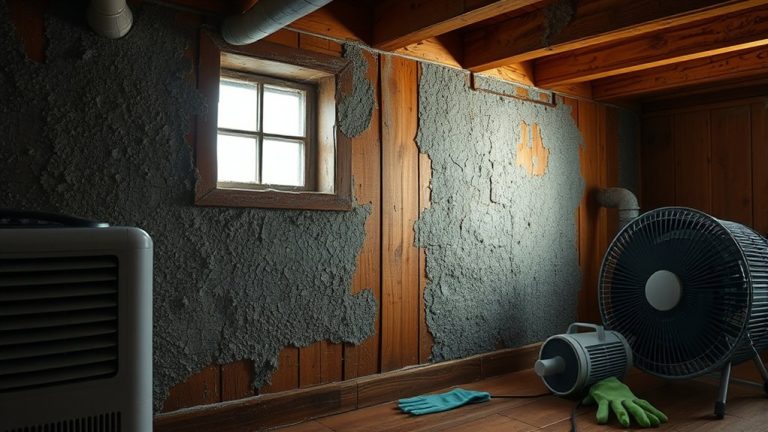
Start by inspecting for moisture damage. Warping or discoloration usually means you’ll need to replace the floor instead of refinishing it. Use a moisture meter to confirm the floor is dry before sanding.
Check for scratches, dents, and unevenness to get an idea of how much sanding will be needed. Also, think about how often the floor has been sanded before, since repeated refinishing can limit how much more sanding you can do.
| Factor | Assessment Tool | Implication |
|---|---|---|
| Wear Layer Thickness | Micrometer | Minimum 2mm required for sanding |
| Moisture Damage | Visual inspection & moisture meter | Moisture limits refinishing |
| Surface Condition | Visual & tactile check | Scratches dictate sanding depth |
This careful evaluation makes sure you get the best results when sanding and refinishing your engineered wood floor.
Step-by-Step Refinishing Process for Engineered Wood Floors
Before you start refinishing, make sure to clear the room completely and give the floor a good cleaning to get rid of all the dust and debris.
It’s important to have a clean surface before you begin sanding.
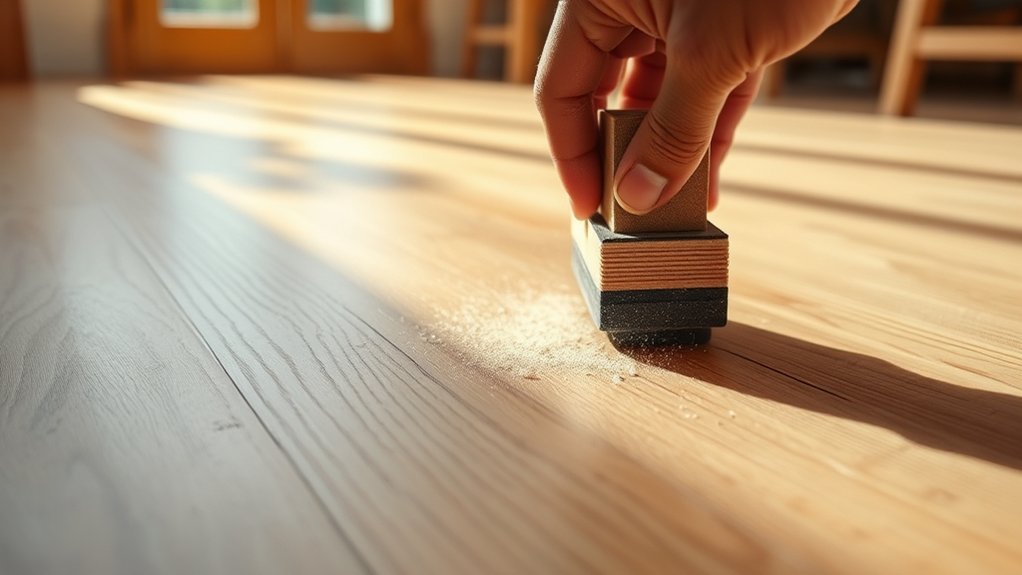
Next, grab a lightweight orbital sander and start sanding the floor. Use progressively finer grits to make sure you sand the surface evenly, but be careful not to damage the wear layer.
Taking your time here really pays off.
Once the sanding is done, you can apply stain if you want to change the color or enhance the wood’s natural look.
After that, seal the floor with polyurethane.
Don’t forget to allow enough curing time so the finish becomes durable and long-lasting.
Preparing The Floor
A critical first step in preparing engineered wood floors for refinishing is verifying that the wear layer thickness is at least 2mm to prevent sanding through to the plywood core.
Begin by clearing the room of all furniture, then clean the floor thoroughly using a vacuum followed by a pH-neutral cleaner to remove dust and debris effectively.
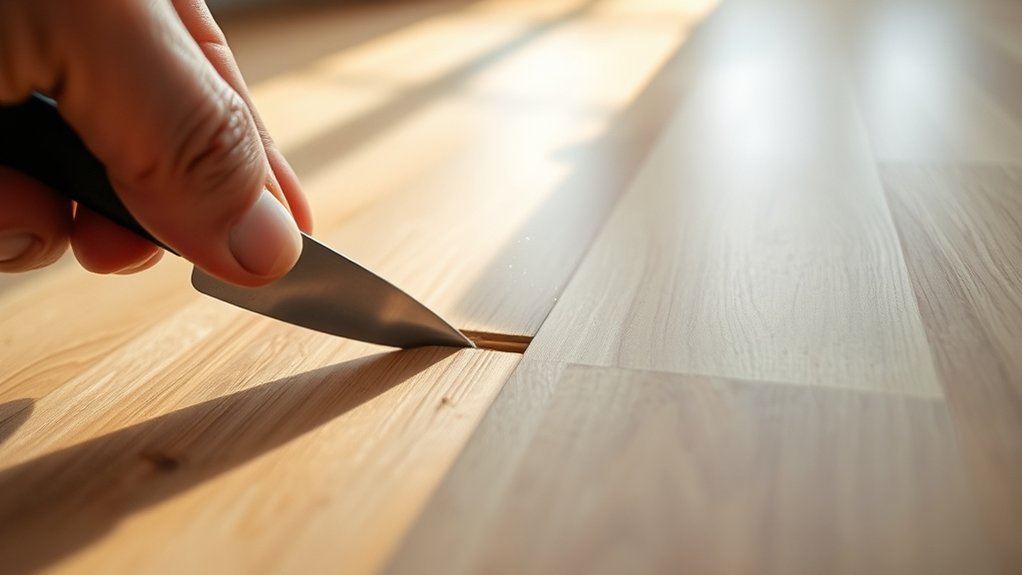
Next, inspect for loose nails or staples, countersink them, and fill any holes with wood filler to guarantee a smooth surface.
Carefully sand the engineered wood with a lightweight orbital sander, progressing through appropriate grit levels.
After sanding, you can apply stain if desired, followed by a high-quality finish.
Allow sufficient drying time between coats to achieve maximum durability and a professional result.
Taking your time with each step really pays off in the end!
Sanding Techniques
Start sanding your engineered wood floor by selecting the appropriate grit sandpaper. Begin with 100-120 grit and then move to finer grits between 150-180 as you go along.
Make sure your engineered wood has a wear layer thickness of at least 3mm to allow for proper sanding. Always sand with the grain to avoid scratches and get a smooth surface.
Vacuum between sanding passes to get rid of dust. This helps prevent contamination when you apply stain later, so it goes on evenly.
After sanding, buffing between coats will enhance the durability and smoothness of the finish.
| Step | Grit Range | Key Action |
|---|---|---|
| 1 | 100-120 | Initial sanding |
| 2 | 150-180 | Refine surface |
| 3 | Vacuum | Remove dust |
| 4 | Buffing | Between coats (next step) |
Applying Finish
Three to four thin, even coats of polyurethane finish will protect your engineered wood floor and enhance its appearance.
Before applying finish, make sure the surface is completely clean to remove all dust and debris.
Choose a high-quality polyurethane finish, either water-based or oil-based, and apply it carefully in thin, even coats. This helps prevent drips or unevenness.
After each coat, let it dry for the time the manufacturer recommends to ensure proper curing.
Between coats, lightly buff the surface with fine-grit sandpaper (220 grit or higher). This improves adhesion and smoothness.
When and How to Stain Engineered Wood Floors
Although engineered wood floors come prefinished, you’ll need to stain them yourself if you want to change or refresh their color.
Start by sanding the floor to remove the old finish. This is essential to refinish engineered hardwood properly.
Sanding lets the stain soak into the wood veneer better. Before you stain the whole floor, test your chosen stain on a hidden spot or a spare piece. This way, you can make sure the color is just right.
When you start staining, apply it evenly with a brush or rag. Work with the grain to avoid streaks and wipe off any extra stain as the instructions say.
After staining, let it dry completely—usually about 24 hours—before putting on a protective finish.
If you’re just doing repairs, try using matching stains to keep the color consistent. That way, you don’t have to sand and refinish the entire floor.
How to Choose the Right Finish for Engineered Wood
How do you determine the best finish for your engineered wood floor? When refinishing engineered hardwood, you need to think about the characteristics of the flooring itself and how well the finish performs. There are a few key things to focus on.
The thickness of the wear layer is important. Thinner veneers work better with penetrating oil finishes because they cut down on sanding.
Water-based polyurethanes dry quickly, smell less, and give a clear satin finish that helps hide scratches.
It’s a good idea to test finishes on a small, hidden spot first. This way, you can see if it’s compatible and how the color will look before you commit.
Applying several thin coats instead of one thick one will make the finish last longer and create a smoother surface.
How to Maintain Engineered Wood Floors After Refinishing
Once you’ve refinished your engineered wood floors, maintaining their appearance and durability requires consistent care and attention. You should regularly sweep or vacuum to remove dirt and debris. This helps prevent scratches that can compromise the finish.
Clean using a pH-neutral cleaner made for hardwood floors. It keeps the floor’s integrity intact without damaging the fresh surface. Also, avoid using too much water during cleaning since moisture can seep into seams and damage the wood layers.
Use a pH-neutral hardwood cleaner and avoid excess water to protect your floor’s finish and layers.
In high-traffic areas, place rugs or mats to protect the floor. This reduces wear and helps the finish last longer.
Don’t forget to schedule periodic deep cleanings and reapply a protective topcoat when needed. These simple steps will help you keep your refinished engineered wood floors looking great and performing well.
When to Call a Professional vs. DIY Refinishing for Engineered Wood
When should you consider calling a professional instead of tackling engineered wood refinishing yourself? If you want to refinish your engineered hardwood and guarantee a good quality result, knowing when to hire a professional is key.
Consider these factors:
Your flooring has a thin veneer, which increases the risk of damage during sanding if you try a DIY project.
The existing finish might be heavily worn or uneven, and that usually requires expert assessment and specialized tools.
Also, if there’s water damage or moisture issues, that can complicate the refinishing process.
And if you don’t have experience or access to a reputable flooring contractor who can ensure good results, it’s better to call in a pro.
DIY refinishing can save you money, but it carries risks—especially if your wear layer is less than 3mm thick.
Hiring a professional means you get a precise evaluation and a durable finish, helping you preserve your investment.
Frequently Asked Questions
Can Engineered Wood Flooring Be Refinished if It Has Water Damage?
You can refinish engineered wood flooring with water damage if the damage assessment shows minor issues and the wear layer is thick enough.
The refinishing process involves sanding and repair techniques, but significant warping may require replacement.
Proper flooring maintenance and preventive measures reduce restoration costs.
Always evaluate the damage carefully or consult a professional to guarantee effective restoration without compromising structural integrity during the refinishing process.
How Does Humidity Affect Refinished Engineered Wood Floors?
Humidity levels directly impact refinished engineered wood floors by causing wood expansion and moisture retention.
Seasonal changes can lead to gaps or cupping if humidity fluctuates beyond 30%-50%. You should guarantee proper air circulation to minimize these effects.
Using advanced refinishing techniques and applying protective coatings helps reduce moisture absorption.
Monitoring humidity prevents long term effects like delamination or warping, preserving the floor’s integrity and appearance over time.
Are There Eco-Friendly Finishes Suitable for Engineered Wood?
You might think eco-friendly finishes can’t protect engineered wood well, but that’s not true. You can use water-based coatings and low VOC finishes that reduce environmental impact while offering durability.
Eco-friendly stains, natural oils, and biodegradable sealants nourish the wood without harmful chemicals.
Sustainable products like organic waxes also provide a protective barrier. These options guarantee your floors stay beautiful and safe for indoor air quality.
Can Pets Damage Refinished Engineered Wood Floors More Easily?
Yes, pets can damage refinished engineered wood floors more easily because of their behavior, especially scratching and urine exposure.
To keep your floors looking good, it’s a smart idea to choose pet-friendly finishes that can handle a bit more wear and tear.
Also, practicing proper maintenance really helps. For example, cleaning up messes promptly can prevent lasting damage.
You might want to use protective rugs in areas where your pets hang out the most, and keep their nails trimmed to avoid scratches.
Regular floor protection goes a long way in maintaining the integrity of your floors despite pet activity.
What Is the Average Lifespan of a Refinished Engineered Wood Floor?
You can expect the average lifespan of a refinished engineered wood floor to range between 10 to 30 years. Lifespan factors include the thickness of the wear layer, finish types, and the quality of the refinishing process.
To maximize engineered wood durability, follow maintenance tips like regular cleaning and protecting against surface scratches.
Long term care also helps reduce refinishing costs by extending intervals between refinishing sessions.
This way, your floor stays attractive and durable for years to come. Taking a little extra time with care really pays off!
Conclusion
Refinishing engineered wood is like giving your floor a fresh breath. If the wear layer’s thick enough, you can sand and stain it to restore its natural beauty. Check that layer carefully because it’s your floor’s lifeline.
With the right finish and maintenance, your engineered wood will stand strong against time’s wear. When in doubt, don’t hesitate to call a pro. They’ll help you navigate the process with precision and care, ensuring lasting results.