Can You Put Tile On Wood: Installation Tips
You can put tile on wood if you properly prepare the subfloor by securing loose boards and installing a stable backer board. Choose flexible adhesives rated S1 or S2 to handle wood movement, and use at least a 3mm adhesive bed. Incorporate movement joints to prevent cracks and allow expansion.
After tiling, apply flexible grout and seal it to protect from moisture. Following these steps guarantees a durable, long-lasting tile floor over wood. More detailed guidance will help you master the process.
Preparing Wood Floors Properly for Tiling
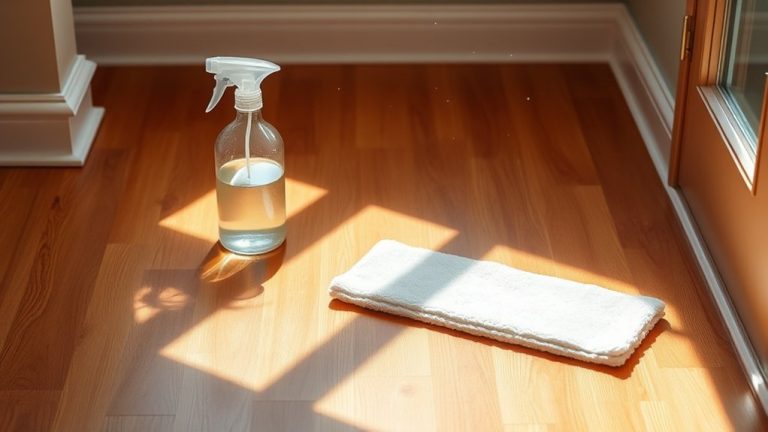
To prepare wood floors properly for tiling, start by thoroughly cleaning and drying the surface to eliminate any debris or moisture that could compromise adhesion.
Secure any loose or creaking floorboards to prevent movement, which causes tile cracking or delamination.
Ensure floorboards are firmly secured to avoid movement that leads to tile cracking or delamination.
Check for deflection due to insufficient support. Excessive bending under weight weakens the bond and damages tiles.
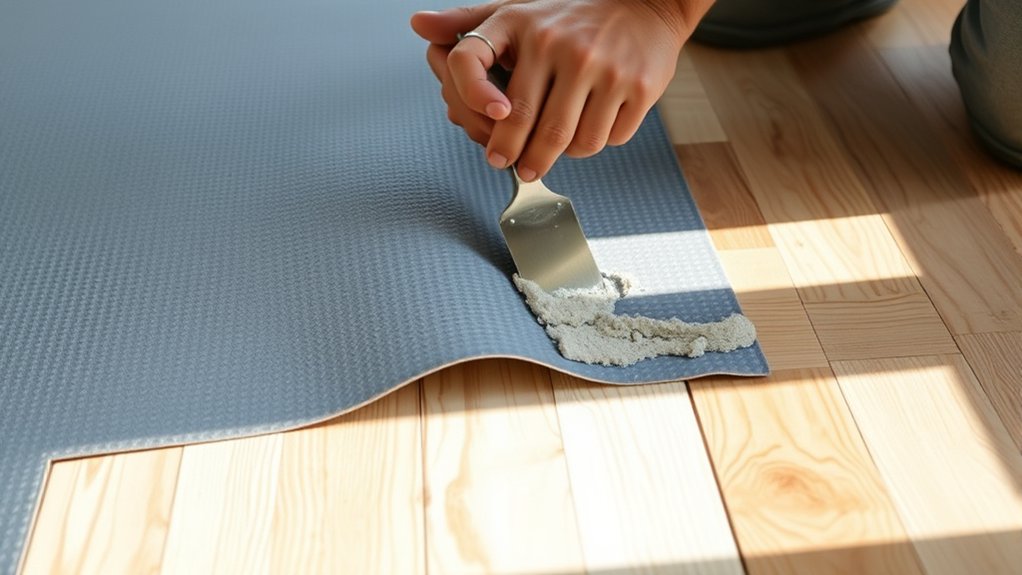
Installing a tile backer board over the wooden subfloor creates a stable, level platform that minimizes deflection and enhances durability.
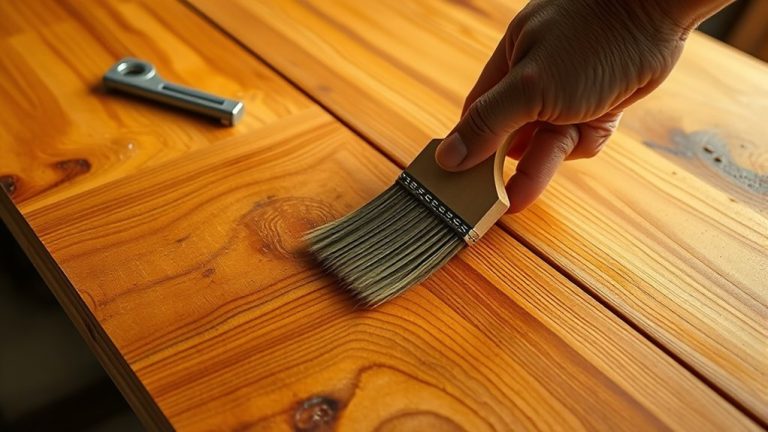
Before applying tile adhesive, use a suitable primer on the wood to promote a strong bond and resist moisture infiltration.
These steps guarantee the subfloor is properly reinforced and ready, providing a reliable foundation for long-lasting tile installation.
Choosing the Right Backer Board for Wood Subfloors
Selecting the right backer board for your wood subfloor is essential for a durable tile installation. For wooden floors, choose a backer board like 6mm tile backer board or 15mm plywood to enhance rigidity and support. This helps reduce deflection that can cause tile cracking.
If your floorboards aren’t tongue and groove, a backer board helps minimize movement, providing a stable base. Secure the backer board firmly with screws and tile adhesive to guarantee a level surface.
Using at least 10mm Weberfloor Flex can further strengthen the substrate and offset timber movement effects.
Always consult manufacturer guidelines for compatibility between your chosen backer board, tile adhesive, and tile type.
This methodical approach guarantees your tiled floor over wood remains solid and long-lasting.
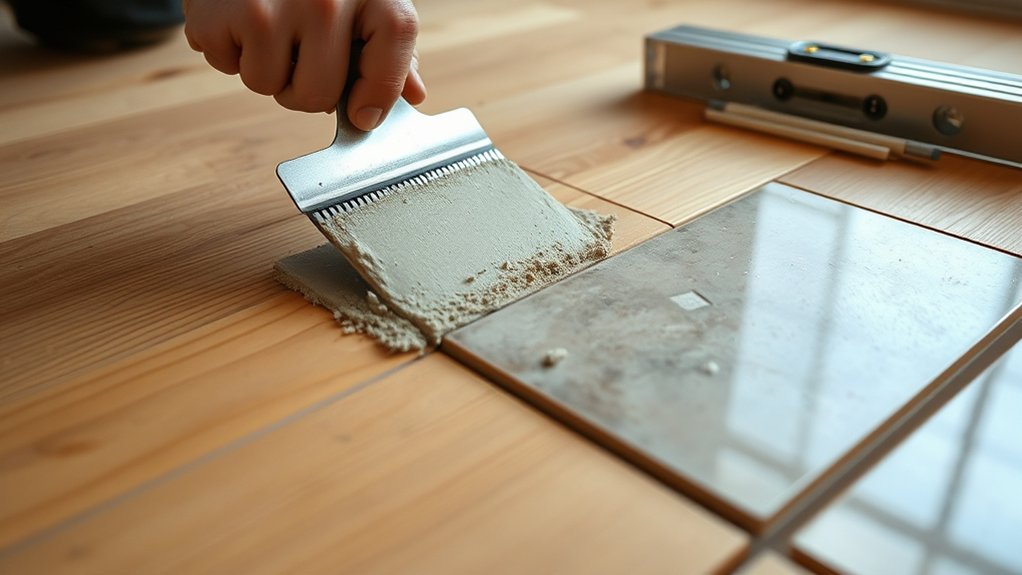
How to Select Flexible Adhesive for Tiling Over Wood
Choosing the right flexible adhesive is essential when tiling over wood to guarantee durability and prevent cracking. Opt for improved flexible tile adhesive (S1) for standard applications, and ultra-flexible adhesive (S2) when working with tiles larger than 400mm or heavier materials. Confirm the adhesive creates at least a 3mm bed to accommodate wood’s natural movement.
It’s important to select a flexible adhesive specifically formulated for wood substrates, as this prevents separation caused by moisture and temperature fluctuations.
Before application, consider priming the wood to boost adhesion and waterproofing, especially in humid conditions.
Always follow the manufacturer’s instructions for mixing and applying the adhesive to maximize bonding strength and longevity. This methodical approach guarantees a reliable, long-lasting tile installation over wood.
Installing Tiles on Wood Floors: A Step-by-Step Guide
Before you start laying tiles on a wood floor, make sure the subfloor is secure and rigid to prevent any movement.
You’ll want to install a cement backer board or plywood first. This creates a stable, level surface that can handle the natural expansion of wood.
After that, apply the right flexible adhesive.
Using proper trowel techniques will help ensure a strong bond and long-lasting durability.
Preparing Wooden Subfloor
Although wooden subfloors can present challenges for tile installation, properly preparing them guarantees a durable and stable foundation. Start by ensuring the wooden subfloor is structurally sound. Secure loose boards and check that it’s rigid enough to support the tile weight.
Next, add a backer board or an additional plywood layer to create a level, stable surface that minimizes deflection. Clean the wooden subfloor thoroughly. Then, apply a primer designed to enhance adhesion and prevent moisture issues.
When it’s time to install tiles, use a flexible adhesive specifically formulated for wood substrates. This kind of adhesive accommodates the natural expansion and contraction of wood without compromising the tile bond.
Finally, keep an eye on temperature and humidity during installation. Doing this helps reduce the risk of tile movement or cracking over time.
Preparing your wooden subfloor carefully is essential if you want long-lasting tile flooring. It might take a bit of extra effort, but it’s totally worth it in the end.
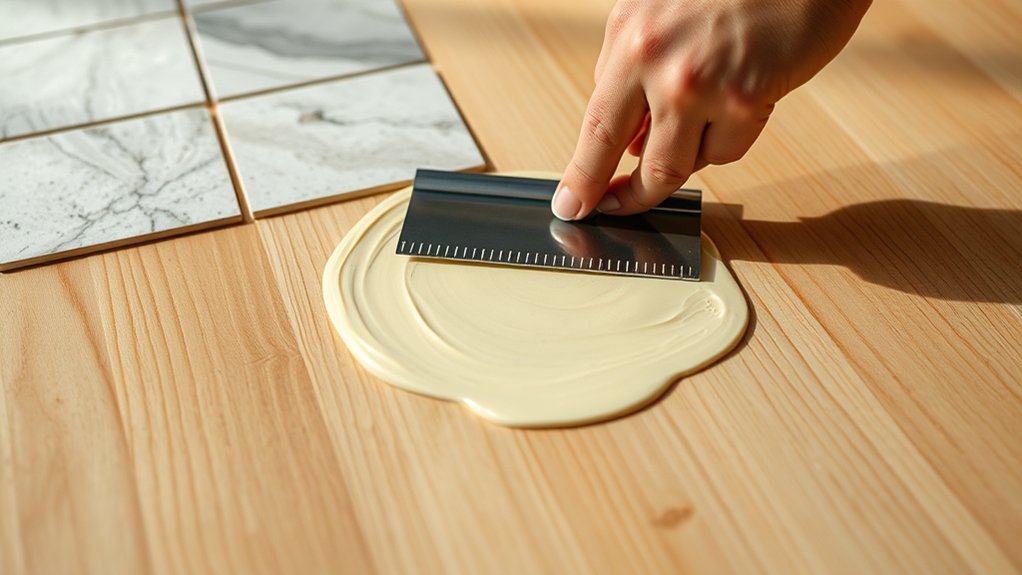
Laying Tiles Properly
When you’re ready to lay tiles on a wooden floor, start by selecting a central focal point to guarantee a balanced layout.
Confirm the wooden subfloor is primed to enhance adhesion and protect against moisture before applying the flexible tile adhesive. Use an S1 or S2 flexible tile adhesive to accommodate the natural expansion and contraction of the wood, especially with larger or heavier tiles.
Lay tiles from your focal point, using spacers to maintain even gaps and consistently check for levelness.
After the adhesive cures, apply a flexible grout to manage movement between tiles.
This method confirms stability and longevity, preventing cracking or loosening caused by wood’s natural movement and moisture exposure.
It really helps keep your tiles looking great for years to come.
Preventing Cracks by Managing Wood Movement During Installation
To prevent cracks, it’s important to give wood room to expand and move naturally during installation. You’ll want to leave some space for that movement so the wood doesn’t get stressed.
Also, using flexible adhesives rated S1 or S2 really helps. These adhesives keep a strong bond even when the wood expands and contracts, which is key to avoiding damage.
And don’t forget about movement joints, especially in larger areas. They act like little shock absorbers, letting the wood shift without causing the tiles to crack.
This way, everything stays intact and looking great.
Accommodate Wood Expansion
Since wood naturally expands and contracts with changes in temperature and humidity, you’ll need to manage this movement carefully during tile installation.
Begin by securely fastening all floorboards to minimize localized movement that could stress the tile surface.
Install a backer board or cement board over the wood subfloor to create a stable, level base that helps reduce the effects of wood expansion.
Incorporate movement joints at regular intervals within the tile layout. These joints absorb dimensional changes and prevent cracking.
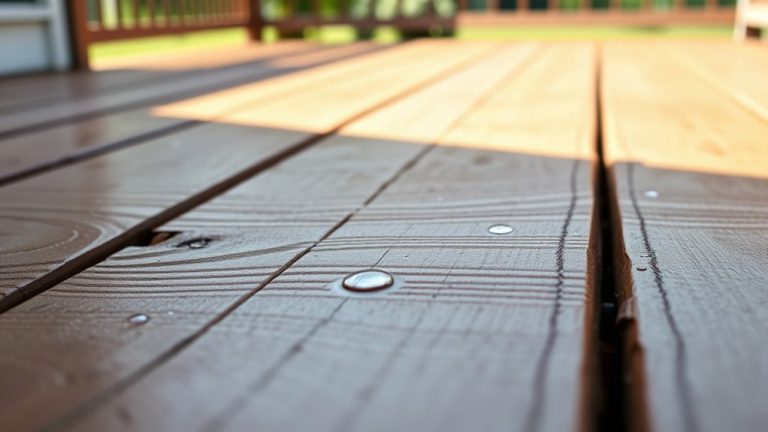
Keep an eye on the room’s moisture levels during installation because excessive humidity can cause wood swelling, which might compromise tile adhesion.
Flexible adhesives are important for accommodating expansion, but here, the focus is on structural preparations.
This way, the wood can move without transferring stress to the tile layer, ensuring a durable, crack-resistant finish.
Use Flexible Adhesives
Choose flexible adhesives rated S1 or S2 to accommodate the natural movement between your wooden subfloor and tiles. This considerably reduces the risk of cracks caused by temperature changes and wood expansion.
When ceramic tiles are installed on wood, flexible adhesives allow the substrate to move without stressing the tile layer.
To optimize installation, apply a minimum 3mm bed of flexible adhesive. This guarantees proper bonding and helps accommodate movement.
Also, back-butter ceramic tiles with adhesive to enhance bond strength and manage shifts between wood and tiles.
Make sure to maintain at least 3mm wide joints between tiles. This prevents stress concentration and cracking.
Ultra-flexible adhesives are especially important for larger tiles over 400mm. They ensure long-term durability and stability on wooden substrates.
Install Movement Joints
Position these joints at all changes of plane, like where tiles meet walls or other surfaces, to relieve stress and prevent cracking or delamination. Use flexible grout or caulk within the movement joints to absorb shifts and maintain a watertight barrier. This is essential for minimizing moisture damage.
In high-traffic or heavy-load areas, add extra movement joints to further reduce stress on the tile.
Regularly inspect these joints for wear or failure since their integrity is important for long-term performance.
By carefully planning and maintaining movement joints, you guarantee your tile installation remains durable and resistant to wood movement over time.
It’s a simple step that makes a big difference in the lifespan of your floors.
Grouting and Sealing Tiles on Wood for Lasting Results
Before applying grout, you’ll want to confirm the tile adhesive has fully cured. This usually takes 24 to 48 hours depending on the product.
Use flexible grout designed for floor tiles to accommodate wood’s natural expansion and contraction. This helps prevent cracks.
When grouting, follow these steps:
- Apply grout evenly, pressing it firmly into joints to guarantee full coverage.
- Clean excess grout promptly with a damp sponge to avoid staining and hardened residue.
- After grout cures for at least a week, seal the grout lines with a quality grout sealer. This protects against moisture infiltration and staining.
This methodical approach to grouting and sealing guarantees durable, moisture-resistant tile installation on wood surfaces.
Maintaining Tile Floors on Wood for Long-Term Durability
Although tile floors on wood offer a beautiful and durable surface, maintaining their long-term integrity requires careful attention to the natural movement of wood. To prolong your tile floor’s life, regularly inspect tile floors for cracks or loosening caused by wood’s expansion and contraction.
Keep humidity levels stable between 30-50% to minimize swelling and shrinkage. Using flexible grout or adhesive laid thick helps accommodate this movement without causing damage.
| Action | Purpose |
|---|---|
| Regular inspections | Detect early cracks or movement |
| Stable humidity control | Prevent wood warping and tile stress |
| Flexible grout & adhesive | Absorb wood movement without damage |
Clean spills immediately and schedule periodic maintenance to reseal grout and reinforce joints. This will help keep your tile floors on wood durable and looking great for years to come.
Frequently Asked Questions
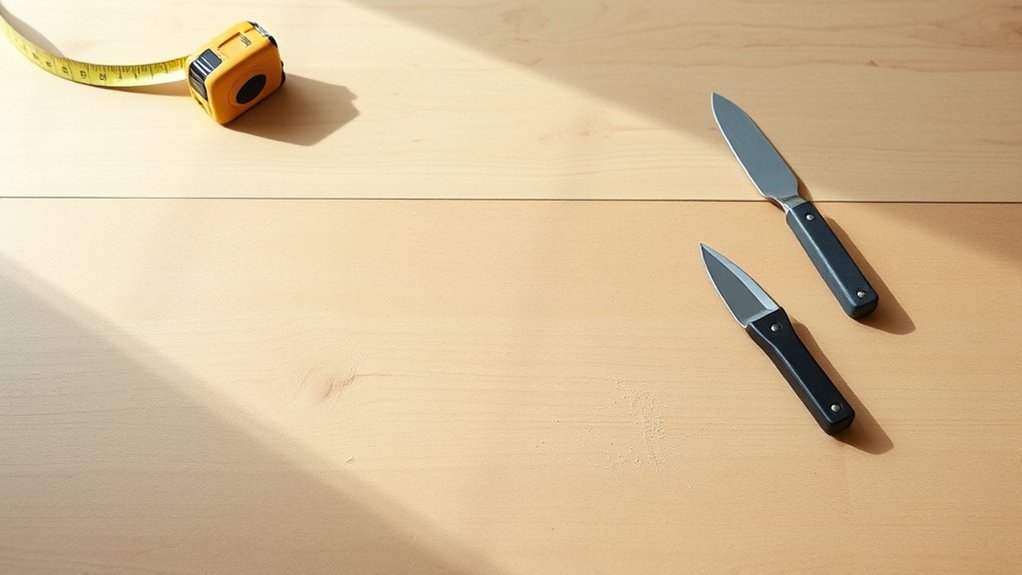
Can Tile Be Installed Directly Over Plywood Without Backer Board?
You know what they say: “Measure twice, cut once.” Yes, you can install tile directly over plywood without backer board, but you must address tile adhesion challenges carefully.
Make sure your plywood thickness is at least 5/8 inch to prevent deflection. It’s important to apply a quality moisture barrier and primer to protect against water damage.
Also, use ultra-flexible adhesive to handle wood’s natural movement. This will help guarantee a durable, crack-resistant tile installation.
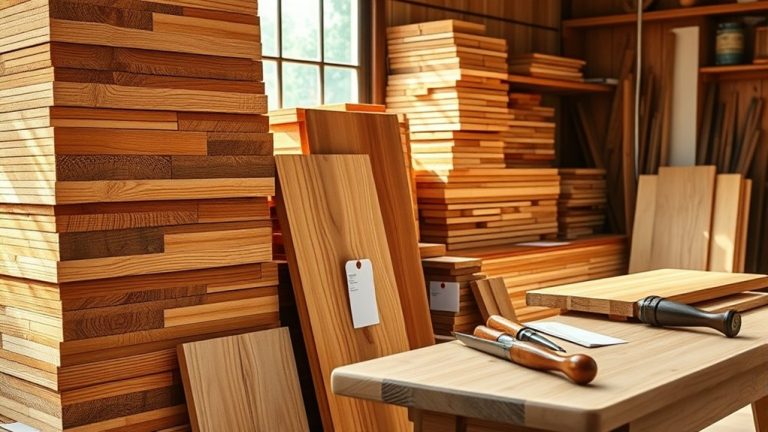
What Types of Wood Subfloors Are Best for Tiling?
The most popular wood types for tiling are 15mm thick plywood and 18mm tongue-and-groove chipboard, as they offer stability and rigidity.
You’ll want to evaluate moisture carefully. Make sure the subfloor is dry and free from warping.
If you have non-tongue-and-groove floorboards, it’s a good idea to reinforce them with a cement backer board or plywood to prevent movement.
Proper installation techniques are key here. That means gauging load capacity and adding backer boards when necessary to guarantee a long-lasting tile surface.
Taking these steps will help your tiles stay put and look great for years to come.
How Long Should Thin-Set Mortar Cure Before Walking on Tiles?
You should wait 24 to 48 hours before walking on tiles to guarantee thin-set drying is effective. This tile installation technique prevents tile displacement and guarantees a strong bond.
Remember, full curing can take up to 28 days, so avoid heavy loads during this time.
Following proper tile maintenance tips, like maintaining consistent temperature and humidity, helps the mortar cure efficiently and extends your tile’s lifespan.
Always check product guidelines for specifics.
Are Radiant Heating Systems Compatible With Tile on Wood Floors?
Yes, radiant heating compatibility with tile on wood floors is achievable but demands attention to installation challenges.
You’ll need to reinforce the subfloor to prevent movement and use flexible adhesive to handle thermal expansion. Also, confirm the wood is dry and stable before installation.
For maintenance considerations, proper insulation beneath the system improves efficiency and protects your tile.
This reduces risks of cracking or damage over time. Taking these steps helps ensure your radiant heating system works well with your tile on wood floors.
Can Tile on Wood Floors Be Removed Easily if Needed?
You might think tile on wood floors can be removed easily, but removal techniques show it’s often tough. If you used rigid adhesive, removal risks damaging the wood beneath, requiring repairs.
Choosing flexible adhesive and thorough floor preparation, like installing a backer board, makes future removal smoother.
Proper adhesive options and preparation are critical to minimize damage and labor during tile removal.
Conclusion
You can confidently conquer tile installation on wood by carefully choosing materials and controlling conditions. Preparing properly prevents problems, picking the perfect backer board boosts durability, and selecting flexible adhesive supports stability. Step-by-step, you’ll secure strong, stunning surfaces.
Managing movement minimizes cracks, while meticulous grouting and sealing maintain lasting beauty. With mindful maintenance, your tiled wood floor will withstand wear, welcoming warmth and wonder for years to come. You’ve got this!