Can You Spray Stain On Wood: Application Tips Explained
You can spray stain on wood to get fast, even coverage that penetrates deeply for a rich, professional finish. Clean and prepare your wood and workspace first. Then set your sprayer with the right tip and maintain a consistent 12-inch distance while spraying along the grain.
Choose the correct stain type, whether water, oil, gel, or alcohol based. Adjust your technique for different wood types. Master these basics now and uncover expert tips for flawless, long-lasting results.
How Spray Stain Differs From Other Wood Finishes
While traditional wood finishes often rely on brushes or rollers, spray stain offers a distinct advantage with its thinner consistency. This lets you apply an even coat without brush marks or roller streaks.
Unlike spray paint, spray stain uses lower pressure, which helps you avoid blotches and achieve a delicate, uniform finish. You’ll notice that spray stain penetrates deeper into the wood grain, especially on porous materials like cork or softwoods. This results in a more consistent color.
By maintaining a consistent distance and a lighter touch, you prevent oversaturation and uneven coloring.
Plus, spray stain covers large areas faster than brushes or rollers, making it a more efficient choice when you want a smooth, professional-looking wood finish.
Preparing Wood and Workspace for Spray Staining
First, give the wood a good cleaning to get rid of any dirt—that way, the stain will go on evenly.
Then, make sure to protect your workspace by covering any nearby surfaces.
It’s also a good idea to put barriers between the slats to catch any overspray.
Before you start staining, test your spray pattern on a piece of cardboard to make sure you’re getting uniform coverage and that you’ve got the right spray tip.
Wood Surface Cleaning
A well-prepared wood surface is essential for achieving an even and lasting spray stain finish. Start by thoroughly cleaning the wood using a wood cleaner or power-washing it several days before staining. This removes dirt, oils, and old finishes that interfere with stain absorption.
Make sure to clear the area of furniture and debris so you have full access to the surface. It’s also a good idea to protect nearby plants and unintended areas to avoid any overspray contamination.
Focus on these key steps:
- Use a wood cleaner or power wash to remove contaminants.
- Insert cardboard behind wide slats to prevent stain overspray.
- Remove furniture and clear space for unimpeded access.
Proper cleaning helps the stain adhere evenly, which enhances both the appearance and durability of your wood surface.
Workspace Protection Setup
Three critical steps guarantee your workspace is ready for spray staining: ventilation, surface protection, and test spraying.
First, verify your area is well-ventilated to avoid inhaling harmful fumes, especially with oil-based stains.
Next, shield all nearby surfaces, like walls, plants, and furniture, using drop cloths or plastic sheets to keep them safe from overspray.
For fence projects, place cardboard between slats to prevent bleed-through.
Before staining, clean the wood thoroughly to promote even absorption.
Though test spraying is essential, save detailed spray pattern evaluation for the next section.
However, initially checking the spray pattern on cardboard helps confirm your spray tip choice and guarantees consistent coverage.
Proper workspace protection is key to achieving a flawless, professional finish while maintaining safety and cleanliness.
Testing Spray Patterns
Before you apply stain to your project, mixing all containers thoroughly guarantees consistent color and texture throughout.
Next, test your spray gun’s pattern on a piece of cardboard before moving to wood. This helps you adjust settings and select the right spray tip based on the stain’s viscosity and desired finish.
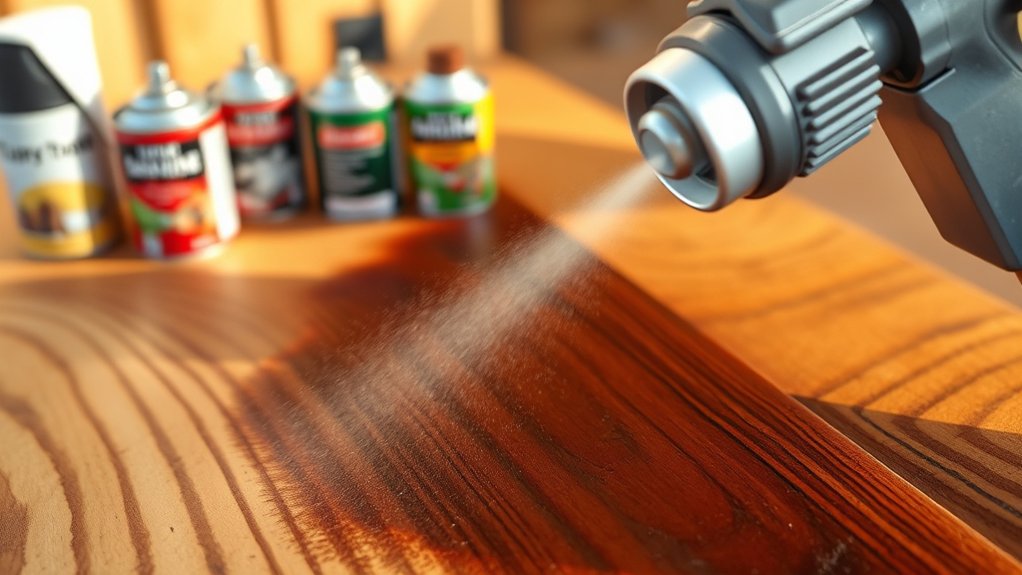
Start with the lowest pressure to maintain control and achieve a fine mist. Hold the spray gun about 12 inches from the surface to secure even coverage without oversaturation.
Remember, a clean, protected workspace prevents contamination and overspray damage.
Choose spray tips suited for your stain’s thickness. Begin spraying at low pressure for better control. Maintain a consistent 12-inch distance for uniform application.
Setting Up Your Paint Sprayer for Even Application
When setting up your DeVilbiss Finishline HVLP gravity cup gun, you’ll want to guarantee the pressure at the gun is around 23 psi for ideal spray performance.
Begin by backing out the fluid setting 2.5 turns, then gradually adjust the fluid needle until the stain lightly floods the wood surface.
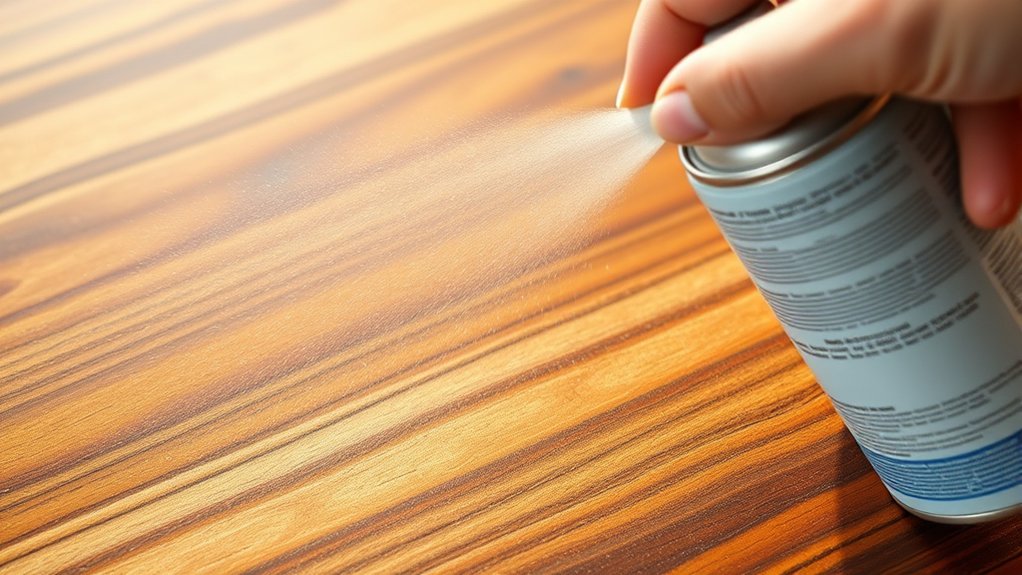
Keep a consistent 12-inch distance from the wood to ensure even application and prevent blotching. Before applying stain, test your paint sprayer on cardboard to verify a uniform spray pattern.
While spraying, overlap each pass by 50% to achieve consistent coverage across the entire surface.
Properly setting up your paint sprayer this way guarantees smooth, professional results and maximizes your stain’s effectiveness.
Types of Wood Stain Best for Spraying
You’ll find water-based stains easier to spray, plus they dry faster, which is always a bonus.
On the other hand, oil-based stains give you that richer, deeper color, but they do need a bit more attention when it comes to pressure and drying time.
Then there are gel stains. These guys are thicker, so using an airless sprayer helps keep things under control and cuts down on drips.
It’s definitely worth the extra effort if you want a smooth finish.
Alcohol-based stains are pretty cool too. They evaporate quickly and go on smoothly, making them perfect for both detailed work and larger surfaces.
Water-Based Vs Oil-Based
Although water-based stains dry faster and are easier to spray because of their thinner consistency, they often need multiple coats to get the depth of color you want.
Oil-based stains, on the other hand, give richer color and penetrate deeper into the wood. But they take longer to dry and require more cleanup.
When you’re choosing between water-based and oil-based stains for spraying, keep a few things in mind:
Water-based stains need higher spray pressure and smaller tips (around 1 mm) to atomize properly.
Oil-based stains spray better at lower pressure with larger tips (about 1.4 mm) for a more controlled application.
It’s a good idea to test both types on scrap wood. That way, you can see how they absorb and check if the finish looks the way you want since different wood species can affect how stains behave.
Knowing this helps you pick the right stain and settings to get a flawless sprayed finish.
Gel Stain Considerations
Gel stains differ greatly from water- and oil-based stains due to their thicker consistency, which can challenge traditional spray methods. To spray gel stains effectively, you’ll want to use an airless sprayer designed for high-viscosity products.
Start by thoroughly cleaning and preparing your wood surface to prevent blotching and guarantee even coverage.
Adjust your sprayer settings by increasing fluid pressure and lowering air pressure to handle the gel’s density. Using a spray tip made for thicker materials will improve atomization and help you achieve a smooth finish.
Always test your spray pattern on scrap wood first to avoid uneven application or visible spray marks.
Following these gel stain considerations will help you get professional results when spraying thicker stains.
Alcohol-Based Stain Benefits
When selecting a stain for spraying, alcohol-based options like Mohawk Ultra Penetrating Stain offer distinct advantages because of their thin consistency and rapid absorption.
These stains soak deeply into wood fibers, giving you vibrant color and really bringing out the grain, especially in ring-porous woods.
You’ll like the quick drying time, which means fewer drips and runs, making it easier to get a smooth, even finish.
Plus, spraying with alcohol-based stains speeds up your work, especially when covering large surfaces. Just remember to always test on scrap wood first to see how the color absorbs and check for blotching.
Key benefits include:
- Fast drying, minimizing streaks and runs
- Deep penetration for enhanced grain detail
- Suitable for various wood species with proper testing
Step-by-Step Guide to Spray Staining Wood
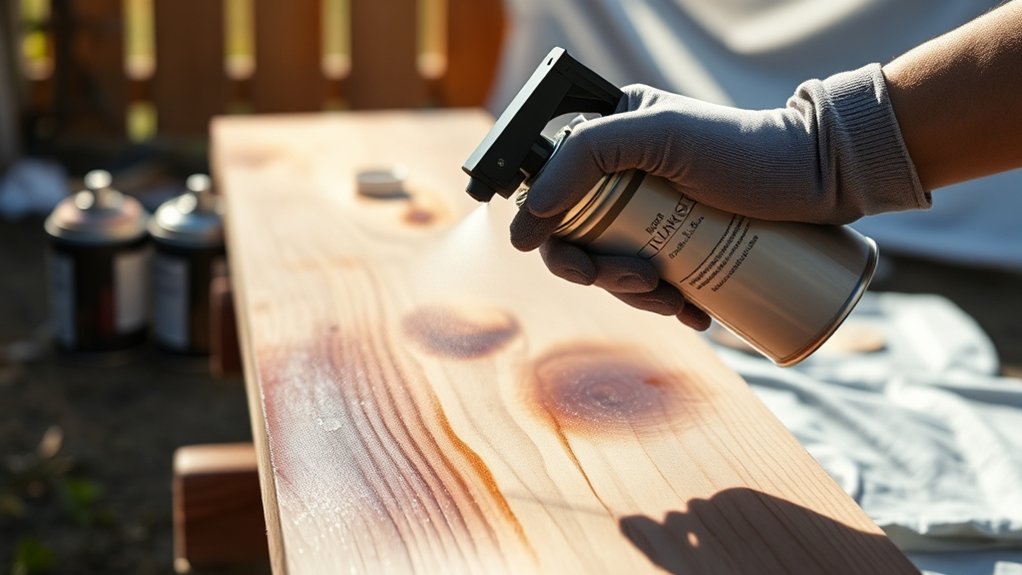
Start by thoroughly preparing your wood surface to secure an even and lasting stain application. Clean the wood using a wood cleaner or power washer to remove dirt and prevent blotching.
Next, mix stain containers for a uniform color and test the spray pattern on cardboard, adjusting spray tips as needed.
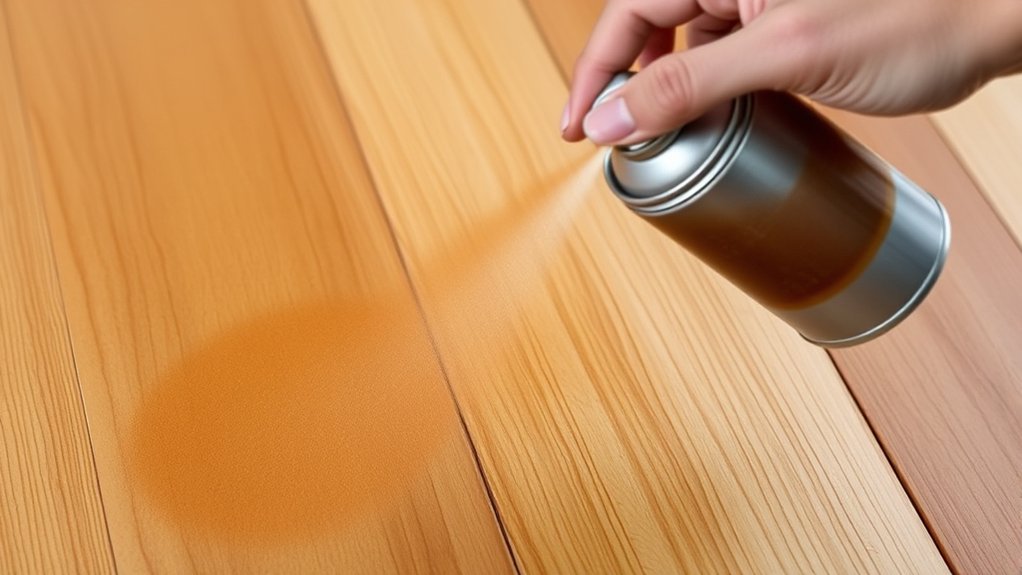
Hold the spray gun about 12 inches from the surface, spraying along the grain with 50% overlap on each board for consistent coverage.
Begin with low air pressure to maintain control, then gradually increase it while lowering fluid pressure to avoid oversaturation.
Watch closely for drips during application, wiping them away promptly with a brush or rag to maintain a smooth, clean finish.
Following these steps will help you achieve professional spray staining results. Just take it one step at a time, and you’ll have great-looking wood in no time.
Avoiding Common Spray Staining Problems
Although spray staining can deliver beautiful results, overlooking key techniques often leads to common problems like blotching, oversaturation, and uneven color.
When spraying on wood stain, maintain a consistent spray distance of about 12 inches and overlap each pass by 50% to avoid flooding.
Use a washcoat on ring-porous woods to limit dye penetration and reduce blotching. Adjust your spray equipment to around 30 psi air pressure and 7-10 psi fluid pressure for best control.
To avoid these issues, consider testing your spray technique on scrap wood before the main project. Also, keep an eye on your spray area for contaminants like glue marks.
Make sure to maintain consistent pressure and spray distance throughout the process. These simple steps will help you get a smooth, even finish every time.
Choosing the Right Spray Stain Technique for Your Wood Type
Mastering spray stain application means tailoring your technique to the wood you’re working with. Different wood types absorb stains uniquely.
For example, ring-porous woods often need extra steps like a washcoat of dewaxed shellac to prevent uneven dye penetration. Softer woods demand careful spraying to avoid blotching, so applying light, even coats works best.
When working with cork, try flooding or no-wipe applications on scrap pieces to find the ideal method.
Adjust your spray settings wisely. Raising air pressure while lowering fluid pressure improves coverage and prevents oversaturation, especially with thin alcohol-based stains like Mohawk Ultra Penetrating Stain.
Finishing and Protecting Spray-Stained Wood
Once the spray stain has fully dried, usually after at least 24 hours, you’ll want to apply a protective finish to preserve your work.
Choose a compatible topcoat, like urethane or varnish, to shield the wood from wear and moisture. Applying thin, even coats guarantees a smooth, durable surface.
Make sure to let each layer dry completely before adding the next. For better adhesion and to prevent blotching, you might want to try a washcoat of dewaxed shellac before the final finish.
It’s always a good idea to test your finish on scrap wood first to make sure it’s compatible.
Here are some key finishing tips for you:
- Use thin, even coats for consistent protection
- Apply a dewaxed shellac washcoat to avoid blotching
- Test finishes on scrap pieces before full application
Proper finishing really helps secure your spray stain’s beauty and longevity.
Frequently Asked Questions
Can I Spray Stain on Previously Finished Wood?
Yes, you can spray stain on previously finished wood, but you need to make sure the finishes are compatible first.
Lightly sand the surface to help the new stain stick better and soak in evenly.
It’s a good idea to test on a small spot before doing the whole piece. This way, you can avoid blotching or other surprises.
Using a washcoat can also help create a more uniform look, especially on woods that are tricky to stain.
Just make sure the original finish is completely cured before you start spraying.
Otherwise, you might end up with peeling or uneven color.
Taking these steps will give you the best results.
How Long Does Spray Stain Take to Dry Completely?
Spray stain typically dries to the touch within 30 minutes to 1 hour, but complete drying can take 24 to 48 hours depending on drying factors like temperature, humidity, and ventilation.
Alcohol-based stains often dry faster due to their thin consistency.
You’ll want to make sure the stain is fully dry before applying additional coats or finishes to avoid smudging or uneven color.
Proper ventilation speeds up drying time considerably. So, keeping your workspace airy really helps the process move along quicker.
Is It Safe to Spray Stain Indoors With Proper Ventilation?
Yes, you can spray stain indoors safely if you prioritize ventilation importance.
Make sure you open windows and use fans to circulate fresh air, reducing harmful fumes. Using an HVLP sprayer minimizes overspray, and wearing protective gear like masks and goggles keeps you safe.
Opt for low-VOC or water-based stains to further improve indoor air quality.
Proper ventilation is essential to protect your health during the staining process. Just keep the air moving, and you’ll be fine!
Can I Mix Different Stain Colors in a Sprayer?
Yes, you can mix different stain colors in a sprayer for effective color blending. Just make sure you use stains with the same base type to avoid separation.
It’s a good idea to test your blend on scrap wood first to check the hue.
Also, be sure to clean the sprayer thoroughly between colors to prevent contamination.
Keep track of your mixing ratios so you can replicate the color later. Starting with lighter stains and gradually adding darker shades gives you better control.
How Do I Clean My Sprayer After Using Wood Stain?
To clean your sprayer after staining, start sprayer maintenance by flushing it immediately with the right solvent. Use mineral spirits for oil-based stains or water for water-based ones.
Next, disassemble the sprayer following the manual.
Then scrub the fluid tip, needle, and cup with a soft brush to get rid of any residue.
Rinse all the parts until clear solvent runs through.
Finally, let everything dry completely before you put it all back together. This way, your sprayer will stay in top condition.
Conclusion
Spray staining wood is like painting with a fine mist that brings out the grain’s natural beauty effortlessly. By preparing your wood and workspace carefully, setting up your sprayer correctly, and choosing the right stain, you’ll achieve a smooth, even finish every time.
Just follow each step precisely, avoid common pitfalls, and finish with protection to guarantee your wood looks stunning and lasts long. With these tips, your spray staining project will be a professional success.