How To Replace A Chainsaw Chain – Simple Replacement Steps
To replace your chainsaw chain, first power off and wear gloves and eye protection for safety. Loosen the side panel nuts with a scrench or wrench, then pull the guide bar to release the old chain. Remove it carefully and inspect the guide bar.
Next, thread the new chain around the clutch drum, making sure the cutting teeth face outward. Then position the chain on the bar. Adjust the tension using the tensioning screw and tighten the side plate nuts securely.
Proper tension prevents derailment and wear. Keep following for detailed guidance on ensuring your chainsaw runs smoothly and safely.
Stay Safe: What to Know Before Replacing Your Chainsaw Chain
Before you start replacing your chainsaw chain, make sure the tool is completely powered off by removing the battery or unplugging it from the socket.
To stay safe, always switch off the engine and engage the chain brake to prevent accidental movement. Wear gloves made from robust materials to protect your hands from sharp edges during handling.
Always switch off the engine, engage the chain brake, and wear sturdy gloves for safe chainsaw handling.
Also, put on protective eyewear to shield your eyes from any flying debris that might occur during the process. Follow the manufacturer’s safety guidelines precisely to reduce injury risks.
Taking these steps guarantees you maintain control and safety while working on your chainsaw chain replacement. This helps prevent unexpected starts or injuries.
Tools You Need for Chainsaw Chain Replacement
You’ll want to have a scrench or a flathead screwdriver handy to adjust and remove parts while replacing your chainsaw chain. A socket wrench can come in useful too, especially if you need a bit of extra leverage.
Make sure you pick a replacement chain that matches your chainsaw model—this helps ensure a proper fit and keeps everything running smoothly.
And don’t forget to wear gloves! They’ll protect your hands from sharp edges and potential injuries during the whole process.
Essential Replacement Tools
Although replacing a chainsaw chain is straightforward, having the right tools is vital for efficiency and safety. To replace a chainsaw chain properly, you’ll need these important tools to manage chainsaw chain tension and handle the chainsaw guide bar effectively:
- Scrench combines a flathead screwdriver and socket wrench, ideal for loosening nuts and adjusting chain tension.
- Flathead screwdriver is essential for adjusting the chainsaw chain tension screw precisely.
- Socket wrench is optional but helpful for easier removal of guide bar nuts.
- Replacement chainsaw chain must be compatible with your chainsaw model to guarantee proper fit and function.
Using these tools guarantees you replace a chainsaw chain efficiently while maintaining peak chainsaw performance.
It really makes the whole process smoother and safer.
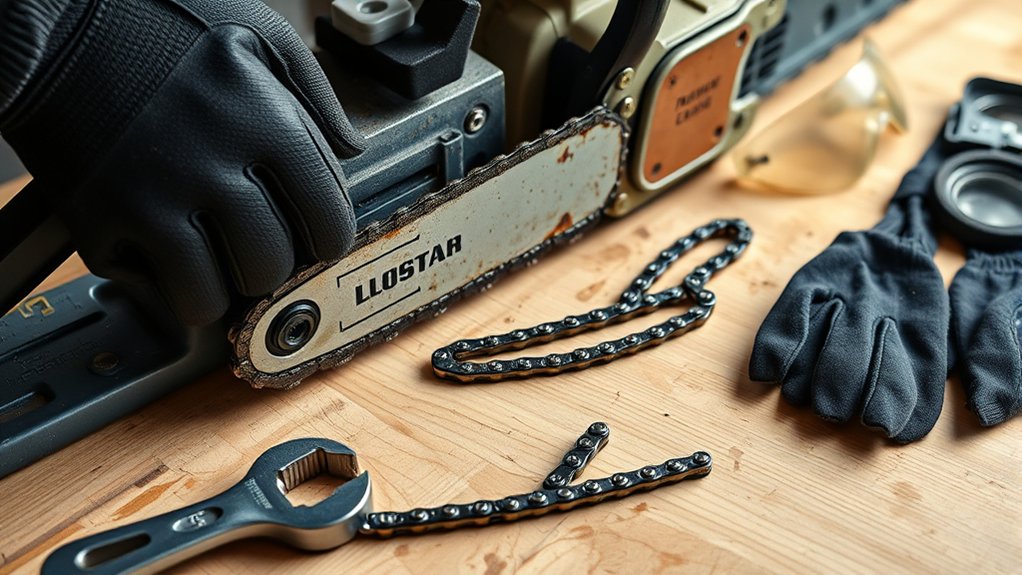
Safety Gear Requirements
Because handling a chainsaw chain involves sharp components and potential hazards, you must wear appropriate safety gear to protect yourself during replacement. Start by putting on robust work gloves to shield your hands from cuts and abrasions.
Eye protection is critical to guard against flying debris. Closed-toe or steel-toed boots will protect your feet from dropped tools. Long pants and a long-sleeved shirt protect your skin from scrapes and minor cuts.
| Safety Gear | Purpose |
|---|---|
| Work Gloves | Protect hands from cuts |
| Eye Protection | Shield eyes from debris |
| Closed-Toe Boots | Prevent foot injuries |
| Long Pants | Protect skin from scrapes |
Wearing this safety gear guarantees you stay safe and efficient throughout the chain replacement process. It’s a simple step that makes a big difference.
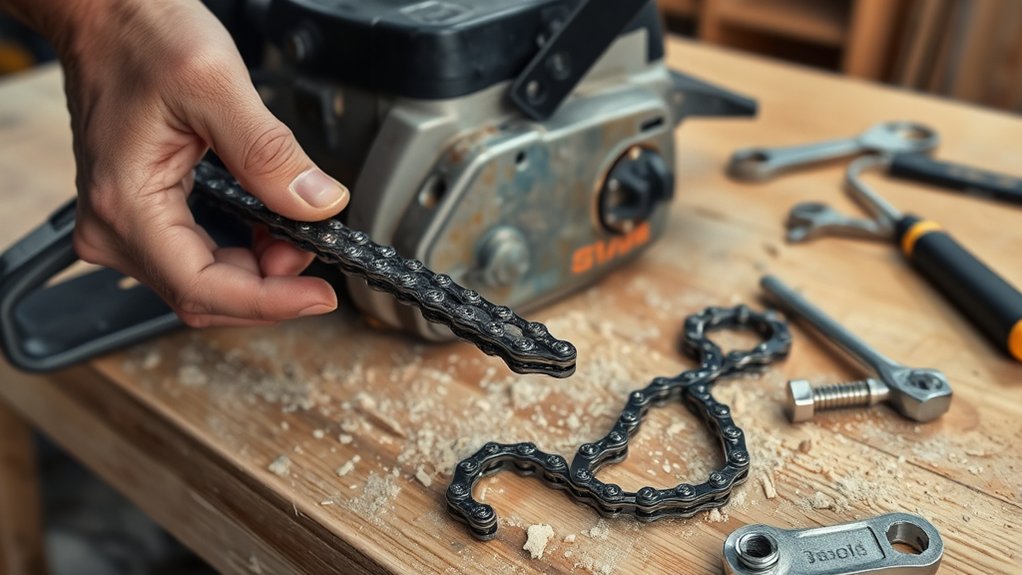
How to Remove the Old Chainsaw Chain Properly

First, go ahead and unscrew the guide bar side panel so you can get to the chain and guide bar assembly.
Before you do anything else, make sure the chainsaw brake is disengaged.
Then, gently pull the guide bar nose away from the saw to release the tension on the chain.
This step is important because it lets you remove the old chain safely without causing any damage to the parts.
Guide Bar Panel Removal
Unscrew the guide bar side panel using the appropriate screwdriver or socket wrench designed for your chainsaw model.
Before you remove the guide bar, make sure the chainsaw brake is disengaged to avoid any safety hazards.
Then, follow these precise steps to remove the old chain properly:
- Pull the nose of the guide bar away from the chainsaw body to release tension on the chain.
- Slide the old chain carefully off the guide bar, making sure it also slips off the clutch drum.
- Remove the guide bar panel completely to access the chain and bar assembly.
- Inspect the guide bar for wear or damage before proceeding with installation.
This method guarantees you safely remove the old chain and guide bar panel without damaging any components.
Easy, right? Just take it step by step, and you’ll be all set.
Chain Tension Release
After removing the guide bar panel and releasing the brake, focus on easing the chain tension to remove the old chain safely.
Locate the tensioning screw near the guide bar; turning it counterclockwise will release the chain tension. Pull the nose of the guide bar away from the sprocket to slacken the chain.
Once the chain is loose, carefully slip it off the sprocket and clutch drum without forcing or damaging components. Then slide the chain off the guide bar completely. Properly releasing the chain tension prevents binding and guarantees smooth removal.
Avoid skipping this step, as a tight chain can cause damage to the guide bar or sprocket during removal. Following these precise actions guarantees safe and efficient chain replacement.
Getting the Guide Bar and Chain Tension Ready
Loosen the tensioning screw on the guide bar to relieve pressure on the old chain. This makes it easier to remove the chain without any hassle.
Next, get the guide bar and chain tension ready for the new chain by following these steps:
- Check that the drive links of the new chain are threaded correctly around the clutch drum and that they engage the sprocket properly.
- Make sure the chain’s sharp edges face outward as you thread the drive links into the guide bar and around the nose.
- Place the guide bar under the adjustment pin and pull it to apply some initial tension.
- Tighten the tensioning screw to set the proper chain tension. You’ll know it’s right when the chain snaps back after you give it a light pull from beneath the guide bar.
Doing this setup right is key to making sure your chain runs smoothly and safely before you secure the side plate.
How to Install Your New Chainsaw Chain
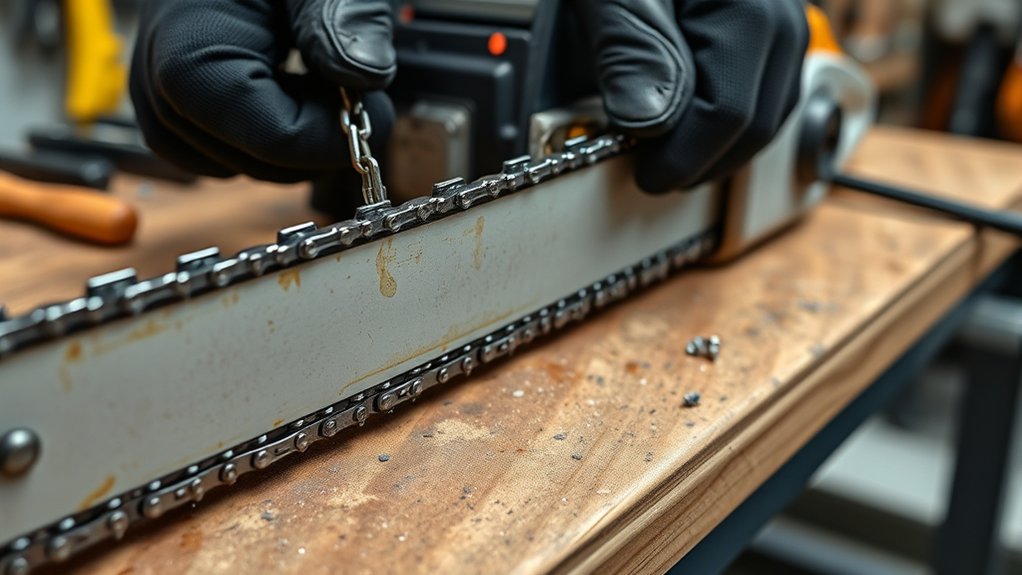
Start by carefully threading the new chain around the clutch drum. Make sure the drive links fully engage the sprocket teeth for smooth operation.
Next, insert the drive links into the guide bar, starting at the nose, with the cutting teeth facing outward. Pull the guide bar slightly to tighten the chain. It should be snug but still allow minimal movement.
Then, secure the side plate and tighten the chain by adjusting the tensioning screw. Finally, fasten the side plate nuts firmly.
| Step | Action | Result |
|---|---|---|
| Thread Chain | Engage drive links on sprocket | Smooth chain rotation |
| Position Chain | Align with guide bar nose | Correct cutting direction |
| Tighten Chain | Adjust tension screw | Safe, efficient cutting |
How to Adjust and Tension Your New Chainsaw Chain Correctly
While adjusting your new chainsaw chain, make sure it sits tight enough against the guide bar without sagging underneath.
To correctly adjust chain tension, follow these steps:
- Loosen the sprocket cover nuts to allow chain movement.
- Turn the tensioning screw clockwise to tighten the chain or counterclockwise to loosen it.
- Pull the chain away from the guide bar slightly; it should snap back into place without sagging.
- Retighten the sprocket cover nuts securely to lock the chain tension.
Always check the chain tension before each use because chains stretch over time.
It’s a good habit to keep your chainsaw working smoothly.
Also, make sure to consult your chainsaw’s manual for specific tension requirements.
Proper adjustment guarantees peak cutting performance and safety by preventing chain derailment or excessive wear.
Securing the Guide Bar and Final Chain Checks
After adjusting the chain tension so it fits snugly against the guide bar, position the guide bar beneath the adjustment pin to confirm proper alignment.
Next, replace the side plate by aligning it with the guide bar and loosely securing it with the nuts. This allows you to fine-tune the chain tension using the tensioning screw until the chain is snug but can still move slightly.
Check the chain’s alignment by pulling it gently underneath the guide bar. It should snap back without slack.
Once the chain tension is correctly set and the chain is properly aligned, fully tighten the side plate nuts to secure the chain and guide bar firmly in place.
This final step guarantees safe and efficient operation of your chainsaw. Just take your time here to make sure everything is right before you start cutting.
Tips for Maintaining Your Chainsaw Chain After Replacement
Maintain your chainsaw chain regularly to guarantee consistent cutting performance and prolong its lifespan. After replacement, focus on these key maintenance tasks to keep chainsaw chains in peak condition:
- Regularly clean the chainsaw chain to remove sawdust and debris. This prevents buildup that can decrease cutting efficiency.
- Inspect the chain for dull teeth or damaged links. Sharpen or replace components as needed to keep it sharp.
- Maintain proper chain tension. Make sure it snaps back when pulled slightly from the guide bar to avoid excessive wear or kickback.
- Lubricate the chain with the correct oil before and during use. This reduces friction and heat, helping it run smoothly.
Just keep up with these simple steps, and your chainsaw chain will perform reliably and last longer.
Frequently Asked Questions
How Often Should I Replace My Chainsaw Chain?
You should replace your chainsaw chain after about 5 to 10 sharpening sessions or when you notice significant chain wear affecting cutting efficiency.
Regular maintenance tips include checking chain tension and inspecting for broken links or damaged teeth.
If cutting requires excessive force or the chain stretches beyond recommended limits, increase your replacement frequency.
Adjust replacements based on usage intensity, ensuring peak performance and safety during every job.
Just keep an eye on how your chain feels and performs, and you’ll know when it’s time to switch it out.
Can I Use Any Brand of Chain on My Chainsaw?
You can’t fit a square peg in a round hole. That’s true for chainsaw chains, too. Chain compatibility depends on precise brand differences like drive link count, gauge, and pitch.
Using any brand without matching chain types can hurt performance and cause damage. Always check your chainsaw’s specs and stick to recommended brands. It really pays off to follow those guidelines.
If you keep up with maintenance, your chainsaw will run efficiently and safely every time. It’s worth the effort to do it right!
What Signs Indicate My Chainsaw Chain Is Dull?
You’ll know your chainsaw chain is dull when cutting efficiency drops. You might notice fine sawdust instead of coarse shavings or even a burning smell from friction.
If you have to use excessive force or experience frequent kickbacks, those are also signs your chain needs attention.
Take a close look at the cutting teeth. If the edges look rounded or chipped, it’s definitely time for some chain maintenance.
Make sure to sharpen your chain regularly, keep the chain tensioned properly, and stay consistent with oiling.
Doing these things will help keep your chainsaw cutting smoothly and extend the life of your chain.
Is It Safe to Sharpen the Chain Myself?
Measure twice, cut once: yes, you can safely sharpen the chain yourself if you follow proper sharpening techniques and safety precautions.
Use the right tool selection, like a chainsaw filing kit, to maintain accurate angles.
Regular sharpening frequency is key to effective chain maintenance and reduces risks. Always wear gloves and eye protection to prevent injuries.
How Do Environmental Conditions Affect Chain Performance?
Environmental conditions directly affect your chain’s cutting efficiency and chain wear.
Cold temperatures thicken oil, which reduces lubrication. To fix this, try using warmer oil or apply it more often.
Dust and sand cause more abrasive wear on the chain. This means you’ll need to maintain your chain more frequently to keep it in good shape.
Wet or muddy conditions can cause the chain to slip. So, you should check the tension more often to avoid problems.
Extreme heat or cold changes the metal’s properties. This can make the chain brittle or cause it to stretch.
Knowing how the environment affects your chain helps you adjust your maintenance routine. That way, you can make your chain last longer and work better.
Conclusion
Now that you’ve mastered replacing your chainsaw chain, your tool is ready to roar back to life like a well-tuned engine. Remember, precise tension and secure fitting keep your saw sharp and safe. This helps prevent slips or damage.
With regular maintenance, your chainsaw will slice through wood effortlessly. It will stand strong for every project you tackle. Keep your hands steady and your focus sharp. Your chainsaw’s performance depends on your care and attention.