Can You Sand Stained Wood: Step By Step Guide For Best Results
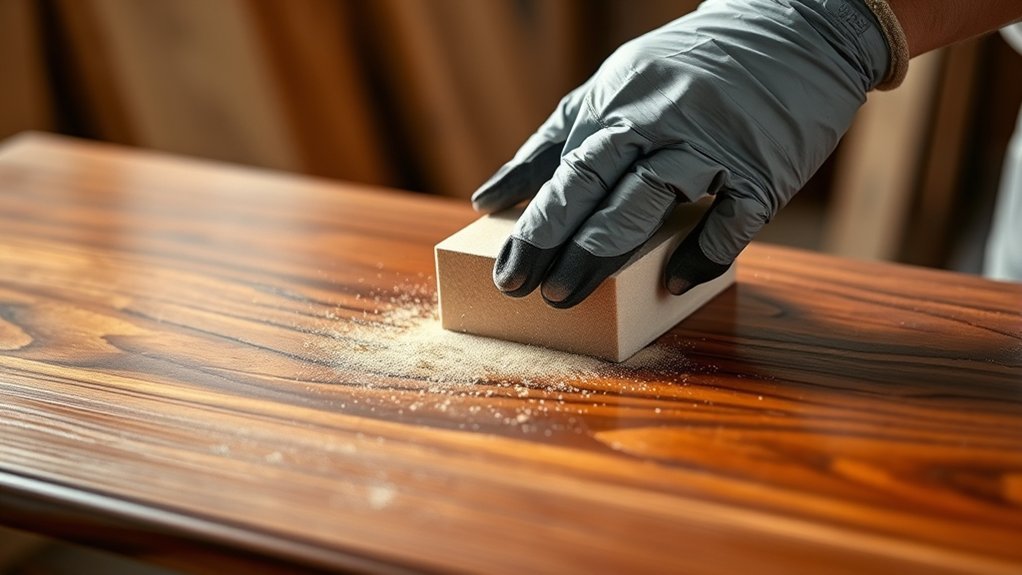
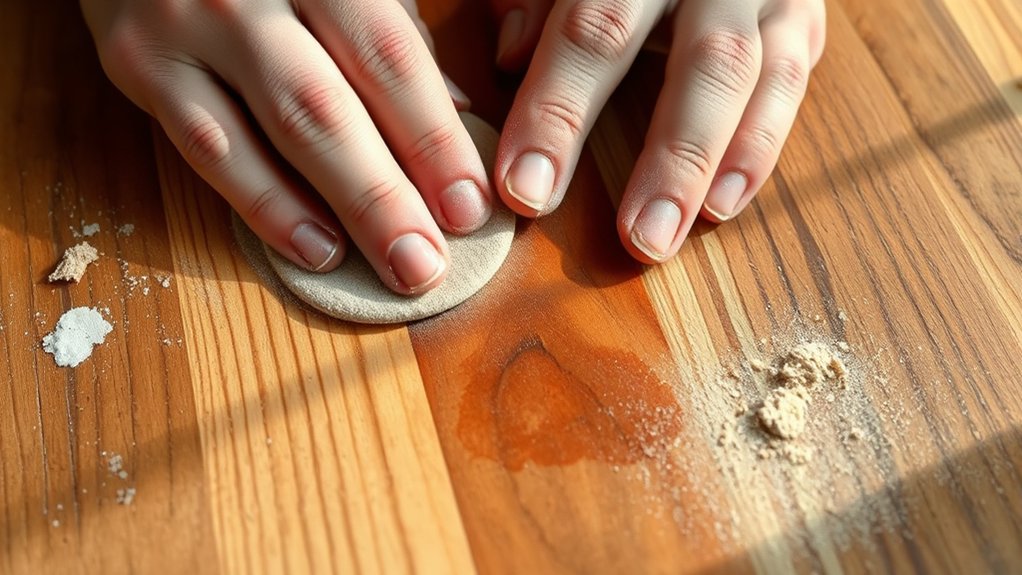
You can sand stained wood successfully by first guaranteeing the stain is fully cured. Start with medium grit sandpaper (120-150 grit) for gentle smoothing, then progress to fine grit (220 grit) to eliminate scratches and even out the finish. Always sand with the grain using even pressure to prevent swirl marks.
Clean the surface thoroughly before restaining to guarantee proper adhesion. Following these steps sets a strong foundation. Keep going to uncover expert tips and avoid common pitfalls.
Why Sand Stained Wood Before Refinishing
Sanding stained wood before refinishing serves several critical purposes that you shouldn’t overlook. When you sand the wood surface, you remove imperfections and rough areas, ensuring a smoother base for your new finish.
This step also opens up the wood pores, which improves adhesion and allows the new stain or finish to absorb more evenly.
Sanding helps even out any uneven stain or blotchy patches, giving you a uniform appearance. By using a carefully selected grit number sequence during sanding, you prevent deep scratches and prepare the surface effectively.
Ultimately, proper sanding enhances the durability and longevity of your refinishing project, making your wood look flawless and ensuring the finish lasts longer.
Proper sanding boosts your project’s durability, giving wood a flawless look and a longer-lasting finish.
It’s a simple step that really makes a big difference.
Choosing Sandpaper Grit for Sanding Stained Wood
Choosing the right sandpaper grit is essential when working with stained wood. It helps you remove the old finish without harming the wood beneath. Start with the appropriate grit to maintain the stained surface integrity and achieve a uniform appearance.
Here’s how to select sandpaper grit for the best results:
- Use medium grit sandpaper (120-150 grit) initially to strip the finish gently without damaging the wood.
- For glossy or tough finishes, begin with a coarser grit (around 80 grit) to break the surface, then switch to medium grit.
- Finish sanding with fine sandpaper, such as 220 grit, to smooth the wood and prepare it for refinishing.
Always sand with the grain to avoid scratches and unevenness.
Step-by-Step Guide to Sanding Stained Wood
Before you start sanding stained wood, make sure the stain has fully cured. This helps you avoid damaging the finish.
Next, use fine-grit sandpaper and sand gently along the grain. This way, you keep the stain’s integrity intact.
Once you’re done sanding, clean the surface thoroughly. This ensures it’s ready for any additional treatment you might want to apply.
Preparing Stained Surfaces
Although stained wood requires careful handling, you can prepare its surface effectively by starting with a thorough cleaning to remove dust and debris that might cause scratches.
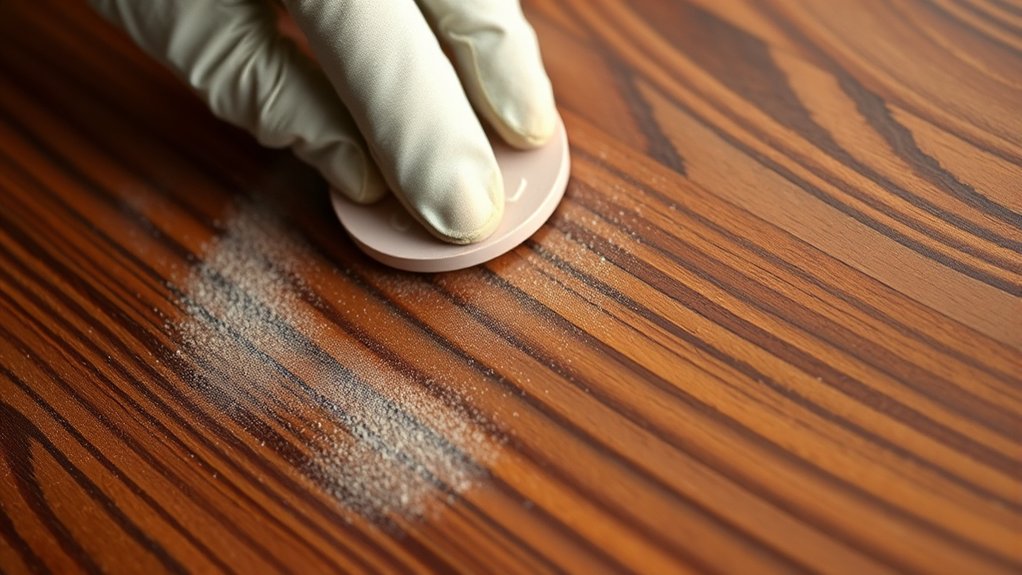
Next, use fine-grit sandpaper (220 grit or higher) to lightly sand the stained surface. Always sand in the direction of the grain of the wood to avoid swirl marks and maintain a consistent finish.
After sanding, clean the surface meticulously with a tack cloth to eliminate all dust particles, ensuring a smooth finish ready for further treatment.
If the stain appears uneven or too dark, you can apply stain again after sanding to achieve uniformity.
Follow these steps to prepare your stained wood for sanding and refinishing:
- Clean the stained surface thoroughly.
- Lightly sand with fine-grit sandpaper following the wood grain.
- Wipe down with a tack cloth for a smooth finish.
Sanding Techniques and Tips
When you start sanding stained wood, you first need to identify whether the stain is oil-based or water-based. This influences the choice of sandpaper and technique.
Begin by using coarse grit paper (80-120 grit) to sand the wood thoroughly, removing the existing finish and preparing the surface.
Always follow the sanding direction parallel to the wood grain to avoid scratches and uneven marks. After the initial sanding, progress gradually to fine grit paper (up to 220 grit) to smooth the surface. This helps ensure an even texture for stain wood or finish application.
Once sanding is complete, clean thoroughly with a vacuum or tack cloth to remove all dust.
Proper sanding techniques guarantee ideal adhesion and a flawless final look on your stained wood project. It’s really worth taking the time to do it right!
Cleaning and Preparing Sanded Wood for Restaining
After sanding, it’s important to remove all the dust thoroughly. You can use a tack cloth or a vacuum—whichever works best for you—to make sure nothing interferes with the new stain.
Next, take a close look at the surface. Check for any imperfections like scratches or uneven spots because these can affect how the finish turns out.
Finally, conditioning the wood evenly is key. It helps the stain absorb consistently and gives you a flawless appearance in the end.
Removing Dust Residue
Start by thoroughly removing dust residue from your sanded wood to secure a smooth, even finish when you apply a new stain. Dust left on the surface can prevent proper stain absorption, which might result in blotchy or uneven coloring.
To clean the surface effectively, start with a soft-bristled brush to sweep away loose dust particles from the wood grain.
Then, follow up with a tack cloth or a damp cloth to pick up any remaining fine dust and debris.
Finally, use a vacuum with a brush attachment to extract dust trapped deep within the wood.
If you use a damp cloth, just make sure to let the wood dry completely—this usually takes about 30 minutes—before staining.
Taking the time to remove dust properly ensures your sanded wood is perfectly prepared for a flawless stain application.
Inspecting Surface Imperfections
Although sanding helps smooth the surface, you need to carefully inspect the wood for any remaining imperfections like scratches, dents, or uneven finishes before proceeding.
Start by removing dust and debris with a clean cloth to avoid contaminants interfering with your inspection. Use fine grit sandpaper (220 grit or higher) to lightly sand any rough spots, confirming you don’t damage the existing finish.
After sanding, wipe the surface again with a clean cloth or tack cloth to eliminate lingering dust particles.
Now, inspect surface imperfections meticulously to confirm all flaws are addressed. This careful inspection guarantees ideal stain absorption during restaining and ensures a smooth restoration process.
Skipping this step can lead to uneven results and diminish the quality of your wood’s renewed appearance.
Conditioning Wood Evenly
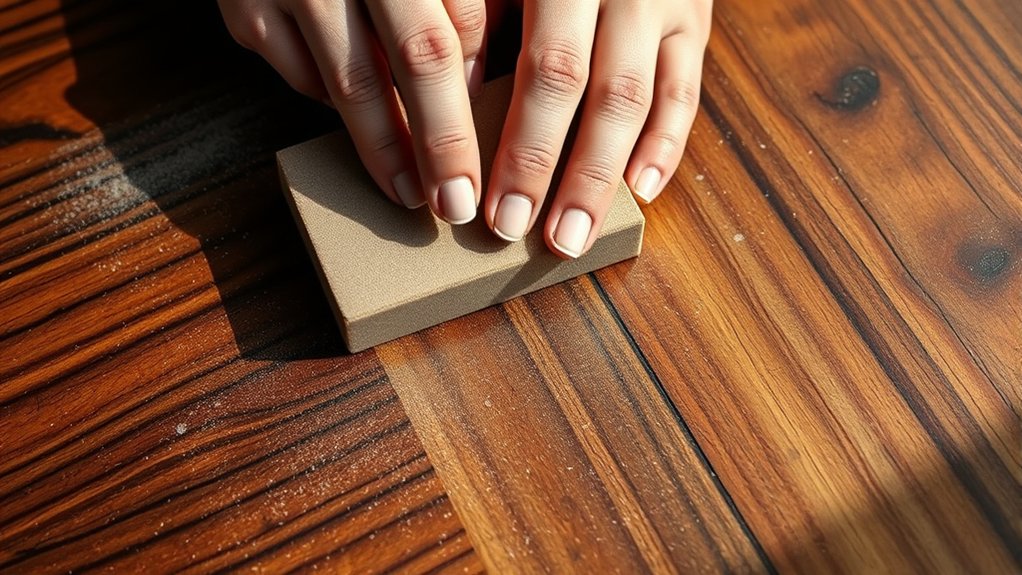
When you prepare stained wood for restaining, cleaning the surface thoroughly and lightly sanding it with fine-grit sandpaper is essential to promote even stain absorption.
Use 220 grit sandpaper to scuff the finish gently without stripping the stain. After sanding, remove all sanding dust with a damp cloth to guarantee a clean surface for the new stain.
To condition the wood evenly:
- Inspect the stained wood for uneven coloration after sanding.
- Apply a wood conditioner to promote uniform stain application.
- Test the stain on a hidden area to confirm compatibility.
This process prevents blotchy results and helps you apply stain smoothly.
It’s the best way to achieve a professional, consistent finish every time.
Staining Tips for Sanded Wood Surfaces
If you want to achieve a flawless finish on sanded wood, you’ll need to use fine-grit sandpaper, 220 grit or higher, to avoid damaging the existing surface and guarantee smoothness for re-staining.
Always sand lightly and follow the wood grain to prevent swirl marks and uneven texture.
Sand gently along the grain to avoid marks and ensure a smooth, even texture.
After sanding, thoroughly clean the surface with a tack cloth to remove all dust and debris. A clean surface is essential for proper wood finishing.
Before you apply the stain, consider using a wood conditioner, especially on blotchy-prone woods, to promote even absorption of the stain color.
Finally, always test the stain on a small, inconspicuous area to confirm your desired color and finish before applying it to the entire piece.
Mistakes to Avoid When Sanding Stained Wood
Since sanding stained wood requires careful attention, avoiding common mistakes is vital to preserving the finish and achieving a smooth, even result.
To help you avoid mistakes, keep these key points in mind:
- Never use coarse grit sandpaper on stained wood. It causes deep scratches that lead to patchy staining when restaining.
- Always sand with even pressure and follow the wood grain to prevent swirl marks and uneven surfaces. Using a sanding block or orbital sander helps maintain consistency.
- Verify the stain is fully cured before sanding.
Also, test your sanding technique on a hidden spot first to avoid peeling or damaging the finish.
How Sanding Influences Stain Color and Finish
Although sanding stained wood might seem straightforward, the grit and technique you choose directly affect both the color depth and the finish quality. Coarser sandpapers, like 80 grit, create deeper scratches on the surface of the wood. This allows the stain to penetrate more deeply and produce a darker stain color.
Conversely, higher grit sandpapers, such as 220, leave finer scratches that absorb less stain, lightening the color. To achieve uniform color, you must sand end grains with finer grits (320 or 400) when using coarser sandpapers elsewhere. This helps prevent uneven absorption.
Thorough sanding is essential to avoid blotchy, inconsistent areas. Always test stain on a sample piece first since sanding effects vary by wood type.
This way, you can be sure to control the final stain color and finish precisely.
Frequently Asked Questions
Can I Sand Stained Wood With a Power Sander Safely?
Yes, you can safely sand stained wood with a power sander by following proper power sander safety and sanding techniques.
Start with the right grit, like 150-grit, so you focus on removing the stain without damaging the wood.
Always sand in the direction of the grain to get a smooth surface.
Also, keep your equipment in good shape for the best performance.
Be careful not to over-sand. This way, you prepare the wood effectively and get a clean, even surface that’s ready for refinishing.
How Long Should I Wait for the Stain to Dry Before Sanding?
You should wait at least 24 hours drying time for oil-based stains and 2 to 4 hours for water-based ones before sanding.
Keep in mind the type of stain and the humidity levels, because high moisture can slow down drying. Make sure the stain feels dry to the touch to avoid smearing.
Proper wood preparation and sanding techniques really help with blotch control.
Following these steps improves your finish options and supports maintenance tips for long-lasting results on your stained wood. Taking the time to do this right will definitely pay off in the end.
Does Sanding Stained Wood Remove All Types of Stains Completely?
Sanding stained wood won’t always erase every stain completely. It’s kind of like trying to scrub ink from paper. You’ll need to think carefully about stain removal techniques, especially considering the wood grain and how much the stain has soaked in.
Make sure to choose your sanding grit wisely, moving from coarse to fine to avoid any finish problems.
Prepping the wood before sanding and cleaning up afterward are both super important for a good result.
Keep in mind, stain colors can still show through if they’ve penetrated deeply. So, it’s always a good idea to test a small area first before going all in.
Can Sanding Damage Antique or Delicate Stained Wood?
Yes, sanding can damage antique wood and delicate finishes if you’re not careful. Different stain types and varnish layers need specific sanding techniques. This helps avoid removing too much finish or changing the color.
When preserving wood, use fine-grit sandpaper and sand gently by hand during surface prep. Always test sanding in hidden spots first.
It’s a good idea to consider restoration tips, like applying wax or clear coats. These protect delicate finishes without the risk of damage from aggressive sanding.
Is It Necessary to Seal Wood After Sanding and Before Staining?
Don’t beat around the bush. Sealing wood after sanding and before staining isn’t usually necessary.
Focus on wood preparation by choosing the right sanding grit to create a smooth surface.
Then pick stain types that are compatible with your wood and finish options. Use proper application methods and respect drying times for the best results.
Incorporate sealing techniques only if your project calls for it. Plan accordingly to guarantee a flawless, even finish.
Conclusion
Sanding stained wood can feel like peeling back layers of time, revealing its true character beneath. By carefully choosing the right grit and following each step, you’ll prepare a flawless surface ready for restaining.
Remember, patience and precision are your best tools. If you rush, you risk ruining the wood’s natural beauty.
Follow this guide closely, and you’ll bring your wood back to life with a finish that’s as rich and vibrant as you envisioned.