Can A Cricut Cut Wood: Capabilities Explained
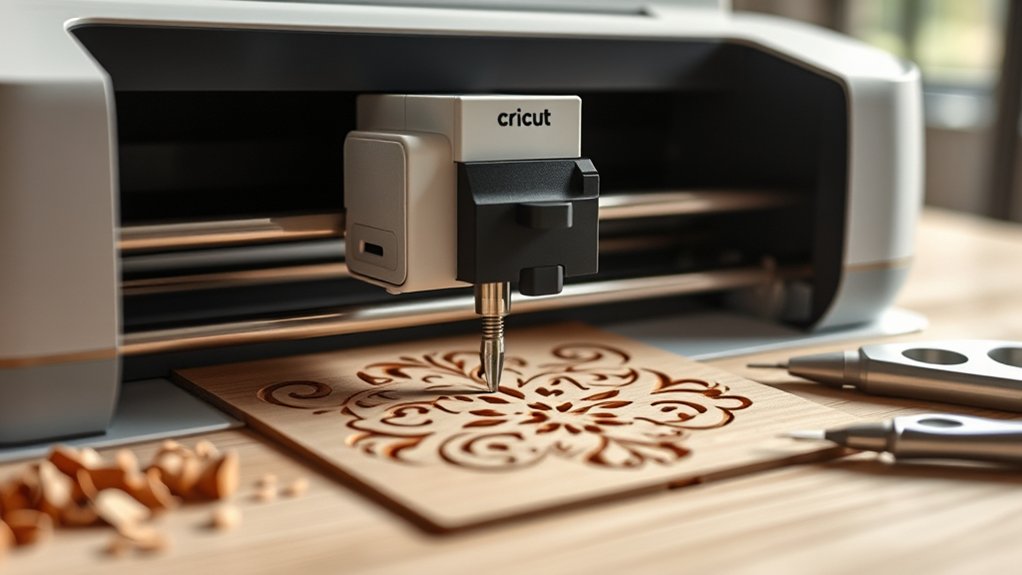
You can cut thin wood like veneer, balsa, and basswood with your Cricut if you choose pieces between 1/32 and 1/16 inches thick and secure them firmly on a StrongGrip Mat. Use high blade pressure, adjust speed for detail, and make multiple passes for intricate designs.
Avoid warped wood to prevent uneven cuts, and keep designs within size limits. Follow these steps, and you’ll master precise wood cutting and avoid common pitfalls to enhance your projects.
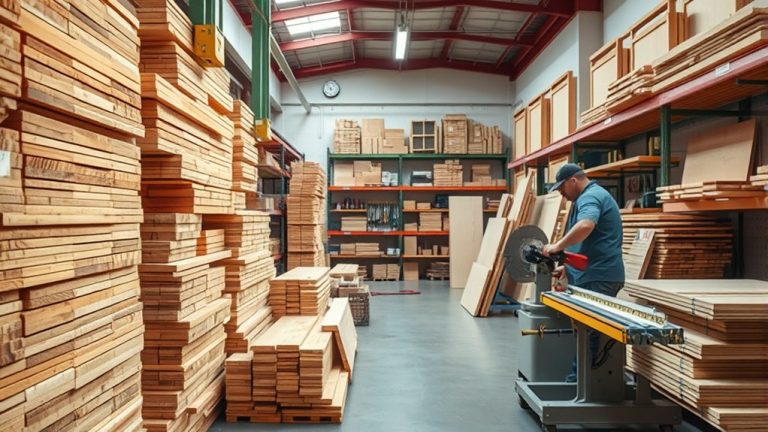
Choosing the Right Wood for Cricut Wood Cutting
When choosing the right wood for Cricut wood cutting, you’ll want to focus on specific types like wood veneer, balsa wood, and basswood. The Cricut Maker handles these best at thicknesses of 1/32 and 1/16 inches.
Selecting quality wood is essential. Avoid warped, blemished, composite, or glued pieces to guarantee clean, precise cuts.
Choose only high-quality, flawless wood to ensure your cuts are clean and precise every time.
Pay close attention to the grain direction. Cutting basswood against the grain can cause splintering or uneven edges, so align your design accordingly.
Consistent color and grain patterns help your project look cohesive.
It’s a good idea to research each wood’s properties since some woods may respond better to the Cricut’s cutting mechanism.
Preparing Wood for Cricut Cutting Projects
Selecting the right type and quality of wood sets the stage for successful Cricut cutting projects, but preparing the wood correctly before cutting is just as important.
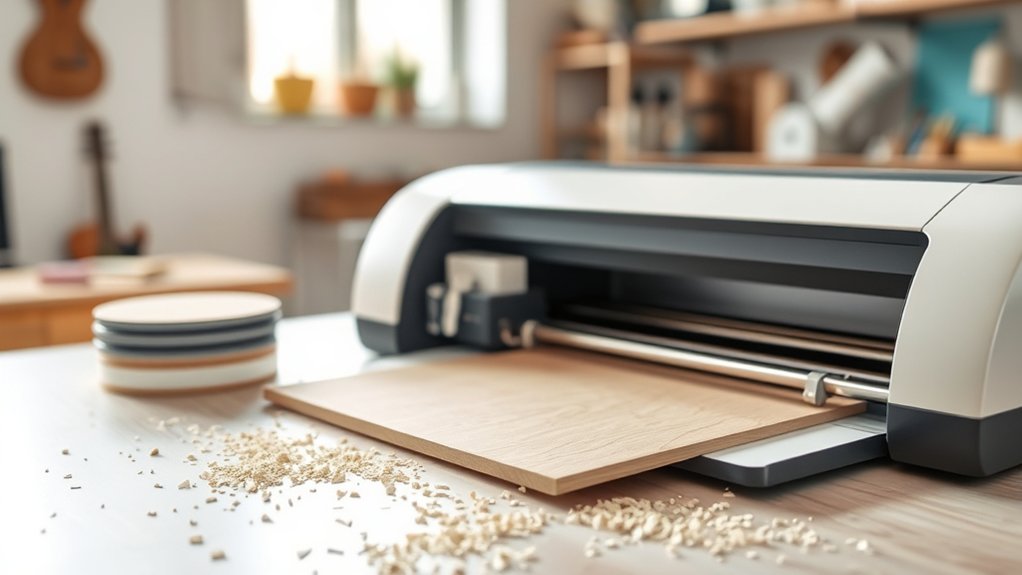
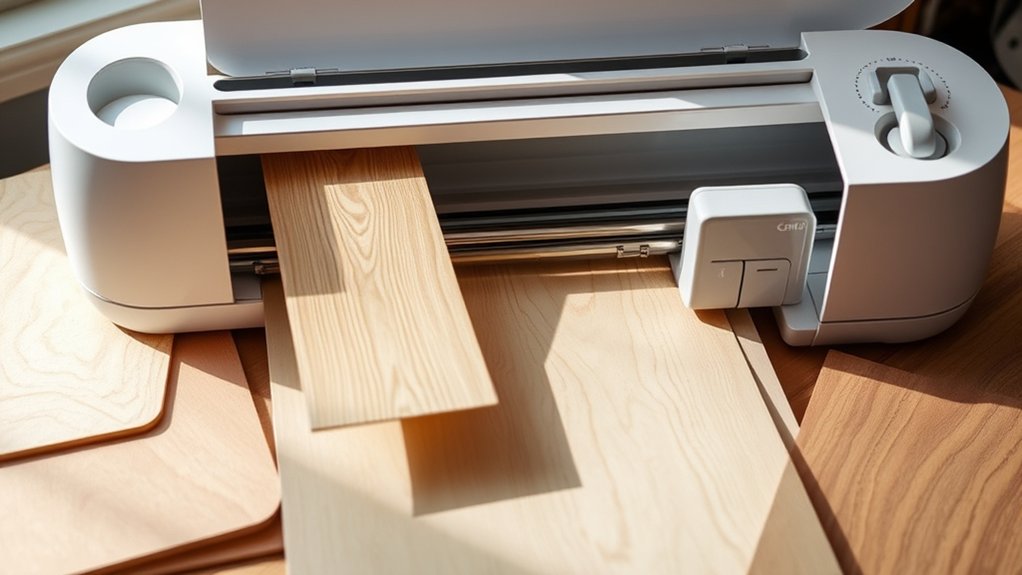
When preparing wood for Cricut cutting projects, choose smooth, warp-free wood veneer, balsa, or basswood at 1/32 or 1/16 inches thick. Remove stickers, dust, and cut the wood to manageable sizes using a sharp knife blade.
Secure the wood firmly on a StrongGrip Mat, taping all edges to prevent shifting during cutting. Pay close attention to wood grain direction, as it impacts cut precision.
Before cutting wood with your Cricut Maker, always confirm thickness compatibility in Design Space. Proper preparation guarantees clean, accurate cuts and protects your machine from damage.
Taking these steps might seem like a lot, but it really makes your project go smoothly and saves you from headaches later on.
Size and Thickness Limits for Cricut Wood Cuts

Although Cricut machines offer impressive versatility, you need to work within specific size and thickness limits for wood cuts to achieve excellent results. The maximum design size you can cut wood on a standard mat is 10.5 by 11.5 inches, with a minimum cut size of 0.75 by 0.75 inches, including any interior details.
Cricut excels with wood cuts sized between 0.75 and 10.5 by 11.5 inches for best results.
When it comes to thickness, Cricut works best with wood veneer, balsa wood, and basswood at 1/32 or 1/16 inch thickness. Avoid thicker materials because they require multiple passes and more pressure. This not only increases cutting time but also risks blade wear.
Also, maintain at least a ¼ inch distance from wood edges to prevent incomplete cuts or damage.
Always use flat, single-piece wood free from warps or blemishes for superior cuts. It really makes a difference in the final outcome.
Optimal Cricut Settings for Cutting Wood Successfully
To achieve clean, precise wood cuts with your Cricut, start by using a StrongGrip Mat to firmly hold the wood in place and prevent any shifting during the process.
Set your blade pressure to high and select multiple passes when working with thicker woods like basswood to guarantee your Cricut Design cuts through smoothly.
Adjust the cutting speed to balance detail and accuracy; slower speeds work best for intricate designs.
Always use a sharp blade to avoid rough edges and incomplete cuts, which a dull blade can cause.
Finally, verify that your wood’s thickness falls between 1/32 and 1/16 inches, aligning with Cricut’s recommended range for best results.
These precise settings will help you cut wood successfully and bring your Cricut Design to life.
Common Cricut Wood Cutting Challenges and Solutions
Cutting wood with your Cricut comes with specific challenges that can affect the quality and accuracy of your projects. One common issue is securing the wood properly. Taping all four edges to a StrongGrip Mat prevents movement during cutting, which ensures cleaner results.
You might also encounter incomplete cuts or rough edges. These often require a craft knife for touch-ups.
Adjusting the pressure and speed settings in Cricut Design Space is essential. Too little pressure leads to incomplete cutting, while too much can damage the mat or wood.
Using recommended wood types like balsa or basswood at 1/32 to 1/16-inch thickness helps maintain precision.
Comparing Cricut and Laser Cutting for Wood Projects
When you’re working on wood projects, Cricut machines are great for handling thin materials like veneer and balsa wood up to about 1/16 inch thick.
That said, you’ll often need to make multiple passes to get clean cuts.
On the other hand, laser cutters offer much greater precision and speed. They can cut through thicker wood using a non-contact process, which also means less wear and tear on the tool itself.
If you’re just making simple shapes, Cricut machines do the job well.
But when it comes to intricate designs and faster turnaround times, laser cutting really shines.
Keep in mind, though, that laser cutters typically come with higher costs and require more maintenance.
Cricut Wood Cutting Limits
Woodworking with a Cricut Maker offers impressive versatility, but it comes with specific limitations you need to contemplate. The Cricut wood cutting limits restrict you to thin materials like wood veneer, balsa, and basswood, with ideal thicknesses of 1/32 to 1/16 inches.
Your maximum design size caps at 10.5 by 11.5 inches, which confines larger projects. You’ll need a StrongGrip mat and proper securing to avoid shifting during cuts. Thicker wood requires multiple passes, extending cutting time.
While Cricut handles basic wood cuts well, it struggles with intricate details and smaller cuts, demanding frequent blade changes. In contrast, laser cutters handle thicker wood, larger designs, and finer precision more efficiently.
But understanding Cricut’s wood cutting limits helps you maximize its potential for suitable projects. So, knowing these boundaries can really make your crafting smoother and more successful.
Laser Cutting Advantages
Although Cricut machines offer great versatility for basic wood projects, laser cutters excel by delivering unmatched precision and intricacy, especially for complex designs.
The laser cutting advantages lie in their non-contact process, which minimizes material damage and produces clean, sealed edges on wood.
Unlike Cricut, which is limited to thin woods like veneer and balsa, laser cutters can handle thicker materials such as acrylic and leather. They work faster and more efficiently, though they come with higher costs and require more maintenance.
While you might face a steeper learning curve using laser cutters, their superior capabilities let you tackle intricate projects beyond Cricut’s limits.
If precision and versatility matter most in your wood crafting, laser cutting offers clear advantages you can’t overlook.
User Tips: Do’s and Don’ts for Cutting Wood
When you’re cutting wood with your Cricut, the first step is to pick the right type and thickness of wood. This helps make sure your cuts come out clean and smooth.
Next, be sure to secure your wood firmly onto the StrongGrip Mat so it doesn’t move around.
You’ll also want to adjust your machine’s pressure and speed settings carefully. This is super important to avoid any mistakes or mishaps while cutting.
And here’s a tip—keep a close eye on the process, especially if you’re working with thicker pieces. That way, you can prevent any shifting and get those precise, perfect cuts every time.
Essential Wood Preparation
To achieve flawless cuts with your Cricut, start by selecting the right type of wood. Balsa or basswood are your best bets. Stick to thicknesses of 1/32 or 1/16 inches for peak performance.
Essential wood preparation means thoroughly inspecting your material. Avoid warped, blemished, or composite pieces to prevent cutting issues. Clean the wood surface meticulously, removing dust and stickers to guarantee strong adhesion.
Use a StrongGrip Mat and secure all four edges with tape to eliminate movement during cutting. These steps help maintain precision and protect your machine.
Remember, proper preparation sets the foundation for success, so never skip these critical checks before you press start.
This careful approach maximizes your Cricut’s cutting capabilities and guarantees professional-quality results every time. You’ll be glad you took the time!
Optimal Machine Settings
Properly preparing your wood sets the stage, but dialing in your Cricut’s machine settings will determine how clean and accurate your cuts turn out.
Use a StrongGrip Mat to firmly secure the wood, preventing movement during cutting. Adjust pressure according to thickness. Start higher for 1/16” balsa or composite woods.
Always install a sharp knife blade. Dull blades cause rough edges or incomplete cuts. For intricate designs or thicker wood, experiment with multiple passes to guarantee precision without damaging the material.
Avoid wood with blemishes or warping. These imperfections can interfere with smooth cutting.
Avoiding Common Mistakes
Although cutting wood with your Cricut can yield impressive results, overlooking key precautions often leads to frustrating errors. To avoid common mistakes, start by using a StrongGrip Mat to keep your material firmly in place.
Never cut warped or blemished wood, as that causes uneven cuts. Stick to wood types like composite or balsa wood, and guarantee thickness is within 1/32 to 1/16 inches.
Secure all four edges with tape to prevent shifting during cutting. Adjust your machine’s pressure settings and consider multiple passes when working with thicker wood to protect your blade and achieve clean cuts.
Following these do’s and don’ts helps you maximize precision and efficiency while minimizing errors in your wood-cutting projects. It really makes a difference when you take these steps. Trust me, your projects will turn out so much better!
Frequently Asked Questions
Can Cricut Cut Hardwood or Just Softwoods Like Balsa?
You can cut softwoods like balsa and basswood with your Cricut, but cutting hardwood isn’t recommended. The machine struggles with greater wood thickness and denser fibers, which can dull blades and cause incomplete cuts.
To get the best results, stick to wood thickness around 1/16 inches for softwoods, and avoid hardwoods.
Experiment with pressure and speed settings, but remember, your Cricut isn’t built for cutting harder, thicker wood materials.
Is It Safe to Cut Wood With a Cricut Indoors?
You might think cutting wood indoors with a Cricut sounds risky, but as long as you maintain good indoor safety, it’s perfectly fine.
Keep your workspace well-ventilated to avoid dust buildup, use a StrongGrip Mat to hold wood steady, and place your machine on a stable surface.
Change blades regularly to prevent overheating, and follow the manufacturer’s guidelines on wood thickness.
Staying organized and cautious makes cutting wood indoors safe and enjoyable.
What Blade Types Work Best for Cutting Wood on Cricut?
For cutting wood on your Cricut, the knife blade offers the best blade compatibility. It handles thicker woods like basswood and balsa up to 1/16 inch really well.
If you’re working with thinner wood veneer, the fine-point blade can do the job. But just so you know, it won’t be as effective as the knife blade.
Make sure your blade stays sharp.
Also, adjust the pressure and speed settings in Design Space to get clean, precise cuts. Regular blade maintenance is key for excellent results.
Can Cricut Engrave Wood as Well as Cut It?
Yes, your Cricut can engrave wood as well as cut it, but engraving requires different techniques. Using specialized engraving tips and adjusting settings like slower speed and higher pressure helps you achieve detailed, precise results on softer woods like basswood.
Properly securing the wood to a StrongGrip mat prevents shifting during engraving. You’ll want to experiment with engraving techniques to find the right depth and finish, ensuring clean, consistent designs every time.
Just take your time to practice a bit, and you’ll get the hang of it quickly. It’s all about finding what works best for your specific project and wood type.
How Do I Clean My Cricut Blade After Cutting Wood?
To clean your Cricut blade after cutting wood, focus on proper blade maintenance.
Gently remove wood residue with a soft cloth or toothbrush, avoiding harsh chemicals. Rinse the blade under warm water while keeping the housing dry to prevent rust.
If you run into stubborn buildup, soak the blade in warm, soapy water briefly, then scrub gently.
Regular cleaning like this helps maintain sharpness and prolongs your blade’s lifespan. That way, you’ll ensure top cutting performance every time.
Conclusion
Cutting wood with your Cricut is like steering through a gentle river. You need the right boat (wood type), a steady hand (settings), and awareness of the current (thickness limits). With preparation and patience, you’ll glide past common snags and craft beautiful projects.
Remember, while your Cricut isn’t a laser cutter, it’s a reliable companion for fine, precise woodwork when you respect its strengths and limits. Keep these tips close, and your creativity will flow smoothly.