When Can You Paint Pressure Treated Wood: Proper Timing
You should wait at least three to four months after installing pressure treated wood before painting to guarantee it’s properly dried. Check that the moisture content is below 13% using a moisture meter or a water bead test. Water should soak in, not bead up.
Painting too soon can trap moisture and cause peeling. Once dry, prepare the surface well for better adhesion. Explore the best conditions and methods to get your paint job to last.
Why You Should Wait to Paint Pressure Treated Wood
Although it might be tempting to paint pressure treated wood right after installation, you should wait at least 3 to 4 months to allow the wood to dry properly.
Pressure-treated lumber holds a lot of moisture after treatment, and painting too soon traps this moisture beneath the paint. This can cause peeling or blistering as the moisture expands.
To guarantee good paint adhesion, the wood’s moisture content should be below 13%. You can check this with a moisture meter or perform a simple water bead test.
Waiting lets the wood dry thoroughly, preventing finish failure.
After the wait, clean and sand the surface to remove any contaminants that might interfere with the paint sticking.
Taking these steps ensures your paint job lasts longer and looks better.
How Weather and Climate Affect Drying Time
Because weather and climate directly impact moisture evaporation, they play an essential role in how quickly pressure-treated wood dries and becomes ready for painting.
Weather patterns like consistent sunlight speed up drying by reducing the moisture content in pressure-treated lumber. However, high humidity slows this process, as moisture lingers longer in damp air.
If you’re working in a dry climate with temperatures near 100°F, expect your wood to dry faster than in cooler, humid regions. Prolonged rain or storing lumber in shaded, damp areas will extend drying time.
Also, thicker boards retain moisture longer than thinner ones, so factor that in when planning.
Understanding these climate factors helps you avoid premature painting, ensuring your finish adheres well and lasts.
How to Know When Pressure Treated Wood Is Ready to Paint

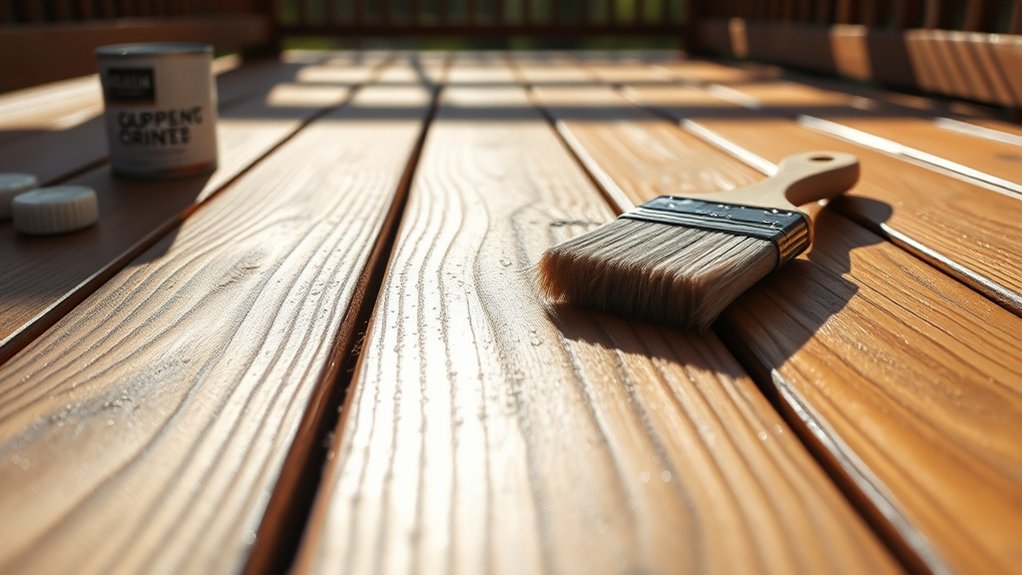
To figure out if your pressure-treated wood is ready to paint, start with an easy water test. Just sprinkle some water on the wood—if it soaks in, you’re good to go.
But if the water beads up, it means the wood still needs more time to dry out.
You can also grab a moisture meter for a more exact reading. Ideally, you want the moisture level to be below 13% to make sure the paint sticks well.
And don’t forget to check the wood’s surface with your eyes and hands. If it feels dry and looks ready, then you’re all set to start painting!
Moisture Testing Methods
When you want to know if pressure-treated wood is ready for painting, start by testing its moisture level. You can do a simple water test by placing drops of water on the wood surface. If the water beads up, it means the wood still holds too much moisture and needs more drying time.
If it soaks in quickly, the wood is ready for proper care and painting. For more accuracy, use a moisture meter and verify the moisture content is below 13%. Keep in mind that drying typically takes 3 to 4 months, and weather conditions can affect this timeline.
| Test Method | Indicator | Action |
|---|---|---|
| Water Test | Water beads up | Wait longer before painting |
| Water Test | Water absorbs quickly | Wood ready for painting |
| Moisture Meter | Above 13% moisture | Continue drying |
| Moisture Meter | Below 13% moisture | Apply paint |
| Time Consideration | Less than 3 months | Wait and retest |
Visual And Tactile Checks
Checking moisture levels with a water test or moisture meter gives you a good idea of whether pressure-treated wood is ready for painting.
But you can also rely on visual and tactile signs to help you decide.
To guarantee proper paint adhesion, follow these steps:
First, wait at least 3 to 4 months after installation to allow the wood to dry thoroughly.
Then, look for a clean, dry surface with no visible moisture or dark spots.
Next, touch the wood to feel for dampness; it should feel dry and not cool to the touch.
Finally, use a moisture meter to confirm the wood’s moisture content is below 13%.
This way, you’ll know it’s ready for painting.
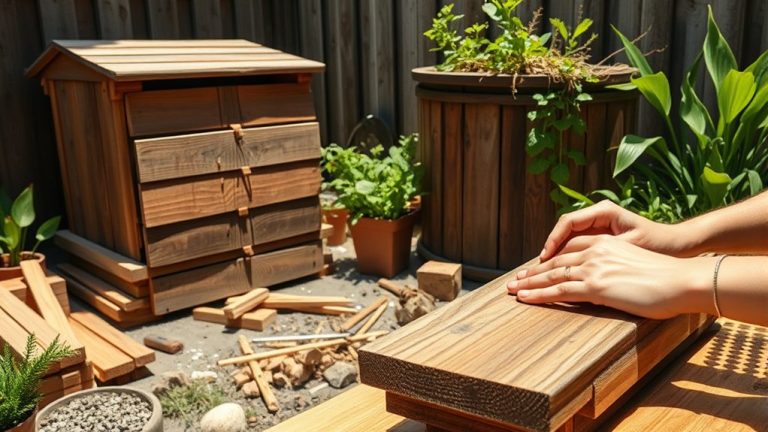
Preparing Pressure Treated Wood for Painting
Although pressure-treated wood offers durability, you can’t paint it right away; it needs to dry thoroughly first. Use a moisture meter to check the wood’s moisture content, aiming for below 15%, ideally under 13%, to guarantee the paint adheres well. Typically, this means waiting 3 to 4 months for the wood to dry.
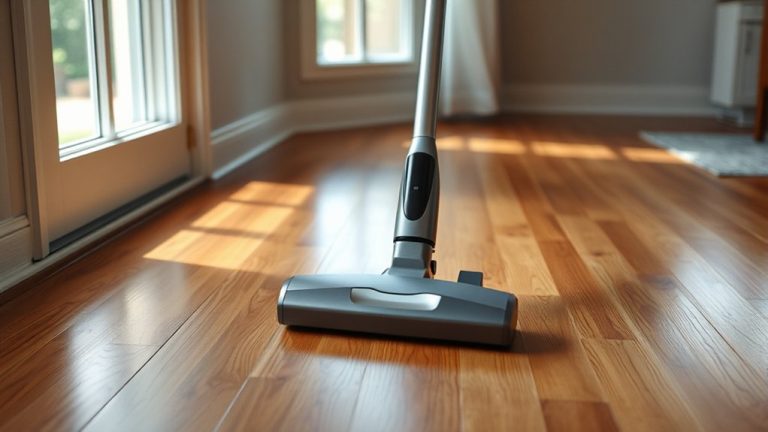
Before painting, clean the surface with a pressure washer or a wood cleaner to remove dirt and mildew.
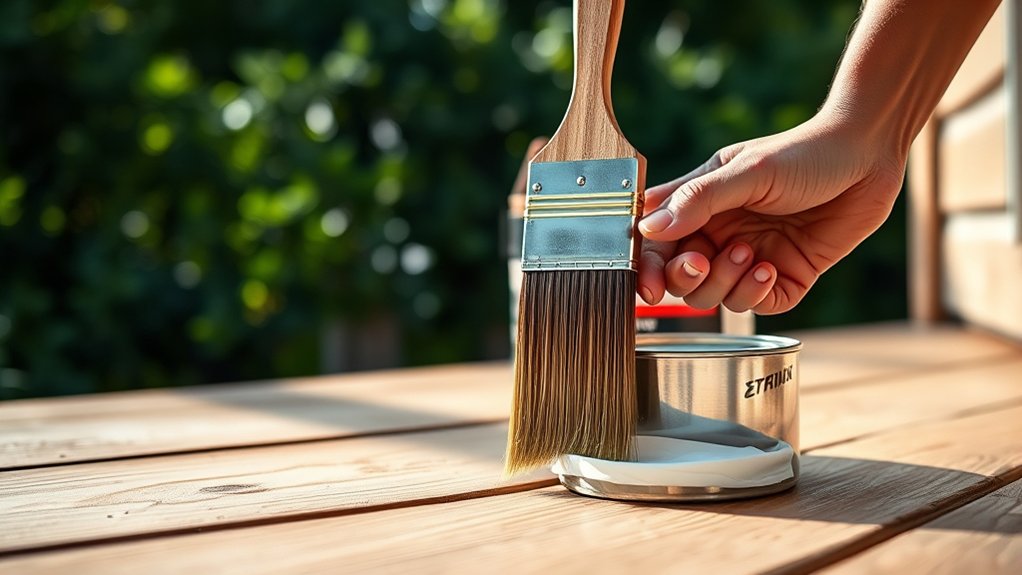
Next, lightly sand the wood with medium-grit sandpaper to open the pores, helping the paint bond better. Once dry and clean, apply a quality oil-based primer to the wood.
This primer enhances adhesion and protects the wood from moisture, setting the stage for a long-lasting, attractive paint finish.
Choosing the Right Primer and Paint for Pressure Treated Wood
Selecting the right primer and paint is essential to protect your pressure treated wood and guarantee a lasting finish. To get it right, follow these key steps:
First, use a high-quality oil-based primer made for exterior use. It bonds well with pressure treated wood, helping everything stick properly.
Start with a premium oil-based exterior primer to ensure strong adhesion on pressure treated wood.
Make sure to apply the primer to all surfaces, including board ends. This helps reduce moisture absorption and prevents splitting.
Next, choose exterior-grade paint designed specifically for treated wood. This kind of paint resists peeling and fading better than regular paint.
Finally, finish with a gloss latex topcoat over the primer. This adds durability and UV protection to keep your wood looking great for longer.
Best Conditions for Painting Pressure Treated Wood
You’ll want to paint your pressure-treated wood on mild, dry days with low humidity to guarantee the best results.
Before you start, make sure the wood’s moisture content is below 15% by using a moisture meter.
It’s a good idea to clean and lightly sand the surface too—this helps the paint stick better and last longer.
Ideal Weather Conditions
When painting pressure-treated wood, choosing the right weather conditions plays an essential role in achieving a durable finish.
To get the best results, follow these ideal weather conditions:
Paint when temperatures are between 50°F and 85°F to guarantee proper drying without extreme heat or cold.
Avoid high humidity or rainy days since moisture prevents paint from bonding well and causes peeling.
Wait at least 48 hours after rain to let the wood dry fully and avoid trapping moisture under the paint.
Use a moisture meter to confirm the wood’s moisture content is below 13%, which is critical for paint adhesion.
By paying attention to these details, you’ll ensure your paint job lasts longer and looks great.
It’s all about timing and conditions!
Moisture Level Checks
Checking the moisture level in pressure-treated wood is a key step before you start painting. You want the moisture content to be below 13% to guarantee proper paint adhesion.
To check this, use a moisture meter or try the simple water test: place a few drops on the wood surface. If the water beads up, it means the wood is still too wet. You’ll need to wait for the wood to dry properly, which usually involves the recommended drying period of 3 to 4 months after installation.
This wait allows moisture to penetrate the wood and evaporate. Painting too soon traps moisture inside, causing peeling or blistering.
Surface Preparation Steps
Before you start painting pressure-treated wood, make sure it’s properly prepared to guarantee the best results. Proper surface preparation helps the paint stick better and last longer.
Here are the steps to follow:
- Check that the wood’s moisture content is below 13%. This means the surface is dry enough and ready for painting.
- Clean the wood thoroughly using a pressure washer or wood cleaner. This will remove dirt, mildew, and any chemical residues from the treatment.
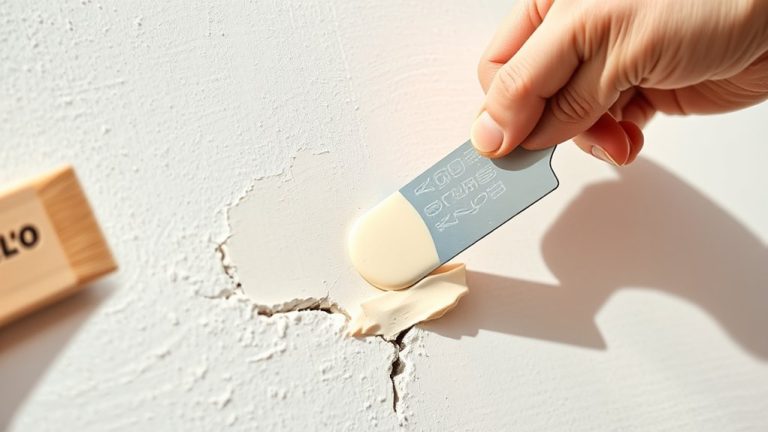
- Lightly sand the surface with medium to fine-grit sandpaper. This opens up the pores, making the paint adhere better and giving you a smoother finish.
- Apply a quality oil-based primer made for treated wood. This seals the surface and helps the paint last longer.
How to Apply Paint for Long-Lasting Results
Although painting pressure-treated wood requires care, following the right steps guarantees your paint job lasts for years.
Start by ensuring the wood is clean and dry, then apply a high-quality oil-based primer designed specifically for pressure-treated wood. This primer seals the surface and improves paint adhesion, which helps prevent moisture issues.
Next, apply two coats of exterior-grade paint. Make sure to let each coat dry fully according to the manufacturer’s instructions.
Painting during mild temperatures with low humidity will help the paint cure properly and avoid peeling.
By carefully prepping and using the two-coat method, you’ll protect your wood and achieve a durable, uniform finish that stands up to the elements.
This way, your project will look great for years to come.
Maintaining Painted Pressure Treated Wood
To keep your painted pressure-treated wood looking its best, you should inspect it at least twice a year for signs of wear like peeling or fading.
Maintaining painted pressure-treated wood involves regular care to extend its lifespan. Here’s what you need to do:
Clean the surface gently with mild soap and water using a soft brush to avoid damaging the paint. If you notice mold or mildew, address it immediately with specialized cleaners to prevent deterioration.
Make sure there’s proper drainage and sunlight exposure to reduce moisture buildup. This helps keep the wood in good shape over time.
Finally, reapply paint every 5-7 years to protect against UV rays and environmental damage. This simple step keeps your wood looking fresh and lasting longer.
Frequently Asked Questions
Can You Paint Pressure Treated Wood Indoors?
Yes, you can do indoor painting on pressure-treated wood, but you need to tackle moisture concerns first.
Make certain the wood is fully cured and dry, aiming for moisture levels below 13% to secure good paint adhesion. Use oil-based primers and paints designed for treated wood.
Also, maintain proper ventilation and low humidity indoors to help the wood cure properly and prevent paint failure.
Taking these steps assures a durable, attractive finish. It’s all about giving the wood time to dry and using the right products to keep your paint job looking great.
Does Pressure Treated Wood Require Sealing Before Painting?
You want durability, you want beauty, you want lasting results. Pressure-treated wood doesn’t require separate sealing before painting if you use the right sealing techniques. An oil-based primer designed for treated wood acts as a sealing layer.
Focus on drying time and wait at least 3 to 4 months for moisture to escape.
It’s important to prioritize surface preparation by cleaning and sanding.
Also, choose compatible paint types to avoid peeling and guarantee a smooth finish every time.
How Does Pressure Treatment Affect Wood Color Over Time?
Pressure treatment causes noticeable color changes in wood over time. It usually starts with a greenish or brownish tint that fades as the wood ages.
You’ll see the wood aging naturally, turning gray because of sunlight and moisture exposure. Treatment effects, including dyes, can change how fast these changes happen.
Knowing this helps you maintain long-term durability. Applying sealants or finishes at the right time preserves both the wood’s color and strength effectively.
Can You Stain Pressure Treated Wood Instead of Painting?
Yes, you can stain pressure-treated wood instead of painting. Just make sure to prepare the wood properly by letting it dry for 3-4 months.
Cleaning the surface before applying the stain is also important.
When it comes to staining, try applying two coats for better durability. You’ll find lots of color options, from transparent to solid stains. These not only enhance the wood’s natural grain but also help protect it.
For upkeep, regularly clean the wood and reapply stain every few years. This will keep your wood looking great and weather-resistant for a long time.
What Tools Are Best for Painting Pressure Treated Wood?
For painting pressure treated wood, you’ll want brushes designed for exterior use, like synthetic bristle brushes. They handle the rough texture well.
Choose high-quality oil-based paint to improve durability.
Before painting, focus on surface preparation. Lightly sand the wood and make sure it’s dry.
Pay attention to drying time between coats to prevent peeling.
Using rollers with medium nap can help cover large areas smoothly. This also speeds up your project.
Conclusion
You’ll want to wait until your pressure treated wood feels dry and no longer smells like fresh chemicals before painting. It’s like waiting for a horse-drawn carriage to arrive in the age of Teslas.
Keep an eye on weather conditions and prep your wood properly with the right primer and paint. When you follow these steps, your paint job will last longer and keep your wood looking great for years to come.