Can You Paint Wood Paneling: Modern Update Guide
You can definitely paint wood paneling to modernize your space affordably and stylishly. Start by cleaning, filling cracks, and sanding lightly for smooth adhesion. Choose a stain-blocking primer, oil-based for hardwood or latex for most wood, to prevent discoloration.
Apply two coats of high-quality latex paint in thin layers, allowing proper drying between coats. Avoid common mistakes like skipping prep or using the wrong paint. With the right steps, your paneling transforms beautifully.
Explore how to master each stage for lasting results. It’s easier than you think once you know the process!
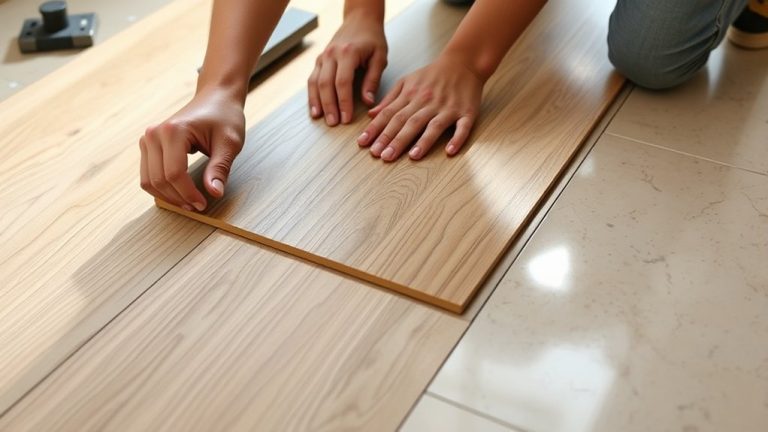
Should You Paint or Remove Your Wood Paneling?
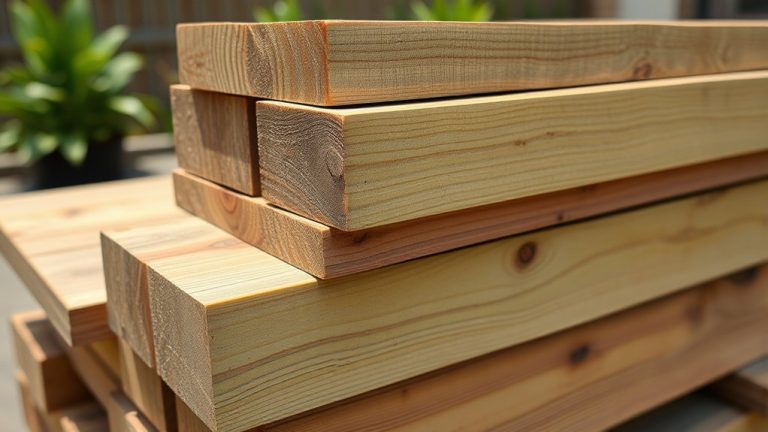
When deciding whether to paint or remove your wood paneling, you should first evaluate its condition and quality. If the paneling is high-quality and well-maintained, painting offers a cost-effective way to modernize your space while preserving its natural character. You can easily refresh the look with a color that complements your aesthetic without the disruption of demolition.
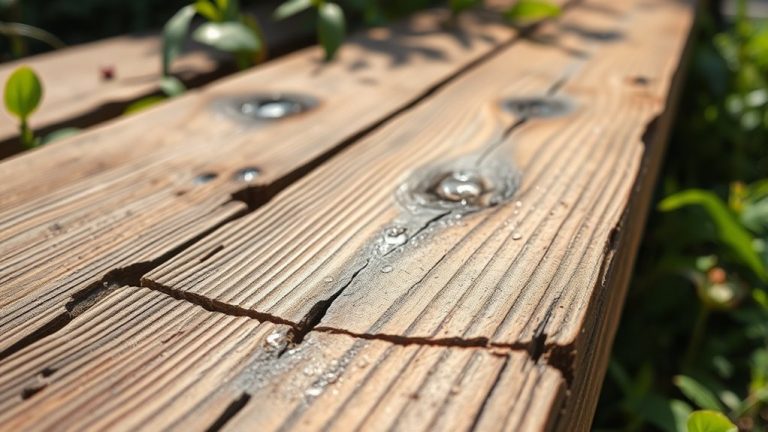
However, if the wood paneling is thin, damaged, or warped, removal may be necessary. Keep in mind that removing paneling might reveal issues like damaged drywall or insulation, which could increase renovation costs due to required repairs.
Thin, damaged, or warped paneling often requires removal, but be prepared for potential hidden repairs beneath.
Painting provides an efficient alternative, enhancing your room’s appearance with minimal mess.
Ultimately, reviewing the condition helps you decide whether to paint or remove to achieve a modern, refined interior. It’s all about finding the best balance between effort, cost, and your desired look.
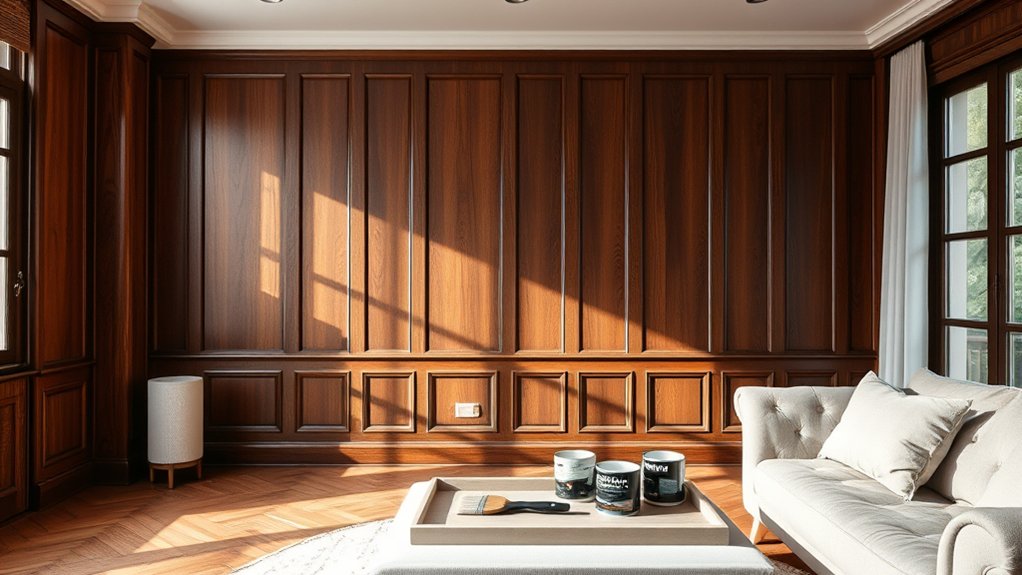
Why Paint Wood Paneling? Key Benefits Explained
You can easily brighten up dark, dated wood paneling with just a fresh coat of paint. It’s a simple way to transform your space without spending a lot on renovations.
Plus, this cost-effective update lets you modernize your home and add a bit of personality through your color choices.
With the right prep work, painting paneling not only boosts how your walls look but also helps them last longer.
Before you know it, your rooms will feel fresh and inviting.
Brighten Dated Spaces
Although wood paneling can add character, its dark tones often make spaces feel dated and cramped. When you choose to paint over wood, you instantly brighten the room and create bright, modern environments that invite comfort and style.
Proper prep work, including light sanding and applying a stain-blocking primer, guarantees a smooth, lasting finish. This transformation not only enhances aesthetics but also increases your enjoyment of the space.
Consider these benefits:
- Enlarges visual space with lighter colors
- Updates the room’s look to contemporary styles
- Allows personal expression through color choice
- Provides a durable, refreshed surface with proper prep
Cost-Effective Home Transformation
Since extensive renovations can be costly and time-consuming, painting wood paneling is a smart, budget-friendly way to refresh your home. It transforms outdated spaces without the hassle of removal.
Plus, it instantly brightens dark rooms and creates a more inviting atmosphere.
By picking the right paint color—lighter shades work best—you can achieve a modern look that boosts your mood and complements your style.
Proper preparation is key. Make sure to clean the surface thoroughly and apply a quality primer so the paint sticks well and doesn’t peel.
Using long-lasting paint, like durable acrylic formulas, helps your updated paneling stay vibrant and fresh for years.
In the end, painting wood paneling is a stylish and economical way to elevate your living space efficiently and beautifully.
Preparing Wood Paneling for a Smooth Paint Finish
Start by giving your wood paneling a good clean with a degreasing cleaner to get rid of all the dust and grime.
Make sure to let it dry completely before moving on.
Once it’s dry, take care of any holes or cracks by filling them with some high-quality wood filler.
After that, sand the surface using fine-grit sandpaper to help the paint stick smoothly.
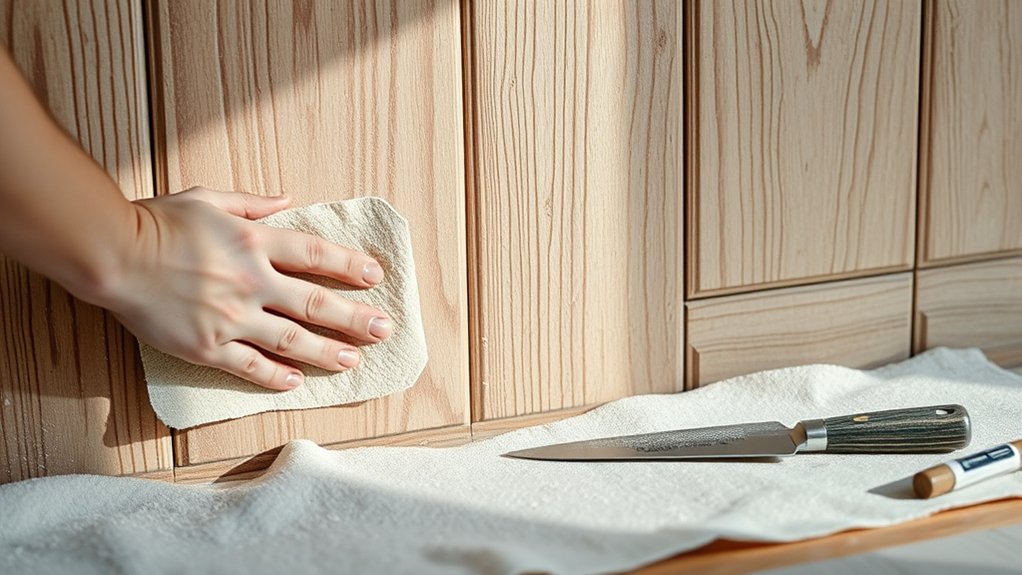
Surface Cleaning Essentials
When preparing wood paneling for painting, thorough cleaning is essential to assure a smooth, lasting finish.
Begin surface cleaning by wiping down the wood paneling with an all-purpose cleaner to remove dust, dirt, and grime. Confirm the surface is fully dry before moving on.
Lightly sand the paneling with fine-grit sandpaper (180-220 grit) to improve paint adhesion and smooth out any imperfections.
After sanding, meticulously remove dust and debris to avoid imperfections in the final coat. If sanding isn’t feasible, a liquid deglosser can prep glossy surfaces effectively.
- Clean with an all-purpose cleaner
- Lightly sand for better paint adhesion
- Remove all dust and debris thoroughly
- Use deglosser as an alternative to sanding
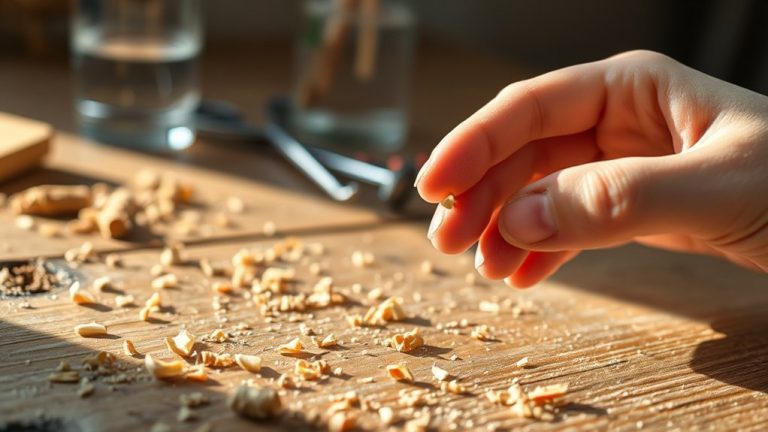
Repairing Imperfections Properly
Address imperfections on your wood paneling by first cleaning the surface with a degreasing cleaner to remove any lingering dirt or grime. This step ensures ideal adhesion for repairs.
When repairing imperfections, apply a high-quality wood filler to dents or holes. Smooth it evenly with a putty knife to maintain a consistent surface of the paneling.
Use caulk to seal seams between panels. This prevents paint bleed and creates a seamless, polished look.
Before moving on, secure any loose panels with finishing nails to stabilize the area.
Although sanding is essential, save that step for the next phase to enhance paint adhesion properly.
Sanding For Paint Adhesion
Although repairing imperfections lays a solid foundation, sanding your wood paneling is essential to guarantee the paint adheres properly and lasts longer.
Sanding creates a rough texture that greatly improves paint adhesion, especially on glossy or semi-gloss surfaces.
Use fine-grit sandpaper (180 or 220-grit) to gently scuff the paneling. This also smooths out bumps and rough spots for a flawless finish.
Neglecting this step often results in peeling paint and uneven texture.
After sanding, make sure to clean the paneling thoroughly to remove dust and debris before moving to primer application.
Here’s what to focus on:
- Lightly sand with fine-grit paper for ideal surface texture
- Eliminate imperfections to promote an even finish
- Clean the paneling thoroughly post-sanding
- Apply primer for enhanced paint adhesion and durability
Which Primer Works Best for Wood Paneling: And Why
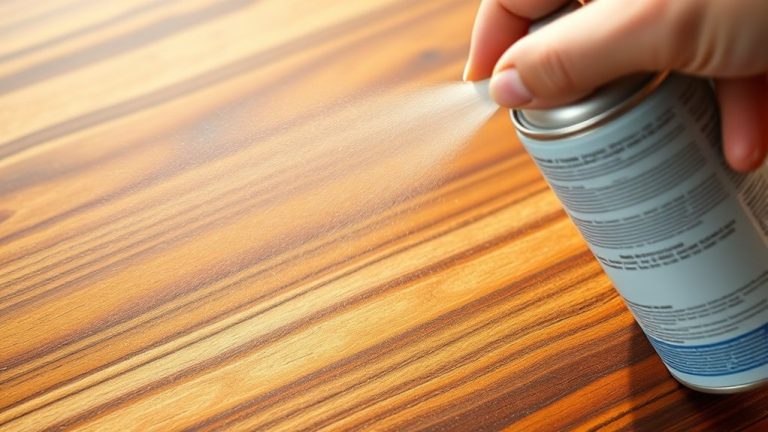
Why does choosing the right primer matter for your wood paneling project? A high-quality stain-blocking primer is vital to prevent tannins in the wood from bleeding through and discoloring your topcoat.
For hardwood paneling, oil-based primers excel at sealing these tannins, ensuring a flawless finish.
Alternatively, latex primers work well on most other wood surfaces, offering excellent coverage and ease of use.
If your paneling features veneer or laminate, opt for an adhesion-gripping primer to guarantee the best bonding and avoid peeling.
Applying two coats of primer is essential, especially on glossy or semi-gloss surfaces, to create a durable, smooth base for paint.
Tinting your primer with a bit of the final paint color can also enhance coverage, minimizing the number of topcoat applications needed.
Choosing the Right Paint Type and Color for Wood Paneling
When selecting paint for your wood paneling, choosing the right type and finish really impacts both appearance and durability. Opt for interior acrylic paint since it sticks better and dries faster than oil-based options.
Pair your paint with a stain-blocking primer to stop tannin bleed-through and get a flawless finish.
When it comes to color, lighter shades brighten dark spaces and create an open, inviting vibe. On the other hand, darker hues add a touch of sophistication to well-lit rooms.
Keep these points in mind:
- Use eggshell finish for a smooth, cleanable surface
- Try semi-gloss or gloss if you need extra durability
- Test paint samples on the paneling to see how the colors actually look
- Choose colors that complement your room’s lighting and style
These choices will make your wood paneling feel fresh and modern.
How to Paint Wood Paneling: Step-by-Step Guide
Start by thoroughly evaluating your wood paneling to confirm it’s in good condition for painting. Damaged or warped panels may require replacement for the best results.
Preparation is key. Clean the surface, fill holes, and sand to guarantee smoothness.
When you paint over paneling, always use the right primer. Ideally, choose a stain-blocking type that prevents discoloration and promotes adhesion.
After priming, apply multiple coats of high-quality latex paint. Make sure to allow adequate drying time between each for a flawless, durable finish.
Throughout the process, observe safety precautions. Wear protective gear, maintain good ventilation, and keep your workspace tidy.
Following this step-by-step guide ensures your painted paneling transforms your space with a modern, polished aesthetic that lasts.
How Many Coats of Paint Do Wood Paneling Need?
How many coats of paint do you really need to achieve a smooth, professional finish on wood paneling? Typically, you’ll want at least two coats of paint for even coverage, especially when shifting from dark wood to lighter shades.
For a smooth finish on wood paneling, apply at least two coats, especially when lightening dark wood.
Start with a stain-blocking primer or bonding primer to prevent tannins from bleeding through and to guarantee paint adhesion. Use high-quality latex paint for better coverage and durability.
Don’t rush the drying time between coats. Following the manufacturer’s guidelines is essential to avoid uneven textures.
After the first coat, inspect carefully for any patchy areas. Sometimes, a third coat is necessary to perfect the finish.
- Apply a stain-blocking primer for true color
- Use a bonding primer for better adhesion
- Follow proper drying time to avoid texture issues
- Add a third coat if patchy areas persist
Common Painting Mistakes to Avoid and How to Fix Them
Avoiding common painting mistakes can save you time, effort, and frustration when working on wood paneling. Proper cleaning and sanding guarantee paint adheres well, while a stain-blocking primer prevents tannin bleed-through.
Applying primer and paint in thin layers avoids drips and guarantees a smooth finish. Here’s a quick guide to common errors and fixes:
| Mistake | Cause | Fix |
|---|---|---|
| Skipping prep | Poor cleaning and sanding | Thorough cleaning and sanding |
| No primer | Tannin bleed-through | Use stain-blocking primer |
| Wrong paint type | Durability issues | Choose high-quality acrylic paint |
| Thick paint layers | Drips and runs | Apply thin layers |
| Ignoring dry times | Tacky, uneven surface | Allow adequate drying |
Frequently Asked Questions
Can I Paint Wood Paneling Myself or Should I Hire a Professional?
You can definitely tackle DIY painting if you have basic skills and time to invest, especially with proper preparation tips like cleaning and priming.
However, professional services offer a higher-quality finish and save time if you’re unsure.
Consider a cost comparison: DIY saves money but demands skill and patience.
Pros handle damaged panels expertly.
Choose based on your confidence, time availability, and desired results for a modern update.
It really comes down to what feels right for you!
How Long Does Painted Wood Paneling Typically Last Before Needing Touch-Ups?
Painted wood paneling typically lasts 5 to 10 years before needing touch-ups. That’s basically how long the paint holds up before showing wear.
To stretch this lifespan, you’ll want to focus on the importance of primer and choose your color wisely.
Also, think about texture effects that can help hide wear over time.
Finish options like satin or semi-gloss add a nice layer of protection.
And don’t forget regular cleaning—that’s key to keeping it looking fresh.
With a little care, your modern update can stay stunning without constant attention.
Is It Possible to Paint Over Wallpapered Wood Paneling?
Yes, you can paint over wallpapered wood paneling, but paint preparation tips are crucial.
Start by cleaning and lightly sanding the surface. If wallpaper removal techniques suit you, consider removing it for a smoother finish.
Choose a primer based on our primer selection guide to guarantee adhesion.
Explore color scheme ideas and finish types comparison to match your style.
Finally, follow maintenance advice to keep the paint looking fresh and durable over time.
Will Painting Wood Paneling Affect Its Insulation Properties?
Will painting wood paneling truly change its insulation value? Generally, it won’t. But using specific paint types with insulating properties can offer slight improvements.
Proper prep methods, like sealing gaps, help reduce air leaks. This not only enhances durability but also improves insulation.
So, while painting mainly boosts aesthetic impact and can be cost-effective, keep durability concerns in mind to maintain long-term performance.
In the end, your paint choice and prep play key roles beyond just looks.
Can Painted Wood Paneling Be Easily Removed Later Without Damage?
You can remove painted wood paneling later, but it’s not always easy to do without causing damage. Using proper paint removal techniques and preparing the paneling surface carefully helps minimize harm.
It’s a good idea to compare paint types beforehand because that informs your restoration methods and affects the long-term condition of your walls.
Also, keep cost considerations in mind since professional removal often gives better results.
Scoring the edges and using heat guns can soften adhesives, which helps preserve the drywall beneath. This approach ensures a cleaner and more aesthetic finish overall.
Conclusion
Updating your wood paneling with paint can transform your space dramatically. Did you know that 70% of homeowners prefer painting over removing paneling because it’s faster and more cost-effective?
By prepping properly, choosing the right primer and paint, and applying multiple coats, you’ll achieve a sleek, modern finish that lasts. Avoid common mistakes by following each step carefully, and you’ll enjoy a refreshed, stylish room without the hassle of demolition.