Can Spackle Be Used On Wood: Practical Guide
You can use spackle on wood for small holes and minor imperfections, but it’s not your best bet for larger or durable repairs. Spackle tends to shrink and crack on wood because it doesn’t adhere well.
For stronger, longer-lasting fixes, wood filler is a smarter choice since it hardens properly and sands smoothly. If you want to guarantee your project looks professional and lasts, keep exploring the best prep, application, and finishing techniques.
Can You Use Spackle on Wood? Key Facts
Wondering if spackle works well on wood? While spackle can fill small holes, it’s not the best option for wood repairs.
Spackle is designed primarily for drywall, so it doesn’t adhere well to wood surfaces, which can cause cracking and shrinkage over time.
It’s lightweight and not meant for sanding, which limits its durability and smooth finish on wood.
If you want a long-lasting repair, wood filler is definitely a better choice. Wood filler hardens properly and can be sanded down, giving you a seamless finish that spackle just can’t achieve.
So, although you can use spackle on wood in a pinch, it won’t provide the reliable, professional-looking results that wood filler delivers.
If you’re after something that lasts and looks good, go with wood filler instead.
What Is Spackle? Using It on Wood
Spackle is a lightweight compound mainly made for filling holes and imperfections in drywall, which is why it doesn’t perform as well on wood. You can use spackle to fill small wood holes, but it often lacks durability and sanding ease compared to wood filler.
Spackle’s adhesion on wood is weaker, increasing the risk of peeling or cracking over time. So, while it can work in a pinch, it’s not the most reliable choice for wood repairs.
| Feature | Spackle | Wood Filler |
|---|---|---|
| Intended Use | Drywall | Wood |
| Durability | Lower on wood surfaces | High for wood repairs |
| Sandability | Limited | Excellent |
| Adhesion on Wood | Weaker | Strong |
For best results, wood filler remains the preferred choice when repairing wood. It just sticks better and lasts longer.
Choosing Between Spackle and Wood Filler
When you’re deciding between spackle and wood filler, it really helps to think about their material properties and how they work with wood surfaces.
Spackle is lightweight and made for drywall, so it doesn’t bond well or hold up on wood.
Wood filler, though, is designed specifically for wood. It sticks firmly, sands down smoothly, and gives you a durable finish on wood projects.
Differences In Material Properties
Although both spackle and wood filler serve to repair surface imperfections, their material properties differ considerably, affecting their suitability for wood projects.
Spackle is lightweight and designed mainly for drywall, so it lacks the strength and adhesion needed for wood’s structural demands. While you can use spackle for small holes in wood, it doesn’t bond as well and won’t offer a durable finish.
Wood filler, on the other hand, is formulated specifically for wood repairs. It hardens to create a strong, sandable surface and comes in various shades that better match wood grain, unlike spackle’s typical white or off-white color.
Choosing wood filler guarantees better adhesion and a more professional, lasting result on wood surfaces than spackle.
Application Suitability For Wood
Choosing the right filler for wood repairs depends largely on the material’s properties and the demands of the project.
While spackle is great for holes in drywall, it’s not ideal for wood because it lacks the adhesion and flexibility needed.
You can use spackle for very small wood imperfections, but it tends to shrink and crack. This leads to a less durable finish, so it’s not the best choice for anything more than minor fixes.
Wood filler, on the other hand, is specifically designed to fill holes and imperfections in wood. It sands smoothly and holds paint well, ensuring a professional, long-lasting repair.
For any significant wood damage, always opt for wood filler over spackle. This way, you’ll get a smooth, durable finish that won’t compromise the wood’s integrity or appearance.
Preparing Wood for Spackle Application
Before you start applying spackle, it’s important to give the wood surface a good cleaning. You want to get rid of any dust, dirt, or grease that might be hanging around.
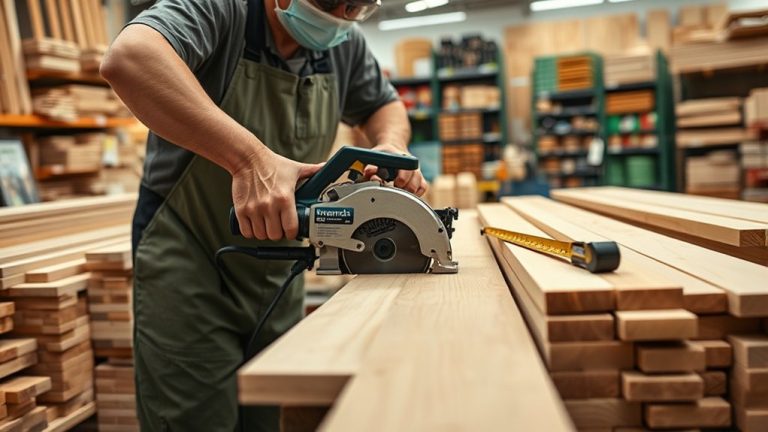
Next, take a moment to sand down any rough spots. This will help create a smooth area so the spackle sticks better.
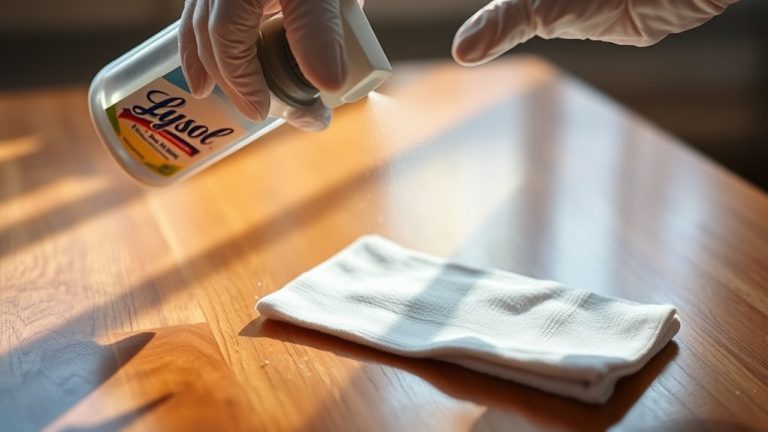
Once you’ve finished sanding, grab a damp cloth and wipe the wood clean.
Let it dry completely—that way, you’re controlling the moisture before you begin.
Surface Cleaning Techniques
To guarantee your spackle adheres properly, start by thoroughly cleaning the wood surface to remove dust, dirt, and grease using a damp cloth or sponge. This basic step is essential among surface cleaning techniques to apply wood spackle effectively.
After cleaning, make sure the wood is completely dry since moisture can interfere with adhesion and drying.
If the wood has any existing finish, you’ll want to lightly sand it to create a better grip for the spackle. Sanding will be covered in detail later.
Thorough cleaning not only enhances adhesion but also prevents peeling and uneven patches.
Taking these steps ensures a smooth, uniform base, allowing the spackle to bond well and deliver a professional, lasting finish on your wood surface.
Sanding Wood Surfaces
Start by sanding the wood surface with medium-grit sandpaper (around 120-150 grit) to create a smooth, even base for your spackle. Proper sanding wood surfaces guarantees better adhesion and a flawless finish.
If you’re dealing with larger holes or cracks, sand the edges to form a slight bevel. This helps the spackle or wood putty blend seamlessly into the surrounding area.
After sanding, wipe the surface with a damp cloth to remove dust and debris. This improves the bond between the wood and spackle. Just make sure the wood is completely dry before applying spackle because moisture can cause cracking.
Once the spackle dries, you’ll want to sand again with fine-grit paper (around 220 grit). This step helps you achieve a smooth, professional finish.
Moisture Control Measures
Although sanding and cleaning prepare the wood surface well, controlling moisture is crucial to guarantee your spackle adheres properly and lasts. Before applying spackle, make sure the wood is completely dry to prevent moisture retention that can cause cracking or poor bonding.
As part of moisture control measures, consider using a putty or moisture barrier primer to protect the wood and improve adhesion. Apply this barrier evenly and allow it to dry fully before proceeding.
Avoid spackling damp surfaces, as trapped moisture weakens the repair. After applying spackle, give it sufficient drying time before sanding or painting to maintain durability.
How to Apply Spackle on Wood
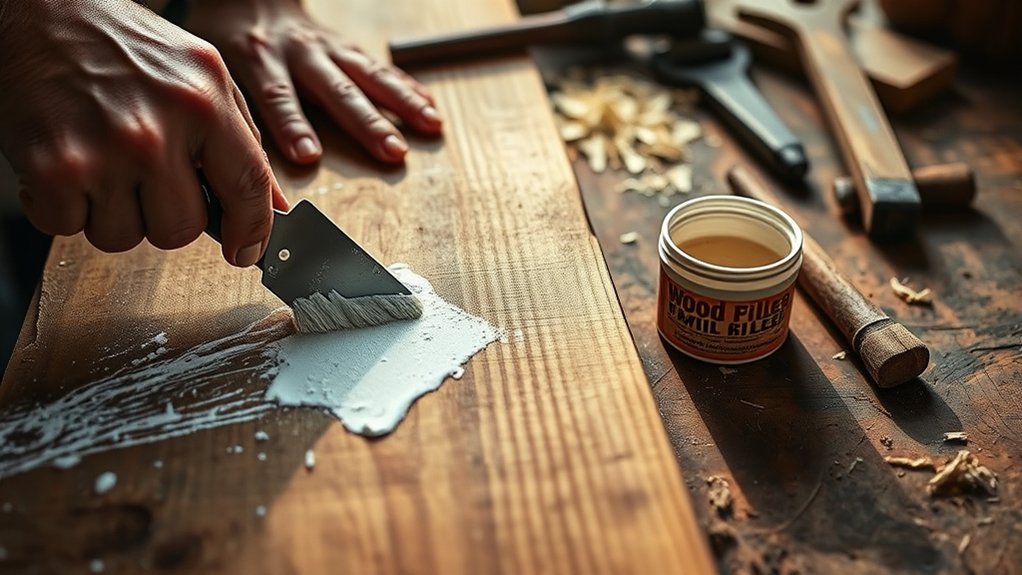
Clean the wood surface thoroughly before you apply spackle. Make sure it’s free from dust and debris to help it stick better.
Here’s how to apply spackle on wood effectively:
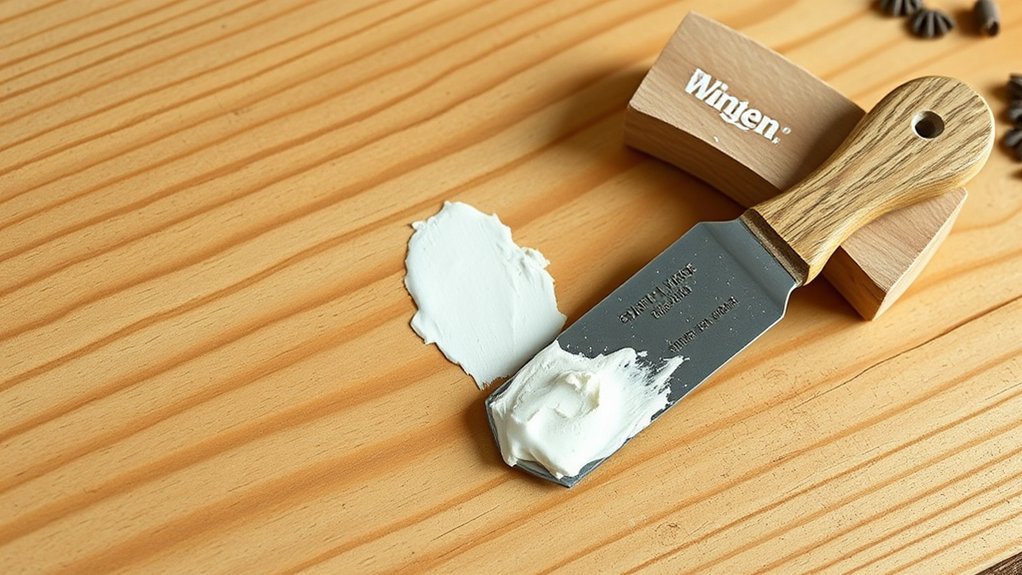
- Use a putty knife to scoop up a small amount of spackle.
- Press the spackle firmly into the hole or imperfection, slightly overfilling it to compensate for shrinkage as it dries.
- Smooth the surface with the putty knife, removing excess spackle for a neat finish.
- Let the spackle dry completely before any further treatment.
Keep in mind, spackle may not stick as well to wood compared to drywall.
Sanding and Finishing Spackled Wood
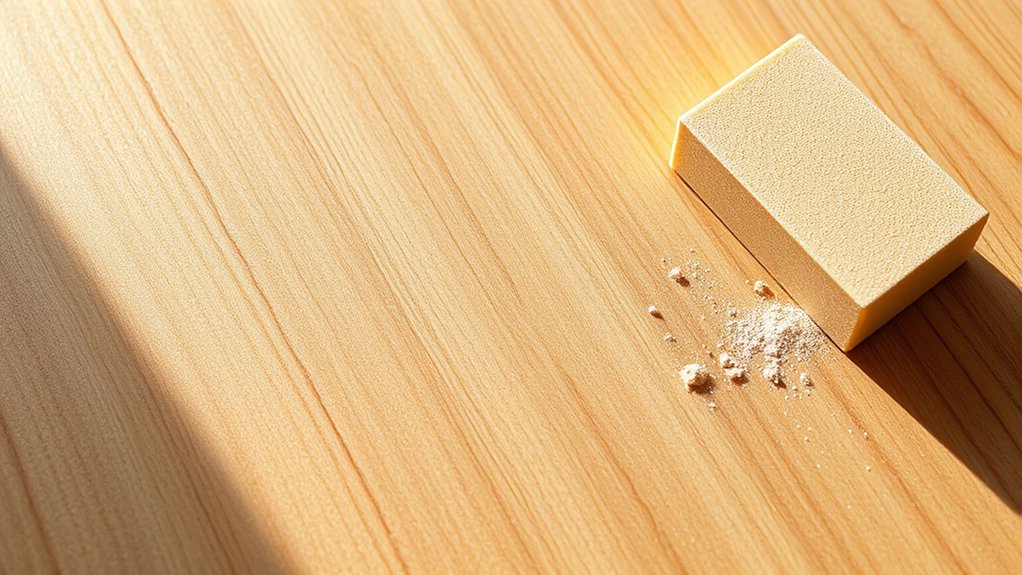
After the spackle has dried completely, you’ll want to sand the area carefully to create a smooth, even surface. Use fine-grit sandpaper (around 220 grit) to gently sand the spackled wood, blending it seamlessly with the surrounding area. This sanding step guarantees the drywall mud-like spackle looks natural and preps it for finishing.
Here’s a quick guide for sanding and finishing spackled wood:
| Step | Tool/Material | Tip |
|---|---|---|
| Drying | Wait 1-2 hours | Make sure spackle is fully dry |
| Sanding | 220 grit sandpaper | Sand gently, avoid gouging |
| Finishing | Primer & paint | Prime before painting for durability |
Proper sanding and priming assure a flawless finish on your wood project. Just take your time with each step, and your project will look professional in no time.
Spackle vs. Wood Filler and Putty
Anyone tackling wood repairs should know the key differences between spackle, wood filler, and putty. Each serves a unique purpose, and choosing the right one guarantees a durable, smooth finish.
Spackle is designed mainly for drywall and doesn’t provide a strong, sandable surface on wood. So, it’s not the best choice if you want a lasting fix.
Wood filler, on the other hand, hardens firmly, allowing you to sand and paint the repaired area seamlessly.
Wood filler hardens solidly, enabling smooth sanding and painting for a flawless repair finish.
Wood putty stays more flexible and works great for shaping around contours. But it’s not ideal for deep filling.
While spackle can fill small wood holes, wood filler offers better adhesion and a lasting finish, making it a better option overall.
Common Mistakes When Using Spackle on Wood
Though spackle might seem like a quick fix for wood repairs, using it improperly can cause more harm than good. One common mistake is trying to fill holes in wood with spackle, which isn’t designed for wood surfaces. It doesn’t harden well, shrinks, and can’t withstand sanding, leaving you with uneven patches.
Another error is neglecting to prepare the wood by sanding and cleaning before applying spackle. This results in poor adhesion and visible repairs. Many also forget that spackle can cause paint to lift or peel, especially if moisture is present.
Frequently Asked Questions
Can Spackle Be Used Outdoors on Wooden Surfaces?
You shouldn’t rely on spackle for outdoor wooden surfaces because it lacks the outdoor durability and weather resistance needed.
While it can fill small holes, spackle tends to crack or peel when exposed to moisture and temperature changes.
Instead, use a wood filler or exterior-grade caulk designed for outdoor use.
If you do use spackle, apply it sparingly and seal it with outdoor paint or sealant for better protection.
How Long Does Spackle Take to Dry on Wood?
Drying times depend on your wood preparation and environment. Typically, spackle takes 1 to 2 hours to dry on wood, but thicker layers might need up to 3 hours or more.
For best results, you should wait about 24 hours before sanding or painting.
To speed things up, use a fan or dehumidifier, especially in humid conditions.
Always follow the manufacturer’s guidelines for precise drying times to guarantee a smooth, sturdy finish.
Is Spackle Safe for Use on Wooden Furniture?
Yes, spackle is safe for use on wooden furniture if you choose the right types designed for wood.
Before applying, you’ll want to focus on wood preparation. Clean and sand the area to guarantee better adhesion.
Keep in mind, spackle works best for small holes and imperfections, not large repairs.
After it dries, sanding and priming will help create a smooth, durable finish that blends well with your furniture.
Can Spackle Be Stained to Match Wood Color?
Staining spackle to match wood color is like painting on water. It’s tricky and often unpredictable. Depending on the type of spackle, some don’t accept stain well, which can lead to blotchy or lighter patches.
To get better results, focus on preparing the wood properly. Clean and sand the surface, then apply a primer before staining.
That said, for a seamless blend, wood filler is usually a better choice because it’s made to take stain evenly.
Just remember to always test first!
What Tools Are Best for Applying Spackle on Wood?
For spackle application on wood, you’ll want a putty knife for smooth, precise filling of holes.
If you’re tackling larger areas, use a broader knife or trowel to spread spackle evenly.
Before you start, focus on wood surface preparation by cleaning with a damp cloth to guarantee good adhesion.
Keep sandpaper (120-220 grit) handy to smooth the dried spackle.
Use a small paintbrush for tight spots where a knife won’t fit.
Conclusion
When it comes to repairing wood, spackle can be your quick fix, but it’s more like a bandage than a cast. You can use it for small cracks and holes. For deeper damage, wood filler is the stronger choice.
Think of spackle as a gentle touch-up. It’s easy to apply and sand smooth. Just make sure to prep your wood well for the best results.
With the right care, your wood will look as good as new in no time. It’s a simple way to keep things looking neat without too much hassle.