Can You Use Spackle On Wood: When And How To Use It
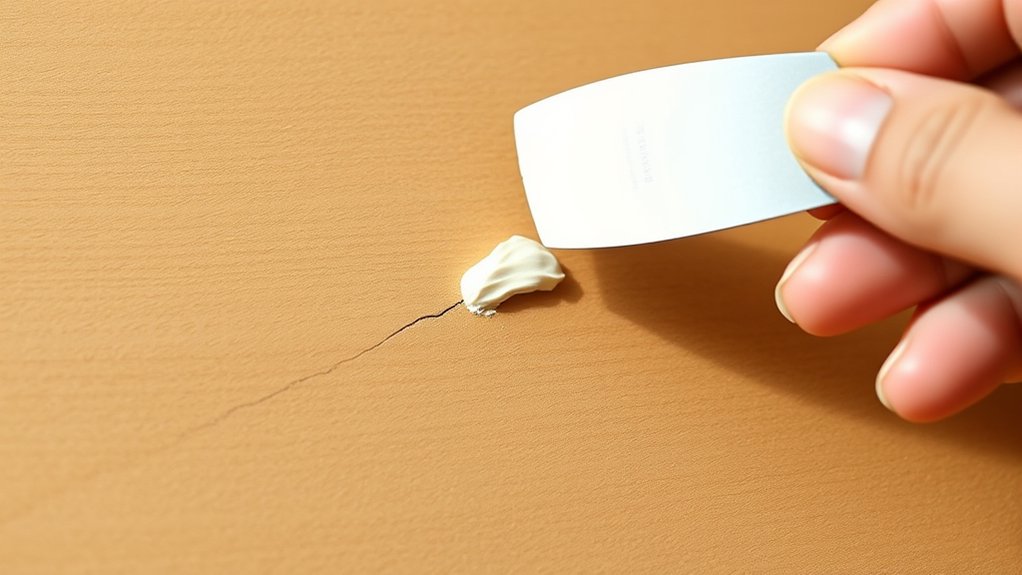
You can use spackle on wood for small, non-structural repairs like nail holes or minor surface imperfections, especially if you plan to paint over the area. Before applying, clean and sand the wood for better adhesion. Use a putty knife to press the spackle in firmly.
Let it dry completely, then sand it smooth along the grain. For larger or structural gaps, wood filler is a better choice. Keep going to discover the best techniques and avoid common pitfalls.
What Is Spackle And Is It Suitable For Wood?
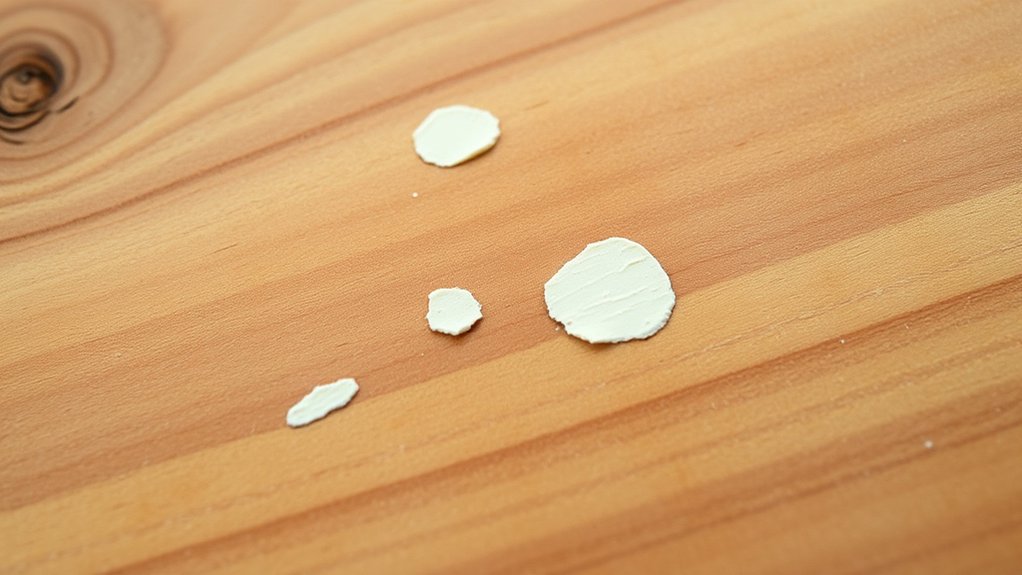
Spackle is a lightweight compound designed mainly for fixing small holes and cracks in drywall and plaster, so it’s not the best choice for wood surfaces.
Spackle is primarily made for small drywall and plaster repairs, not ideal for use on wood surfaces.
You can use spackle on wood for minor imperfections that will be painted over, but it’s less suitable for stained wood projects.
Unlike wood putty or wood filler, spackle dries quickly, usually within 5 to 10 minutes, but it may shrink after drying, which can leave gaps on wood surfaces.
It doesn’t offer the strong bond or durability needed for structural repairs or larger wood gaps.
While spackle can mimic textures on wood, it lacks the stainability and long-term resilience that wood putty provides.
When To Use Spackle For Wood Repairs?
You should use spackle for small wood imperfections, like nail holes, especially on surfaces you plan to paint.
It’s great for quick, temporary repairs but isn’t tough enough for bigger gaps or structural fixes.
Also, keep in mind that spackle may shrink as it dries, so you might need to put on a few layers to get a smooth finish.
Small Wood Imperfections
Although spackle isn’t designed for large or structural wood repairs, it works exceptionally well for fixing small imperfections like minor scratches and nail holes, especially when you plan to paint the wood.
You’ll find spackle easy to apply because it’s lightweight and spreads smoothly, filling these tiny flaws effectively.
Make sure the wood surface is clean and lightly sanded before applying spackle for better adhesion. It dries quickly, usually within 5 to 10 minutes, so you can sand it again and paint soon after.
Keep in mind, spackle isn’t durable enough for larger gaps or structural repairs, as it can shrink upon drying.
Use it strictly for minor scratches and nail holes to achieve a seamless, paint-ready finish.
Painted Wood Surfaces
When working with painted wood surfaces, it’s important to fill small holes and imperfections before repainting to confirm a smooth, professional finish.
Spackle is an excellent choice here because it’s lightweight and easy to apply, making minor repairs quick and efficient.
Before applying spackle, clean the surface thoroughly to remove dust and debris, ensuring strong adhesion.
Avoid using spackle on gaps that will be stained, as it doesn’t absorb stain well and can cause color mismatches.
After applying, allow enough drying time for the spackle to harden fully.
Once dry, sand the area smoothly and paint over it for a seamless look.
Using spackle correctly on painted wood surfaces guarantees durable repairs and a flawless appearance.
Temporary Wood Repairs
Spackle works well for quick fixes on unfinished wood surfaces, especially for small imperfections or nail holes that will be painted rather than stained. It’s ideal for temporary wood repairs because it dries in 5-10 minutes and is lightweight, making application simple with a putty knife.
However, it’s not suited for larger holes or gaps as it can shrink and lacks durability.
When using spackle for temporary wood repairs, keep these tips in mind:
- Clean and sand the wood surface before applying spackle for better adhesion.
- Use spackle only on small imperfections or nail holes.
- Allow the spackle to dry fully before sanding and painting over it.
Following these steps guarantees a smooth, paint-ready finish for your quick wood repairs. It’s a simple way to get your wood looking good in no time!
Preparing Wood Surfaces For Spackle Application
Before you start applying spackle, give the wood surface a good wipe with a damp cloth. This helps get rid of dust and debris, so you have a nice clean base to work on.
Next, take some sandpaper and smooth out any rough spots or edges. This makes sure the spackle will stick properly and gives you a better finish.
Oh, and one more thing—keep an eye on the moisture levels. Too much dampness can mess with how well the spackle sticks and can also slow down the drying time.
Surface Cleaning Techniques
Three essential steps guarantee your wood surface is properly prepared for spackle application. Mastering surface cleaning techniques ensures the spackle sticks well when working with wood.
First, remove dust and debris by wiping the area with a damp cloth. This clears away dust and loose particles. It helps prevent weak bonding caused by contaminants on the surface.
Next, degrease if needed. If you notice any oil or grease, apply a degreaser and clean thoroughly. These substances block spackle adhesion and have to be removed.
Finally, dry the wood completely after cleaning. Moisture trapped beneath the spackle can cause peeling or bubbling. So, make sure the surface is fully dry before you start spackling.
Sanding For Better Adhesion
Although cleaning prepares the wood surface, sanding is essential to confirm better spackle adhesion by creating a slightly rough texture. Start with medium-grit sandpaper (120 grit) to open the pores and improve adhesion. Sand along the wood grain to prevent scratches.
Afterward, use finer grit (220 grit) for a smoother finish. Once sanded, wipe away dust with a damp cloth and let the wood dry completely before applying spackle.
| Step | Sandpaper Grit | Purpose |
|---|---|---|
| Initial sanding | 120 | Create rough texture |
| Direction | With grain | Avoid surface imperfections |
| Dust removal | Damp cloth | Remove particles |
| Final sanding | 220 | Smooth surface |
| Drying | Air dry | Prevent moisture issues |
Sanding for better adhesion confirms your spackle bonds effectively and lasts longer. It’s a simple step that really makes a difference!
Moisture Control Importance
Since moisture can severely compromise spackle adhesion and encourage mold growth, you need to guarantee your wood surfaces are completely dry before application. Effective moisture control is essential for a lasting repair.
Here’s how to prepare your wood: First, use a moisture meter to check that the wood’s moisture content is below 15%. Higher levels risk poor bonding and deterioration.
Next, clean the surface thoroughly, removing dirt, grease, and old finishes that could interfere with spackle adhesion.
Finally, apply a primer to seal the wood. This helps prevent moisture absorption and creates a smooth base for the spackle.
Following these steps will make sure your repair lasts.
How To Apply Spackle On Wood Repairs
You’ll want to start by preparing the wood surface. Clean it thoroughly and sand it smooth to make sure the spackle sticks properly.
Next, use a putty knife to apply the spackle directly into the imperfections, like holes or cracks, on your wood repairs. Press the spackle firmly to fill the area completely and extend slightly above the wood surface. This helps make up for any shrinkage while it dries.
Apply spackle only on minor flaws, especially if you plan to paint over the wood. Spackle doesn’t hold stain well, so avoid using it on large gaps.
Once you’ve applied it, let the spackle dry fully before sanding or finishing. This way, you get a solid, smooth surface that’s ready for painting or any other treatment.
How To Dry And Sand Spackle For Smooth Repairs
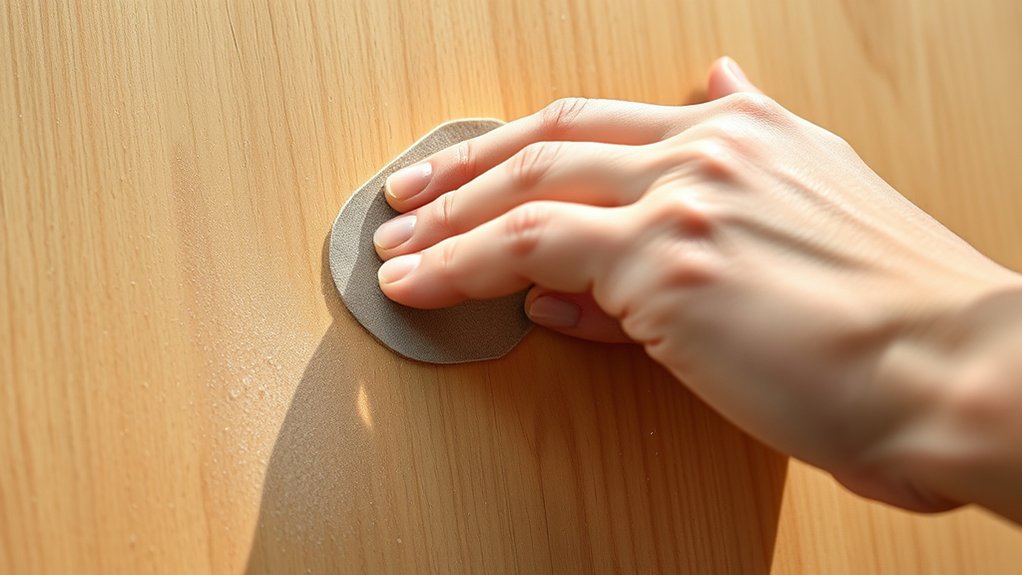
A crucial step in achieving smooth wood repairs is allowing the spackle to dry completely before sanding. Dry time can vary from 5 to 30 minutes depending on humidity and how thick the spackle is.
Once it’s dry, here’s what you do for effective sanding: Use 220-grit fine sandpaper to gently sand the spackle. Make sure the surface levels with the surrounding wood.
Sand in a light, circular motion. This helps avoid depressions and keeps the texture uniform. If the repair is deep, you might need to apply a second layer of spackle. Let it dry fully, then sand again for the best results.
After sanding, just wipe the area with a damp cloth to remove dust and debris. This gets it ready for any finishing steps you want to do next.
Painting And Staining Wood After Spackle Repairs
Although spackle can fill small imperfections in wood effectively, it doesn’t stain well and will often lead to uneven coloration if you try to stain over it. When using spackle for wood repairs intended for painting, make sure the surface is clean and fully dry before sanding.
Apply a primer to improve paint adhesion and get a smooth finish. Avoid staining directly over spackle to prevent mismatched spots—it just doesn’t work out well.
| Step | Recommendation |
|---|---|
| Staining | Avoid spackle; use wood filler |
| Painting Prep | Clean, dry, sand, then prime |
| Drying Time | 5-10 mins before sanding |
Following these guidelines helps your wood repairs blend seamlessly with your painting or staining project. You’ll get a much better result that way!
When To Choose Wood Filler Instead Of Spackle
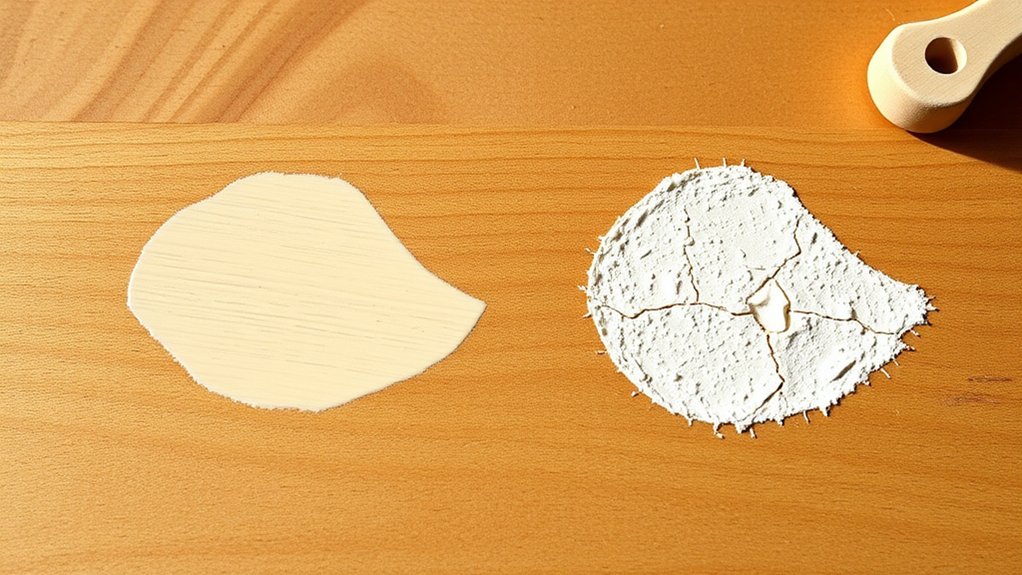
Since spackle doesn’t stain well and lacks the strength needed for wood repairs, you should choose wood filler when you want a durable, stainable solution.
Wood filler, often called wood putty, is made specifically for wood surfaces. It provides a strong bond and a smooth finish.
Opt for wood filler instead of spackle when you need to stain the repaired area to match the surrounding wood.
Also, choose it if the gap or hole is large or deep, since it offers a thicker, more structural repair.
And if you want a finish that sands smoothly and blends seamlessly with the wood grain, wood filler is the way to go.
Wood filler sticks better and lasts longer than spackle, so it’s the practical choice for visible, long-lasting wood repairs.
Just make sure to use putty designed for wood to get a professional, lasting finish.
Common Mistakes To Avoid When Using Spackle On Wood
When working with spackle on wood, you’ll want to avoid using it for large gaps because it tends to shrink and can weaken the repair. Spackle is ideal for filling small holes and minor imperfections in wood, but for bigger voids, wood filler is your better option.
Spackle works best for small wood holes; avoid large gaps to prevent shrinkage and weak repairs.
Also, don’t expect spackle to stain like wood filler, so avoid using it on visible, stained surfaces. Watch out for shrinkage; spackle often needs multiple applications to achieve a smooth, even finish.
Prepare the surface by cleaning and sanding before applying to guarantee good adhesion. Use a proper putty knife, applying gentle pressure to prevent pushing spackle too deep.
Avoid these mistakes to make certain your spackle repairs are strong, smooth, and long-lasting. It’s all about taking your time and using the right materials for the job.
Frequently Asked Questions
Can Spackle Be Used on Outdoor Wood Surfaces?
You shouldn’t use spackle on outdoor wood surfaces because it lacks outdoor durability. It won’t hold up against moisture, temperature changes, or weather exposure. This means it can crack or peel quickly.
Instead, choose a wood filler or patching compound that’s made for exterior use. These products stick better and last longer.
That way, your outdoor wood repairs stay intact through changing conditions without falling apart.
How Long Does Spackle Last Once Applied on Wood?
Spackle typically lasts up to five years on wood if you paint over it properly, but durability concerns mean it’s not ideal for high-stress or outdoor areas.
You’ll want to inspect it regularly because spackle can shrink, crack, or chip over time.
For small repairs, it holds up well.
But for larger gaps or long-term fixes, wood filler is a better choice to avoid premature failure and maintain structural integrity.
Is Spackle Safe for Use on Wood Furniture?
Yes, spackle is safe for furniture restoration when used on small imperfections in painted wood surfaces.
You shouldn’t use it on stained or untreated wood since it won’t blend well.
For best results, clean and sand the area first, apply spackle in thin layers, and sand smooth once dry.
It’s a quick, practical fix but avoid relying on it for structural repairs or high-stress spots on your furniture.
Can Spackle Be Colored Before Drying on Wood?
Think of color mixing as trying to paint a sunset on a foggy window.
Spackle can be tinted before drying, but on wood, it won’t hold that color well.
You can mix paint into spackle, but its lightweight texture and poor adhesion mean the color fades or peels over time.
For lasting, stainable results, you’re better off choosing wood filler designed to absorb and retain wood stains perfectly.
Does Spackle Affect the Wood’s Ability to Absorb Stain?
Yes, spackle does affect stain compatibility because it doesn’t absorb stain like wood does.
When you apply stain over spackle, you’ll notice uneven color and patchiness since spackle remains porous and lighter. This inconsistency disrupts the wood’s natural absorption, making the finish look blotchy.
For a smooth, uniform stain, you should choose wood filler instead.
It bonds better and matches the wood’s stain absorption properties. That way, your finish will look much more natural and even.
Conclusion
When you fix a worn-out wooden chair using spackle, you’ll see how simple repairs can bring furniture back to life. Just remember to prep the surface well, apply spackle smoothly, and sand it carefully for the best finish.
If the damage is deep or structural, opt for wood filler instead. With the right approach, you’ll save time and avoid frustration, turning your wood repairs into satisfying, long-lasting results.