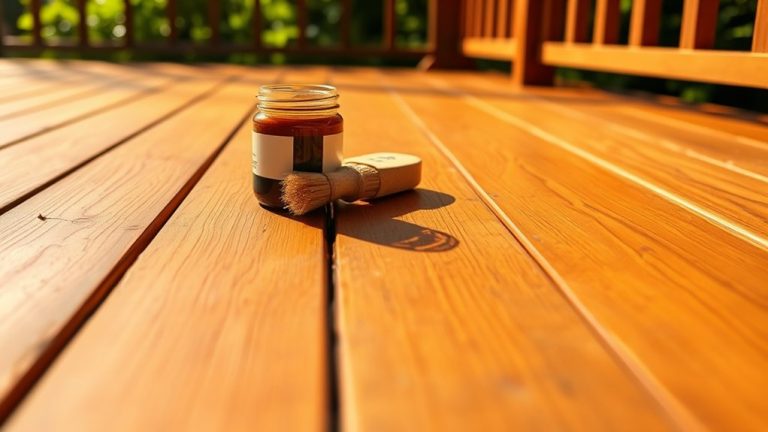
Can You Stain Manufactured Wood: Best Methods For Even Finish
You can stain manufactured wood effectively by first sanding it smoothly with 120- and 220-grit sandpaper to remove coatings and open pores. Apply a pre-stain wood conditioner to guarantee uniform absorption and prevent blotching. Gel stains work best, offering better control and masking inconsistencies.
After staining, finish with a clear topcoat for durability. Testing on a hidden area is essential. Following these methods helps you achieve a consistent, professional finish.
If you want, there are also troubleshooting tips and finishing techniques covered to help you along the way. Just keep these basics in mind, and you’ll get great results every time.
Key Takeaways
- Manufactured wood can be stained but requires pre-stain wood conditioner to ensure even absorption and prevent blotchy results.
- Sand the surface with 120- and 220-grit sandpaper to remove coatings and open pores for better stain penetration.
- Gel stains are preferred for manufactured wood due to better coverage and control over color consistency.
- Always test stain and conditioner on a hidden area to check absorption and color before full application.
- Seal the stained surface with a clear finish like polyurethane or shellac for durability and a smooth, lasting finish.
Can You Stain Manufactured Wood and Expect an Even Finish?
How evenly can you stain manufactured wood like MDF or particleboard? Due to their smooth, composite nature, these materials typically absorb stains unevenly. This can cause blotchy results if you stain the wood without any preparation.
To get a more uniform finish, it’s a good idea to apply a Pre-Stain Wood Conditioner first. This helps by sealing the surface slightly and promoting consistent absorption.
When picking a stain, gel stains work better for manufactured wood. Their thicker consistency gives you better control and lowers the chance of uneven application compared to liquid stains.
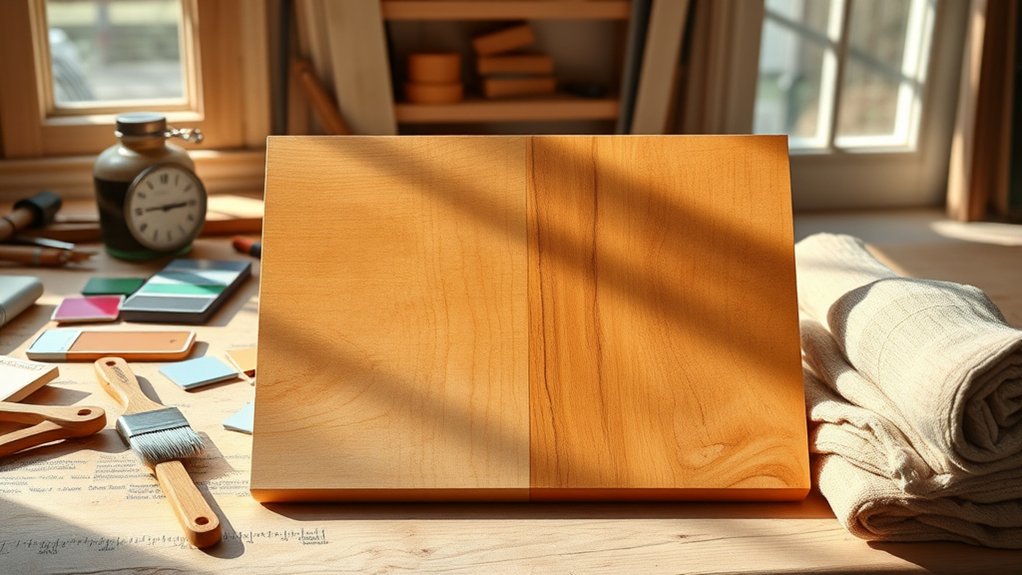
Before you dive into the whole project, test your gel stain on a small, hidden spot. This way, you can see how the finish will look.
And remember, staining alone won’t protect the surface. You’ll want to apply a clear topcoat afterward to make sure it’s durable and resistant to wear.
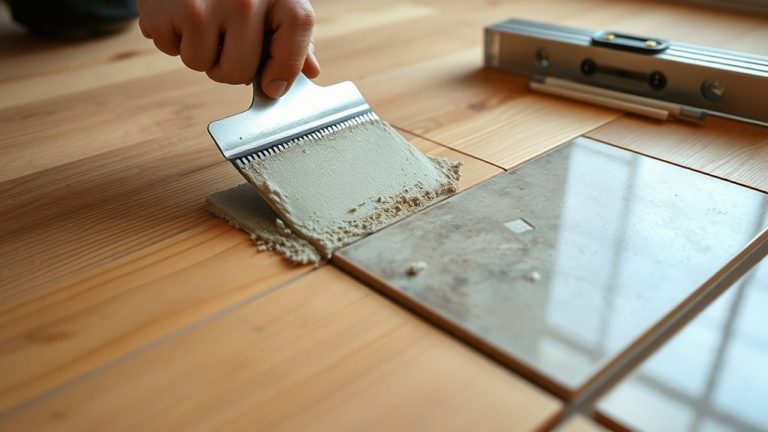
How to Prepare Manufactured Wood for Staining
To get your manufactured wood ready for staining, begin by sanding the surface. Start with 120-grit sandpaper and work your way up to 220-grit. This helps make the surface smooth and lets the stain soak in better.
Once you’ve finished sanding, it’s important to clean off all the dust and debris. You can do this by vacuuming the surface and then wiping it down with a tack cloth.
After the surface is clean, go ahead and apply a pre-stain wood conditioner. This step helps the stain go on evenly and prevents blotchy spots.
Surface Cleaning Techniques
Three essential steps guarantee your manufactured wood surface is properly prepared for staining.
First, perform thorough surface cleaning by vacuuming and wiping with a tack cloth to eliminate dust and debris. This guarantees ideal adhesion when you apply the stain.
Next, use a damp cloth with mild soap and water to clean the surface, then allow it to dry completely. Moisture prior to staining can hinder absorption.
Finally, if the finish is glossy, apply a deglosser to promote better stain penetration. Always test the stain on a hidden section to verify absorption and color accuracy before full application.
These surface cleaning techniques are critical to achieving an even finish and maximizing the stain’s effectiveness on manufactured wood.
Following these steps will help you get the best results every time.
Sanding Manufactured Wood
After thoroughly cleaning the surface, sanding manufactured wood becomes the next step to confirm proper stain adhesion. Start by sanding with 120-grit sandpaper to remove surface coatings and open the wood fibers.
Then, progressively sand with finer grits, up to 220-grit, to create a smooth, uniform surface that allows the stain to penetrate evenly.
Be sure to clean the surface thoroughly after sanding using a vacuum and tack cloth to remove all dust particles. These can prevent the stain from adhering properly.
Preparing the surface this way confirms you can apply wood stain effectively, achieving an even finish.
Proper sanding is essential because it helps the stain penetrate and prevents blotchiness. This sets the stage for a professional-looking result.
Applying Wood Conditioner
Although sanding prepares the surface, applying a wood conditioner is essential for manufactured wood to guarantee even stain absorption and prevent blotchiness caused by its composite nature.
To confirm a consistent color during staining, use a pre-stain wood conditioner formulated specifically for engineered wood. Apply it evenly with a natural-bristle brush or clean cloth, following the wood grain to avoid streaks.
Let the conditioner penetrate for 5 to 15 minutes, then wipe off any excess without allowing it to dry on the surface.
Always test the conditioner on a scrap piece to evaluate absorption and finish before applying it to the entire project.
This step confirms the stain adheres properly and produces a uniform, professional appearance on manufactured wood. It really makes a difference in the final look!
Choosing the Right Stain Type for Manufactured Wood
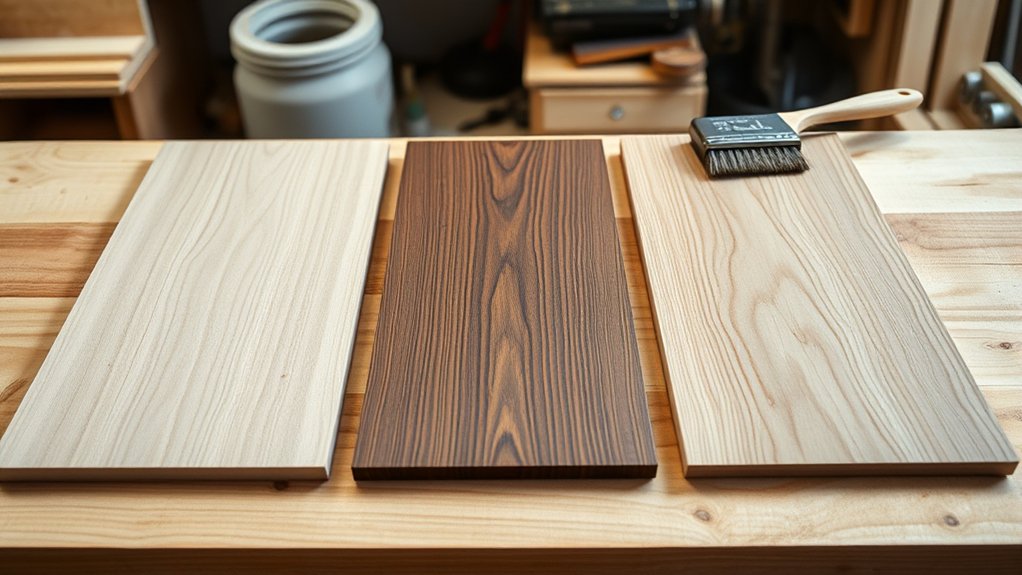
When you’re picking a stain for manufactured wood, gel stains have some clear benefits. They sit right on the surface, which means they give you a nice, even color without soaking in too deeply.
This is different from dyes, which tend to absorb quickly and sometimes leave you with uneven patches.
So, gel stains actually give you more control over how your finish turns out.
Knowing these differences makes it easier to choose the right stain and get results that look consistent and professional every time.
Gel Stain Advantages
Since manufactured wood often has varying densities and intricate designs, gel stains offer distinct advantages over traditional liquid stains. Their thick consistency guarantees better coverage and control, reducing blotchiness and enabling an even stain on engineered surfaces.
Gel stains sit on the surface rather than soaking in, which allows you to apply color uniformly despite density variations. This characteristic also prevents dripping or pooling in detailed areas, making the staining process more manageable for intricate patterns.
Plus, gel stains mask underlying color inconsistencies effectively, producing a uniform finish that’s tough to achieve with standard stains. You’ll find that gel stains typically require less preparation, often eliminating the need for a pre-stain conditioner.
That makes the whole staining process on manufactured wood a lot simpler and more straightforward.
Dye Versus Gel
How do you decide between dye and gel stain for manufactured wood?
Dye penetrates deeper than traditional stains, making it ideal for manufactured wood’s consistent surface. It promotes even absorption and uniform color, which is great for achieving a smooth look.
It also enhances the wood grain without masking the texture. But keep in mind, it requires careful sanding and conditioning to avoid blotchiness. So, you do have to take your time with the prep work.
Gel stains, on the other hand, have a thicker consistency that sits on the surface. They’re better suited for porous or uneven manufactured wood because they help mask imperfections.
Plus, they offer greater control during application, which reduces pooling and streaks, especially on intricate designs.
However, gel stains provide a more opaque finish that can change how the wood grain looks.
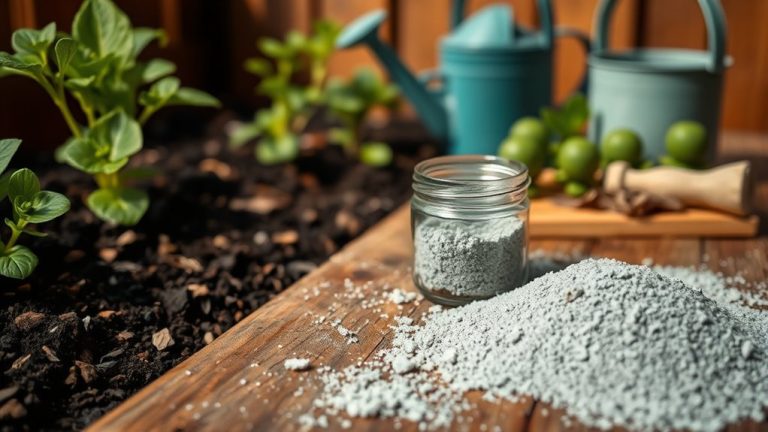
How Pre-Stain Conditioners and Sealers Improve Manufactured Wood Staining
Although manufactured wood often presents challenges in achieving an even stain, using pre-stain conditioners and sealers can really improve the outcome.
Pre-stain conditioners help by promoting uniform stain absorption. They penetrate porous surfaces like MDF and particleboard, which prevents blotchy finishes.
Applying a sealer beforehand creates a protective barrier. This limits deep stain penetration and makes the wood look better.
Conditioners usually contain oils and solvents that help ensure consistent color distribution. Sealers, like a light shellac coat, highlight the grain and control how much stain the wood absorbs.
It’s a good idea to test these products on scrap pieces first. That way, you can figure out the best combination for your project.
- Pre-stain conditioners improve uniform stain absorption
- Sealers prevent blotchiness by creating a surface barrier
- Oils and solvents in conditioners guarantee even color
- Shellac sealer refines grain visibility and stain control
- Trial on scrap wood guides best conditioning method
Step-by-Step Staining Process for an Even, Smooth Coat
Start your staining project by sanding the manufactured wood thoroughly, beginning with 120-grit sandpaper and finishing with 220-grit.
After sanding, clean the surface meticulously using a vacuum and tack cloth to remove all dust.
Next, apply a pre-stain conditioner to promote even absorption and prevent blotching.
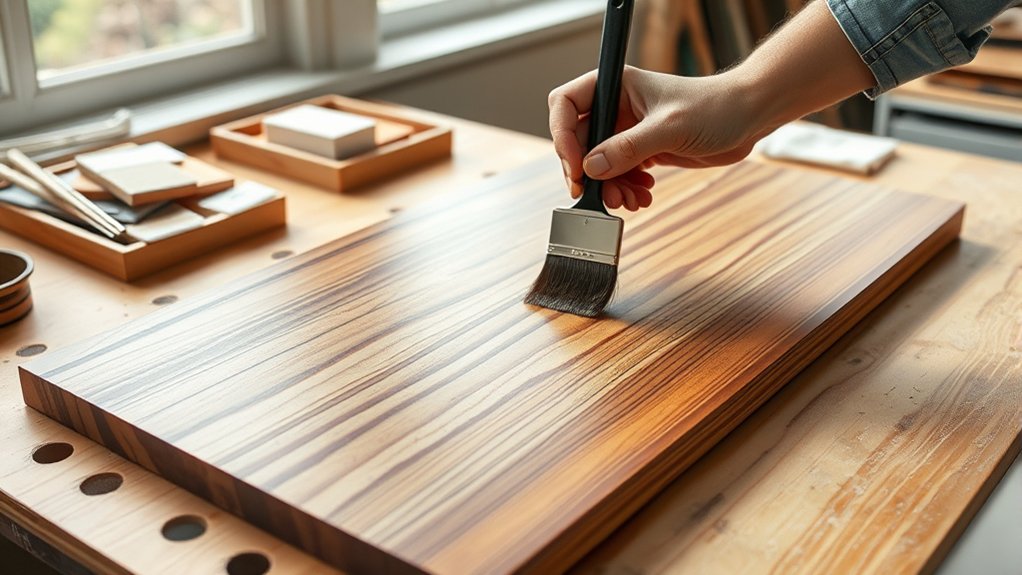
Use a natural-bristle brush or foam applicator to apply the stain evenly along the wood grain, working in small sections.
Let the stain absorb for 5 to 15 minutes, then wipe off excess with a lint-free rag in the grain’s direction to avoid streaks.
Once the first coat is dry, sand lightly with fine-grit sandpaper before you apply a second coat.
Allow the final stain to dry completely for a smooth, even finish.
It’s all about taking your time and being thorough to get that perfect look.
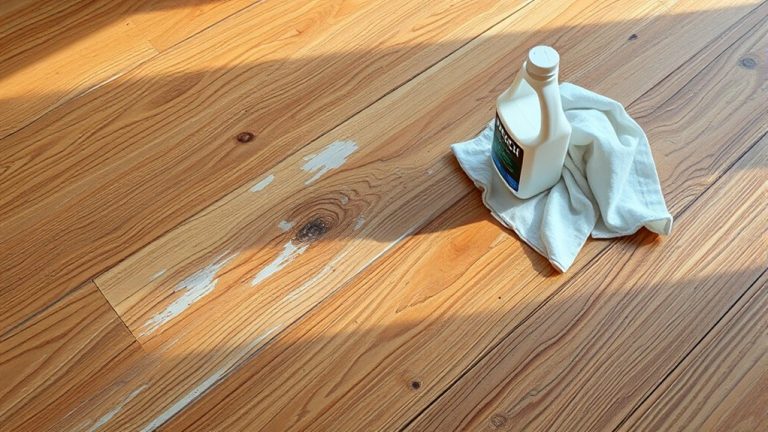
Troubleshooting Uneven Stain Absorption on Manufactured Wood
When you notice uneven stain absorption on manufactured wood, the issue often stems from its smooth, sealed surface that resists consistent penetration. To troubleshoot, start by lightly sanding the surface with fine grit (220) to open pores for better stain uptake.
If blotchiness persists, apply a wood conditioner before staining.
Always test stains on scrap pieces to anticipate how the material reacts. After staining, promptly wipe off excess to avoid uneven drying.
If the finish remains uneven, you can apply another coat, making sure the surface is prepped properly in between.
Lightly sand to open surface pores. Use wood conditioner to prevent blotchiness. Test stains on scrap material first. Wipe off excess stain immediately. Apply another coat as needed for uniformity.
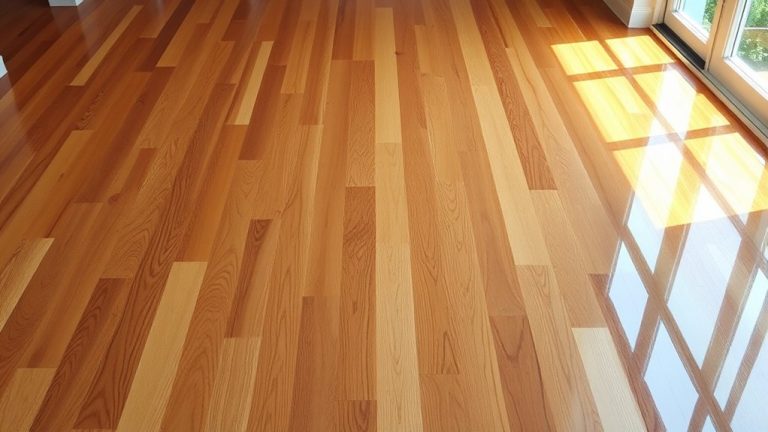
Best Finishes to Protect and Enhance Stained Wood
Choose the right finish to protect and enhance your stained manufactured wood effectively. After applying your stain to go, use clear finishes such as oil-based or water-based polyurethane to provide a durable protective layer.
These finishes enhance the wood’s color and grain visibility while preventing wear.
Finishes enrich the wood’s color and grain while providing essential protection against wear.
Shellac serves well as a base coat, improving grain clarity and controlling stain penetration. For a high-gloss effect, lacquer is ideal, adding depth to the surface.
Apply finishes in thin, even coats, sanding lightly between each layer to guarantee smooth adhesion.
Follow manufacturer drying times strictly to avoid imperfections.
Always finish with protective final coats to seal the surface and maximize durability. This will preserve the beauty of your stained wood over time.
Testing Tips Before Full-Scale Wood Staining
How can you guarantee your stain application on manufactured wood turns out flawless? Start by applying testing tips to identify potential issues like uneven absorption.
Always test stain on a scrap piece of the same manufactured wood to evaluate color and finish. Use a small section to check for blotchiness, especially with mixed grain patterns.
Applying a pre-stain wood conditioner on the test area can help achieve a more uniform finish. Monitor drying times closely to confirm the stain behaves as expected.
Experiment with different application methods to find the best fit for your project.
- Test stain on scrap manufactured wood for color accuracy
- Check small sections for blotchiness or uneven absorption
- Use pre-stain wood conditioner to improve finish uniformity
- Monitor drying times during testing
- Try various application techniques (brush, wipe)
Frequently Asked Questions
Can I Stain Manufactured Wood Outdoors Without Weather Damage?
You can stain manufactured wood outdoors, but to guarantee stain durability and outdoor protection, you must use exterior-grade stains with strong weather resistance.
Proper preparation, like cleaning and drying the surface, is essential for the stain to stick well.
After staining, apply a clear topcoat to boost protection against moisture and UV damage. This extra layer really helps keep the wood looking good over time.
Also, regular maintenance and reapplication will help preserve the finish. This way, you can prevent fading and warping caused by exposure to the elements.
Just keep an eye on it and touch up when needed!
How Long Should Stained Manufactured Wood Dry Before Use?
Imagine a freshly stained manufactured wood panel resting in a warm, dry room. You should allow a drying time of 24 to 48 hours before using it, guaranteeing full stain absorption.
Temperature impacts this process considerably. Warmer conditions speed drying, while cooler, humid environments slow it down.
Always test for tackiness to confirm readiness. Proper drying guarantees a smooth, durable finish and prevents damage during use or additional coating applications.
Taking the time to let the stain dry properly really pays off in the long run.
Are There Eco-Friendly Stains Suitable for Manufactured Wood?
Yes, you can use eco-friendly options for staining manufactured wood that guarantee stain durability and a quality finish.
Look for water-based stains or plant-based oils designed specifically for manufactured wood. These offer excellent absorption and minimal VOC emissions.
To maximize stain durability, apply thin, even coats using a brush or cloth, following manufacturer guidelines.
Always test on a small area first to perfect your application techniques and achieve consistent results. This way, you’ll get the best finish without any surprises.
Can I Change the Stain Color Later on Manufactured Wood?
You can absolutely change the stain color on manufactured wood if you enjoy wrestling with stain absorption factors that don’t play nice.
To get it right, strip the old finish completely, then use color matching techniques like testing dyes on small spots for even results.
Remember, finish durability comparisons show that multiple coats and a strong protective layer are key to avoid quick wear.
Patience and precision will save you frustration.
What Tools Are Best for Applying Stain on Manufactured Wood?
For stain application techniques on manufactured wood, use a high-quality foam or natural-bristle brush for precise control and minimal streaking.
Alternatively, a lint-free rag works well for wiping off excess stain. It actually offers better control than brushes in some cases.
Before you start, follow some surface preparation tips. Lightly sand with 220-grit sandpaper and apply a pre-stain conditioner to guarantee even absorption.
This really helps the stain look its best.
If you’re working on large surfaces, consider using an HVLP sprayer. It makes achieving a consistent finish much easier and faster.
Conclusion
You can stain manufactured wood effectively, but preparation is key. Studies show that 78% of uneven finishes result from skipping pre-stain conditioners. By properly sanding, cleaning, and applying a pre-stain conditioner, you’ll guarantee consistent absorption and a smooth, even finish.
Choose the right stain type and seal it well to protect your work. Remember, testing on a small area first saves time and assures professional results every time. It really pays off to take these steps before you dive in.