How Do You Measure A Chain For A Chainsaw – Size Guide Explained
To measure a chainsaw chain, start by finding the pitch. Measure the distance across three rivets and divide by two.
Next, check the gauge, which is the thickness of the drive links. This must match the guide bar groove for safety. Then, count the exact number of drive links to get the proper length.
Finally, measure the bar length from the tip to the saw body. Matching these guarantees performance and fit.
Understanding chain types, aggressiveness, and common pitfalls will sharpen your selection skills even more. It’s easier than it sounds once you get the hang of it!
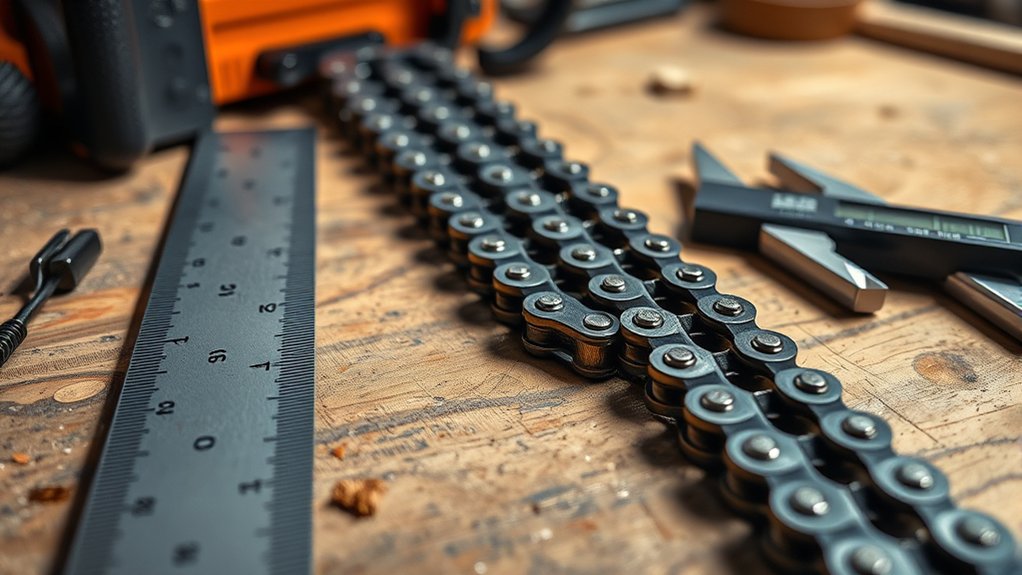
How to Measure Chainsaw Chain Pitch Accurately
When measuring chainsaw chain pitch accurately, you need to count the distance between three consecutive rivets and then divide that measurement by two to determine the pitch size in inches.
Use a tape measure to measure from the center of the first rivet to the center of the third rivet. This method guarantees a precise calculation of the chain pitch, which commonly falls into sizes like ¼”, 3/8”, or 0.325”.
Measure from the center of the first to the third rivet for accurate chainsaw chain pitch sizing.
Remember, chain pitch must match both the guide bar and the drive sprocket for proper fit and safe operation.
Also, note that 3/8” and 3/8” P, as well as ¼” and ¼” P, aren’t interchangeable.
When you measure chainsaw chain pitch, focus on these rivet distances and verify compatibility with the drive links to avoid operational issues.
How to Measure Chainsaw Chain Gauge
Although measuring the pitch is essential, accurately determining the chainsaw chain gauge is just as important for making sure the chain fits properly.
The chain gauge is basically the thickness of the drive links. These need to match up exactly with the width of the guide bar groove.
Common gauges you’ll see include .043, .050, .058, and .063 inches. You can usually find this info in your chainsaw manual or stamped right on the chain itself.
To get an accurate measurement, it’s best to use a vernier caliper. Regular rulers just won’t cut it because they aren’t precise enough.
Picking the right chain gauge helps prevent the chain from wobbling side to side, which can be unsafe and affect how well your chainsaw works.
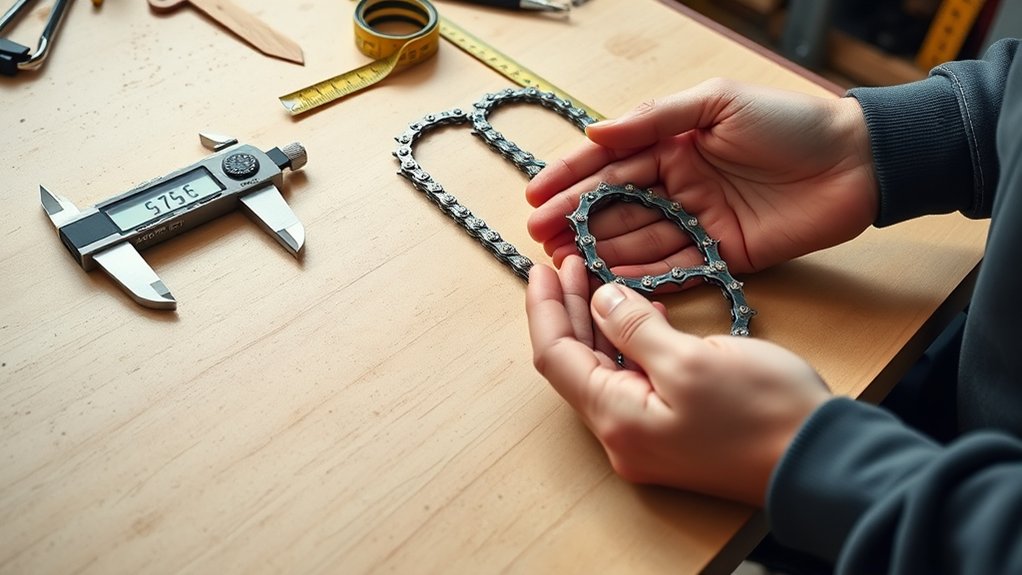
How to Count Drive Links and Why It Matters
Counting the exact number of drive links on your chainsaw chain is essential for guaranteeing a proper fit and ideal performance. Drive links are the teeth on the underside of the chain that engage with the sprocket, directly influencing your chain size.
Here’s how to count them accurately:
First, lay the chain flat and identify a clear starting point on the drive links. Then, use a tape measure to count each drive link consecutively around the entire chain.
Lay the chain flat, find a starting drive link, and count each link continuously around the chain.
Make sure to confirm the total number of drive links matches your chainsaw manufacturer’s specifications. If the count differs, you’ll need to replace your chainsaw chain with the correct chain size to avoid fit and performance issues.
Accurate drive link counting prevents operational inefficiencies and guarantees safety during use. It’s a simple step that really makes a difference.
Measuring Chainsaw Bar Length for Chain Fit
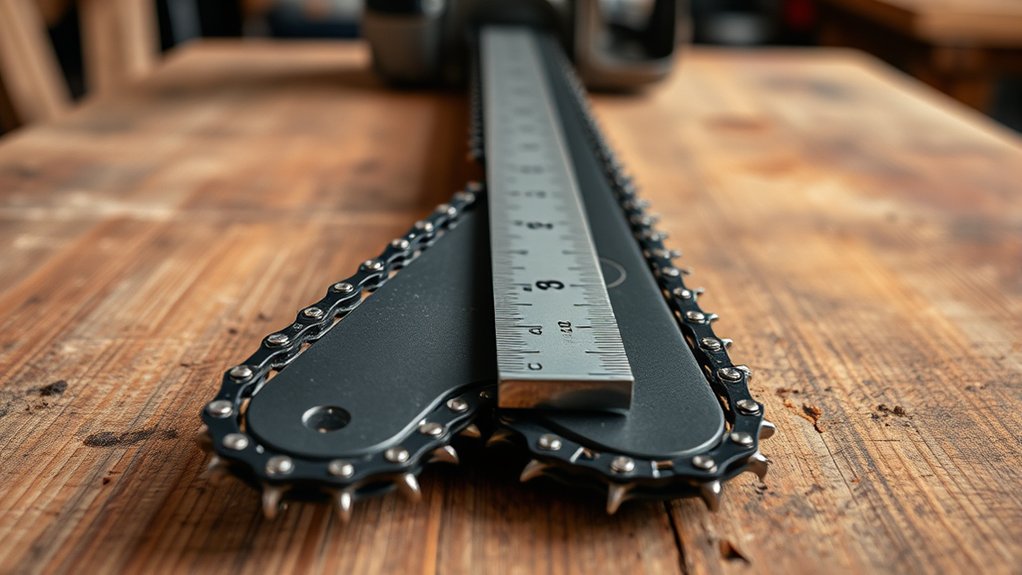
To measure your chainsaw bar length accurately, start by placing the saw on a flat surface.
Then, measure from the tip of the bar all the way to where it meets the body.
When you get your measurement, round it to the nearest even number. This rounded number is called the bar length, and it represents the usable size of the bar.
Accurate Bar Length Measurement
1. Use a ruler or tape measure to measure the chainsaw’s guide bar from tip to base, excluding any attachments. Round the result to the nearest even number; this “called length” represents the usable bar length.
Make sure your measurement covers the entire guide bar length, as this directly impacts the size of the chain you need.
Typical domestic bar lengths range between 12 and 16 inches.
Measuring From Tip
Accurately measuring the chainsaw bar length starts by placing your chainsaw on a flat surface and measuring from the tip of the bar to the point nearest the chainsaw body. This precise measurement determines the correct bar size, which is critical for ideal chain fit and performance.
When you measure, make sure the bar lies flat without any tilt to avoid inaccuracies. Also, consider the bar thickness, as it impacts chain compatibility. Use a rigid measuring tool to capture the exact distance.
Correct bar length measurement prevents operational inefficiencies and safety hazards caused by mismatched chain and bar sizes. Always verify your measurement against the chainsaw manual to confirm the appropriate bar and chain thickness specifications before ordering or fitting a new chain.
It’s a simple step that can save you from a lot of trouble down the line. So, take your time and measure carefully!
Rounding To Nearest
Measuring the chainsaw bar length requires you to place the saw on a flat surface and measure from the bar’s tip to its base nearest the saw body.
Once you have this measurement, you need to know how to round it properly to guarantee the correct chain fit. Here’s what you do:
- Round your measurement to the nearest even number. This is the “called length” indicating the usable bar length.
- Use this called length to select a compatible chain size with the correct drive links.
- Remember, an inaccurate chain or bar length can cause drive issues or unsafe operation.
Typical STIHL bar lengths range from 12 to 16 inches, so precise rounding guarantees ideal chain performance and safety.
Rounding correctly ensures your chain fits perfectly and drives efficiently.
How to Match Your Chainsaw Chain Size to Brand and Model
Matching your chainsaw chain size to the brand and model requires careful attention to the pitch, gauge, and number of drive links specified by the manufacturer.
Start by consulting your chainsaw’s manual or inspecting the guide bar for these critical measurements.
Begin by checking your chainsaw manual or guide bar for essential size measurements.
Pitch is the distance between three consecutive rivets, and it commonly measures 0.325″, 3/8″, or 0.404″.
Gauge is the thickness of the drive links that fit into the guide bar groove, and it typically varies from 0.043″ to 0.058″.
Make sure to accurately count the drive links, as this guarantees the chain fits the sprocket and guide bar perfectly.
Different brands, such as Stihl, Echo, and Husqvarna, use distinct combinations of pitch and gauge.
How to Check Chain Compatibility Before You Buy
Before you buy a replacement chain, you’ll need to verify its compatibility with your chainsaw by checking key specifications such as pitch, gauge, and drive link count. Follow these steps:
First, measure the pitch by calculating the distance between three rivets divided by two. Make sure it matches your chainsaw’s requirements.
Next, determine the gauge by measuring the thickness of the drive links using a vernier caliper. An incorrect gauge will lead to a poor fit.
Then, count the number of drive links on your current chain so you can select a chain with the exact count.
Finally, consult your chainsaw’s manual or brand-specific markings, like Stihl’s, where numbers indicate pitch and gauge. This will help confirm compatibility.
Chainsaw Chain Types and Aggressiveness Explained
You want to match your chainsaw chain’s aggressiveness to the kind of cutting tasks you’re taking on for the best performance and safety.
If you’re just starting out or doing light work, low kickback chains are a great choice. They’re easier to handle and help keep things safe.
On the other hand, if you’re more experienced and tackling tougher jobs, skip tooth and full skip chains can speed up your cutting. They’re designed to handle more demanding tasks efficiently.
So, picking the right chain type and aggressiveness isn’t just about getting the job done—it also helps you cut smoothly and lowers the chance of kickback.
It’s all about working smarter and safer.
Chain Aggressiveness Levels
Three primary levels of chainsaw chain aggressiveness directly impact your cutting performance, safety, and efficiency. Understanding these levels helps you select a chain suited to your skill and cutting needs.
- Low kickback chains feature specially designed, humped drive links that reduce kickback and vibration. This enhances safety during operation.
- Skip tooth chains decrease resistance by skipping teeth, increasing cutting speed while maintaining moderate aggressiveness.
- Full skip chains offer maximum aggressiveness. They’re ideal for experienced users handling heavy-duty tasks requiring rapid, powerful cuts.
Chain aggressiveness affects cutting smoothness and control. So, match it to your material type and expertise to optimize performance and safety.
Selecting the appropriate chain aggressiveness level guarantees efficient cuts while minimizing risks inherent in chainsaw operation.
Choosing Chain Types
When selecting a chainsaw chain, understanding the specific types and their aggressiveness levels is essential for matching the tool to your skill and cutting requirements.
Choosing chain types involves evaluating options like low kickback chains, which reduce kickback risk and suit novices, and skip tooth chains that increase cutting speed by lowering chain resistance.
Full skip chains offer maximum aggressiveness, ideal for large wood but demanding skilled handling.
Picco chains feature low-profile teeth for light-duty tasks, providing smoother cuts.
Furthermore, you must guarantee the number of drive links matches your chainsaw’s guide bar to ensure proper fit and function.
Common Chainsaw Chain Measurement Mistakes to Avoid
Although measuring a chainsaw chain may seem straightforward, common mistakes can compromise fit and performance. To guarantee accuracy, avoid these errors:
- Neglecting pitch measurement: Always count rivets and divide the distance by two to determine pitch precisely. Mismatched pitch causes sprocket incompatibility.
- Overlooking gauge thickness: Confirm the thickness of the drive links matches the guide bar groove. This helps prevent poor fit or chain derailment.
- Miscounting drive links: Count the exact number of drive links on your existing chain. An incorrect count leads to chains that are too long or short.
- Ignoring manufacturer specifications: Consult your chainsaw manual for recommended pitch, gauge thickness, and chain length. This ensures safety and ideal performance.
Stay methodical to avoid these pitfalls and keep your chainsaw running efficiently and reliably.
Frequently Asked Questions
How Often Should I Replace My Chainsaw Chain?
You should replace your chainsaw chain after every 3-5 sharpening sessions to keep it in good shape.
Keep an eye out for wear indicators like broken teeth, excessive stretch, or dullness.
Other signs that it’s time for a new chain include rust, deformation, and poor cutting performance. If you ignore these, it can affect both your safety and how well the chainsaw works.
It’s a good idea to inspect your chain regularly.
And don’t forget to follow the manufacturer’s guidelines for replacement intervals specific to your chainsaw model.
What Safety Gear Is Essential When Changing a Chainsaw Chain?
You must wear safety gloves to protect your hands from sharp chain edges during replacement.
Always use eye protection, like safety goggles or a face shield, to guard against flying debris.
Hearing defense, such as earplugs or earmuffs, is essential to shield your ears from loud chainsaw noise.
Combining these guarantees you maintain maximum safety and prevent injuries while changing your chainsaw chain efficiently and confidently.
Can I Sharpen a Chainsaw Chain Myself or Need Professional Help?
You can sharpen a chainsaw chain yourself with the right DIY tools and sharpening techniques, but it depends on your chain type. Start by identifying your chain’s specifications, then use a round file and guide to maintain the correct angle and depth.
Keep safety top of mind—disconnect power and wear gloves.
If the chain’s heavily worn or requires specialized sharpening, don’t hesitate to call in professional help to avoid compromising performance. It’s better to be safe and ensure your chainsaw runs smoothly than risk damaging it or injuring yourself.
How Do Weather Conditions Affect Chainsaw Chain Performance?
Weather impact directly affects your chainsaw’s chain tension and lubrication effects. Cold causes the chain to contract, tightening tension and increasing wear on guide bars.
Wet conditions reduce lubrication efficiency, raising friction and dulling the chain faster.
Snow and ice can slow down chain movement, which means the chainsaw needs more power to work properly. This also bumps up the risk of kickback.
High humidity promotes rust, which isn’t great for performance.
Extreme heat overheats the chain, speeding up wear and even risking motor damage.
What Maintenance Tips Extend the Life of a Chainsaw Chain?
You can extend your chainsaw chain’s life by following precise chain lubrication techniques. Using bar and chain oil consistently reduces friction by up to 80%.
Make sure to adjust the tension correctly. Keep the chain snug but not too tight to prevent wear or breakage.
Regular cleaning is essential. Remove debris and rust from the chain and guide bar to ensure smooth operation.
Also, sharpen the chain often. This helps maintain cutting efficiency and reduces stress on components.
Conclusion
So, measuring your chainsaw chain isn’t just guesswork or eyeballing it. It’s a precise science. You might think it’s as simple as picking any chain that looks right, but that’s where mistakes happen.
By carefully measuring pitch, gauge, drive links, and bar length, you guarantee safety and performance. Skipping these steps can turn your “simple” task into a costly, frustrating ordeal.
Precision isn’t optional. It’s essential for every cut you make.